
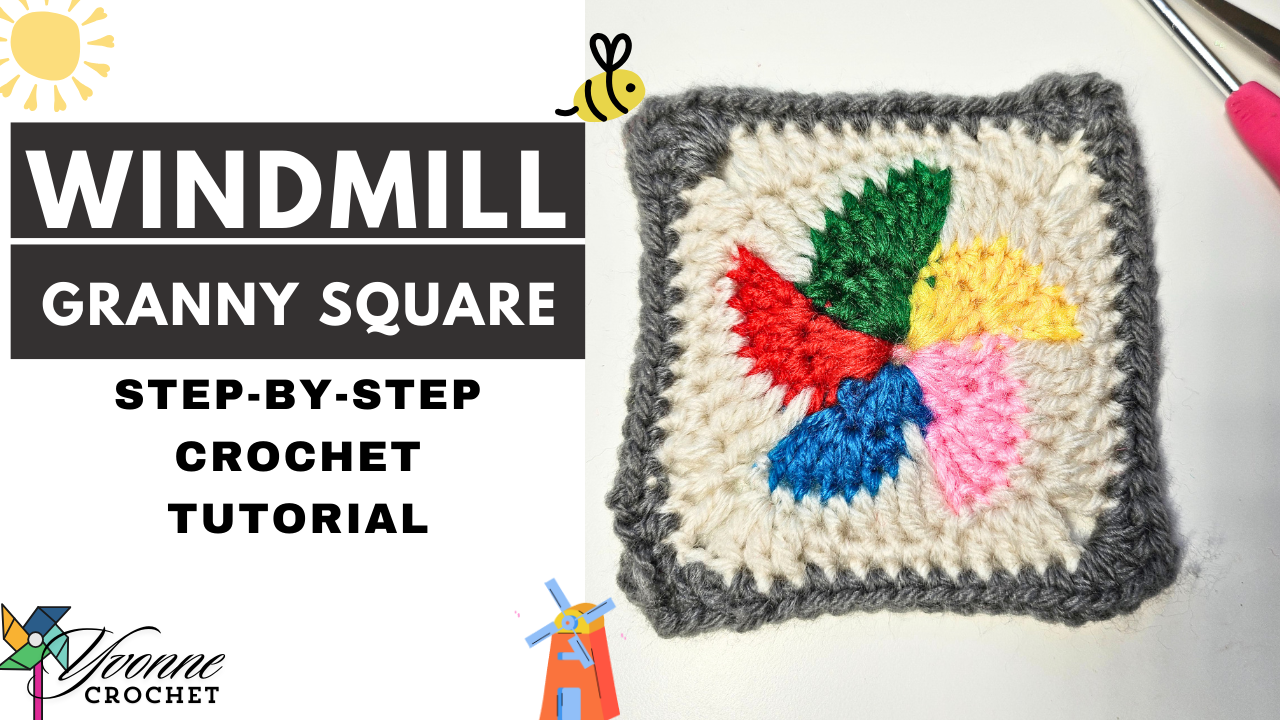
Windmill Granny Square Crochet Tutorial: A Free Motif for Your Next Project
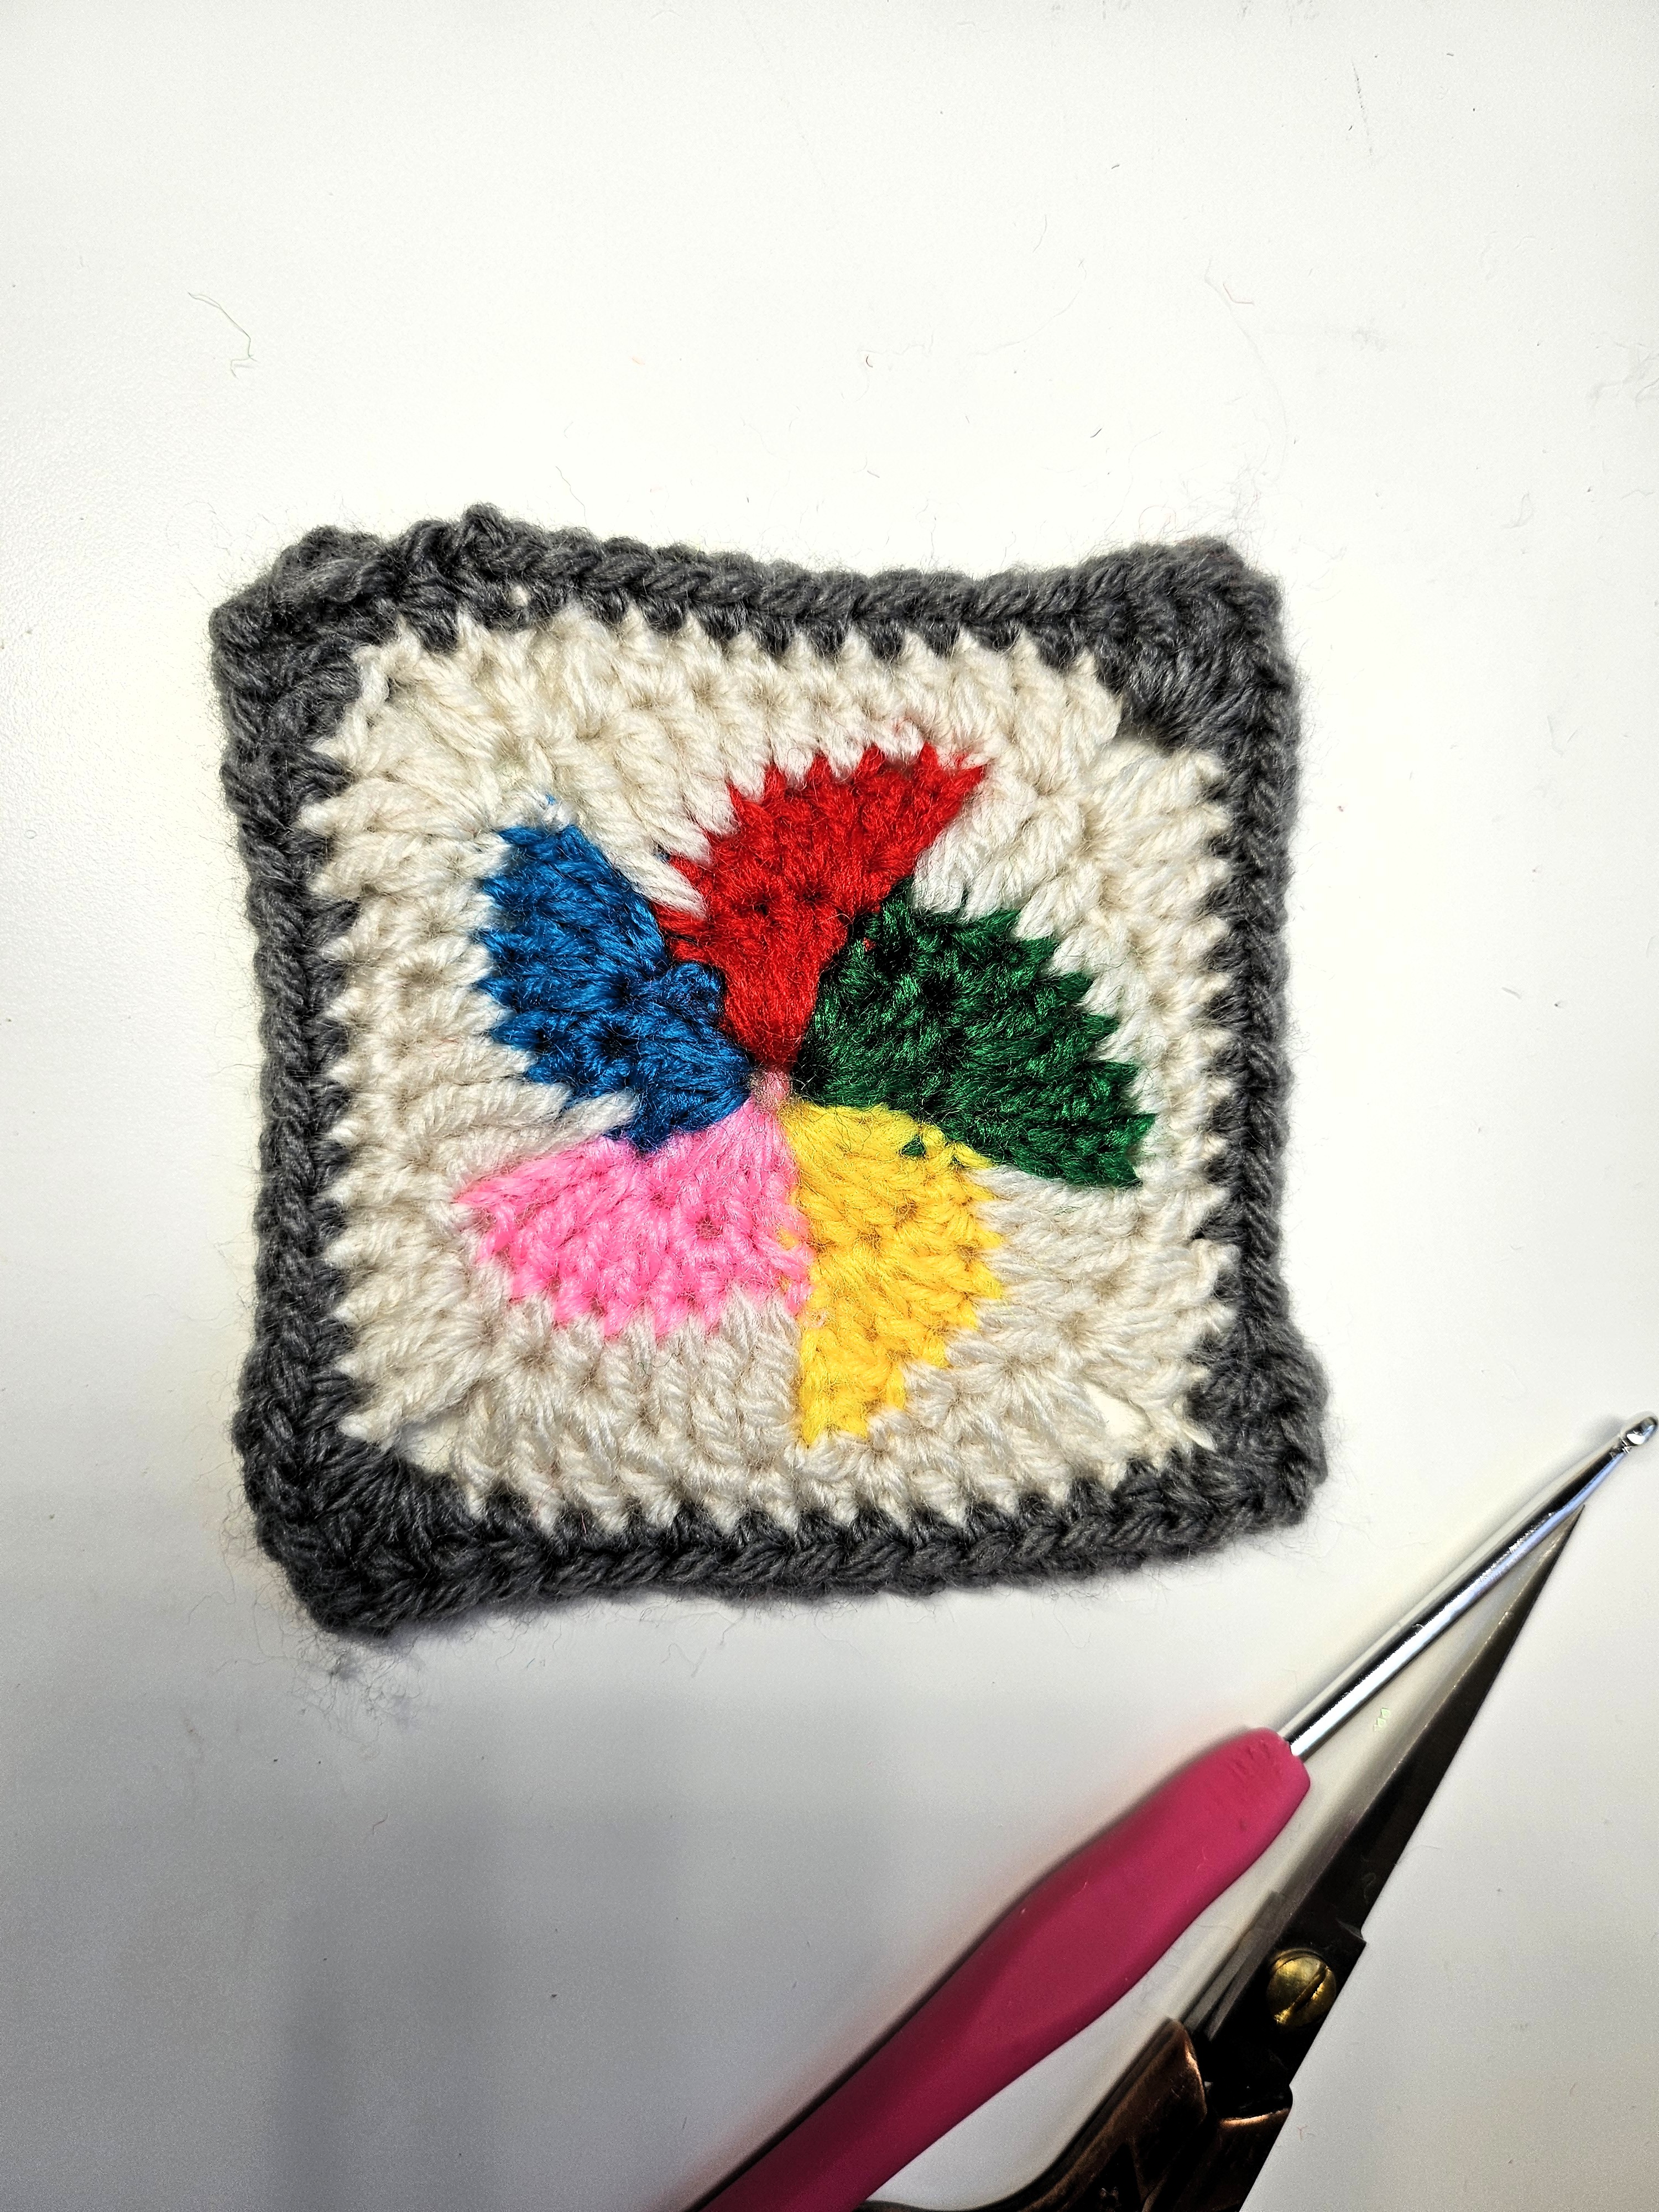
A windmill square begins with color at the center, but its movement comes from the stitches. Five colored sections spread outward, their different stitch heights forming blades that appear to turn. Cream crochet fills around the motif, and a charcoal edge brings the colors together in a quiet frame.
This is a useful motif when you want the center of a bag, cushion, or blanket to feel lively without changing every surrounding round to another bright shade. It also makes an interesting single-square pocket: the windmill remains the focus while the cream and charcoal provide an edge you can attach to another piece of fabric.
The guide follows the Crochetnotes demonstration and includes the stitch diagram supplied with the original article. Read the diagram for the complete stitch placement; the explanations below clarify the construction and the transitions that are easy to misread while watching a long video.
Choose the palette before starting
The sample combines blue, pink, yellow, green, and red in the center, with cream around the blades and charcoal at the edge. Decide which color will come first and keep the remaining yarns in their working order beside you.
Small leftovers can work well, provided their thicknesses are compatible. A bulky blade beside a thin one will change the shape even if the number of stitches is correct. Check the yarns side by side rather than relying on a shared weight label alone.
Prepare a suitable hook, scissors, a yarn needle, and removable stitch markers. The hook and yarn should make a fabric that lies comfortably flat. No finished dimensions or exact yarn quantity are assigned here; make and measure one completed motif before estimating a larger project.
Read the stitch diagram
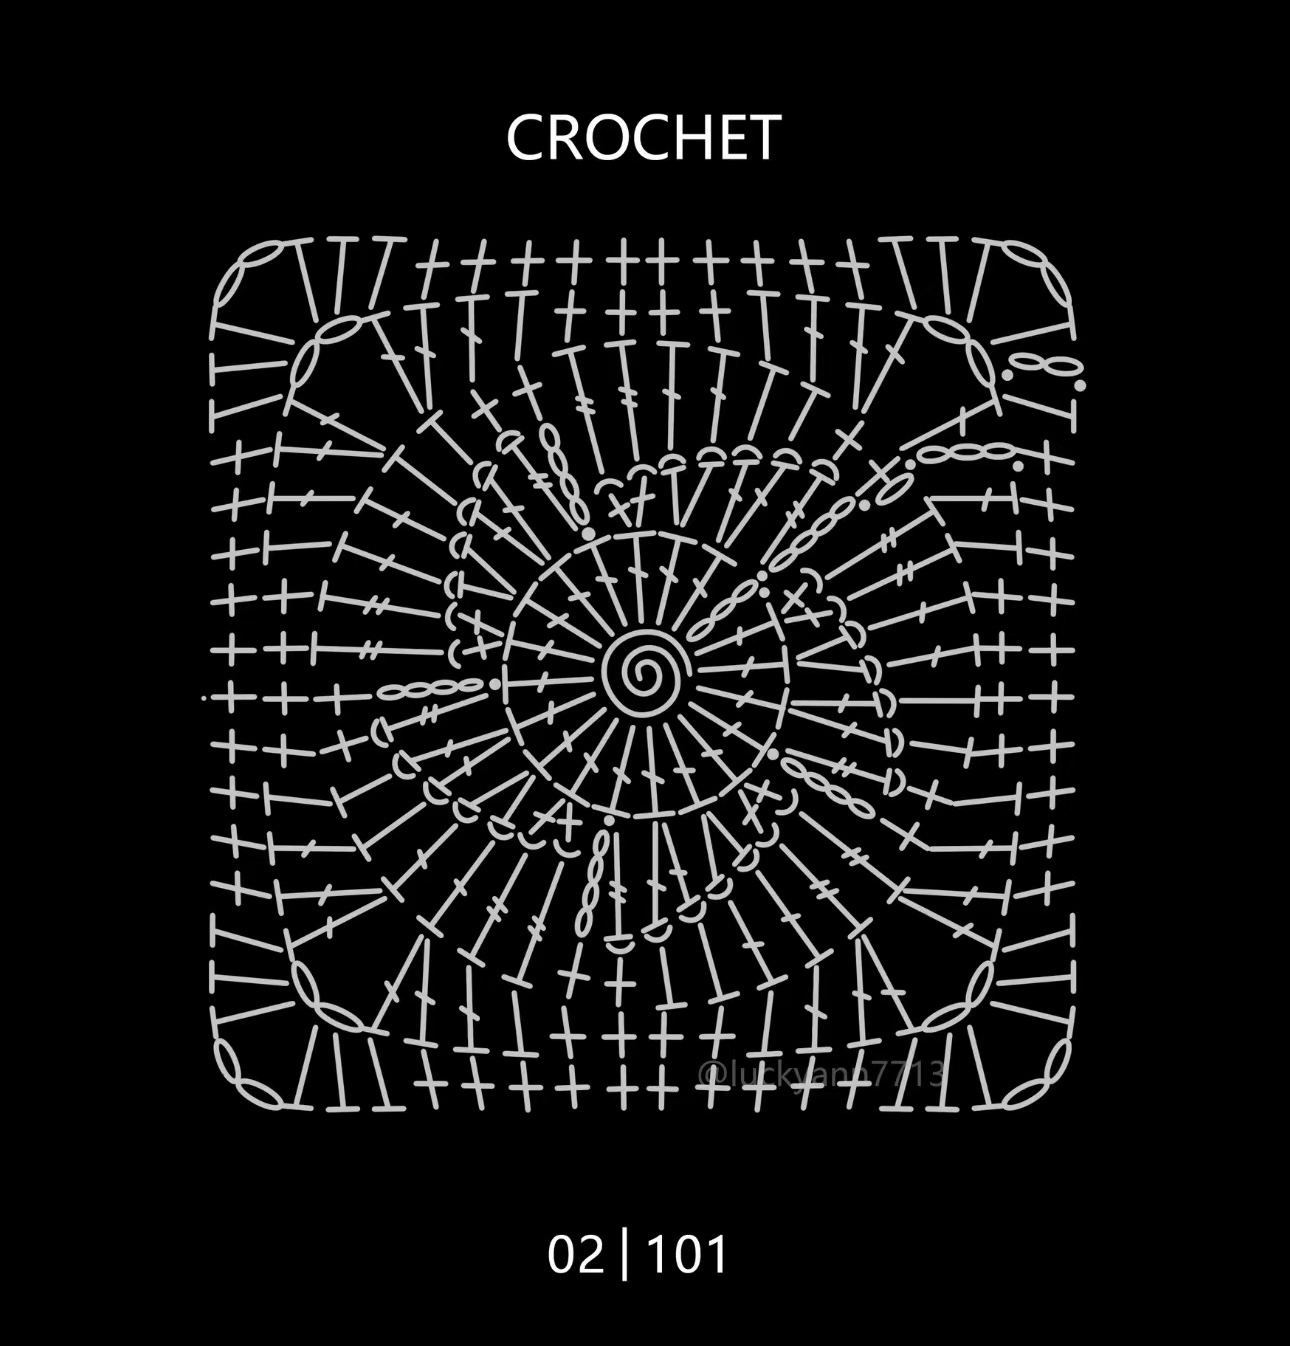
Begin at the central ring and trace the stitches outward. The different heights are part of the design, so do not replace a run of mixed stitches with a uniform run of double crochet.
| Symbol or instruction | How to use it | | --- | --- | | Small oval | Chain stitch or part of a chain space | | Short mark at a join | Slip stitch connection; compare its location with the video | | Taller post with crossbars | A taller crochet stitch; read the number of crossbars carefully | | Several posts meeting at one base | Several stitches worked into the same location | | Corner chain space | The turning space that separates adjacent sides |
The chart is monochrome. It describes the stitch structure rather than supplying a complete color map. Keep the finished photo and the video beside it when deciding where to change yarn.
1. Establish the colored center
The demonstration starts with a magic ring and a chain-3 rise. The first color change is prepared on the final movement of the fourth double-crochet position. This is an important distinction: the new color is ready for the next stitch rather than being pulled through after the whole old-color stitch has been completed.
As the first round develops, the sample changes from blue to pink, then yellow, green, and red. Keep the beginning tail of the magic ring accessible; the video explicitly calls attention to it before the ring is finally tightened.
Mark the beginning of the round and distinguish the starting chain from the next worked stitch. Keep the starter and join convention shown in the demonstration instead of adding another ordinary stitch at each change.
Keep the color changes clean
Work the old color until the final pull-through, bring in the new color, and continue with the next section. Ease the unused strands so that the ring can expand without being tied into a hard knot.
After the center is complete, look at the reverse. Long loose strands should not cross spaces that need to remain open. Tails that must be secured later should remain long enough to weave through the fabric.
2. Build the windmill blades
Continue the colored sections according to the diagram. The blades develop through graduated stitch heights and chain sections rather than through a conventional granny-cluster repeat.
The intermediate piece does not yet have a square outline. Projecting colored sections are expected at this stage, so assess whether they match one another before judging the final outer shape.
The video later demonstrates a slip stitch into the fourth stitch of the preceding row while finishing a colored section. Count that placement from the reference point shown in the close-up. Catching the nearest convenient loop instead changes the way the section turns and sits against the neighboring blade.
Work one full section, compare it with the diagram, and then continue the remaining colors in the same structural sequence. Check the stitch type, anchor point, and chain section separately if one blade looks different.
3. Fit the cream background around the motif
Join the cream yarn where shown and follow the chart around the colored edges. This background has a shaping job: it fills the spaces between the projecting sections and begins establishing the outer boundary.
Work into the indicated stitches and spaces. A chain section is not automatically treated as a row of ordinary stitch tops, and a colored blade tip is not automatically a square corner.
Keep the fabric on the table between sections. If a cream group pulls a blade sharply inward, check its anchor point and tension before continuing. If an empty space remains where the chart shows a group, locate that group rather than filling the gap with an improvised stitch.
4. Establish four sides and corners
The five-part center and four-sided border have different jobs. Do not assign one corner to every colored blade: the background must convert that center into four sides.
Mark the four corner spaces as soon as they become clear. Follow the chart’s changing stitch heights along the sides, especially where the background must bridge a low section and a projecting blade.
The tutorial demonstrates half double crochet in the cream shaping and increases in the charcoal edging. These are deliberate changes, not interchangeable substitutes for double crochet. Use the chart to identify their positions.
After completing a background round, trace all four sides with your finger. Check that you have reached the same four corner spaces and that the side structure agrees with the diagram before beginning the next color.
5. Add the charcoal frame
The darker border makes a strong outline around the pale background. Work its indicated increases and corners without tightening the yarn simply because the color is darker.
Finish a short section and lay it down. If the border draws the cream inward, check the stitch placement and ease the tension before going farther. If it flares, check for an extra increase or a doubled join stitch.
Finish with the joining method shown, secure the yarn, and weave the dark ends through the dark edging where practical. Keep the reverse tidy enough that it will not interfere with a seam or lining.
Make a sample that is useful for planning
Block the motif with a method suitable for the actual yarn. Ease the corners into a square without stretching the colored center until its blades lose their shape.
Measure the finished width and height, and record the yarns, hook, and border treatment. Compare the edge stitches as well as the dimensions when combining this motif with another design.
For example, if you want a three-by-three cushion front, first lay out nine paper squares at your finished motif size. That gives you a rough visual check of scale; seams, border rounds, and the cushion’s required fit still need to be considered.
Layout ideas that preserve the turning effect
A repeated color order creates a rhythmic layout. Changing the blade colors while keeping cream and charcoal constant creates variety within the same frame.
Try rotating the motifs before joining them. Rotation moves the colors around the panel, but turning a square over reverses its visible texture as well; choose the face you want to show consistently.
For a bag, fold the proposed panel into its intended shape before sewing. A layout that looks balanced on a table can place the brightest colors on the bottom or sides once it becomes a bag.
Troubleshooting
One blade sits differently. Check its stitch-height sequence, chain section, and slip-stitch anchor before trying to block it into place.
The middle gathers. Check the magic-ring tail and color-change tension. A tightly pulled strand can distort the center even when the surrounding stitches are present.
The background will not form a square. Revisit the chart’s four corner locations. Five colored blades do not mean five border corners.
Matching squares will not join evenly. Compare their edge structure and finished measurements. Make a short trial seam before committing to a full panel.
Watch the windmill tutorial
Use the demonstration for the final pull-through color changes, blade connections, cream shaping, and border. The stitch diagram also appears at the end of the video.
Let the center do the work
A clean background and an even border give the windmill room to stand out. Finish one square completely, learn how its colored sections connect, and use that sample to guide the rest. The same small motif can become a striking accent or the repeating unit of a much larger handmade piece.
Watch every stitch up close
Pair these written notes with the complete video tutorial.
Made with yarn, shared with love. 🧶💗