
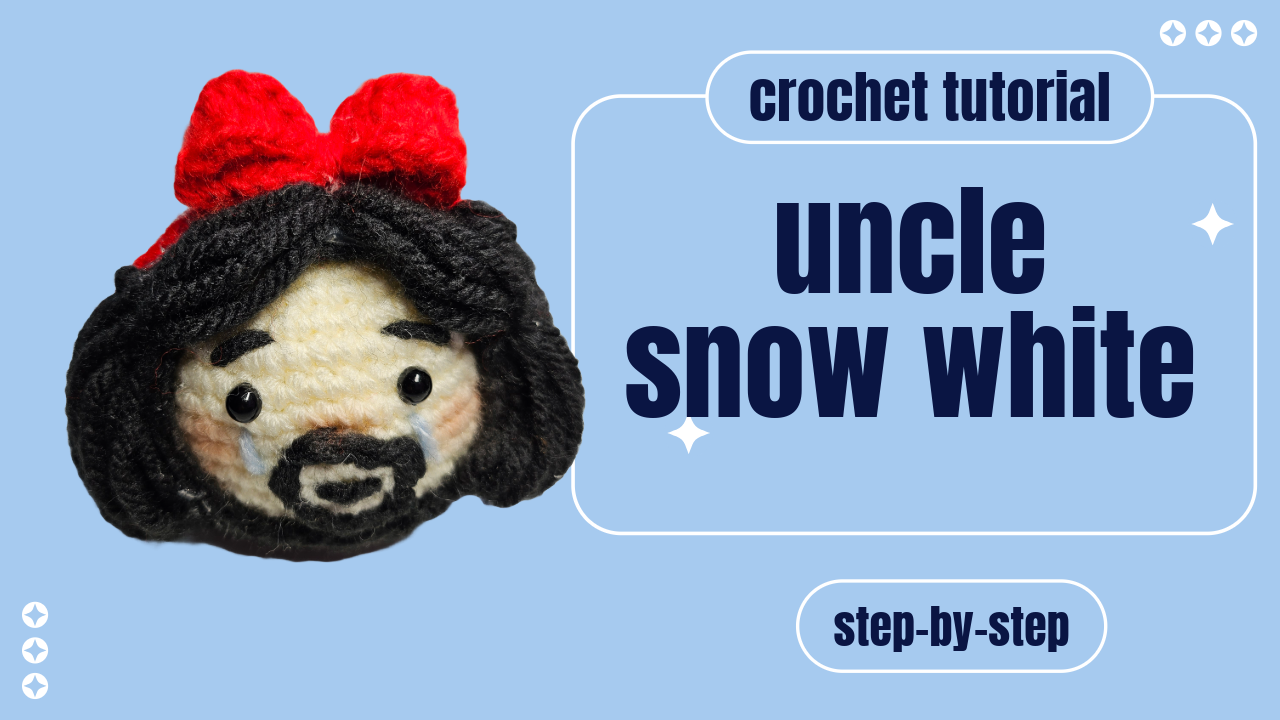
A Fairy-Tale Head Charm with a Comic Expression
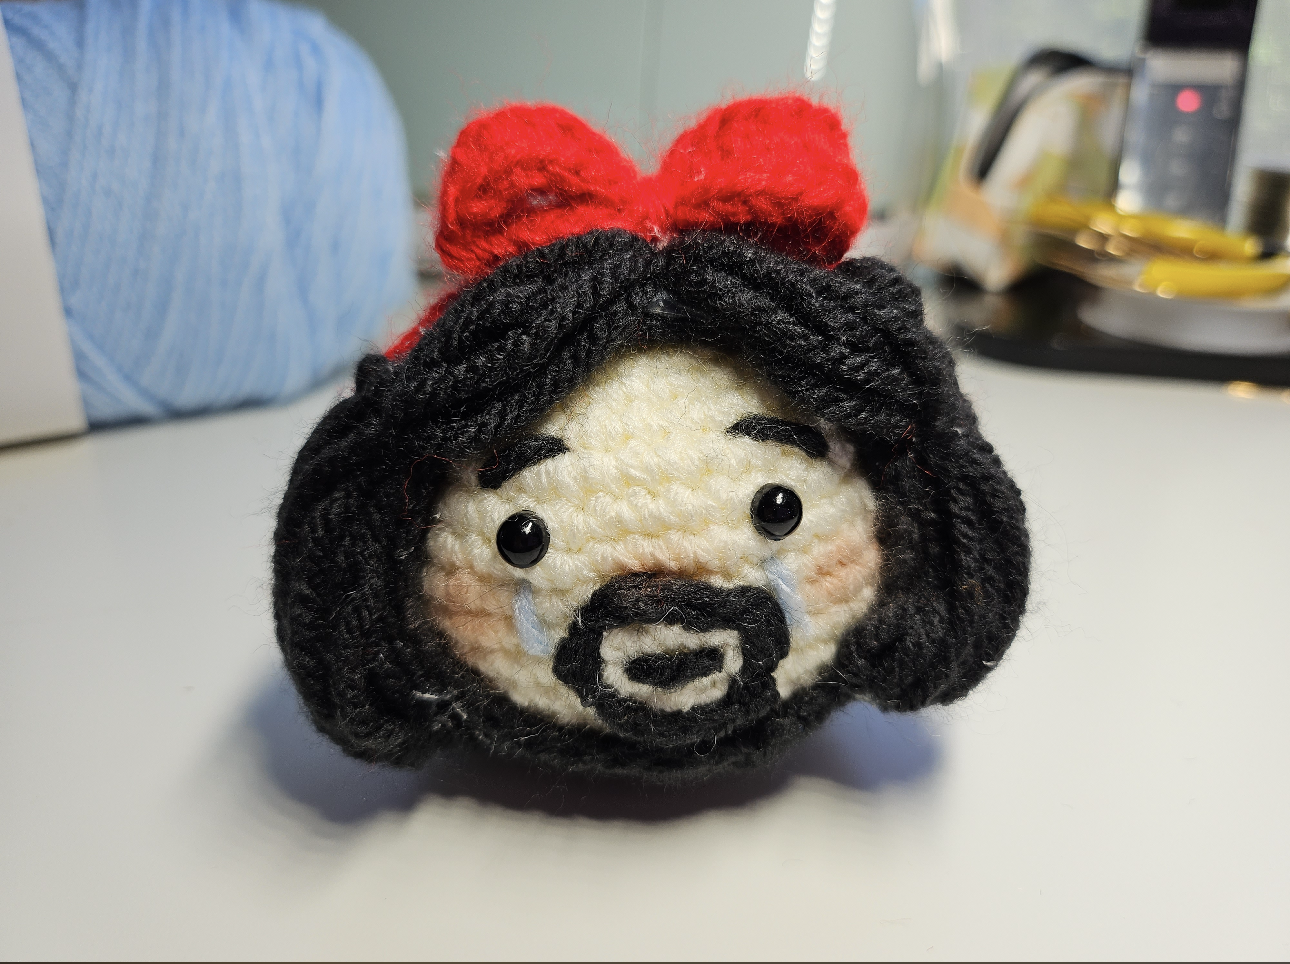
Uncle Snow White combines a familiar black hairstyle and red bow with an unexpected crying face. The cream-colored head has glossy dark eyes, black eyebrows, a moustache-and-beard detail, and pale blue tears beneath the eyes.
The humor comes from that combination. The hairstyle suggests the fairy-tale inspiration, while the facial hair and tear marks give the character a different personality.
This project focuses on the head rather than a complete doll. At this scale, the spacing between the eyes, eyebrows, tears, and mouth area matters as much as the crochet shaping.
Follow the video near the end for the construction and stitch sequence. These notes focus on preparing the pieces, arranging the face, and securing the finished charm.
Prepare the Colors and Tools
For the pictured version, gather:
- Cream yarn for the head.
- Black yarn for the hair and facial details.
- Red yarn for the bow.
- Pale blue yarn for the tears.
- A crochet hook suitable for your yarn.
- Toy stuffing, scissors, and a yarn needle.
- Stitch markers.
- Eye materials and hanging supplies specified in the tutorial.
Check the demonstration for the hook size and eye attachment method. The finished photo does not reveal how the eyes are secured inside the head.
Choose yarns that work at a compatible scale. A much thicker black yarn can crowd the cream face, while very fine red yarn may produce a bow that looks small against the hairstyle.
Make Black Stitches Easier to See
Work in good light and use a pale surface behind the black crochet when checking stitches.
Keep track of the hair sections as you finish them. Comparing their shape and intended position before assembly is easier than sorting them once they have been attached.
Fill the Head Evenly
Follow the head instructions and add stuffing gradually. Distribute it around the face and sides rather than pushing everything into the center.
Check the head from the front and both sides. A lump behind one cheek can make the facial features look uneven even when their placement is correct.
Keep the stitches close enough to contain the filling without stretching them into visible gaps.
Before closing the relevant opening, follow the tutorial’s timing for any eyes or attachments that need access to the inside.
Arrange the Hair Around the Face
The pictured black hairstyle has a parted front and rounded side sections that frame the cheeks. Position the hair according to the tutorial before securing every connection.
Check how much cream fabric remains visible around the eyes and forehead. The front sections should frame the expression without covering an eyebrow or pressing against an eye.
Turn the head slightly to each side. Compare the fullness and length of the side pieces, then inspect the back for unintended gaps.
Preserve the Shape While Sewing
Secure the structural attachment areas demonstrated in the video. Avoid pulling the black pieces so tightly that they flatten against the head or gather the cream fabric.
Keep the free edges arranged naturally. Small changes in overlap can improve the hairstyle without requiring changes to the crochet.
Hide black tails within matching areas where practical. Loose dark strands can show against the light face.
Plan the Crying Expression as One Composition
Temporarily mark the eye positions and review the space available for the eyebrows, tears, and facial hair.
The pictured eyebrows angle above the eyes, while the pale blue tears descend onto the cheeks. Those relationships create the worried expression.
Judge the face from a comfortable distance before securing the details. Close-up work makes individual stitches easy to inspect but can hide an imbalance in the overall expression.
Keep the Tears Visible
Position the pale blue marks beneath the eyes, following the tutorial. Leave enough separation from the black facial hair that the tears remain distinct.
Keep the stitching gently tensioned. Pulling firmly can sink the pale strands into the stuffing or create a dent beneath an eye.
Check both sides before hiding the ends. Similar placement helps the face read clearly, even if the individual stitches are not identical.
Fit the Moustache and Beard Within the Face
The black detail surrounds the lower mouth area without covering the entire cream surface. Follow the video for its construction and placement.
Arrange it with the eyes and tears already accounted for. Avoid adding bulk to compensate for a misplaced feature; adjust the position while the pieces remain accessible.
Secure the intended attachment points without compressing the head. Check that the mouth area remains visible and that the black strands do not form loose surface loops.
The peach cheek accents in the photo are optional. The image does not identify the material used, so test any chosen color treatment on spare yarn before applying it.
Position the Red Bow Last
The bow sits above the black hair and provides a bright focal point. Compare its two sides before attaching it.
Check its position against the whole head. A slightly off-center bow may make the hairstyle appear tilted even when the hair is balanced.
Keep the bow clear of the hanging connection and secure it without flattening its shape.
Finish the Hanging Attachment
The photo shows a light-colored hanging loop above the head. Follow the tutorial’s method for supporting that connection through the completed crochet.
Suspend the charm briefly while supporting it with your hand. Check that the face hangs visibly and that the loop does not pull on the bow or a loose hair section.
Inspect the attachment and hidden ends before adding any keyring or clasp.
Watch the Uncle Snow White Tutorial
The step-by-step video demonstrates the character head and finishing details.
Pause before securing the face and bow to compare their placement on your own piece.
Check the Finished Character
Inspect the hair connections, facial details, bow, and hanging point. Secure the remaining yarn ends and check the head from several angles.
For gifting, leave room around the hairstyle and bow in the packaging. Lift the charm by supporting the head rather than pulling on a decorative piece.
The expression is the central feature of Uncle Snow White. Balanced placement and neat attachments help the eyebrows, tears, and facial hair tell that little story clearly.
Watch every stitch up close
Pair these written notes with the complete video tutorial.
Made with yarn, shared with love. 🧶💗