
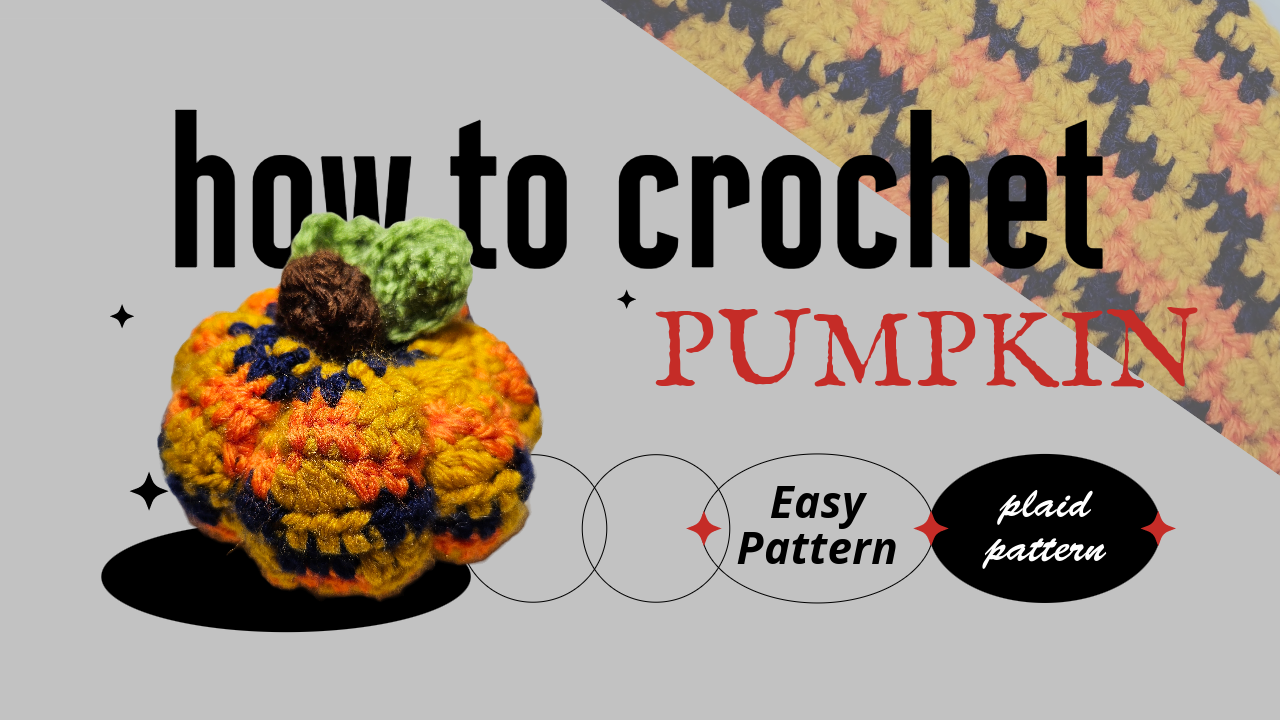
Plaid Crochet Pumpkin: Colorwork, Gathering, and a Finished Fall Shape
This pumpkin begins as a rectangular colorwork panel. Its rounded form comes later, when the edges are joined, the ends are gathered, and filling is added. That makes it a useful project for practicing small color blocks without shaping increases and decreases in every body round.
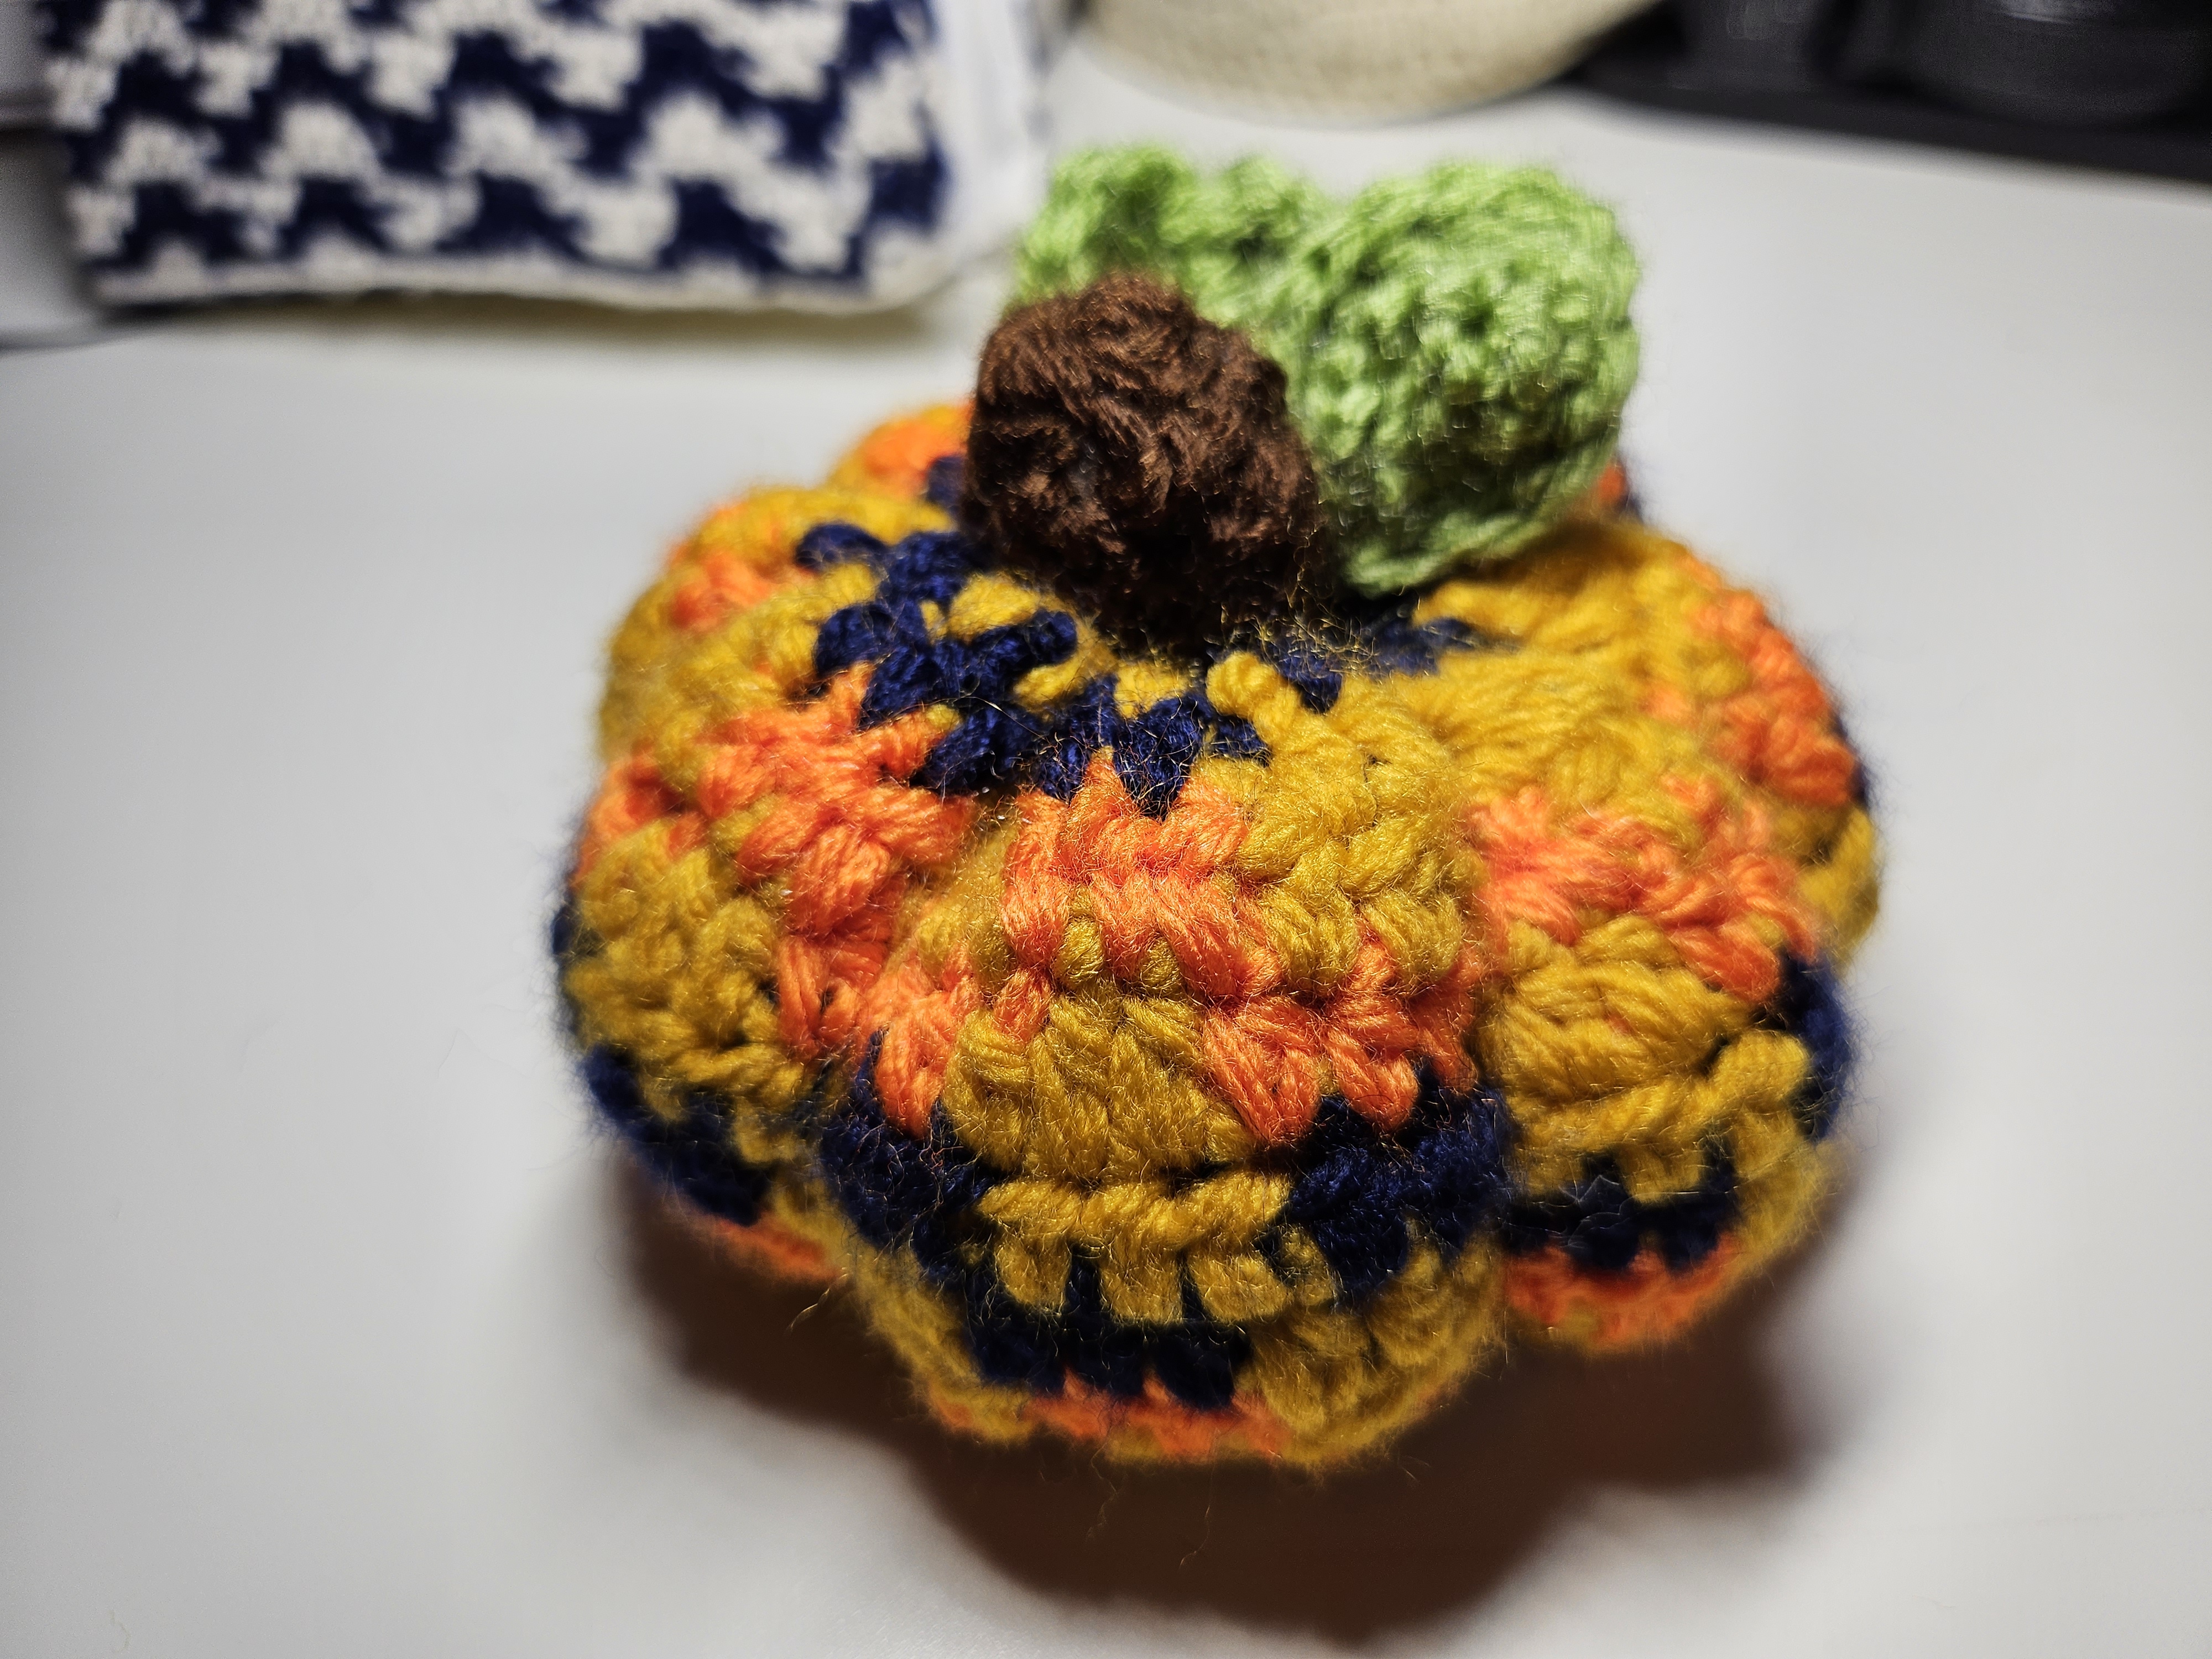
The photographed version combines gold, orange, and navy with a short brown stem and green leaves. The dark blocks break up the warm colors and make the pattern visible across the curved surface. Work the panel evenly first; the finishing can then shape it without fighting a stretched or narrowing piece of fabric.
Prepare the colors and tools
Gather three compatible body yarns, brown for the stem, green for the leaves, a suitable crochet hook, scissors, a yarn needle, markers, and filling. Keep a longer strand available for gathering and shaping the body, following the method demonstrated.
The video captions use the names “orange,” “dark orange,” and “ivory,” while the demonstrated yarns appear gold, orange, and navy. The labels do not consistently match the strand visible in the close-ups. The table below preserves the displayed wording; use a written color key and compare the actual color-block arrangement if you want to reproduce the photographed palette.
No fixed yarn weight, hook size, gauge, or finished measurements are established here. Similar yarn thicknesses help the blocks remain comparable. Make a small colorwork sample if you are unsure how your chosen strands behave together.
Terms and counts
These instructions use US terms: `ch` means chain, `sc` single crochet, `hdc` half double crochet, `dc` double crochet, and `sl st` slip stitch. A color run of 3 hdc means three separate stitches in that color, not three stitches into one base stitch.
The body begins with 56 chains. After skipping two chains, there are 54 working stitches. A six-stitch pair of color runs fits nine times across the row: 9 × (3 + 3) = 54. Keep the turning chain separate from the working count.
1. Crochet the plaid body panel
Begin with the 56-chain foundation shown. Work the following rows, carrying or managing the unused strand as demonstrated so the changes do not leave long loose loops.
| Row | Displayed instruction, expanded for reading | | --- | --- | | 1 | Skip 2 chains; repeat 3 hdc in “orange,” 3 hdc in “dark orange” across. | | 2 | Turn, ch 2; repeat 3 hdc in “orange,” 3 hdc in “dark orange” across. | | 3 | Turn, ch 2; repeat 3 hdc in “dark orange,” 3 hdc in “ivory” across. | | 4 | Turn, ch 2; repeat 3 hdc in “dark orange,” 3 hdc in “ivory” across. | | 5 | Turn, ch 2; repeat 3 hdc in “orange,” 3 hdc in “dark orange” across. | | 6 | Turn, ch 2; repeat 3 hdc in “orange,” 3 hdc in “dark orange” across. | | 7–10 | Repeat Rows 3–6. | | 11–14 | Repeat Rows 3–6 again. |
The instruction for Rows 7–14 is explicitly shown near the end of the panel demonstration. There are 14 body rows in total, each maintaining 54 working stitches.
Color-label limitation: this is a transcription of the captions, not a claim that those names form a fully resolved map to the gold, orange, and navy sample. Follow the visible block placement alongside the captions, or settle your own consistent three-color key on a swatch before making the full panel. Avoid silently assigning the same ambiguous caption name to different colors in your written notes.
2. Keep the changes even
Change colors at the point demonstrated in the last stitch of the preceding run so the next run starts cleanly. Count in groups of three, then check the complete row count. A marker after every six-stitch pair can help while learning the rhythm.
Let the fabric relax after each pair of runs. If you pull the unused strand tightly at every change, the panel can narrow or pucker even when the stitch count is correct. At the other extreme, a very loose strand may show between stitches or tangle during assembly.
Check the first and last working stitch after turning. Accidentally working into the turning chain adds width; missing an end stitch removes it. Either mistake changes how the color blocks meet at the seam.
3. Join the panel into a tube
Complete the 14-row panel and compare the two edges that will meet. Fold it in the orientation shown, align corresponding positions, and connect with slip stitches. The video specifically uses a slip-stitch join.
Keep the seam firm without drawing it shorter than the edges beside it. Pause after a few stitches to check that the colorwork is aligned and the two layers are not creeping out of position. A strongly gathered seam will create an unintended narrow section on the pumpkin.
Secure the joining end and arrange the tube with the intended outer surface facing outward before gathering the openings.
4. Gather, fill, and shape the body
Follow the demonstrated running-stitch gathering around one opening. Pick up the edge consistently so the folds collect evenly rather than leaving a large gap beside the seam. Draw the opening closed gradually and secure it.
Add filling through the remaining opening in small amounts. Spread it around the full circumference, including beside the seam. Aim for an evenly supported form; a single hard central lump leaves the surrounding fabric loose and can distort the checks.
Gather the top as shown once the outline is supported. Check the distribution of filling before closing the last accessible opening. The top should draw inward to provide a place for the stem rather than remaining a wide exposed hole.
Follow the shaping passes in the demonstration to establish the pumpkin outline. Tighten them gradually, turning the piece between adjustments. Do not pull one section extremely tight and then try to match every other section to that depth. The colorwork should curve around the form without being crushed into narrow folds.
5. Crochet the brown stem
Begin in brown with a magic ring.
| Round | Instructions | Working stitches | | --- | --- | ---: | | 1 | 8 sc into the ring; join. | 8 | | 2–5 | Ch 1, 8 sc around; join each round. | 8 per round |
There are four plain rounds after the starting round. The video adds filling to the small stem before finishing its attachment. Use enough to support the short tube without stretching its stitches apart.
Leave the attachment end accessible. Position the stem over the gathered top and check its angle before securing it. A centered base can still look tilted if one side is pulled down more firmly than the other.
6. Make the paired green leaves
The displayed leaf sequence is:
`ch 2, 6 dc, ch 3, sl st, 6 dc, ch 2, sl st.`
Use the starting ring and the chain/slip-stitch anchor positions shown in the close-up. The two groups of six double crochets build the leaf shape; the chain and slip-stitch sections define its transitions. Keep those anchors distinct from the tall stitches rather than treating every item as a stitch worked into a new base position.
The video then instructs you to make another leaf and connect it with the first. Compare the two before attaching them to the pumpkin. Their joined bases can sit near the stem while their wider portions spread across the top.
7. Finish the top arrangement
Trial-position the stem and paired leaves together. Leave the stem visible above the leaves and turn the green pieces so they do not conceal all the gathered top's colorwork.
Secure the components using the attachment method demonstrated. Keep the fastening localized at their bases so the leaf edges can retain their shape. Conceal yarn ends in the matching component where practical, avoiding dark tails showing through a light body block.
Set the pumpkin on a flat surface and inspect it from the front, sides, and top. Redistribute accessible filling or adjust the shaping tension if it rocks sharply or one side looks pinched.
Troubleshooting
The panel becomes narrower as you work. Check both the 54-stitch count and the tension of carried yarn. Correct a missing edge stitch before trying to stretch the panel wider.
The seam interrupts the pattern. Compare the aligned edges and the direction of the panel before joining farther. An unintended twist is easiest to fix while the tube is still open.
The pumpkin has one hard bulge. Redistribute the filling. More filling is not always the answer, particularly when one dense lump is already pushing against the fabric.
A gathered opening remains large. Check that the gathering strand has picked up the edge consistently and has not skipped a long section beside the seam.
The stem looks oversized. Check its five-round construction and your yarn thickness. Changing the stem yarn can change its proportions even when the eight-stitch count is correct.
Watch the plaid pumpkin tutorial
The video is especially useful for comparing the visible colors with the inconsistent color-name captions, following the seam orientation, and seeing the gathered shaping and leaf anchor positions.
Let the checks and shape work together
The finished pumpkin needs both an even panel and considered shaping. Keep the three-stitch runs consistent, complete the 14-row body, and gather the ends gradually. The short stem and paired leaves then finish the outline without hiding the plaid-inspired fabric that makes this decoration distinctive.
Watch every stitch up close
Pair these written notes with the complete video tutorial.
Made with yarn, shared with love. 🧶💗