
One-Eyed Monster Mike Crochet Keychain: A Playful Little Gift
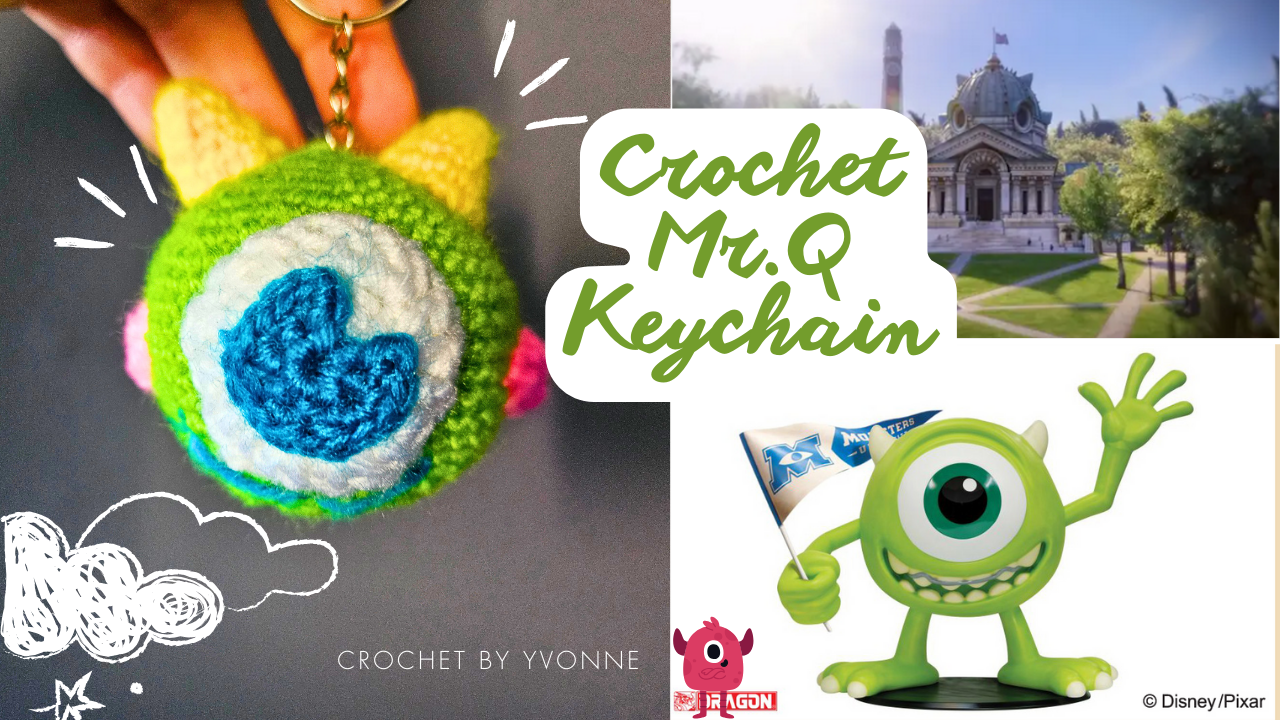
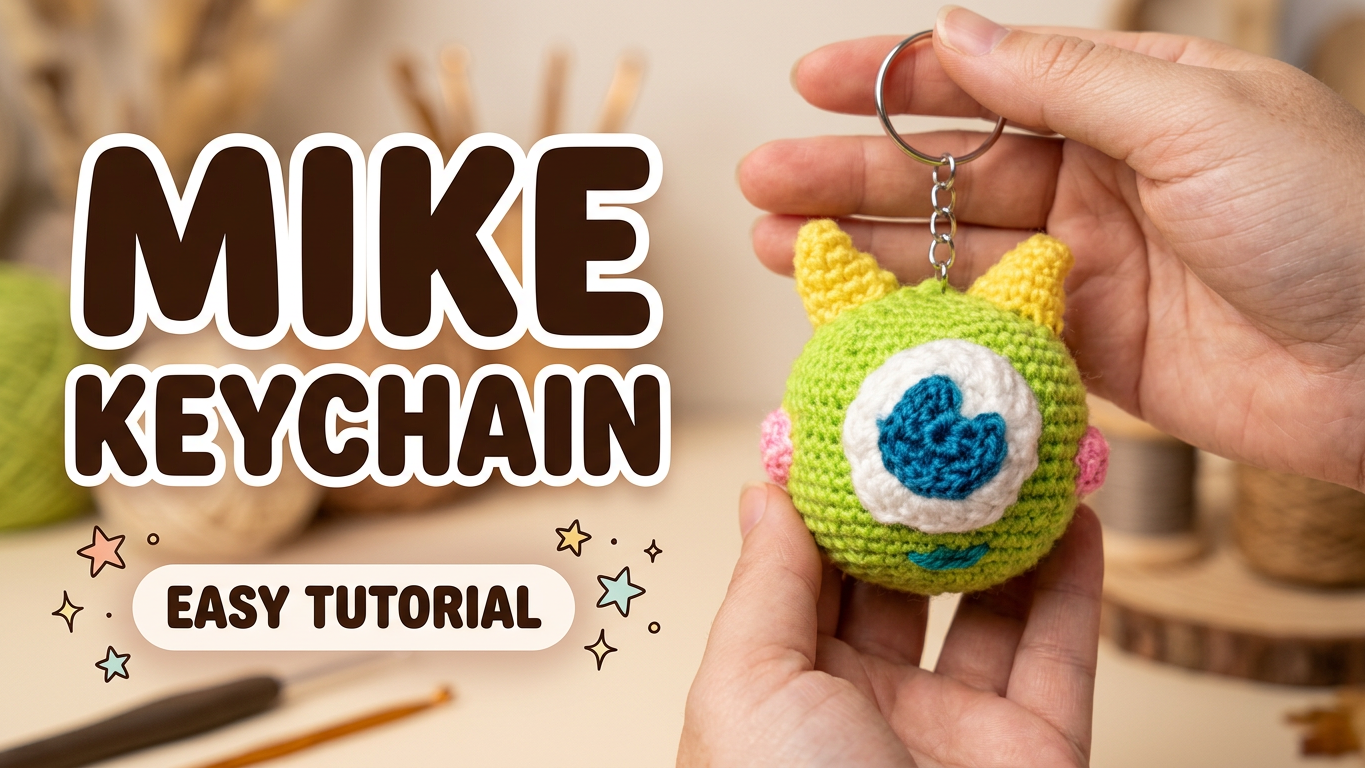
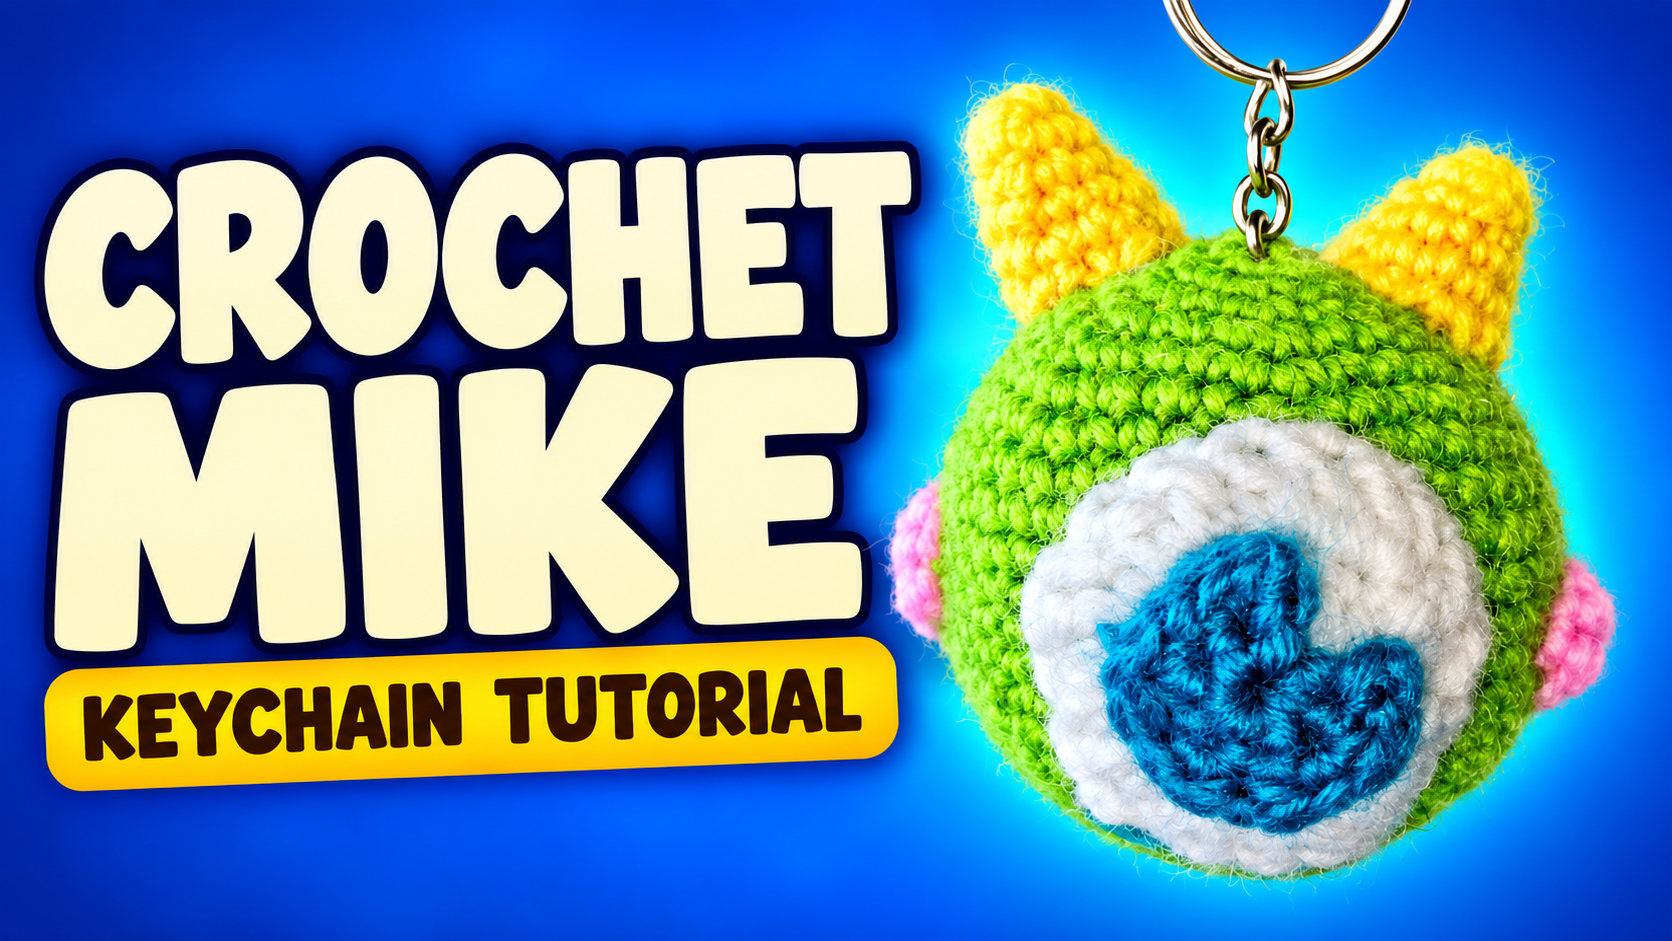
One large eye changes the whole personality of a small crocheted character. Here, the bright green body provides a simple background for a white eye, blue iris, two yellow horns, and tiny pink cheeks. The shapes are uncomplicated on their own; their placement gives the finished keychain its expression.
This version is a round character charm rather than a full doll with separate arms and legs. Make the body first, prepare the smaller pieces, and arrange the face before attaching it. That sequence gives you room to adjust the expression without repeatedly undoing your sewing.
The written rounds below follow the Crochetnotes video’s on-screen instructions. Stitch totals are calculated from those instructions. Use the video near the end of this article to see the small pieces being made and the final facial arrangement.
Gather your materials
You will need green yarn for the body, white for the eye, blue for the iris, yellow for two horns, and a little pink for two cheeks. Prepare a suitable hook, stitch marker, stuffing, yarn needle, scissors, your chosen dark pupil detail, and a key ring with an attachment chain if you want to match the keychain finish.
Use compatible yarns for the separate parts so that the eye and horns remain in proportion to the body. A particularly thick white yarn can make the eye dominate more than intended; a much thinner yellow yarn can produce horns that disappear against the green.
No exact finished size, yarn quantity, or gauge is assigned here. Make a dense fabric that holds stuffing without obvious gaps, and expect the finished dimensions to change with your yarn and hook.
Skills and stitch key
The body and horns use single crochet, increases, and decreases. The white eye uses double crochet; the blue iris and pink cheeks are small single crochet circles.
| Abbreviation | Meaning in US terms | | --- | --- | | ch | Chain | | sc | Single crochet | | sc inc | 2 single crochet in the same stitch | | sc dec | Single crochet decrease over 2 stitches | | dc | Double crochet | | dc inc | 2 double crochet in the same stitch | | ss | Slip stitch join |
The video ends the displayed rounds with `ss`. Do not count that join as an additional body stitch. A marker in the first actual stitch helps distinguish it from the joining stitch.
Step 1: Crochet the green body
Begin with a magic ring in green. Follow the joined rounds shown in the tutorial.
| Round | Instructions | Calculated total | | --- | --- | --- | | 1 | 6 sc into the ring; ss | 6 | | 2 | 6 sc inc; ss | 12 | | 3 | (sc, sc inc) × 6; ss | 18 | | 4 | (2 sc, sc inc) × 6; ss | 24 | | 5 | (3 sc, sc inc) × 6; ss | 30 | | 6 | (4 sc, sc inc) × 6; ss | 36 | | 7 | (5 sc, sc inc) × 6; ss | 42 | | 8–15 | 42 sc in each round; ss | 42 each | | 16 | (5 sc, sc dec) × 6; ss | 36 | | 17 | (4 sc, sc dec) × 6; ss | 30 | | 18 | (3 sc, sc dec) × 6; ss | 24 | | 19 | (2 sc, sc dec) × 6; ss | 18 | | 20 | (sc, sc dec) × 6; ss | 12 |
Count at the end of Round 7 before starting the straight section. Rounds 8 through 15 are eight separate rounds at 42 stitches each. It helps to tick them off individually rather than trying to remember how many you have worked.
Stuffing and closure
Add stuffing before the decrease opening becomes difficult to reach. Spread small amounts around the inside so that the body rounds out evenly. Keep loose fibers away from the hook while finishing the decreases.
After the displayed final body round, the tutorial moves to a needle closure. Leave enough yarn to gather the remaining opening, take it through the remaining front loops, and pull the hole closed. Secure the end and hide it inside the body. Do not add an invented Round 21 to the chart.
Roll the shape gently between your palms and check it from several directions. If a section is hollow while the opposite side feels hard, redistribute the filling before drawing the closure completely tight.
Step 2: Make the white eye
Work a separate white circle, beginning with a magic ring.
| Round | On-screen instruction | Calculated worked stitches | | --- | --- | --- | | 1 | 2 ch, 10 dc; ss | 10 dc | | 2 | 2 ch, 10 dc inc; ss | 20 dc |
The starting chains are written separately from the double crochet count. Keep the joining method consistent with the demonstration so that you do not work an extra increase into the join.
Fasten off with a tail for sewing. Smooth the circle gently with your fingers. The eye will curve against the stuffed body, so it does not need to behave like a perfectly rigid flat disc.
Step 3: Make the blue iris
Begin a separate blue circle in a magic ring.
| Round | Instructions | Calculated total | | --- | --- | --- | | 1 | 7 sc; ss | 7 | | 2 | 7 sc inc; ss | 14 |
Fasten off and leave yarn for attachment. Place the iris over the white eye before sewing. Its position can make the character look straight ahead or slightly to one side, so decide on that expression while the pieces are still loose.
Add the dark pupil detail shown in the finished tutorial, or embroider a pupil as your own finishing choice. This guide does not assign an unsupported separate crochet chart to the dark center. If your chosen eye fitting needs an internal washer, plan its installation before closing the relevant piece.
Step 4: Make two yellow horns
Begin each horn with a magic ring. The opening at the wider end becomes the attachment edge.
| Round | Instructions | Calculated total | | --- | --- | --- | | 1 | 5 sc; ss | 5 | | 2 | (sc, sc inc) × 2, sc; ss | 7 | | 3 | (2 sc, sc inc) × 2, sc; ss | 9 | | 4 | (3 sc, sc inc) × 2, sc; ss | 11 | | 5 | (4 sc, sc inc) × 2, sc; ss | 13 |
Notice the final single crochet after the repeated bracket in Rounds 2–5. It is worked once after both repeats, not once inside each repeat.
Leave a sewing tail and add a little stuffing to support the shape. Make the second horn, then compare their height and fullness before attaching either one. The pointed ends should remain narrow, with their wider bases sitting against the body.
Step 5: Make two pink cheeks
For each cheek, work 6 sc into a magic ring and join with ss, following the small pink circle shown in the video. Close the ring and leave a tail for attachment.
These are small accents. Keep them flat and avoid pulling the center so sharply that the circle becomes a tight bump. Set the pair aside until the eye has been positioned.
Step 6: Assemble the face
Lay the white eye on the front of the green body, then place the blue iris on top. Check that there is enough space for the horns above and the cheeks beside the lower part of the eye.
Sew the blue iris to the white layer with small stitches, keeping its edge smooth. Attach the completed white eye to the body around its outer edge. Catch green stitches beneath the edge rather than drawing one long thread across the front.
Pin the horns to the upper sides of the body and compare them from the front. Sew around each open base, adding a little more filling before the final few stitches only if needed. A broad, secure attachment helps the horn stand without being packed hard.
Position the pink cheeks and sew them down. Pause between attachments to look at the whole face: a small shift in a cheek or iris is easier to correct before all the yarn ends are hidden.
Step 7: Attach the keychain hardware
The finished video shows a metal chain and key ring attached near the top between the horns. Choose a strong area of body stitches, secure the attachment across more than one strand, and check that the character hangs with its face forward.
Keep the hardware clear of the horn seams. If you choose a crocheted hanging loop instead, treat its length and construction as your own adaptation; the written component charts above do not specify a fixed loop count.
Troubleshooting the little details
My body is wider or taller than expected. First check that you worked eight straight rounds, Rounds 8–15, at 42 stitches each. If the count is correct, yarn, hook, and tension can explain a different proportion.
The eye puckers after sewing. Loosen the sewing tension and distribute the edge evenly over the curved body. Do not pull every stitch tight enough to bury the white border in the green fabric.
The horns do not match. Check the final single crochet after each repeated bracket. Missing it changes the opening size and the following round’s placement.
The face looks off-center. Align the white eye with the overall shape rather than with the colorless joining seam alone. Reposition the loose components before sewing another piece.
Watch the full tutorial
Watch the small circles, horn shaping, and assembly in motion, then compare your loose components with the finished character before attaching the hardware.
Finish with the expression you like
The green body is the foundation, but the eye and tiny color accents make this charm memorable. Take the time to arrange those pieces, smooth the seams, and secure the hanging point. The result is a compact character with a big expression, ready to brighten a bag or become a playful handmade gift.
Watch every stitch up close
Pair these written notes with the complete video tutorial.
Made with yarn, shared with love. 🧶💗