
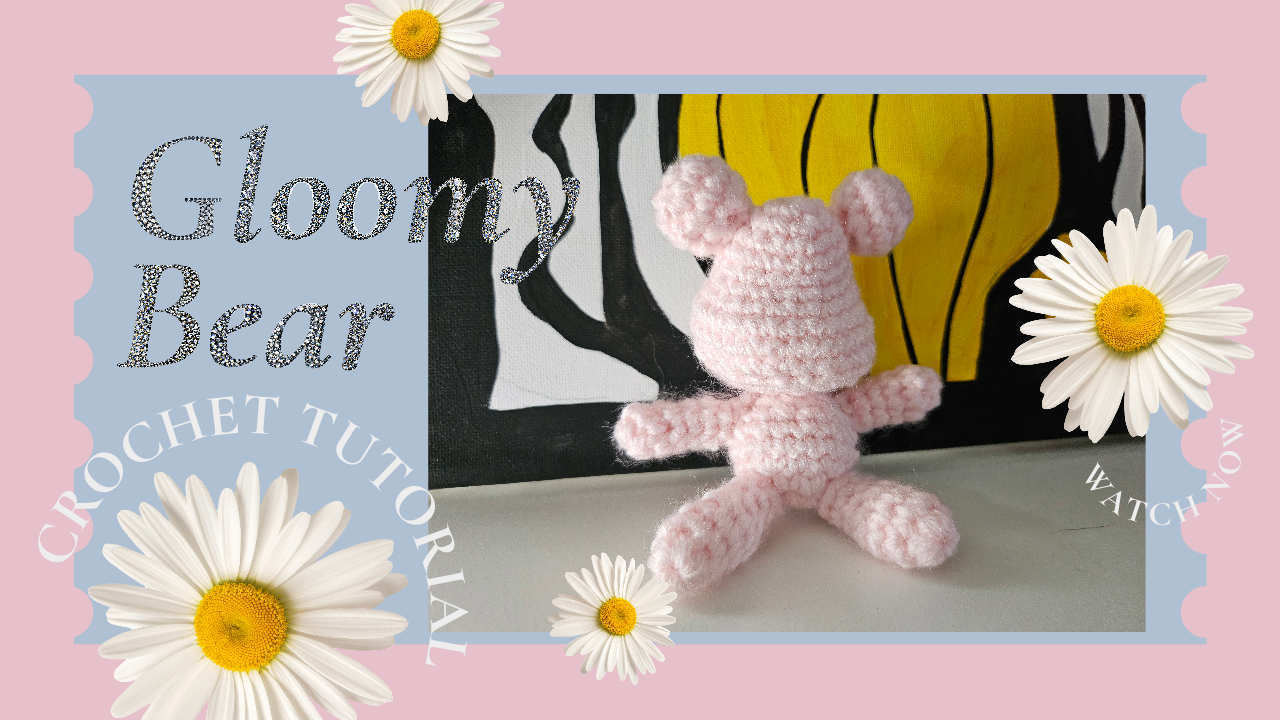
Mini Gloomy Bear-Inspired Crochet Bear: Pattern and Assembly Guide
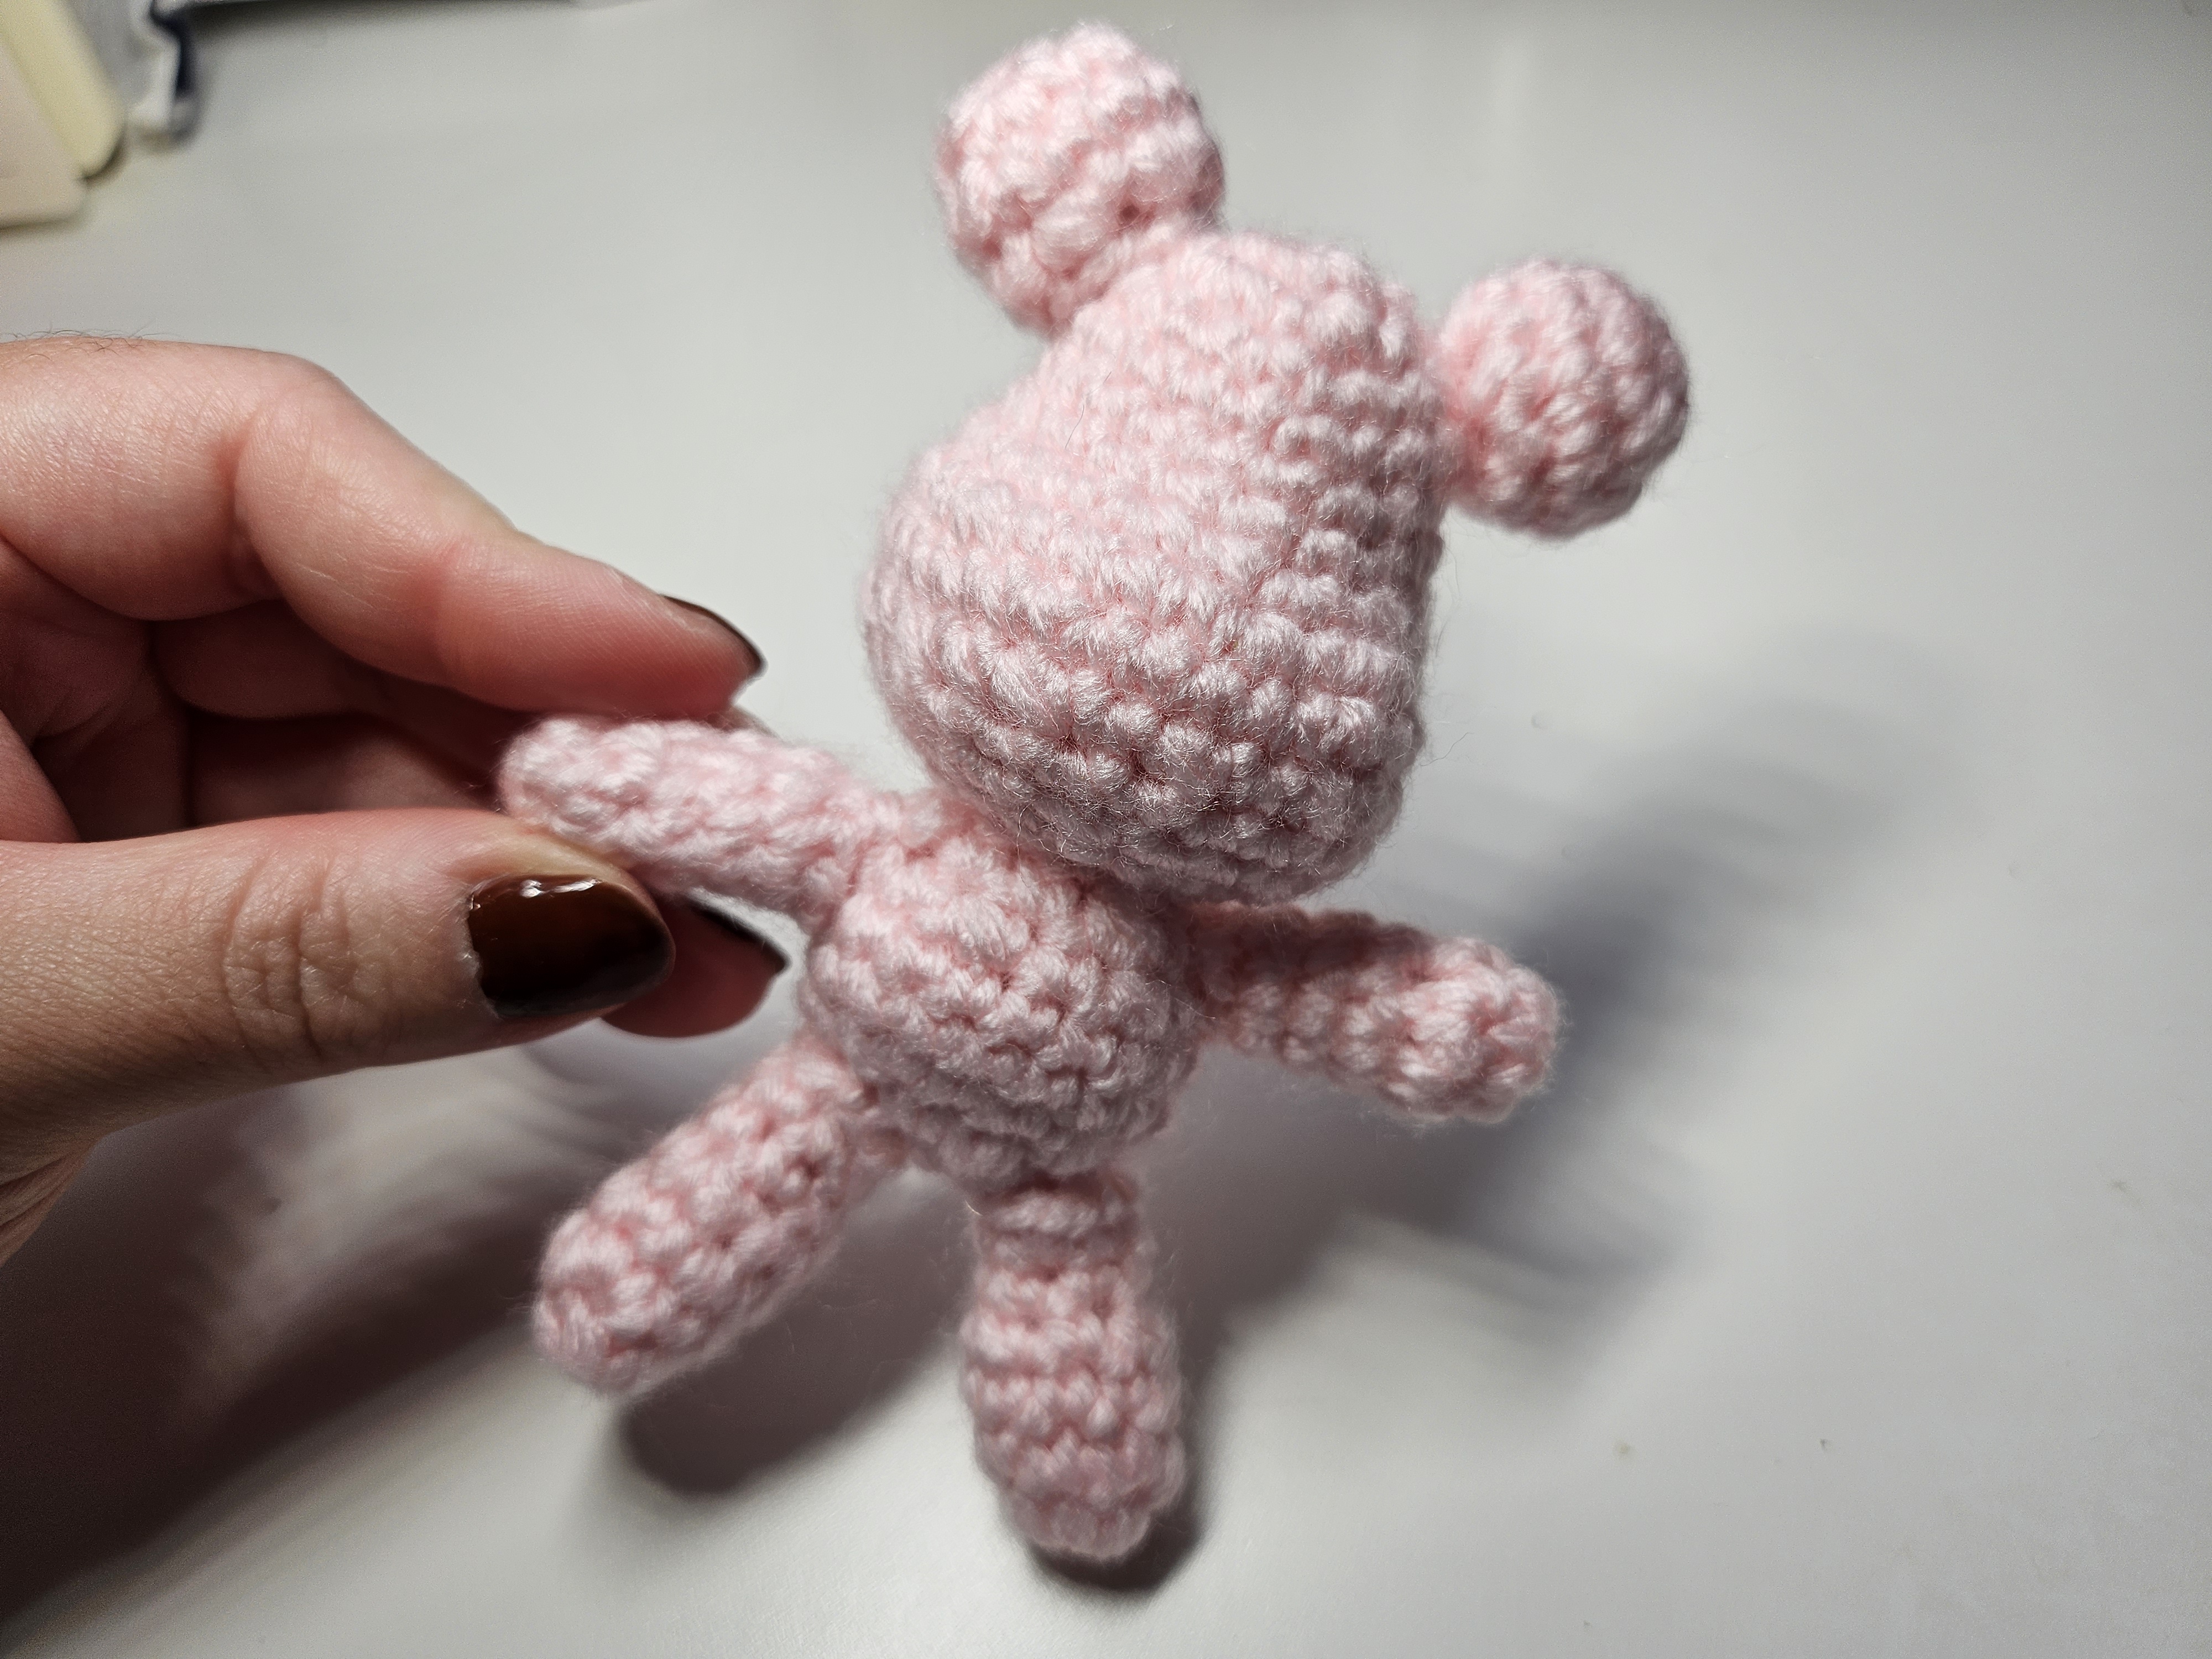
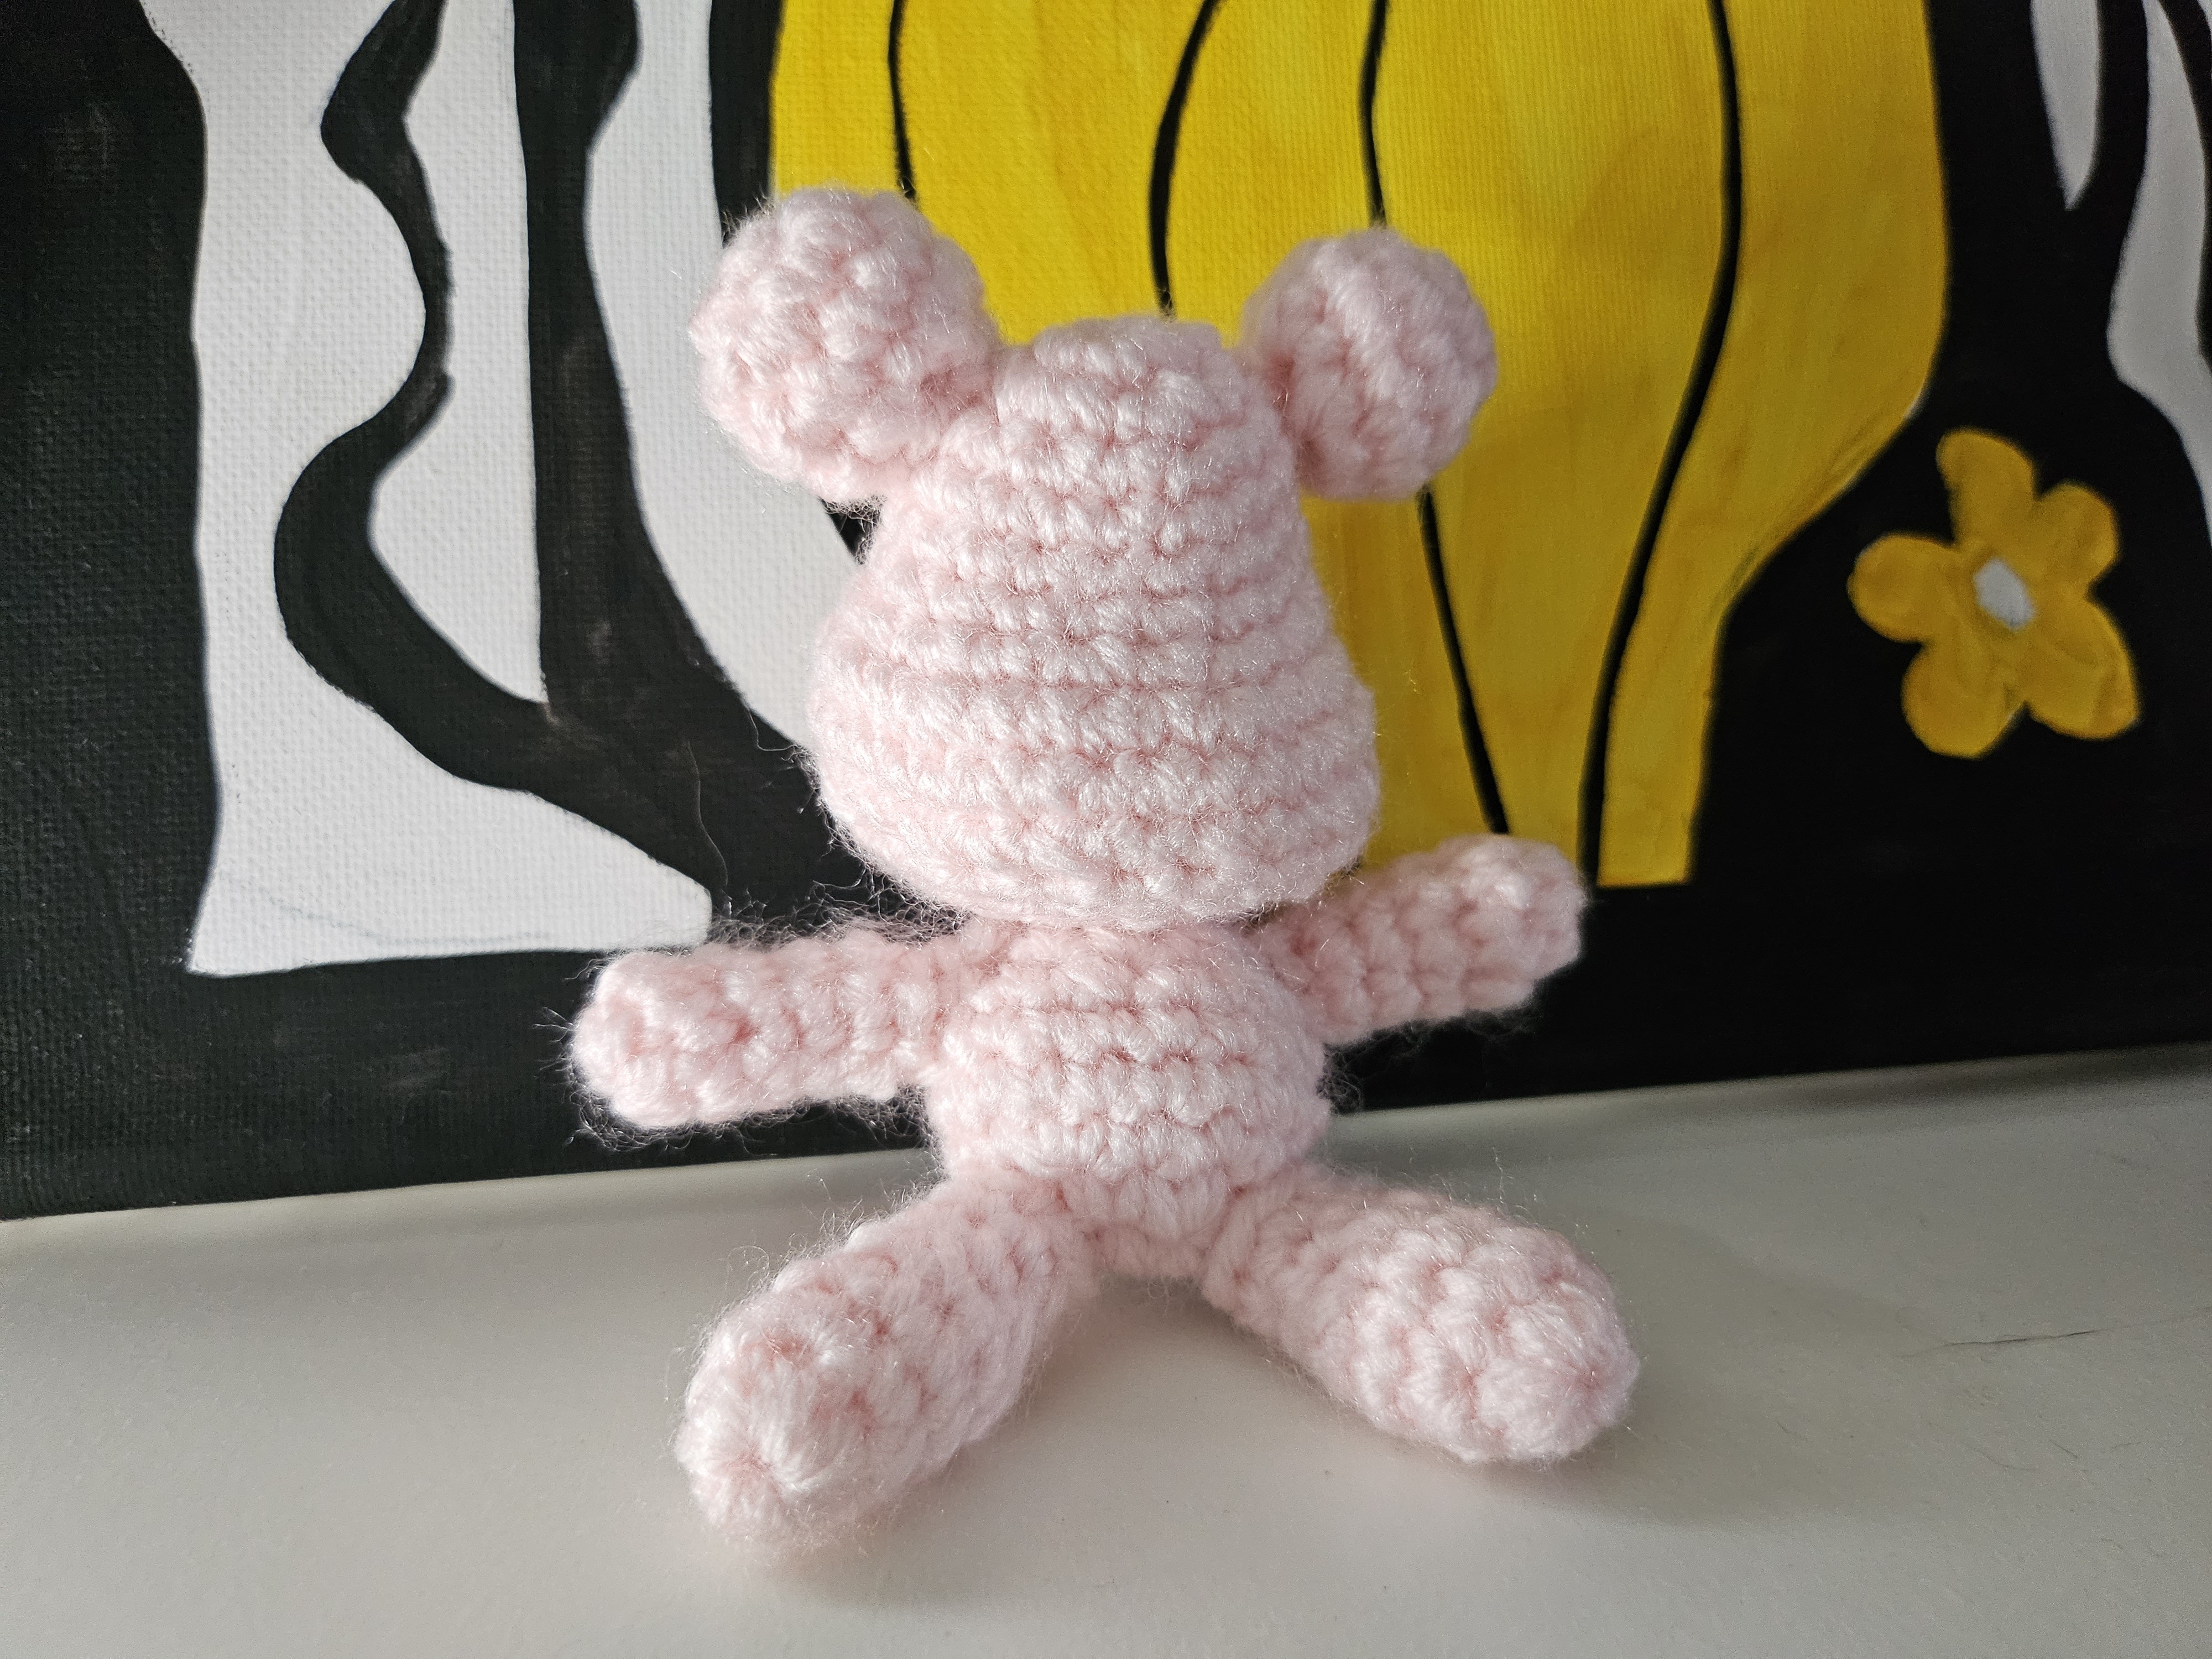
A bear does not need elaborate facial details to have a recognizable shape. In this miniature version, the rounded ears, prominent head, small body, and softly shaped feet do most of the work. The pale pink yarn keeps the different pieces visually connected, making their proportions especially noticeable.
The tutorial's finished bear has a plain, faceless appearance. Its head is shaped with increases concentrated in part of the round, rather than with evenly distributed increases throughout. That distinction matters: replacing the head with a standard crochet sphere would change the project.
This guide follows the stitch captions in the video and separates the components into clear tables. Make the pieces first, compare each matching pair, and leave time for positioning before sewing. The final silhouette depends as much on assembly as it does on the stitch counts.
What you will make
Prepare eight crocheted components:
| Component | Quantity | Main construction detail | | --- | ---: | --- | | Head | 1 | A shaped section that expands from 18 to 24 to 32 stitches | | Body | 1 | A small rounded piece ending with a 9-stitch opening | | Arms | 2 | Narrow tubes with six stitches around | | Legs | 2 | Fuller ends that narrow from nine to six stitches | | Ears | 2 | Three short rounds, ending with 12 stitches |
The original tutorial presents the bear as a small ornament suitable for adapting into a keychain or bag decoration. No fixed finished measurement is established here. Your yarn, hook, tension, and stuffing will affect its size.
Materials and preparation
You will need pale pink yarn, a compatible crochet hook, a stitch marker, scissors, a yarn needle, and stuffing for the rounded parts. Keep pins or removable markers available for testing the positions of the ears and limbs. Optional keychain hardware is only needed if you choose that finishing adaptation.
Choose a hook that produces a close fabric with your yarn. Before continuing far into the head, spread a small section gently between your fingers: large gaps will become more visible after stuffing. Change the hook or tension at this early stage if necessary.
Use the same yarn and hook for all matching components. Yarn weight, hook diameter, yarn quantity, and a finished-size gauge are not specified in this written guide; do not assume a particular measurement from the word “mini.”
Stitch terms and round counting
The instructions use US terminology.
| Term | Meaning | | --- | --- | | ch | Chain | | sc | Single crochet | | inc | Two sc in one stitch | | dec | One sc decrease worked over two stitches | | sl st | Slip stitch; written as SS in the video | | (…) × n | Repeat the bracketed sequence n times |
Begin each component with a magic ring. The source joins the rounds with a slip stitch. Follow its lifting-chain method, keeping lifting chains and joining slip stitches separate from the working stitch counts.
The caption `6 SC INC` means six increases, giving 12 stitches. Likewise, `9 SC DEC` means nine decreases, giving nine stitches from 18. These expressions do not mean “six single crochets and one increase” or “nine single crochets and one decrease.”
Mark the first working stitch and move the marker every round. That is particularly useful on the head, where the plain stitches before and after the repeated shaping groups have different lengths.
1. Crochet the shaped head
Start with a magic ring and follow the table. Join each round with a slip stitch.
| Round | Instructions | Stitch count | | --- | --- | ---: | | 1 | 6 sc in the ring. | 6 | | 2 | Inc × 6. | 12 | | 3 | (Sc, inc) × 6. | 18 | | 4–6 | 18 sc in each round. | 18 | | 7 | 5 sc, (sc, inc) × 6, sc. | 24 | | 8 | 6 sc, (sc, inc) × 8, 2 sc. | 32 | | 9 | 32 sc. | 32 | | 10 | 6 sc, (sc, dec) × 8, 2 sc. | 24 | | 11 | 24 sc. | 24 | | 12 | (2 sc, dec) × 6. | 18 | | 13 | Dec × 9. | 9 |
Why the head is shaped this way
Rounds 7 and 8 place increases between sections of plain single crochet. They create additional volume in a particular area instead of enlarging every part of the head evenly. Round 10 removes the eight added stitches from that shaped section.
Keep the round start consistent as you work. Moving the start accidentally or adding the joining slip stitch to the stitch count shifts the shaping relative to the rest of the head.
These count checks help locate errors:
- Round 7 consumes 18 base stitches and produces 24.
- Round 8 consumes 24 and produces 32.
- Round 10 consumes 32 and produces 24.
- Round 13 uses all 18 stitches in nine decreases.
Stuffing the head
As practical finishing guidance, introduce small amounts of stuffing while the opening is still accessible, then adjust before finishing the last decrease round. Spread the filling into the shaped areas rather than pushing one large lump into the center.
Aim for a supported outline without forcing the fabric open. Keep the final nine-stitch opening available for the neck attachment, and leave a useful sewing tail when fastening off.
2. Make the compact body
Start a new magic ring. Join each round using the source method.
| Round | Instructions | Stitch count | | --- | --- | ---: | | 1 | 6 sc in the ring. | 6 | | 2 | Inc × 6. | 12 | | 3 | (Sc, inc) × 6. | 18 | | 4–5 | 18 sc in each round. | 18 | | 6 | (Sc, dec) × 6. | 12 | | 7 | (Sc, dec, sc) × 3. | 9 |
Round 7 uses four base stitches per repeat: one for the first sc, two for the decrease, and one for the final sc. Each repeat produces three stitches, leaving nine around the opening.
Stuff the body evenly, keeping its upper edge accessible. The nine-stitch body opening corresponds to the head's final nine stitches, providing a useful starting point for aligning the neck seam. Leave a sewing tail.
3. Crochet two arms
The arms are slim and use no increase round.
| Round | Instructions | Stitch count | | --- | --- | ---: | | 1 | 6 sc in a magic ring; join. | 6 | | 2–6 | 6 sc in each round; join each round. | 6 |
Fasten off with a sewing tail and repeat for the second arm. Count six rounds in total, including the first ring round. The notation “R2–6” represents five additional rounds.
Lay the arms together before assembly. If one looks longer, check its round count and tension rather than stretching the shorter one. Keep the attachment ends soft enough to sit against the body. A large amount of filling is unnecessary in such a narrow tube and can make attachment awkward.
4. Crochet two legs
The legs have a wider end and a narrower upper section.
| Round | Instructions | Stitch count | | --- | --- | ---: | | 1 | 6 sc in a magic ring; join. | 6 | | 2 | (Sc, inc) × 3; join. | 9 | | 3 | 9 sc; join. | 9 | | 4 | (Sc, dec) × 3; join. | 6 | | 5–6 | 6 sc in each round; join each round. | 6 |
The fuller section comes from increasing to nine stitches and holding that count for a round before narrowing. Do not replace Round 2 with six increases: that would create a 12-stitch foot and change the proportions.
Shape the fuller ends with a small amount of filling if needed, while keeping the attachment area manageable. This is finishing advice rather than a specified stuffing quantity from the captions. Make the second leg and compare both pieces before sewing.
5. Make two rounded ears
Work each ear from a new magic ring.
| Round | Instructions | Stitch count | | --- | --- | ---: | | 1 | 6 sc in the ring; join. | 6 | | 2 | Inc × 6; join. | 12 | | 3 | 12 sc; join. | 12 |
Fasten off, leaving a tail. Gently flatten the lower portion to establish the attachment edge while keeping the upper outline rounded. Compare the pair so they have a similar curve.
The final bear in the tutorial has plain pink ears. A contrasting inner-ear patch would be a separate design variation, rather than an additional component required by this pattern.
6. Assemble the bear
The video gathers the completed pieces together, then instructs you to sew all parts together. It does not provide a numbered placement chart for every attachment. The sequence below is practical positioning guidance, using the finished bear as the visual reference.
Join the head and body
Orient the head before sewing so its shaped volume faces the direction you want. Position the body underneath it, align the two nine-stitch openings, and attach around the neck with the saved yarn tail.
Take small stitches through both edges. Pause partway around to inspect the bear from the front and side, then adjust the remaining stuffing before closing the seam. A centered connection supports the large head more effectively than a seam pulled toward one side.
Position the ears
Pin both ears to the upper sides of the head. View the bear straight on and from above before attaching either permanently. Match their distance from the head's centerline and their forward tilt.
Sew along the lower attachment edges, taking care not to flatten the entire ear against the head. Their rounded outline should remain visible above the head.
Attach the arms and legs
Place the arms at matching heights on the sides of the body. Position both legs along the lower body, keeping their fuller ends facing the same direction. Test all four positions together before securing the yarn tails.
There are no verified numerical spacing instructions for these seams in this guide. Use the source's assembled silhouette and compare left and right positions, rather than treating an invented row number as part of the original pattern.
Secure the ends inside the fabric after checking the completed outline. Remove every temporary pin and marker.
Finishing choices
Keep the faceless design
The finished tutorial sample leaves the face plain. This gives the rounded forms a simple, sculptural appearance and keeps attention on the head and ears. You do not need to add safety eyes, a muzzle, or an embroidered expression to complete the version shown.
If you prefer an embroidered face, treat it as your own variation. Test the placement with removable markers before stitching, because the head's shaped area makes orientation especially important.
Add a hanging attachment
For a keychain or bag ornament, decide where the bear should hang before attaching hardware. A supported attachment through several fabric stitches will distribute tension better than catching a single loose strand. This is an optional finishing adaptation; the written stitch pattern does not specify a hardware size or a load rating.
Adjust the color
Using one color throughout makes the shape easy to read. A darker shade can also work, but the small stitches will be harder to count. Keep a clear marker at the round start and finish each matching pair before changing tools or tension.
Troubleshooting
My head looks like a regular ball
Check Rounds 7, 8, and 10. Their plain stitches appear before and after the repeated increase or decrease groups. Distributing those groups evenly around the head changes the shaping even if the final count is correct.
I have an extra stitch at the round join
Make sure the joining slip stitch and lifting chain have not been counted as working stitches. Mark the first sc itself, then count the stitches between one marked start and the next join.
The legs look too large
Check Round 2: it is (sc, inc) three times, giving nine stitches. It is not the six-increase round used for the head, body, and ears.
One ear sits higher
Check both its placement and the amount of its lower edge caught in the seam. Equal-sized ears can still look different if one is sewn farther down onto the head. Temporarily positioning both before sewing helps avoid this.
The head leans after attachment
Check the neck seam and the distribution of stuffing. Tightening one section of the seam more than the rest can pull the head off center. Adjust the connection before adding a hanging attachment that will place more tension on it.
Watch the original tutorial
Use the video for the joining method, the orientation of the shaped head, and the final arrangement of the separate pieces.
A small bear built from careful proportions
This project uses familiar stitches, but its character comes from several deliberate choices: concentrated shaping in the head, a compact body, narrow arms, fuller feet, and rounded ears. Keep those differences intact, compare paired pieces as you go, and take time with the seams. The result is a small pink bear whose outline remains clear even with the face left plain.
Watch every stitch up close
Pair these written notes with the complete video tutorial.
Made with yarn, shared with love. 🧶💗