
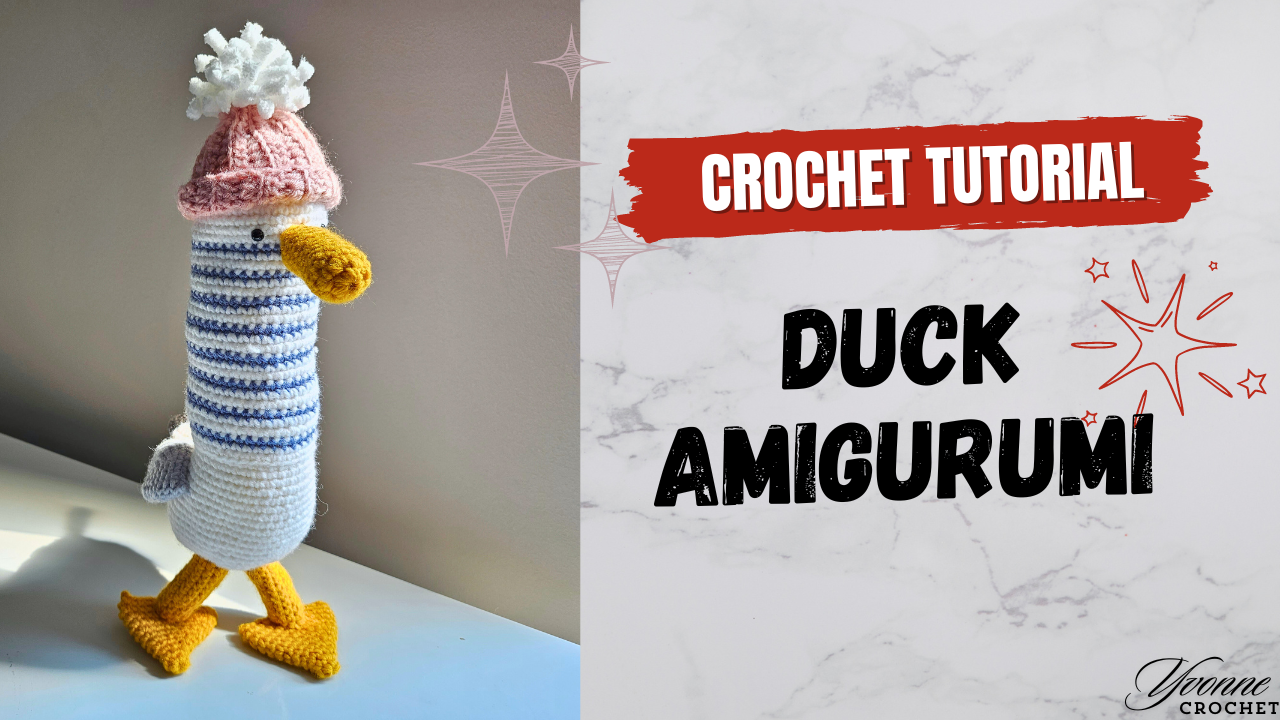
A Long-Necked Duck with a Striped Personality
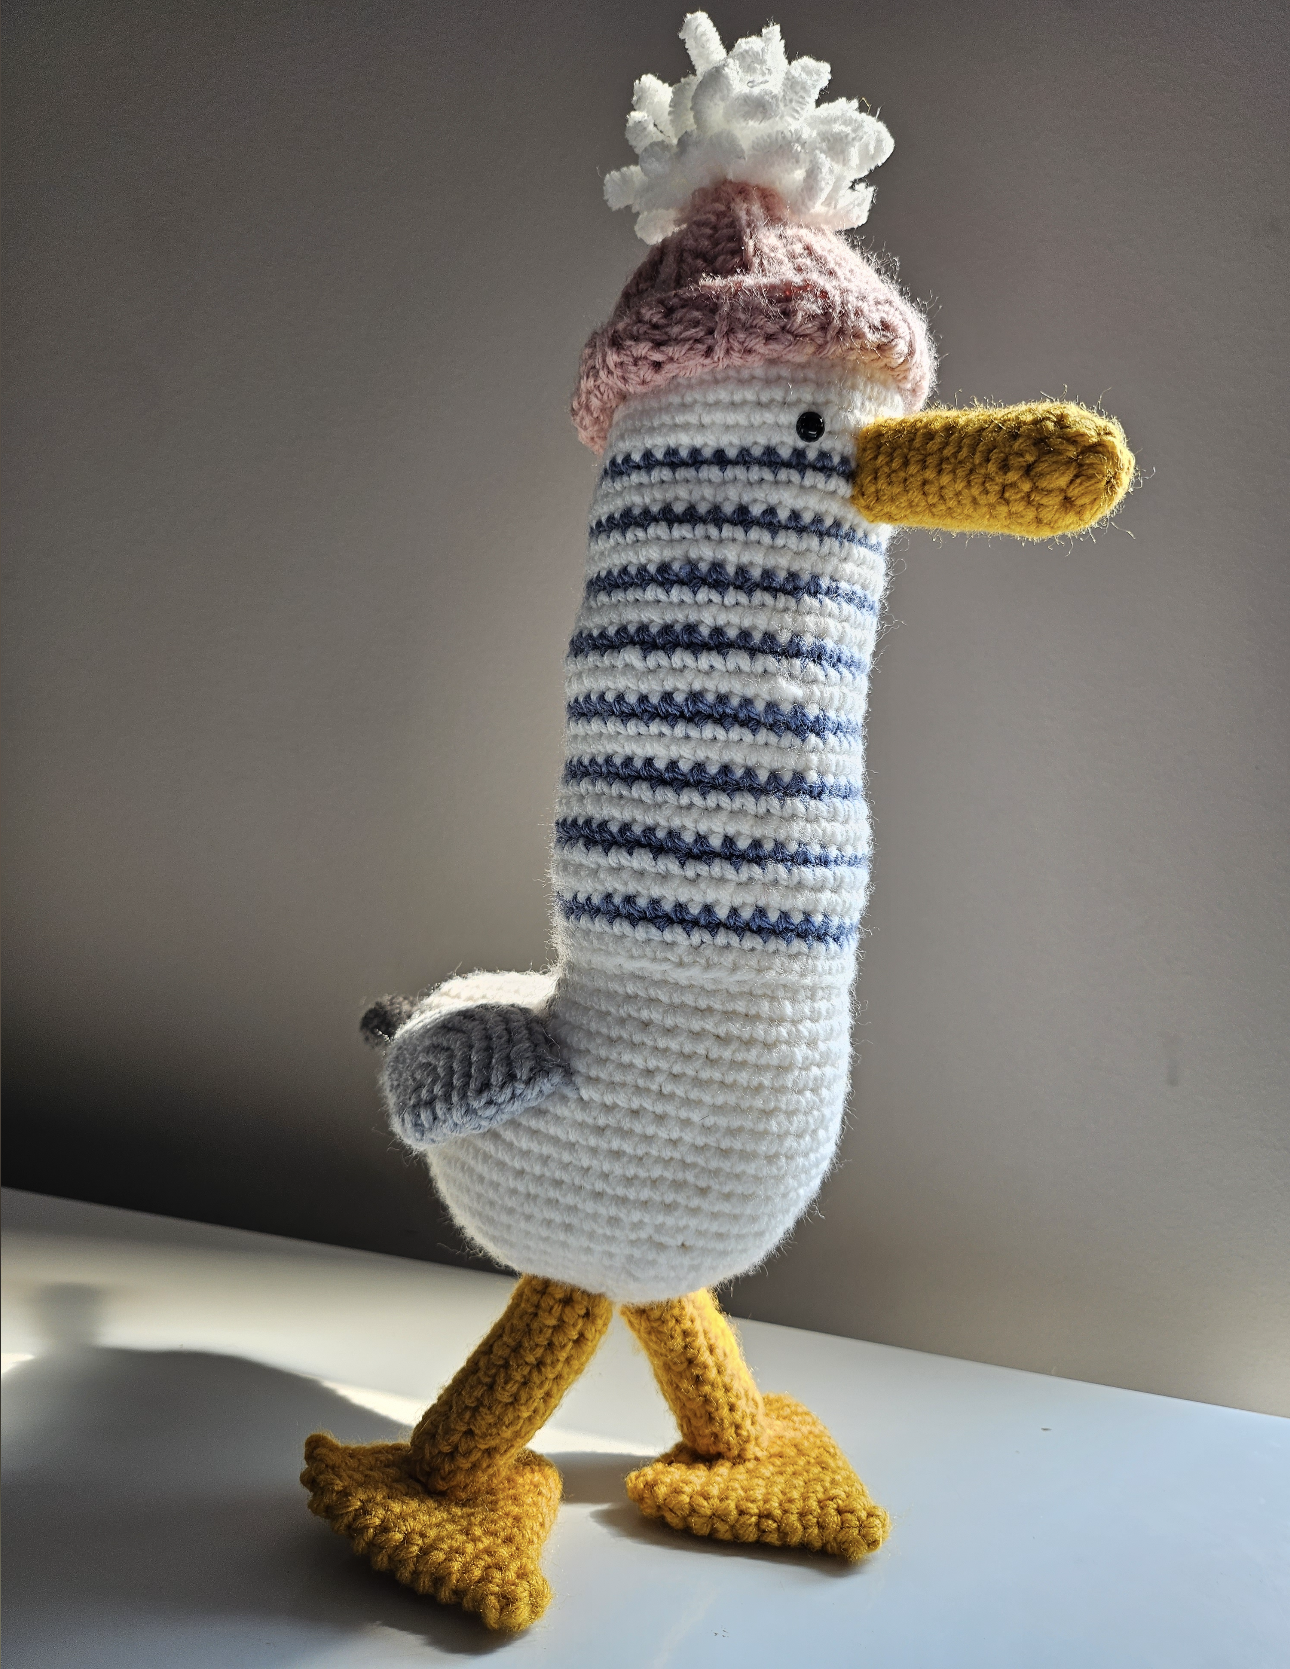
This crochet duck has an unusually tall silhouette. A long white neck carries narrow blue stripes, while a rounded white body sits above yellow legs and broad feet.
The projecting yellow bill, small dark eyes, and gray wings give the animal its character. A pink hat with a white tuft finishes the top and adds a playful contrast to the cooler body colors.
The proportions are the main feature of this design. The neck needs to retain its shape, the bill needs a balanced connection, and the legs must be positioned with the body’s weight in mind.
The original pattern is by summer sumogongfang, as credited in the video. Follow the accompanying tutorial for the stitch sequence and construction. These notes focus on shaping, filling, and checking the assembled pieces.
Prepare the Materials for All the Details
For the pictured palette, gather:
- White yarn for the body and neck.
- Blue yarn for the narrow stripes.
- Yellow yarn for the bill, legs, and feet.
- Gray yarn for the wings.
- Pink and white yarn for the hat and tuft.
- A crochet hook suitable for the yarn.
- Toy stuffing, scissors, and a yarn needle.
- Stitch markers.
- Facial materials and any internal supports specified in the instructions.
Check the tutorial for the exact demonstration supplies. The finished photograph does not reveal whether additional support is used inside the long neck or legs.
Choose white and blue yarns of similar thickness. A much thicker stripe yarn can change the width of the neck at every color transition.
Plan the Intended Display
The sample is pictured standing on a table, but the photo alone does not establish how that stance is achieved.
Follow the pattern’s construction and assess your own duck’s balance during assembly. Yarn, filling, proportions, and any specified support materials all affect the finished result.
If you change the scale, check how those changes affect the long neck and feet rather than assuming the same balance will follow automatically.
Keep the Stripes Consistent
Track the rounds with a marker and follow the tutorial’s color-change positions.
Keep the first stitches in a new color at the same tension as the surrounding fabric. Pulling the blue yarn tightly can narrow the neck and create a series of dents.
Check the neck from several directions as it develops. The stripes should follow the intended construction without an unexpected twist or sudden change in width.
Manage the color-change tails according to the tutorial before they become difficult to reach. Avoid leaving loose strands where they could interfere with the filling.
Fill the Long Neck in Small Stages
Distribute stuffing gradually along the neck. Pushing a large amount through a narrow opening can create a firm lump near the top while leaving empty sections below it.
Feel the neck along its length and compare the thickness. The filling should support the shape without stretching the stitches apart.
Follow any internal-support instructions in the pattern. Do not substitute extra stuffing for a specified structural component.
Before closing the relevant opening, check the transition between the neck and body. That area needs even filling so the long upper section does not lean because of an unsupported gap.
Keep the Body Rounded
The white body has a fuller shape than the neck. Spread the filling around it rather than concentrating everything in the middle.
Inspect the front, back, and underside before completing the closure. A lump near a leg attachment can affect the stance even when both legs have been crocheted correctly.
Position the Bill and Eyes Together
The long yellow bill projects noticeably from the face. Temporarily position it according to the tutorial and check the head from the side before securing the connection.
Keep the attachment broad enough to hold the bill without pulling the face into a deep crease.
Follow the instructions for the eyes and their timing. Some facial attachment methods require access to the inside before the head is closed.
Judge the eye placement with the bill and hat in position. Those surrounding pieces change how much of the white face remains visible.
Balance the Gray Wings
Compare both wings before attaching them. Check their size, shape, and any filling specified by the pattern.
Position them on the body rather than the striped neck, following the demonstration. View the duck from the front and back to check their relative height.
Secure the intended attachment edges while preserving the wings’ outline. Avoid tightening the sewing yarn so much that it dents the white body.
Check the Legs and Feet Before Final Assembly
The yellow feet provide a broad visual base beneath the narrow legs. Follow their shaping closely and compare them as a pair.
Temporarily position both legs before securing either one permanently. Check their spacing and angle against the body.
Set the duck on a level surface while supporting it with your hand. Review the stance from the front and side.
If it leans, inspect the placement, filling distribution, and any specified support before making adjustments. Avoid forcing the feet flat or stretching one leg to compensate for a different issue.
Finish the Pink Hat
Arrange the hat so it sits comfortably around the upper head. Check that its edge does not hide the eyes or crowd the bill.
Follow the tutorial for the white tuft and its attachment. Inspect the connection and hide the remaining yarn ends neatly.
The hat adds height to an already tall character, so assess the whole silhouette after it is in position.
Watch the Duck Amigurumi Tutorial
The step-by-step video demonstrates the duck project based on the original pattern by summer sumogongfang.
Follow it for the shaping, stripes, small pieces, and assembly. Pause before completing the neck closure and before attaching the legs to check your own work.
Finish and Display Your Duck
Inspect the body closure, bill, wings, legs, feet, and hat connections. Secure the remaining ends and gently redistribute any filling that has shifted during assembly.
Choose a display position that supports your finished duck comfortably. Lift it by supporting the body rather than pulling on the neck or hat.
Pattern credit: The original duck pattern is by summer sumogongfang. The accompanying video shows Crochetnotes’ making process; respect the original designer’s pattern and usage terms when sharing your version.
Watch every stitch up close
Pair these written notes with the complete video tutorial.
Made with yarn, shared with love. 🧶💗