
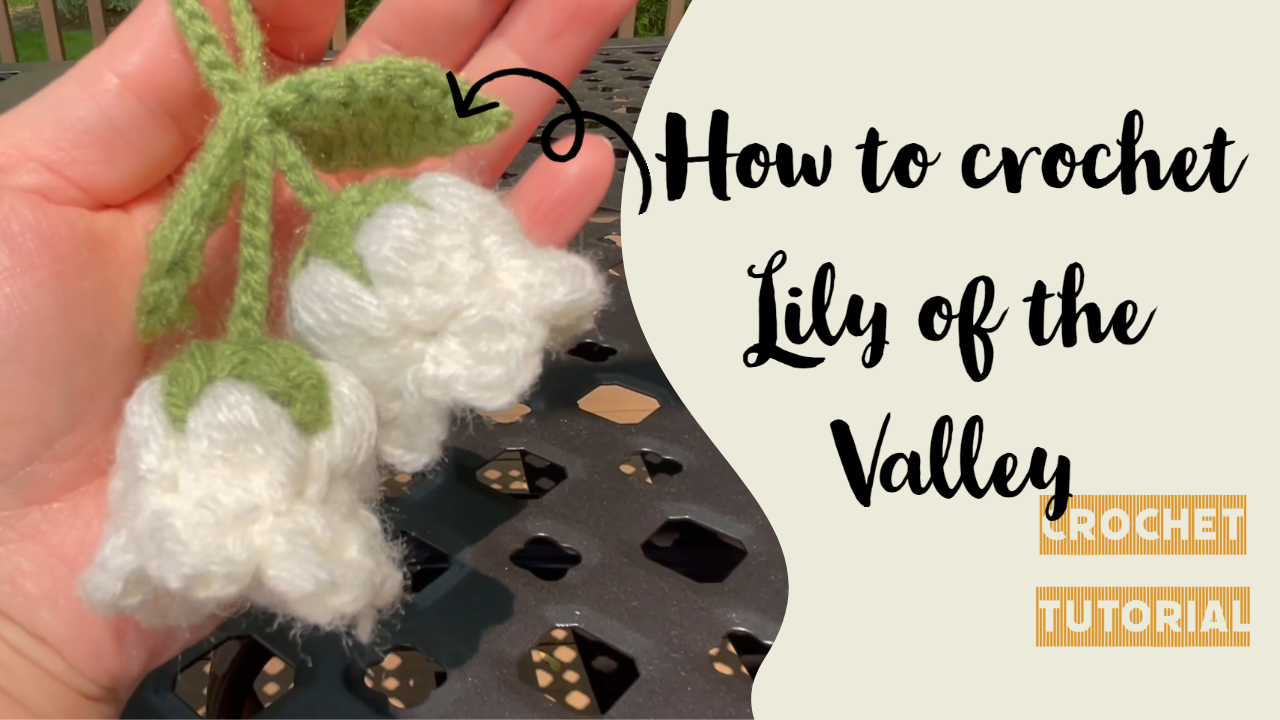
How to Crochet Lily of the Valley Flowers
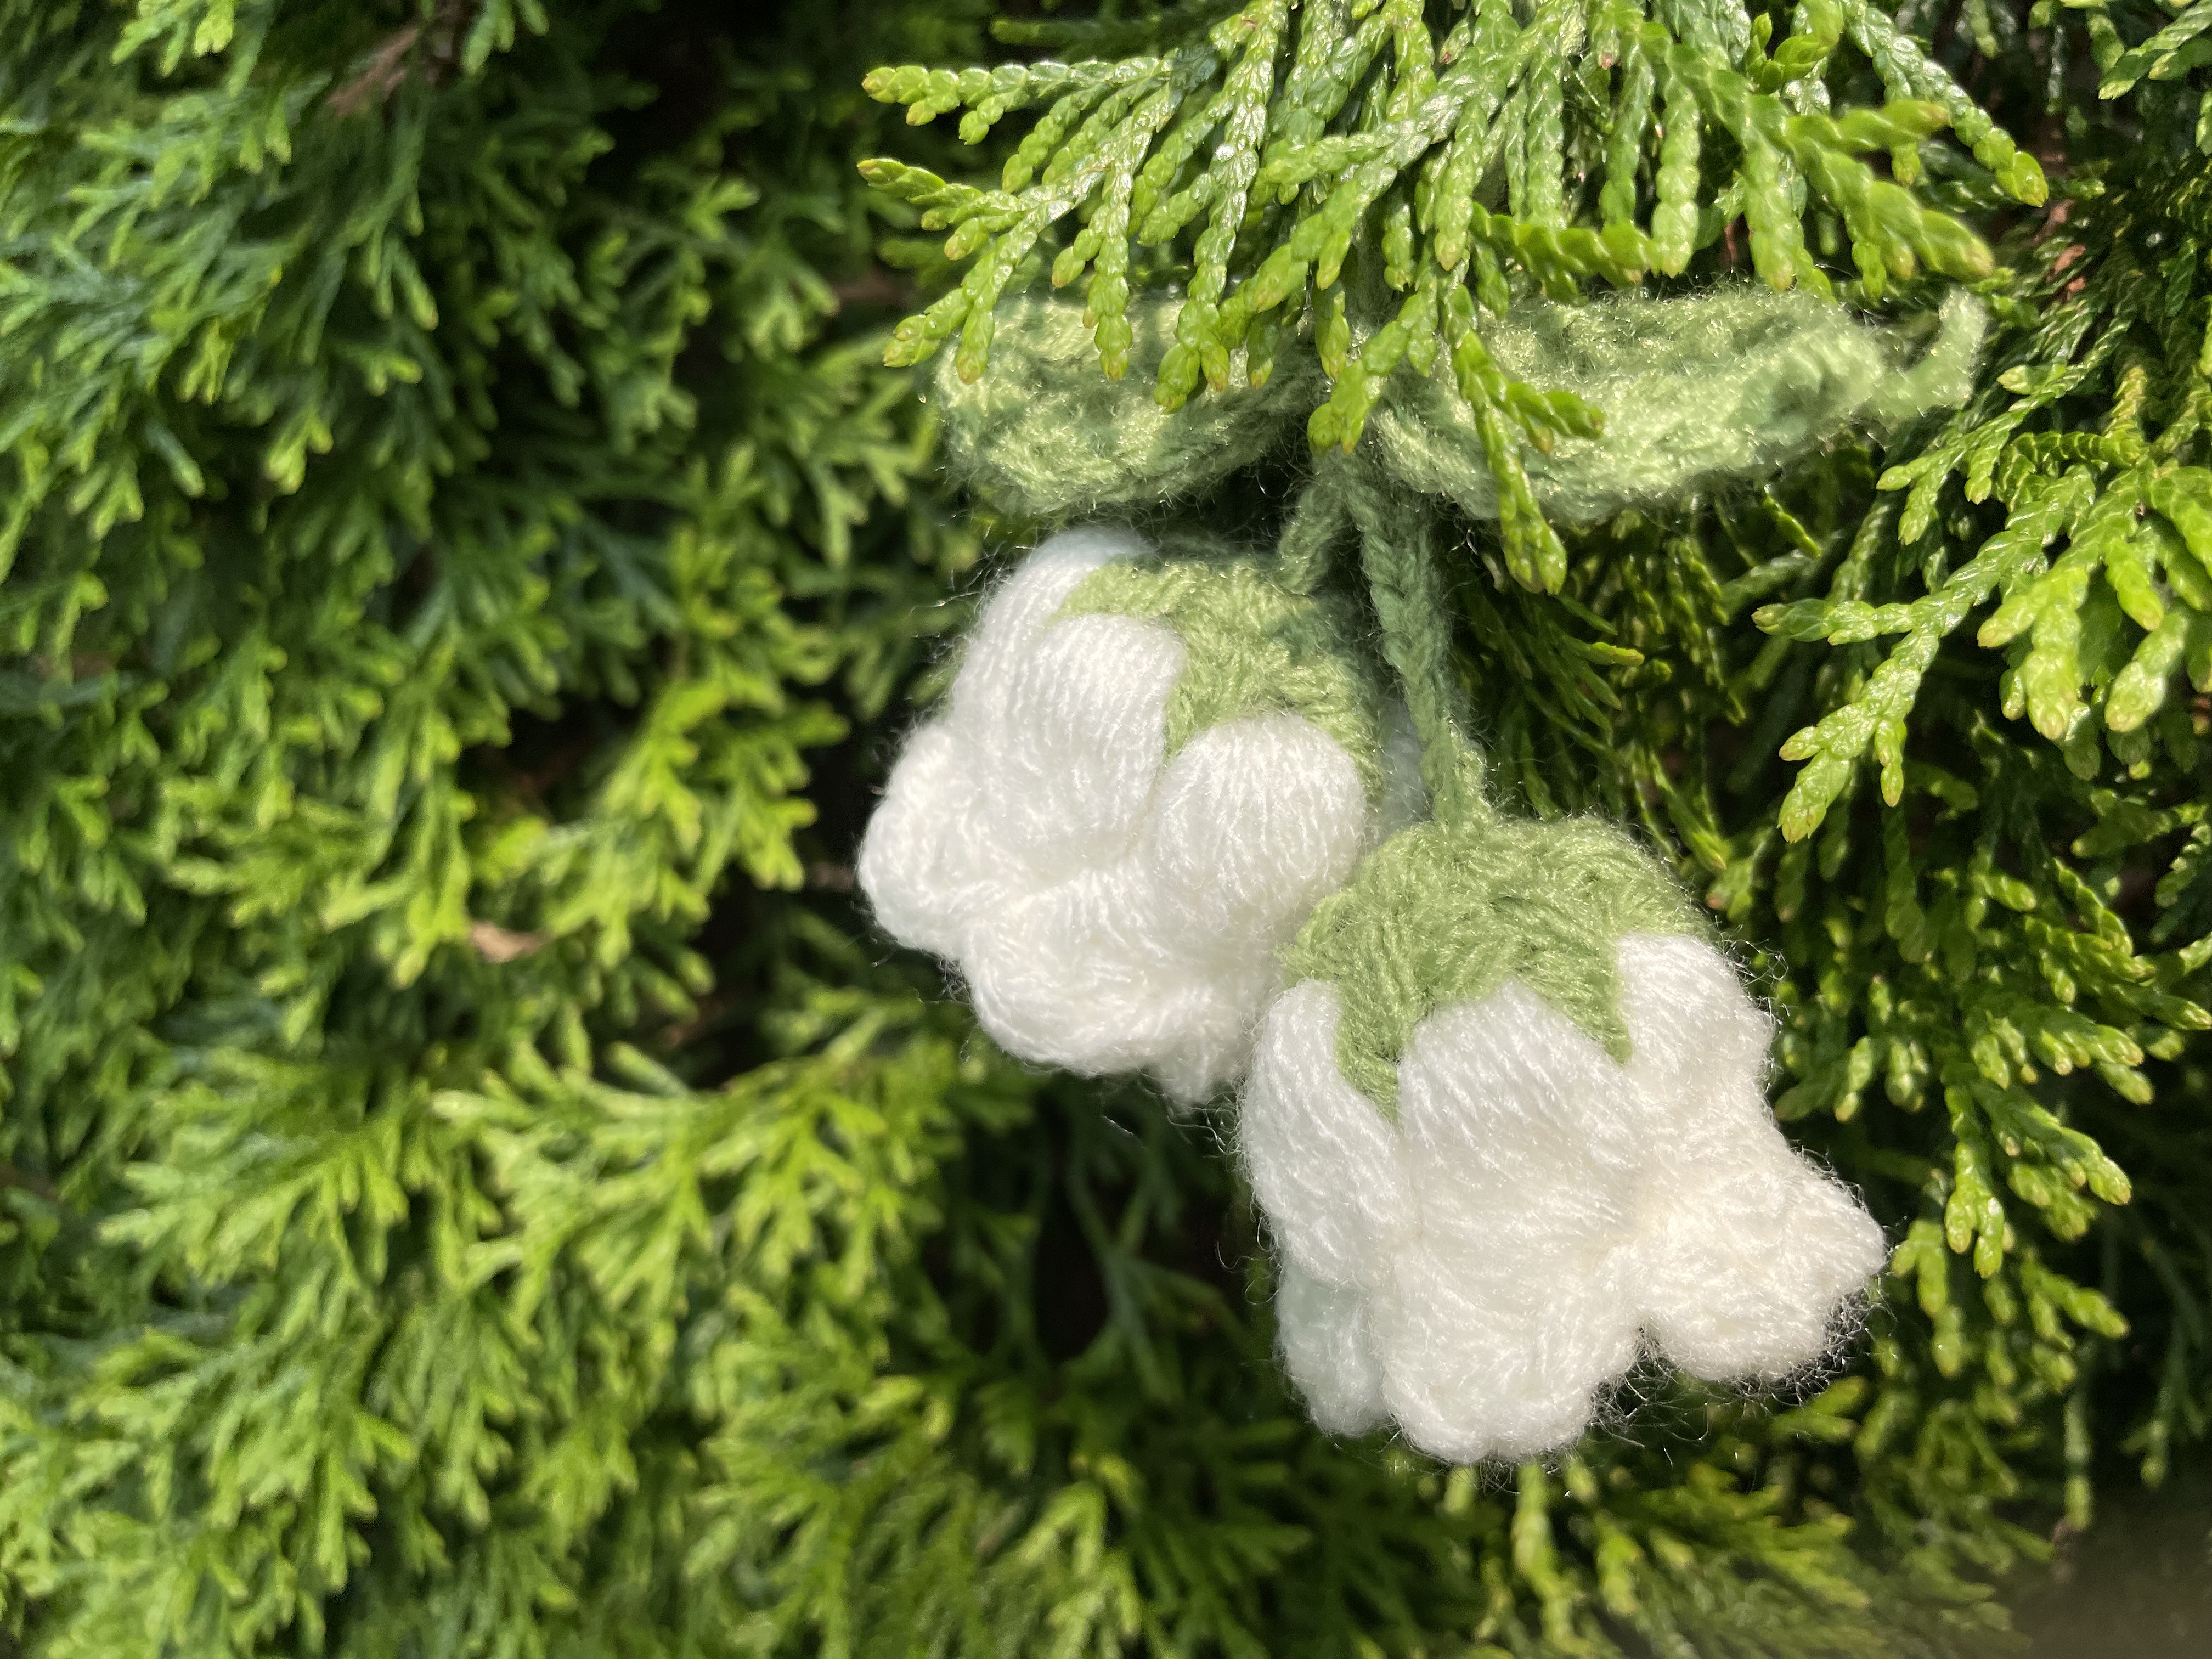
The most recognizable part of this little lily of the valley is the way its flowers hang. Green tops sit above soft white blooms, and the rounded white sections open outward beneath them. A pair of green leaves and a long chain complete a lightweight decoration that can be draped over gift wrapping or displayed from a small hook.
This is a stylized flower with a fluffy outline, rather than a smooth, narrow botanical bell. Its shape comes from grouped stitches and the contrast between green and white. Work one complete flower first: it is much easier to understand the construction with a finished sample beside you.
Materials and Project Planning
Prepare white or ivory yarn, green yarn of a compatible thickness, a suitable crochet hook, scissors, and a yarn needle. A removable marker can help you keep track of the small green foundation.
The demonstrated yarn has a soft surface. If fuzzy yarn makes the stitches difficult to locate, try a smoother yarn while learning the method. Keep the two colors close in thickness so the white groups and green top remain in proportion.
You will make the flower, a leaf section, and a hanging chain. The finished example shows two hanging blooms. Complete matching flowers before fixing their final hanging heights; the arrangement is easier to balance when you can see both together.
These notes use US crochet terms. The video does not provide a dependable universal finished size or yarn allowance, so make the sample with your own materials before planning a larger set.
Read the Grouped-Stitch Notation First
| Term | Meaning | | --- | --- | | ch | Chain | | sc | Single crochet | | hdc | Half double crochet | | dc | Double crochet | | sl st | Slip stitch | | skip 1 | Leave the next indicated chain or stitch unworked |
One detail deserves attention before you start: the white round is captioned “6HDC.” The close-up shows elongated loops collected on the hook and closed as a group. Reading that caption as six separate, ordinary completed half double crochets would produce a different texture. Use the loop-building demonstration for this flower's puff-like groups.
1. Make the Green Flower Top
Start the small green foundation as demonstrated and work 5 sc, then join with a slip stitch. This is the video's Round 1.
For Round 2, the caption gives:
Ch 3, (dc, ch 1), sl st.
Continue the double-crochet-and-chain sequence around the green foundation using the placement shown in the video. The caption abbreviates the repeated section and does not print a repeat number; do not treat it as a complete instruction to work only one double crochet and stop.
Keep the chain spaces visible. They are working spaces for the next stage, so pulling them tight can make the white groups difficult to insert. Compare the start and finish of the round before changing color, particularly the way the beginning chain meets the final slip stitch.
2. Work the White Rounded Groups
Change to white for Round 3. The caption reads:
Ch 2, repeat (6HDC, ch 1), sl st.
Follow the demonstrated grouped technique in the spaces around the green top: draw the elongated loops up to a consistent height, complete the group as shown, then make the separating chain. The white groups should have similar fullness rather than a mixture of short tight bumps and long loose loops.
Let the fabric settle after each group. Avoid pulling one finished loop to make it larger; that can draw yarn out of neighboring stitches and loosen the whole section. If a group is noticeably different, undo it while it is still accessible and remake it with the same loop height as the others.
For Round 4, repeat the captioned sequence:
(sc, 2 dc, sc) around; join with sl st.
Use the attachment points shown around the white groups. This edging gives the bloom its rounded lower outline. The caption lists the stitch sequence, while the close-up supplies the insertion points; keep both in view during the first flower instead of guessing how to distribute the stitches.
Finish the white end securely without flattening the flower. Turn the piece so the green top is above the white section, then hold it in its hanging position to assess the shape.
3. Crochet the Leaf Section
The leaf demonstration starts with 16 chains. The on-screen sequence is:
Ch 16, skip 1, repeat (sc, hdc, 3 dc, hdc, sc), sl st.
The progression from shorter stitches to taller stitches and back again builds the leaf outline. Work the repeated section with the orientation and connecting stitches shown in the video. This caption is a compact sequence, not a fully annotated diagram of every joining point, so check the turn between leaf shapes before fastening off.
Keep the leaf fabric relaxed enough to show its pointed shape. A very tight foundation chain can curve the entire section, while oversized double crochets can make one leaf fuller than the other. Place the completed section on the table and compare the two shapes before moving on to the chain.
4. Add the Hanging Chain and Assemble
Near the end, the tutorial suggests 50-80 chains, depending on the length you want. This is a choice within the demonstration, rather than a fixed measurement in inches or centimeters.
Make the chain with even tension and use the video's flower-top connections to assemble the hanging piece. Secure the connections through the green structure, keeping the white petals free. Arrange the leaf section near the upper part of the decoration so it remains visible above the blooms.
Lift the piece before completing all the ends. Check whether the flowers hang in useful directions and whether their white edges remain distinct. A small difference in height can help keep the blooms from covering each other. Once the arrangement looks balanced, finish the connections and conceal the tails through firm green stitches.
Shape, Troubleshoot, and Care
The flower looks flat: first check whether the white groups were made using the demonstrated collected loops. Six ordinary hdc stitches will not automatically give the same raised shape. Then gently separate the rounded sections with your fingers.
The green top is hidden: inspect the join and the direction in which the white fabric sits. Avoid tightening the attachment so much that the green section is pulled into the flower.
The blooms twist together: let the chain hang freely and examine the connections before shortening it. Adjusting the orientation at the top of a flower can be more useful than stretching its chain.
Follow the yarn's care instructions and support the white sections when cleaning or storing the decoration. A soft brush used lightly can remove surface dust without soaking the piece. Pack it with room around the blooms rather than under a tight ribbon.
Watch the Lily of the Valley Tutorial
The video is particularly useful for the elongated white groups, the compact leaf notation, and the final flower-to-chain connections.
Finish one small hanging arrangement before making more. Once you are happy with the balance between the green tops, white petals, and leaves, you can repeat the same proportions for a coordinated set of handmade floral decorations.
Watch every stitch up close
Pair these written notes with the complete video tutorial.
Made with yarn, shared with love. 🧶💗