
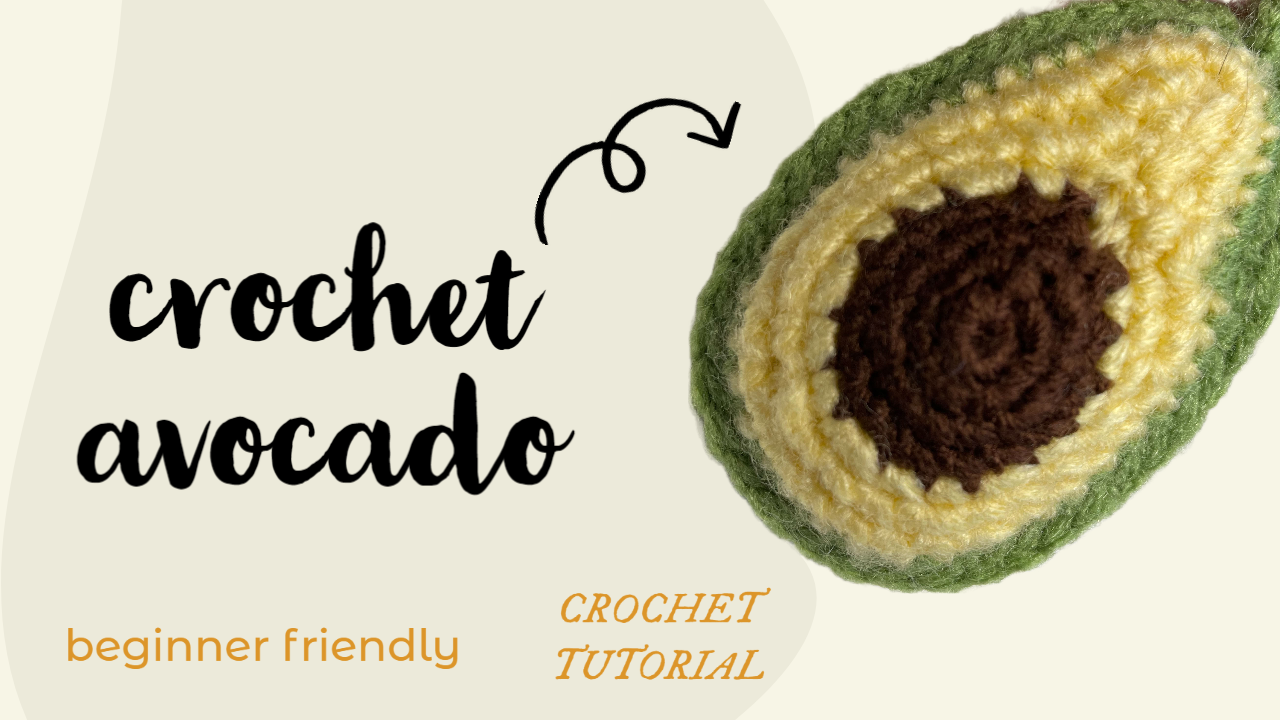
How to Crochet an Avocado: A Cute Beginner-Friendly Project
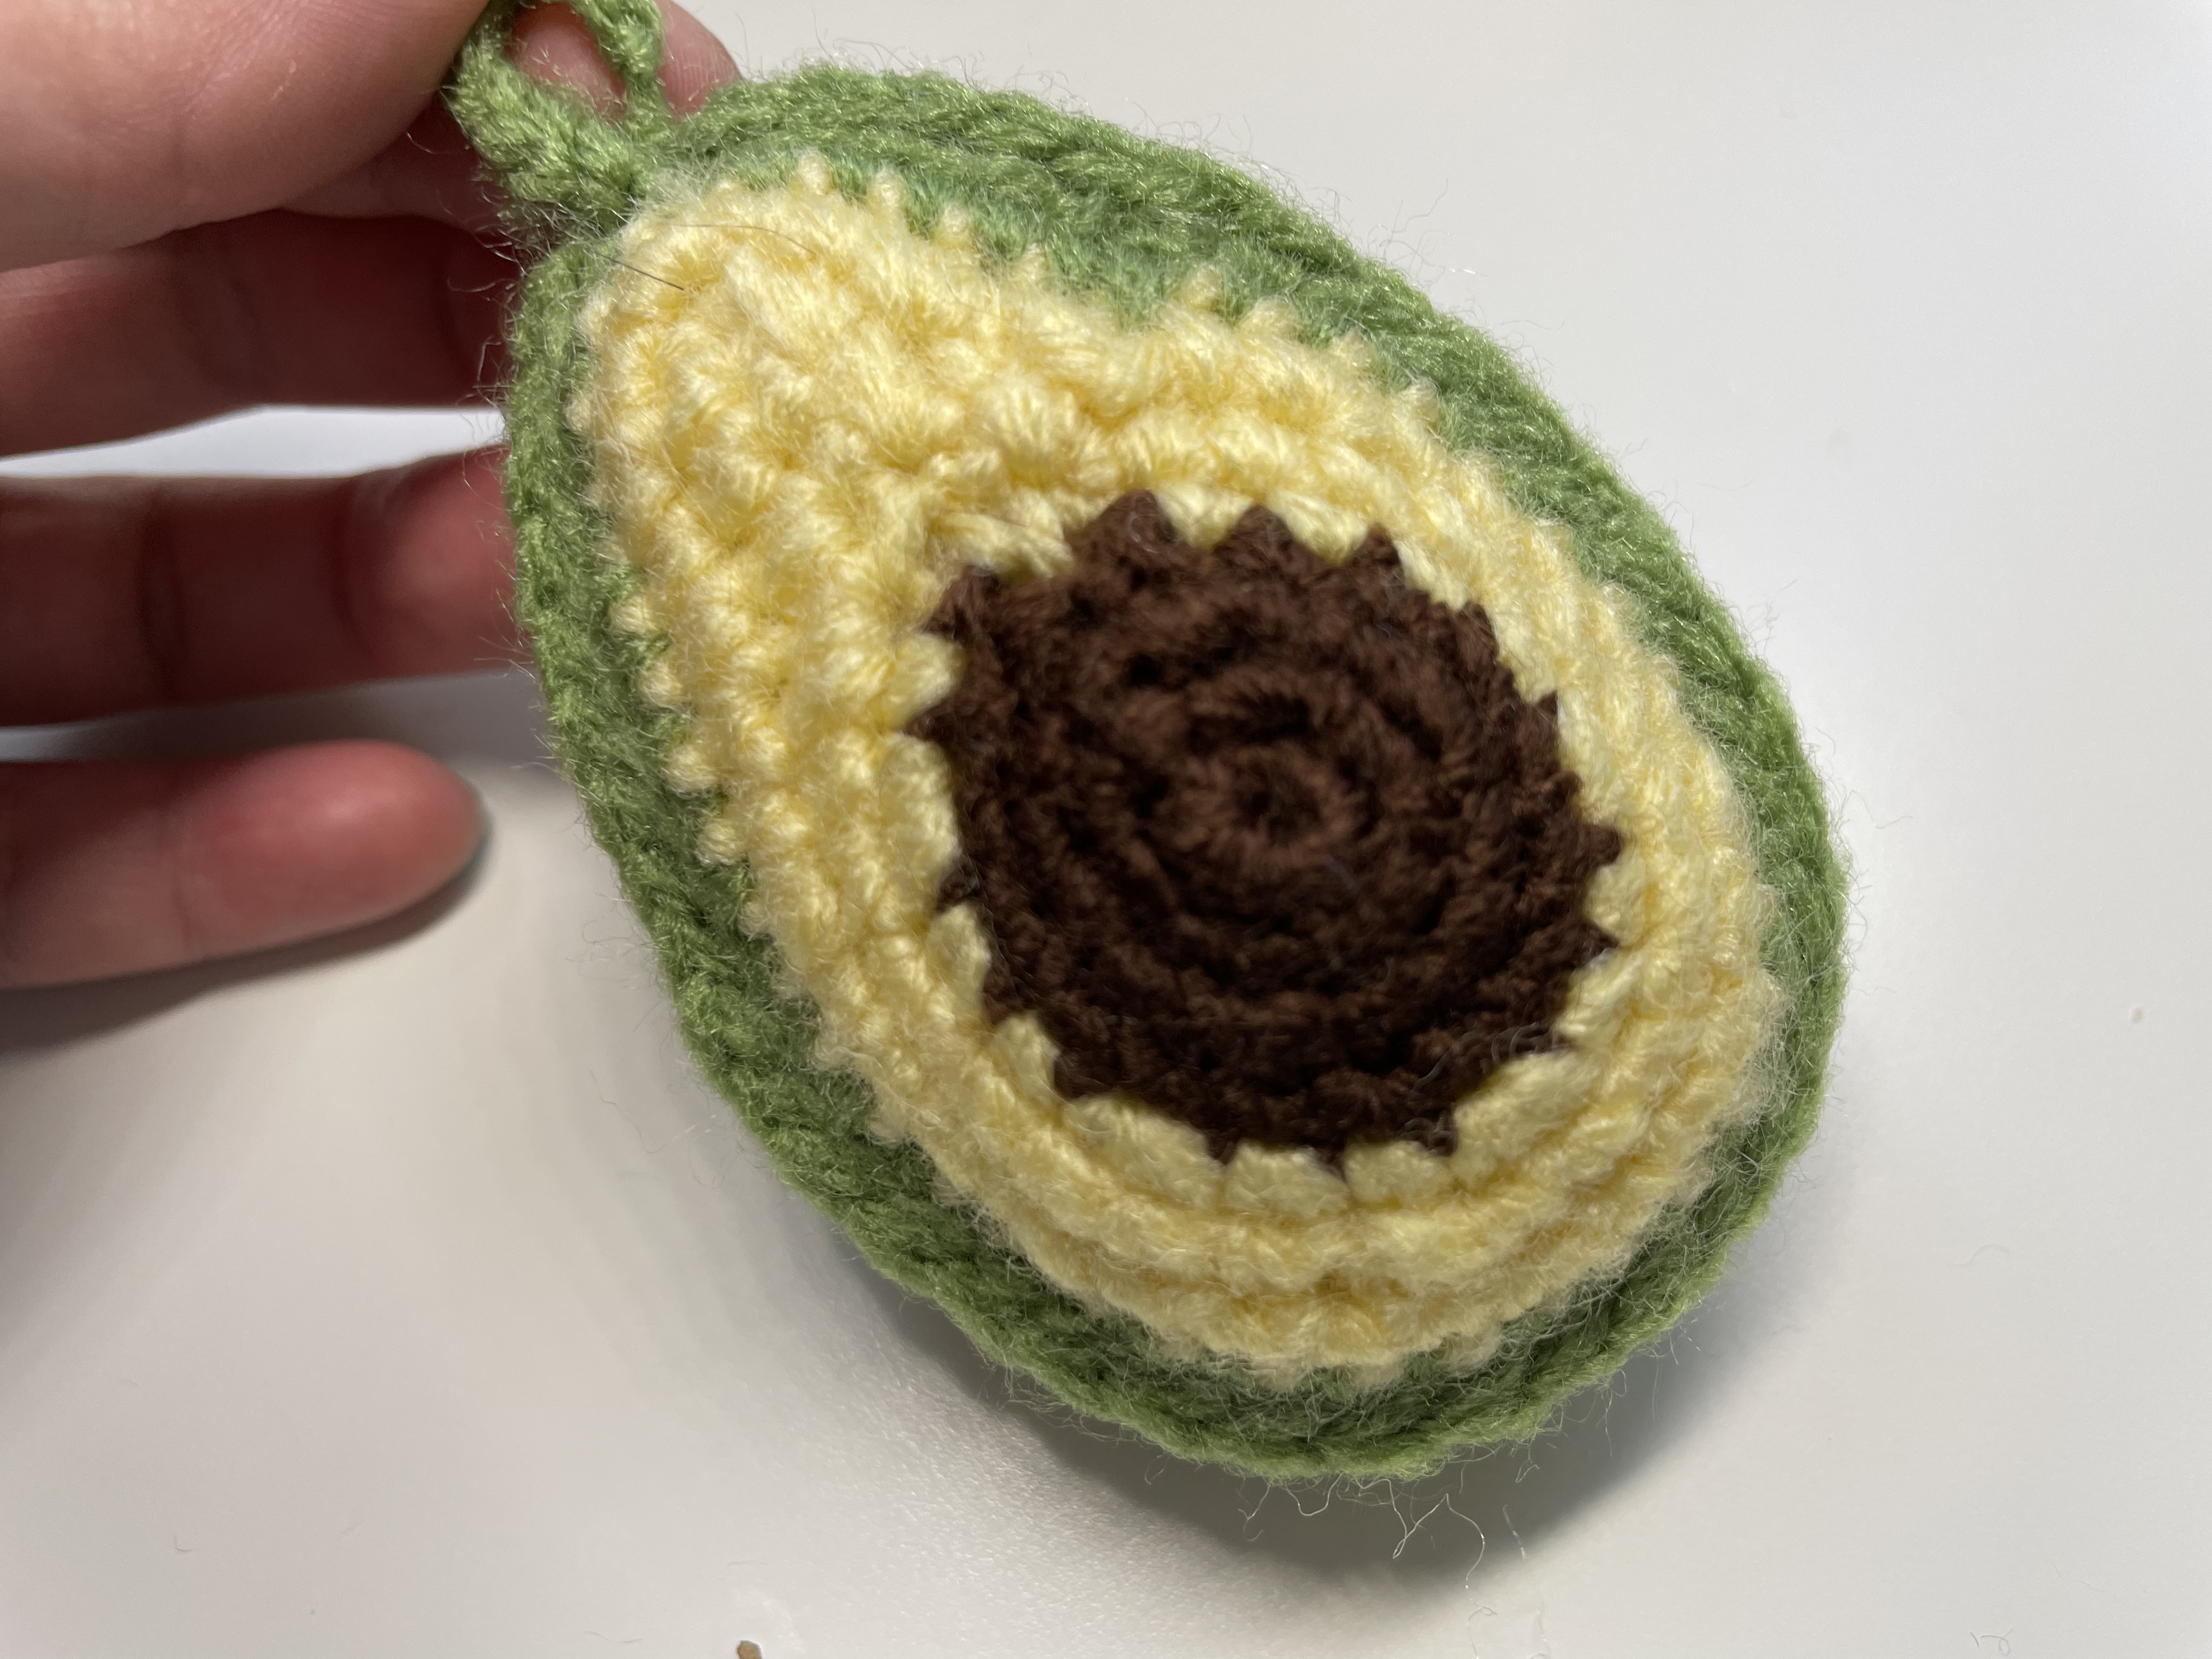
Three yarn colors make this little avocado recognizable, but the construction gives it character. The brown pit projects from the yellow front, the upper end narrows into the familiar avocado outline, and an all-green back creates a softly filled decoration.
This is a two-piece project rather than a flat applique. The front and back use related shaping, but they do not have identical round numbering: the brown pit includes an extra straight round, while the back has extra straight rounds near its edge. Keep the two sets of instructions separate as you work.
Materials and Stitch Guide
Prepare brown yarn for the pit, pale yellow or cream for the flesh, green for the outer edge and back, a compatible hook, scissors, a yarn needle, a removable marker, and fiber filling.
Choose yarns of similar thickness. A much heavier green yarn can change the back's dimensions and make the edges difficult to match. Smooth yarn makes the small stitch tops easier to locate, especially while working the narrow upper section.
These notes use US terms. Ch means chain, sc means single crochet, inc means two single crochets in one stitch, and sl st means slip stitch. Count working stitches separately from the joining slip stitches.
The counts in the tables are calculated from the displayed formulas. Finished size depends on your materials and tension; the video does not provide a universal size for every yarn substitution.
- Make the Brown Pit
Begin with a magic ring in brown and follow the video's round joins.
| Front round | Instructions | Working stitches | | --- | --- | --- | | 1 | 5 sc into the ring; sl st to join. | 5 | | 2 | Inc in each stitch five times; join. | 10 | | 3 | Repeat (sc, inc) five times; join. | 15 | | 4 | Sc in each stitch; join. | 15 |
The straight fourth round helps give the pit depth. Do not replace it with another increase round simply because the center still looks small. Compare the shape with the video before adding yellow.
Close the center securely and keep the beginning of the round marked. The next stage needs all fifteen pit-edge positions in the intended order.
2. Extend the Yellow Flesh
Change to yellow for Front Round 5. Make 5 chains, skip the chain nearest the hook, and work 4 sc back along the chain toward the brown center.
Continue around the pit with (sc, inc, sc) five times, then work 4 sc along the opposite side of the chain and join as demonstrated. The chain extension forms the narrow end of the avocado; it is not a separate hanging loop.
This round produces 28 working stitches: four along each side of the extension and twenty around the pit. Check both sides of the chain so an unused loop or missed stitch does not shorten one side.
Continue the yellow shaping:
| Front round | Instructions | Working stitches | | --- | --- | --- | | 6 | Inc, 3 sc, (3 sc, inc) five times, 3 sc, inc; join. | 35 | | 7 | Sc, inc, 3 sc, (2 sc, inc, 2 sc) five times, 3 sc, inc, sc; join. | 42 |
The extra stitches outside the repeated section shape the extension. Keep them in the written order rather than replacing the entire round with a regular circular increase repeat.
3. Add the Green Front Edge
For Front Round 8, change to green and work 42 sc, then join with a slip stitch. Maintain the count: this is a straight border, not another increase round.
Let the front rest naturally. The brown pit should remain distinct, with yellow surrounding it and a green edge outlining the complete shape. A pronounced wave can indicate an extra increase; a pinched section may indicate a missed stitch or tight color change.
Finish and secure the front's loose ends where they will be hidden inside the assembled piece. Avoid drawing the yellow stitches inward while concealing the brown tail.
4. Make the Entirely Green Back
The back begins in green and stays green. Its early shaping omits the pit's extra straight round, so do not copy the front table without adjusting the numbering.
| Back round | Instructions | Working stitches | | --- | --- | --- | | 1 | 5 sc into a magic ring; join. | 5 | | 2 | Inc five times; join. | 10 | | 3 | (Sc, inc) five times; join. | 15 | | 4 | Ch 5, skip 1, 4 sc along the chain; (sc, inc, sc) five times around the circle; 4 sc along the other side of the chain; join. | 28 | | 5 | Inc, 3 sc, (3 sc, inc) five times, 3 sc, inc; join. | 35 | | 6 | Sc, inc, 3 sc, (2 sc, inc, 2 sc) five times, 3 sc, inc, sc; join. | 42 | | 7 | 42 sc; join. | 42 | | 8 | 42 sc; join. | 42 |
Leave a long green tail for the demonstrated joining and finishing. Compare the pieces before connecting them. Align their narrow ends and rounded bottoms, matching corresponding positions around the 42-stitch edges.
5. Join, Fill, and Close
Place the pieces with their visible faces outward and the loose ends inside. Use markers to hold the narrow ends and rounded sections in alignment.
The joining close-up specifies the back loop of the front piece and the front loop of the back piece. Follow that orientation as the edges face one another, using the demonstrated joining motion. Matching the selected loops consistently gives the border a more even finish than switching between loops midway around.
Leave an opening for filling. Add fiber gradually, distributing it through the rounded body and toward the narrow end. Use enough to support the shape without forcing the yellow face into a stretched dome or exposing filling between stitches.
Close the remaining opening with the same loop placement and conceal the tail. If you include the small hanging loop visible on the finished example, follow its attachment in the video; the chain extension used in the shaping rounds should not be mistaken for that optional finishing detail.
Check the Finished Shape
One side is longer: check the four single crochets on each side of the Round 5 chain extension and the placement of the joining marker. Adding green stitches at random will not correct a missed shaping stitch.
The pit looks flat: verify that the brown section includes Round 4 with fifteen single crochets. Then adjust the filling gently from behind the front rather than pulling the pit outward by its stitches.
The seam pulls sideways: compare the two 42-stitch edges and look for a doubled or skipped joining position. Loosen a tight section before concealing the final tail.
The piece feels hard or overfilled: take out some filling before closing. The outline should remain visible without putting constant strain on the seam.
Follow the yarn's care instructions. Support the whole avocado when reshaping and let the filling dry fully after cleaning. Lift it by its body when checking the finish rather than tugging repeatedly on the narrow end.
Watch the Avocado Tutorial
Use the close-ups for the two sides of the chain extension, the color changes, and the matching-loop join before closing your first avocado.
The appeal of this project comes from a few well-controlled details: a rounded pit, a longer upper section, and a green edge that follows the outline smoothly. Once the first avocado is complete, keep your yarn and hook notes to make a matching companion with consistent proportions.
Watch every stitch up close
Pair these written notes with the complete video tutorial.
Made with yarn, shared with love. 🧶💗