
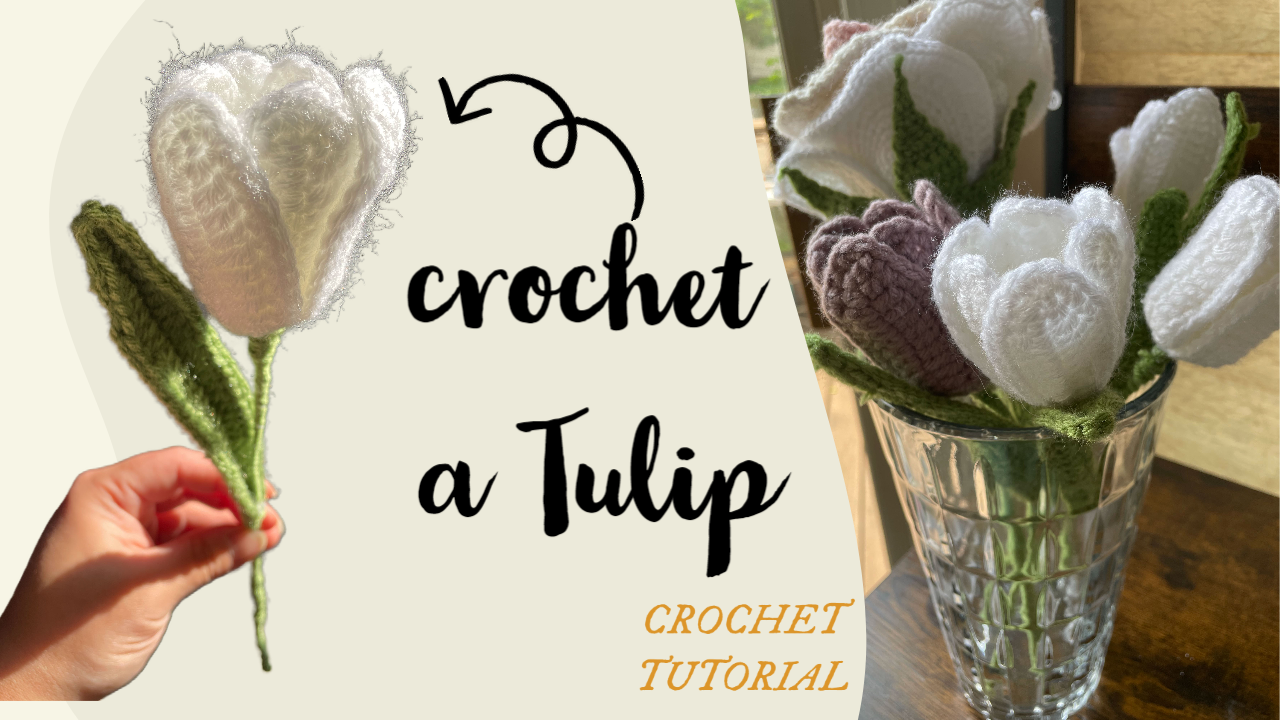
How to Crochet a Tulip for a Handmade Bouquet
A tulip does not need many colors to be recognizable. The rounded petals, their overlapping edges, and a long pointed leaf do most of the work. In this crochet version, two petal sizes create a layered cup, while fine wire helps the edges keep the curves you give them.
The finished bloom is assembled from separate pieces, rather than shaped as a stuffed crochet ball. That makes the assembly stage part of the design: adjusting the overlap changes how open the flower appears. Begin with one tulip, check it upright, and use it as a reference before making a whole bouquet.
Materials and Construction
The tutorial explicitly shows a 3 mm hook. Prepare yarn for the petals, green yarn for the leaf and stem covering, fine craft wire for shaping, a stem support, scissors, a yarn needle, and appropriate wire-cutting pliers. The video shows wire being enclosed along the crochet edge; the wire gauge and yarn weight are not specified here.
Use the demonstrated hook as a reference, then assess your fabric. The petals should be firm enough to hold their outline without becoming so tight that working around the wire is difficult. Yarns of similar thickness will help the two petal sizes remain in proportion.
Work the crochet stitches around the wire as demonstrated and keep cut ends enclosed in the finished construction. This is a wired decorative flower; the shaping wire should stay inside the work rather than protruding at the petal tips or stem base.
Stitch Abbreviations
The instructions use US terminology: ch is chain, sl st is slip stitch, sc is single crochet, hdc is half double crochet, and dc is double crochet. Numbers before a stitch mean that many stitches in sequence unless the placement specifically says otherwise.
Both petal types are worked along one side of a foundation chain and back along its other side. The repeated sequence describes those two sides; it does not mean turning the work into ordinary back-and-forth rows.
1. Crochet the Larger Petal
Make 3 larger petals. Each begins with 15 chains. Skip the chain nearest the hook, then follow the video's Round 1 sequence:
(sl st, sc, hdc, 8 dc, hdc, sc, sl st) x 2.
Work the first sequence along the chain, then continue around the end and along the opposite side as demonstrated. Each side's sequence contains 14 stitches: 1 slip stitch, 1 single crochet, 1 half double crochet, 8 double crochets, then 1 half double crochet, 1 single crochet, and 1 slip stitch.
This progression gives the petal a fuller middle and narrower ends. Keep the foundation chain relaxed enough that you can locate the unused loops on the return side. Pulling the central chain too tight can make the whole petal twist.
For Round 2, the caption says:
Sc around; sl st to finish.
Enclose the fine wire along the edge during this round, following the close-up. Keep the wire smooth and allow the stitches to cover it without bunching. Shape the petal gently after the edge is complete; avoid repeatedly bending the same small point in the wire.
2. Crochet the Smaller Petal
Make 3 smaller petals. Each begins with 13 chains. Skip one chain and work:
(sl st, sc, hdc, 6 dc, hdc, sc, sl st) x 2.
As with the larger piece, work along both sides of the chain. Each side contains 12 stitches. The difference is the central run of six double crochets rather than eight; keep the shorter stitches at both ends in the same order.
Finish with the demonstrated single-crochet edging, enclosing the wire. Compare completed petals within each size group before assembly. The smaller pieces should resemble each other, and the larger pieces should resemble each other; they are not intended to have identical dimensions across both groups.
You will have six petals altogether: three smaller pieces for the inner layer and three larger pieces for the outer layer. Keep the size groups separate so you do not accidentally build one side of the flower with a different combination.
3. Make the Long Green Leaf
The leaf begins with 31 chains and is worked around the foundation with wire incorporated as shown. The full captioned sequence is:
Ch 31, skip 1, sl st, 2 sc, 3 hdc, 18 dc, 3 hdc, 2 sc, 3 sc in the end stitch, 2 sc, 3 hdc, 18 dc, 3 hdc, 2 sc, sl st.
The tall central stitches create the broad portion of the leaf, while the shorter stitches narrow its ends. Keep the wire beside the working edge and check that no bare section remains visible between stitches.
About the tip notation: the top caption abbreviates this turn as “3SC TOG,” but the accompanying instruction says to work the three single crochets in one stitch. Make 3 sc in that same end stitch, then continue along the other side of the chain. This is a turning increase, rather than a conventional sc3tog decrease across three stitches.
When the leaf is complete, smooth its edges and shape the wire gently. Give it a slight natural curve rather than folding it sharply across the middle.
4. Assemble the Layered Flower Head
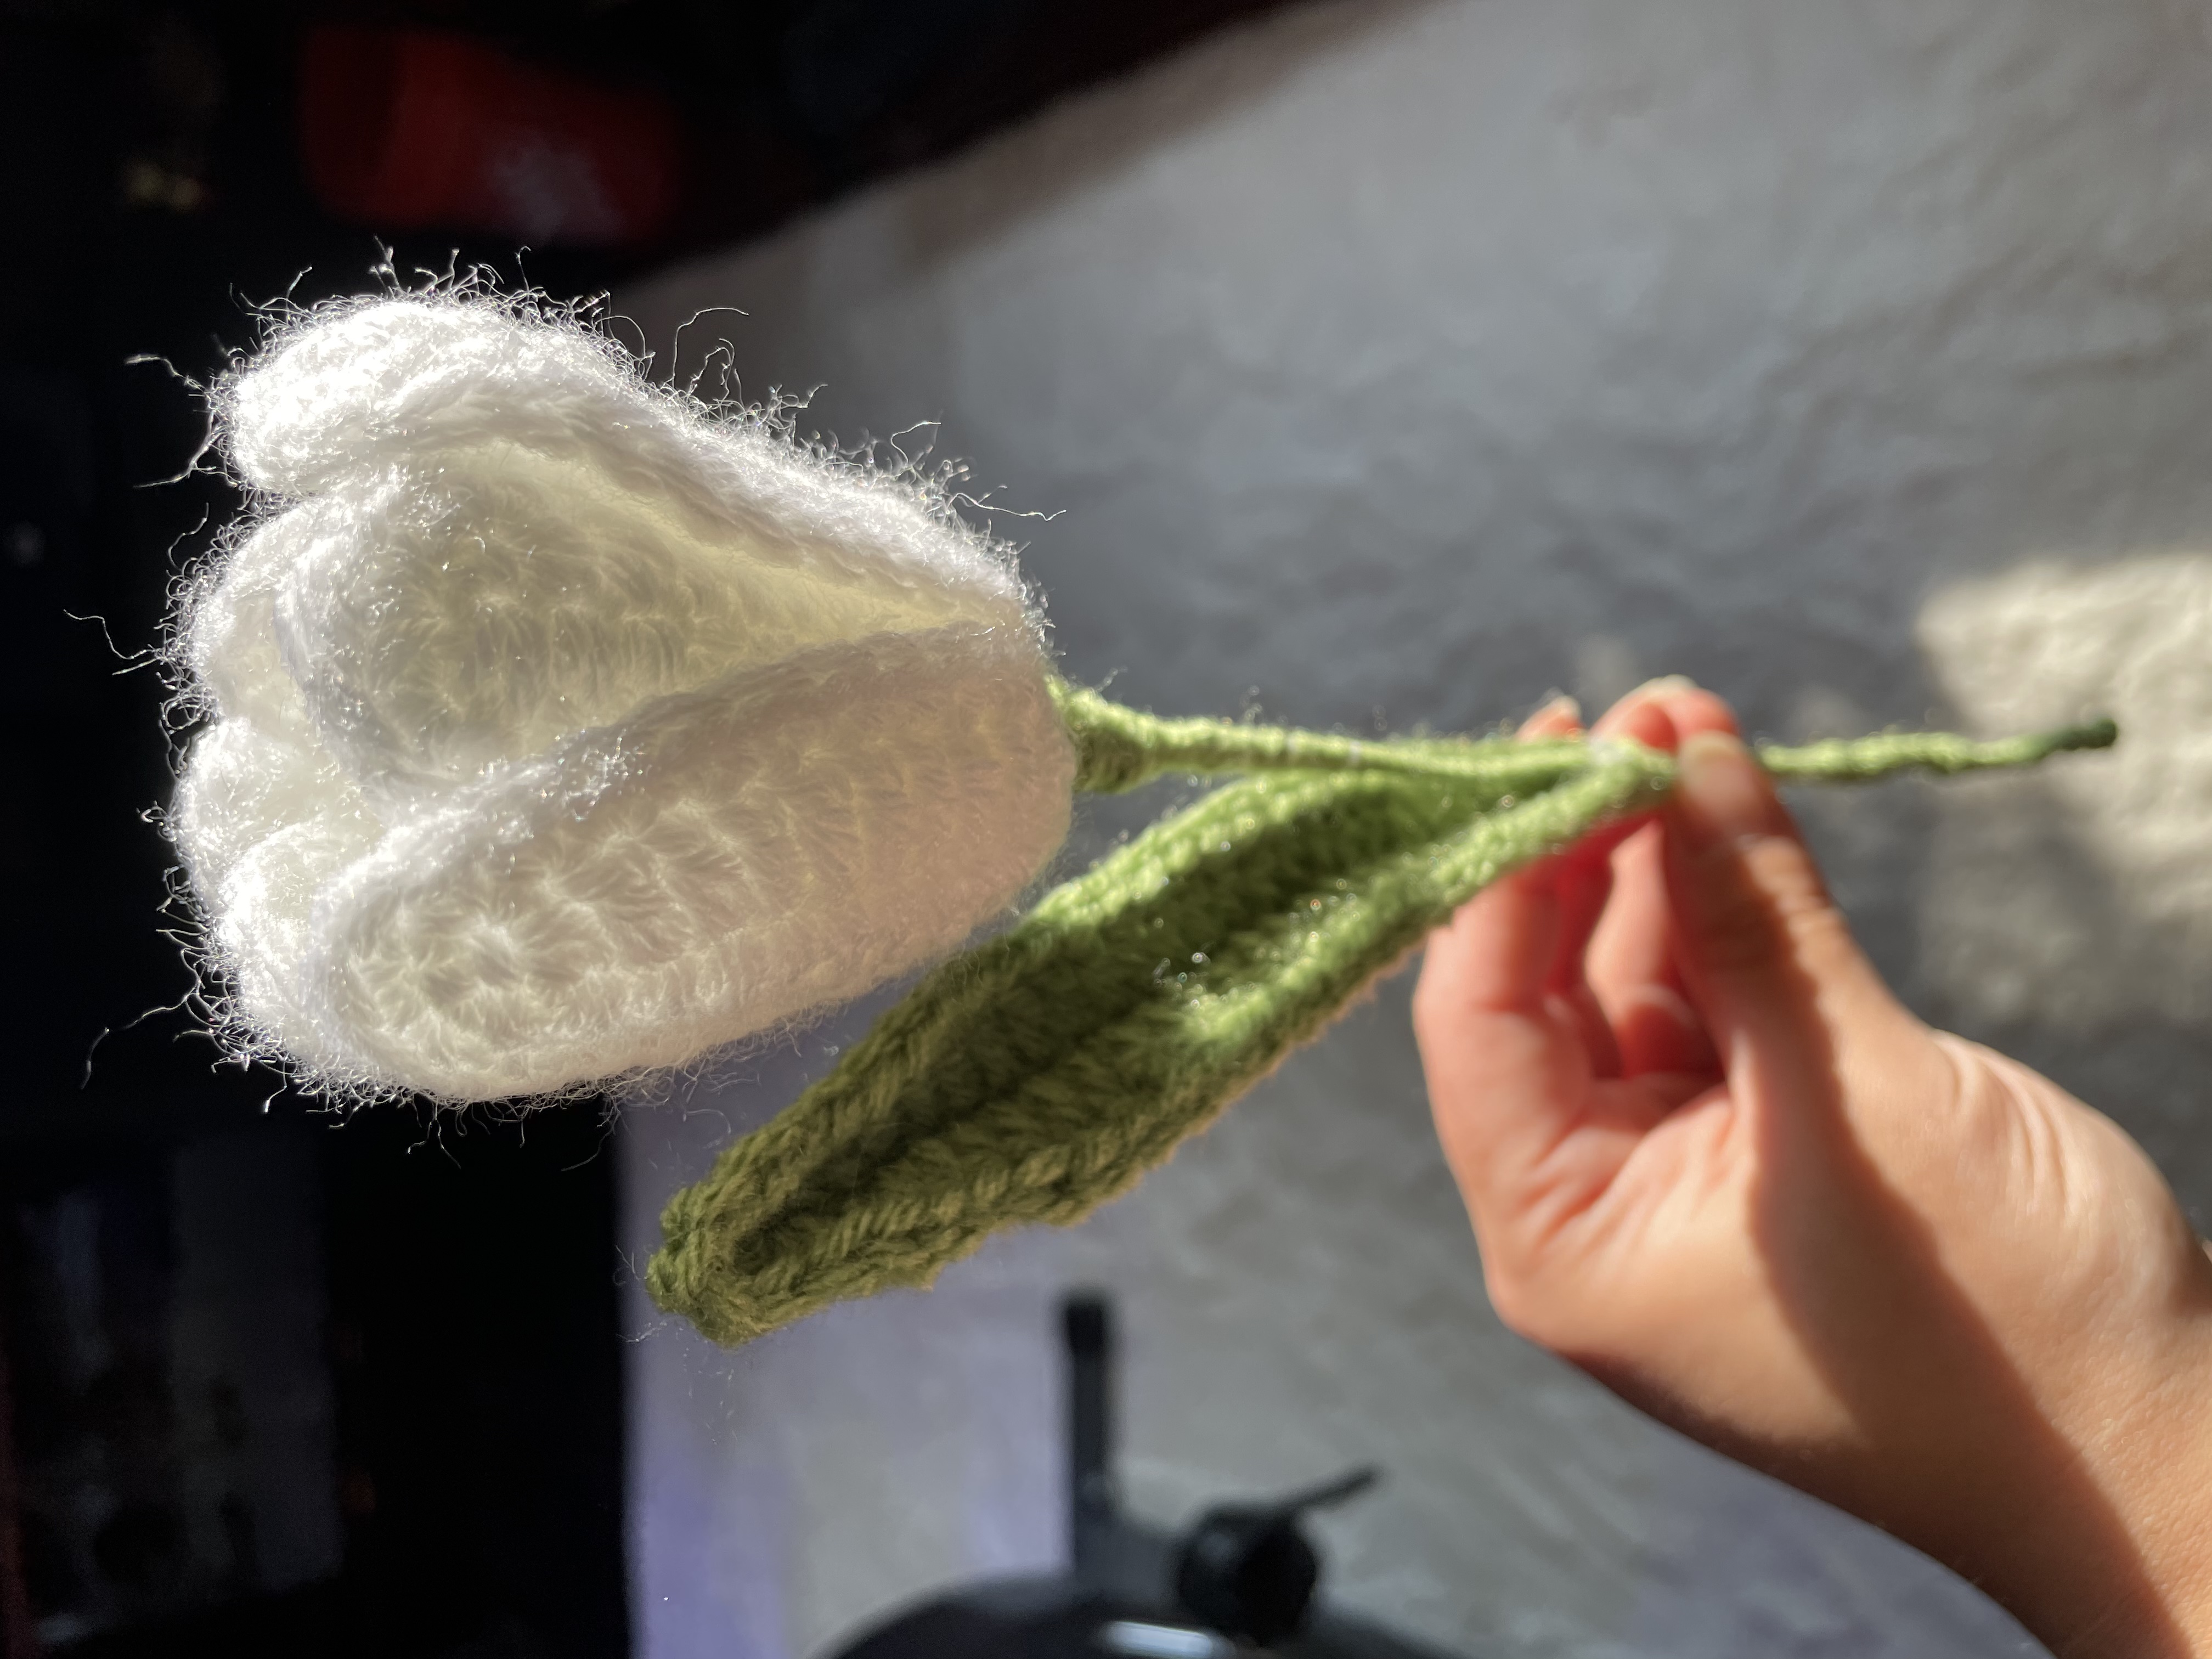
Build the smaller petal layer first, following the arrangement near the end of the video. Curve the pieces into a cup and let their edges overlap. Position the larger petals outside that layer, using their bases to hold the arrangement together.
Check the flower from above and from the side before securing every piece. From above, the opening should look deliberate rather than like a gap between disconnected panels. From the side, the rounded tips should remain visible at slightly overlapping heights.
Keep the lower joining area compact. If the petal bases gather into a large lump, the stem connection can become awkward even when the top of the flower looks attractive. Adjust the overlap at the bases instead of pulling down on the petal tips.
The video shows the stem passing through the base of the assembled bloom. Follow that connection and secure the flower so it does not rotate loosely. Test it upright before covering the connection with green yarn.
5. Wrap the Stem and Position the Leaf
Cover the stem and the lower joining area using the green finishing method shown. Keep the wraps even so the stem does not develop thick sections separated by exposed support.
Hold the leaf beside the flower before fixing it in place. Its pointed outline should rise beside the bloom without covering the front of the petals. Rotate the tulip and check the side view as well; a leaf that looks right on the table may twist behind the stem when lifted.
Complete the wrapping and conceal the ends. Check the base of the flower, the leaf attachment, and the bottom of the stem for loose yarn or exposed wire.

Arrange and Care for a Small Bouquet
Start with a few tulips in the container you intend to use. Vary their heights slightly and turn the blooms outward, leaving enough space for the petal layers to remain visible. A narrow vase gathers the stems more tightly than a wide opening, so test the actual arrangement before tying it together.
Cream with one muted accent shade gives a coordinated bouquet; several related petal colors offer more variation without changing the green leaves and stems. Support the heads during transport, and tie wrapping below the leaves rather than across the petals.
Dust the flowers lightly with a soft brush while supporting the bloom. Consider both the yarn and internal wire before cleaning with water. Store the bouquet with room around the flower heads so the curved edges are not compressed.
Watch the Crochet Tulip Tutorial
Use the video to check the petal quantities and layer arrangement, wire placement, the leaf-tip notation, and the final stem connection.
A convincing tulip comes from the relationship between its pieces: smaller petals inside, larger petals around them, and a leaf that supports the silhouette. Take time to shape the first flower before repeating it, and your bouquet will have a consistent structure while still leaving room for small variations.
Watch every stitch up close
Pair these written notes with the complete video tutorial.
Made with yarn, shared with love. 🧶💗