
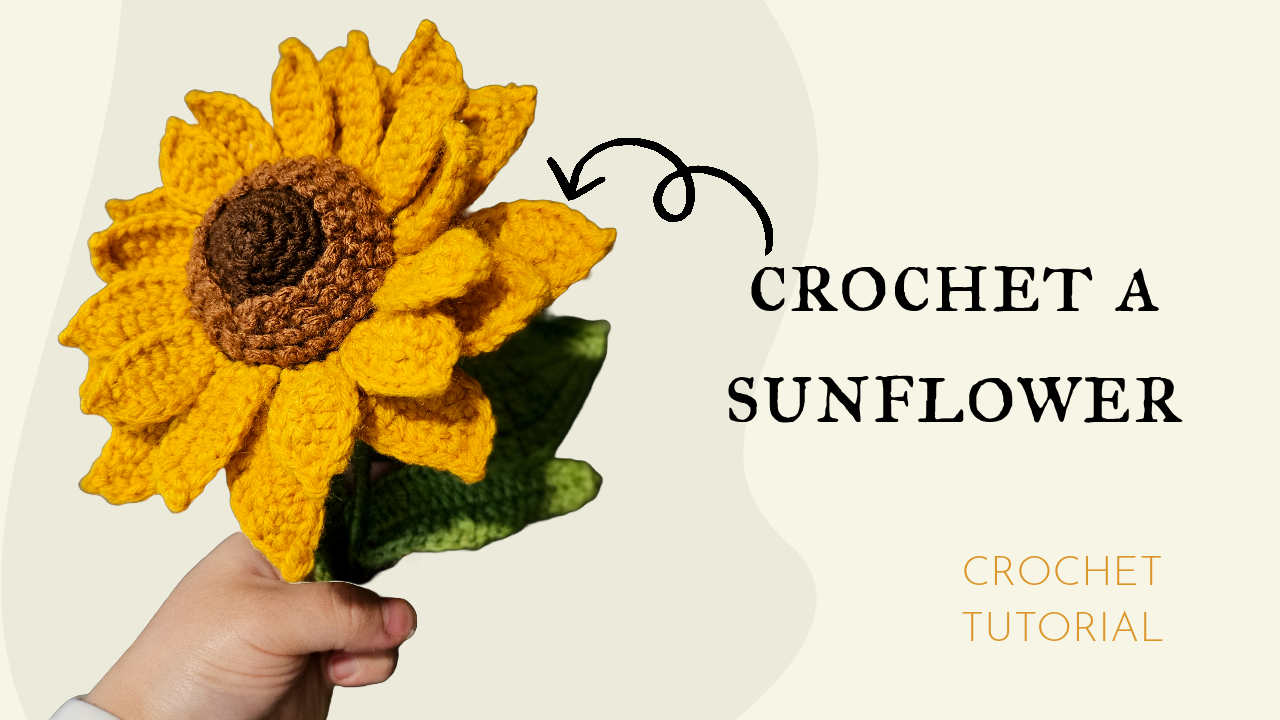
Crochet a Dimensional Sunflower with Pointed Petals and Textured Center
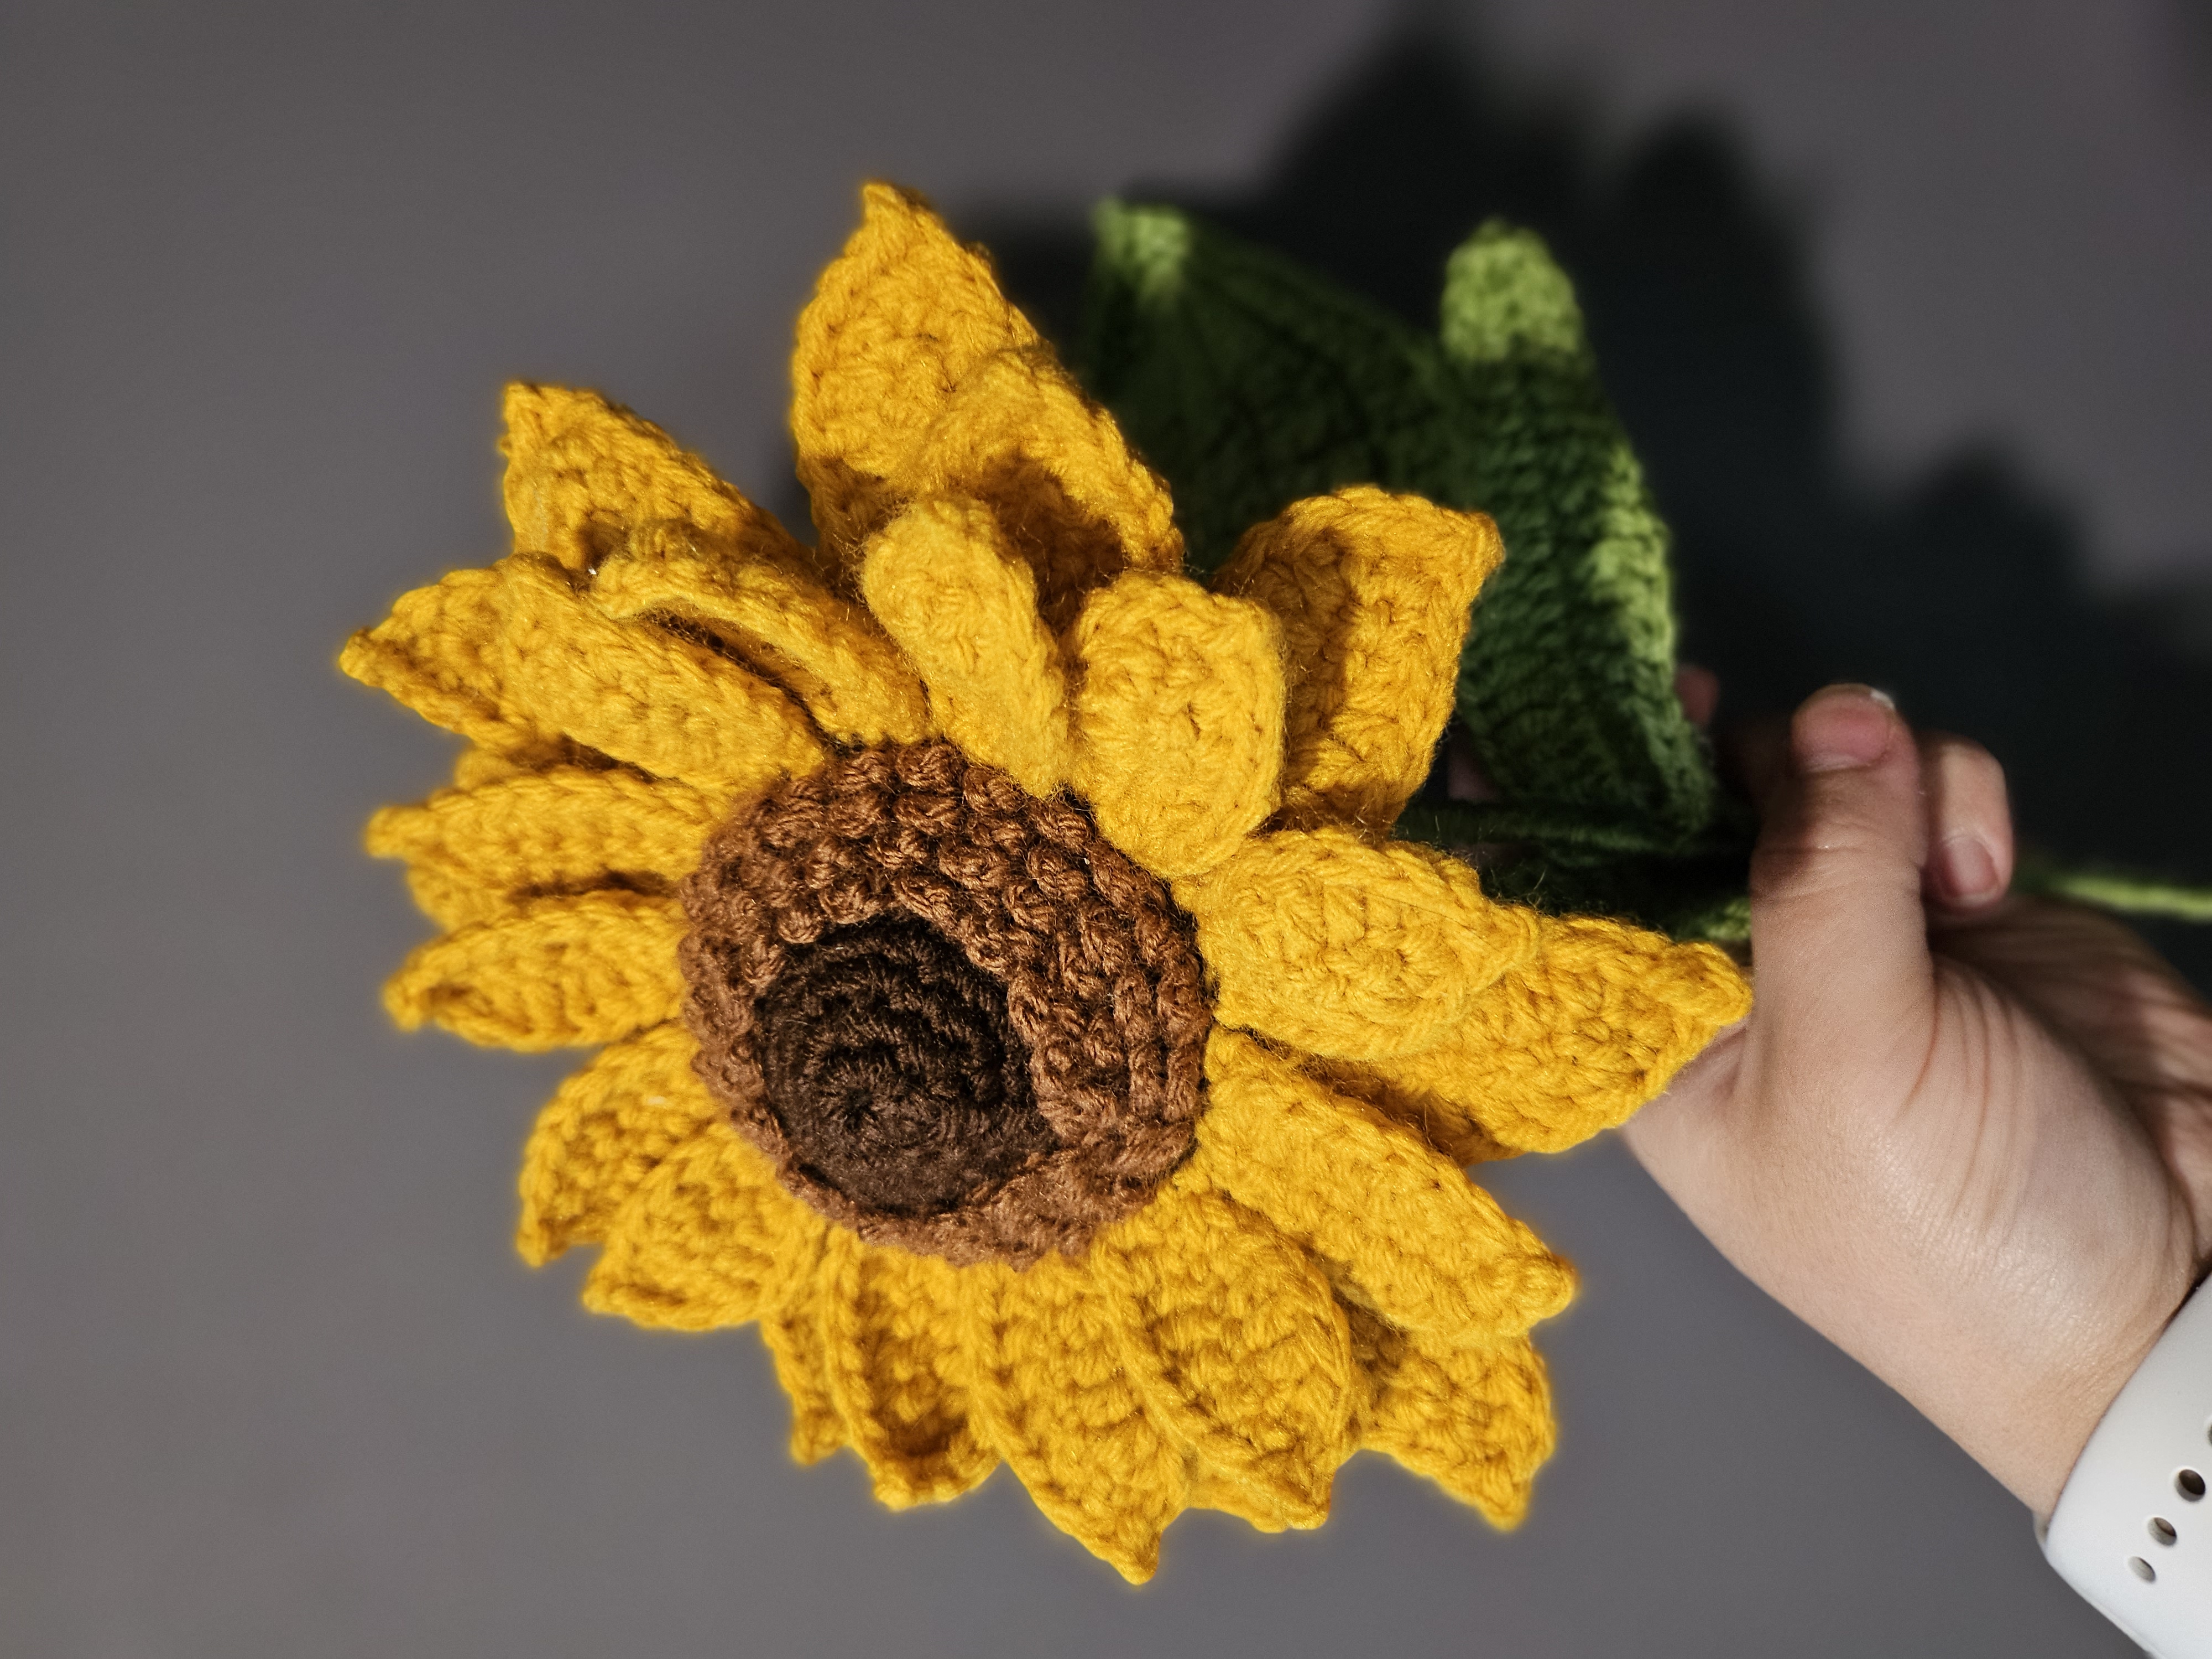
This sunflower combines a dark circular middle with a lighter brown ring of raised texture. Golden petals surround that center, and broad green leaves complete the outline. The contrast comes from construction as well as color: the middle is a counted circle, the lighter texture is added afterward, and the petals grow from narrow foundations before being widened.
Work through the flower head, leaves, and rear support in stages. Keeping a record of the working round and the current component is especially useful in this longer tutorial. The video runs about 52 minutes and includes wire-supported details and assembly as well as crochet.
Materials and preparation
Prepare dark brown and lighter brown yarns for the center, yellow for the petals, and green for the leaves and support sections. You will also need a compatible hook, scissors, a yarn needle, stitch markers, fine support wire, a suitable stem support, and the attachment and wrapping supplies shown in the video.
Keep the yarn thicknesses compatible so the yellow petals remain proportionate to the center. This guide does not establish a fixed yarn weight, hook size, wire gauge, or finished flower measurement. Check those choices against the close-up and your intended display rather than assuming a vase-ready flower will stand without support.
The petal and leaf wire should be enclosed by the crochet and finished at the base. Have suitable tools for cutting and finishing the wire you choose. Keep all support ends contained during assembly.
Terms used below
These are US crochet terms: `ch` chain, `sc` single crochet, `hdc` half double crochet, `dc` double crochet, `tr` treble crochet, `sl st` slip stitch, and `BLO` back loop only. An `inc` is two sc in one base stitch; a `tr inc` is two trebles in one base stitch. Bracketed mixed stitches share one insertion point.
The video uses `SS` for slip stitch and divides the two sides of a leaf into left and right. Its end-group shorthand `3 sc tog` is followed as the demonstrated three sc grouped at the turning end, not as a decrease across three separate stitches.
- Crochet the dark brown center
Begin with a magic ring. Use the starting chain and joining method demonstrated; the lifting chain and joining slip stitch are separate from the working count.
| Round | Instructions | Stitches | | --- | --- | ---: | | 1 | 6 sc in the ring; join. | 6 | | 2 | Inc 6 times; join. | 12 | | 3 | (Sc, inc) 6 times; join. | 18 | | 4 | (Sc, inc, sc) 6 times; join. | 24 | | 5 | (3 sc, inc) 6 times; join. | 30 | | 6 | BLO: (2 sc, inc, 2 sc) 6 times; join. | 36 | | 7 | BLO: (5 sc, inc) 6 times; join. | 42 | | 8 | BLO: (3 sc, inc, 3 sc) 6 times; join. | 48 | | 9 | BLO: (7 sc, inc) 6 times; join. | 54 |
Every increasing round adds six stitches. The back-loop rounds are an important construction detail, leaving accessible loops for the next surface treatment. Do not replace them with ordinary stitches through both loops throughout.
Lay the center down periodically and inspect its outline without stretching. If it cups sharply or waves unexpectedly, check the six increase groups and the joining positions before moving on.
2. Add the lighter brown surface texture
The lighter brown treatment is worked across the accessible loops associated with Rounds 5–8. The caption reads:
`BLO: (ch 3, sl st, skip, sl st), repeat on Rows 5–8.`
The close-up explains the action: chain 3 and slip stitch at the same anchor, skip one position, then slip stitch at the next anchor. Repeat the small chain-loop treatment following the demonstrated route around the center.
Keep this as a surface-decoration stage rather than adding it to the dark circle's ordinary round numbering. The loops create the raised lighter ring while leaving the dark middle visible. Avoid pulling the anchors tightly enough to gather the underlying circle.
3. Build the yellow petal foundations
The yellow petals are connected to the flower head during construction. The displayed foundation sequence is:
`ch 8, skip 1, 7 sc, skip 1, sl st × 2.`
Work back along the chain with seven single crochets, then follow the shown skipped position and two slip-stitch anchors along the supporting edge before starting the next foundation. Keep those anchoring stitches distinct from the stitches along the petal itself.
Compare the spacing around the flower head as the foundations develop. Do not add a foundation merely to fill a visual gap before checking the skipped and anchoring positions against the video.
4. Widen and shape the petals
Lay the support wire alongside the foundation as shown, enclosing it as you work. The caption gives the following route around each narrow petal:
| Part | Displayed sequence | | --- | --- | | First side | Sc, hdc, 3 dc, hdc, sc | | Tip | Sc, ch, picot, sc | | Return side and anchor | Hdc, 3 dc, hdc, sc, skip, sl st |
The short stitches keep the base narrow, while the double crochets fill out the middle. Follow the close-up for the exact tip insertion and picot closure; the caption names a picot without providing a separate chain-count definition. Do not automatically substitute a different picot formula from another pattern.
Repeat the demonstrated construction around the supporting edge. Keep the base anchors neat and the wire concealed. Once the petals are complete, curve them gently rather than pulling their stitches outward. Their overlap and changes of angle give the flower its dimensional outline.
5. Crochet the green leaves
The leaf is worked around a foundation, with taller stitches through its broad middle and shorter stitches toward the pointed end. The video labels each pass LEFT and RIGHT. These labels describe the working sides shown on screen, so keep the foundation oriented as demonstrated.
Start with 18 chains, introduce the support wire, and make the additional 3 chains shown in the first-side instruction. The following table preserves the displayed stitch order.
| Round and side | Sequence | | --- | --- | | R1, left | Skip 3, tr inc, 8 tr, 3 dc, 3 hdc, 2 sc, 3 sc at the turning end | | R1, right | 2 sc, 3 hdc, 3 dc, 8 tr, tr inc, ch 3, sl st | | R2, left | Ch 3, [sc, hdc], [dc, tr], 8 tr, 4 dc, 3 hdc, 2 sc, 3 sc at the turning end | | R2, right | 2 sc, 3 hdc, 4 dc, 8 tr, [tr, dc], [hdc, dc], ch 3, sl st | | R3, left | Ch 3, sc inc, hdc inc, dc inc, 9 dc, 5 hdc, 5 sc, [sc, sc, ch, picot, sc] at the tip | | R3, right | 5 sc, 5 hdc, 9 dc, dc inc, hdc inc, sc inc, ch 3, sl st, ch |
Here, a named increase means two of that stitch in one base stitch. Keep the wire against the edge so it becomes enclosed rather than sitting loosely behind the leaf.
Caption detail: R2's final mixed group is displayed as [hdc, dc]. That differs from the beginning of the other side; it has been retained rather than silently changed to make the written sides symmetrical. At the leaf tip, use the close-up to follow the shared insertion points and picot closure.
Complete the leaf before bending it. A gentle curve is enough to show its surface and outline. Leave the support ends available for attachment, and make any additional leaves using the same construction.
6. Make the green rear support
The rear component begins as a small tube, then widens into a circular backing. This gives the stem a narrow connection while covering the back of the flower head.
| Round | Instructions | Stitches | | --- | --- | ---: | | 1 | 6 sc in a magic ring; join. | 6 | | 2–3 | 6 sc in each round; join each round. | 6 | | 4 | Inc 6 times; join. | 12 | | 5 | (Sc, inc) 6 times; join. | 18 | | 6 | (Sc, inc, sc) 6 times; join. | 24 | | 7 | (3 sc, inc) 6 times; join. | 30 | | 8 | (2 sc, inc, 2 sc) 6 times; join. | 36 | | 9 | (5 sc, inc) 6 times; join. | 42 | | 10 | (3 sc, inc, 3 sc) 6 times; join. | 48 | | 11 | (7 sc, inc) 6 times; join. | 54 |
The next caption specifies a front-loop-only decorative edge:
`R12 FLO: ([dc inc, ch 3, picot, dc inc], [sl st, ch 1, skip]) repeat.`
Follow the video for the insertion points of the two grouped sections. The tall stitches and pointed tips form the little green projections around the backing. This is an ornamental edge, so do not treat its stitch total as another plain 54-sc round.
7. Assemble the flower head and stem
Before fixing the parts permanently, place the green backing against the rear of the flower and check that its narrow tube faces away from the flower head. The yellow petals should remain free around the outside.
Work through the assembly close-up in the video's final minutes. It shows the green backing being attached behind the flower and the stem connection being secured through the narrow rear section. Keep the backing centered while you work; an off-center connection can make the flower lean even when the stem itself is straight.
Attach the leaf supports along the stem and cover the connection points with the chosen stem wrapping. These positioning suggestions help with finishing:
- Arrange the leaves so they can be seen from the front without covering the flower head.
- Keep wire ends folded or enclosed inside the construction.
- Check the flower's balance before finishing the last section of wrapping.
- Shape the petals gradually, supporting the crocheted fabric with your fingers.
The exact stem-support dimensions and attachment quantities are not specified here. Match them to the completed flower and the method demonstrated, rather than relying on an assumed wire gauge or stem length.
Troubleshooting the shape
The center waves or pulls inward
Check the center's increase counts first. Its final dark round has 54 stitches, and the lighter surface decoration should sit on that structure without gathering it. Tight slip stitches in the texture layer can distort an otherwise correctly counted circle.
Petals gather at one side
Revisit the foundation anchors. The chain-and-sc strip forms the petal; the skipped position and slip stitches move along the supporting edge. Mixing those two routes changes the spacing around the head.
The leaves twist
Check that the support wire stayed beside the working edge and did not cross the foundation. Also compare both sides against the table: the broad middle uses trebles in the early rounds, while the final outline switches to double crochets and shorter stitches.
The flower tips forward
Inspect the stem-to-backing connection before tightening the wrapping. The narrow tube should hold the support close to the center of the rear disk. A loose connection cannot be corrected simply by bending the visible petals backward.
Watch the complete tutorial
Use the close-ups for the surface-loop route, pointed tips, wire placement, and final attachment. These are the details most easily lost in a stitch list.
A sunflower with depth and structure
The finished flower brings together several distinct crochet skills: a counted center, added surface texture, connected petals, shaped leaves, and a separate backing. Completing each part carefully makes the final assembly easier. Once the structure is secure, a few gentle curves in the petals and leaves give the sunflower its lively, open shape.
Watch every stitch up close
Pair these written notes with the complete video tutorial.
Made with yarn, shared with love. 🧶💗