
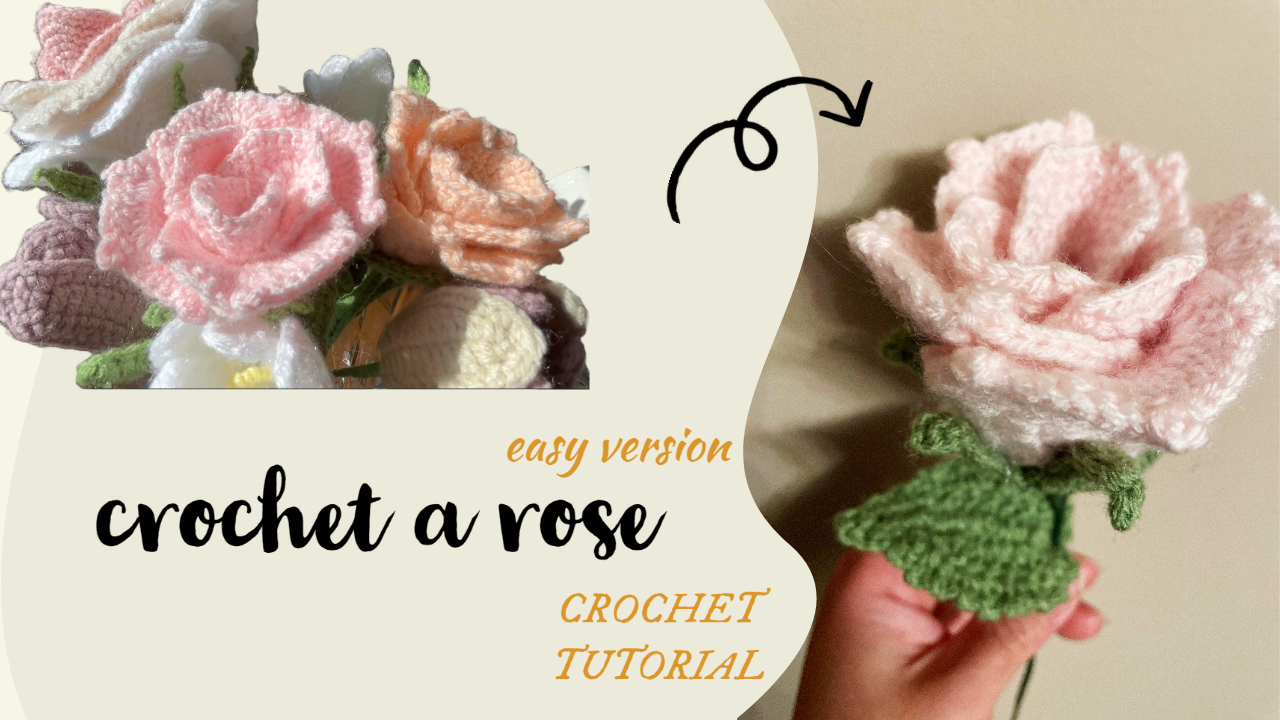
How to Crochet a Rose: A Handmade Flower That Lasts
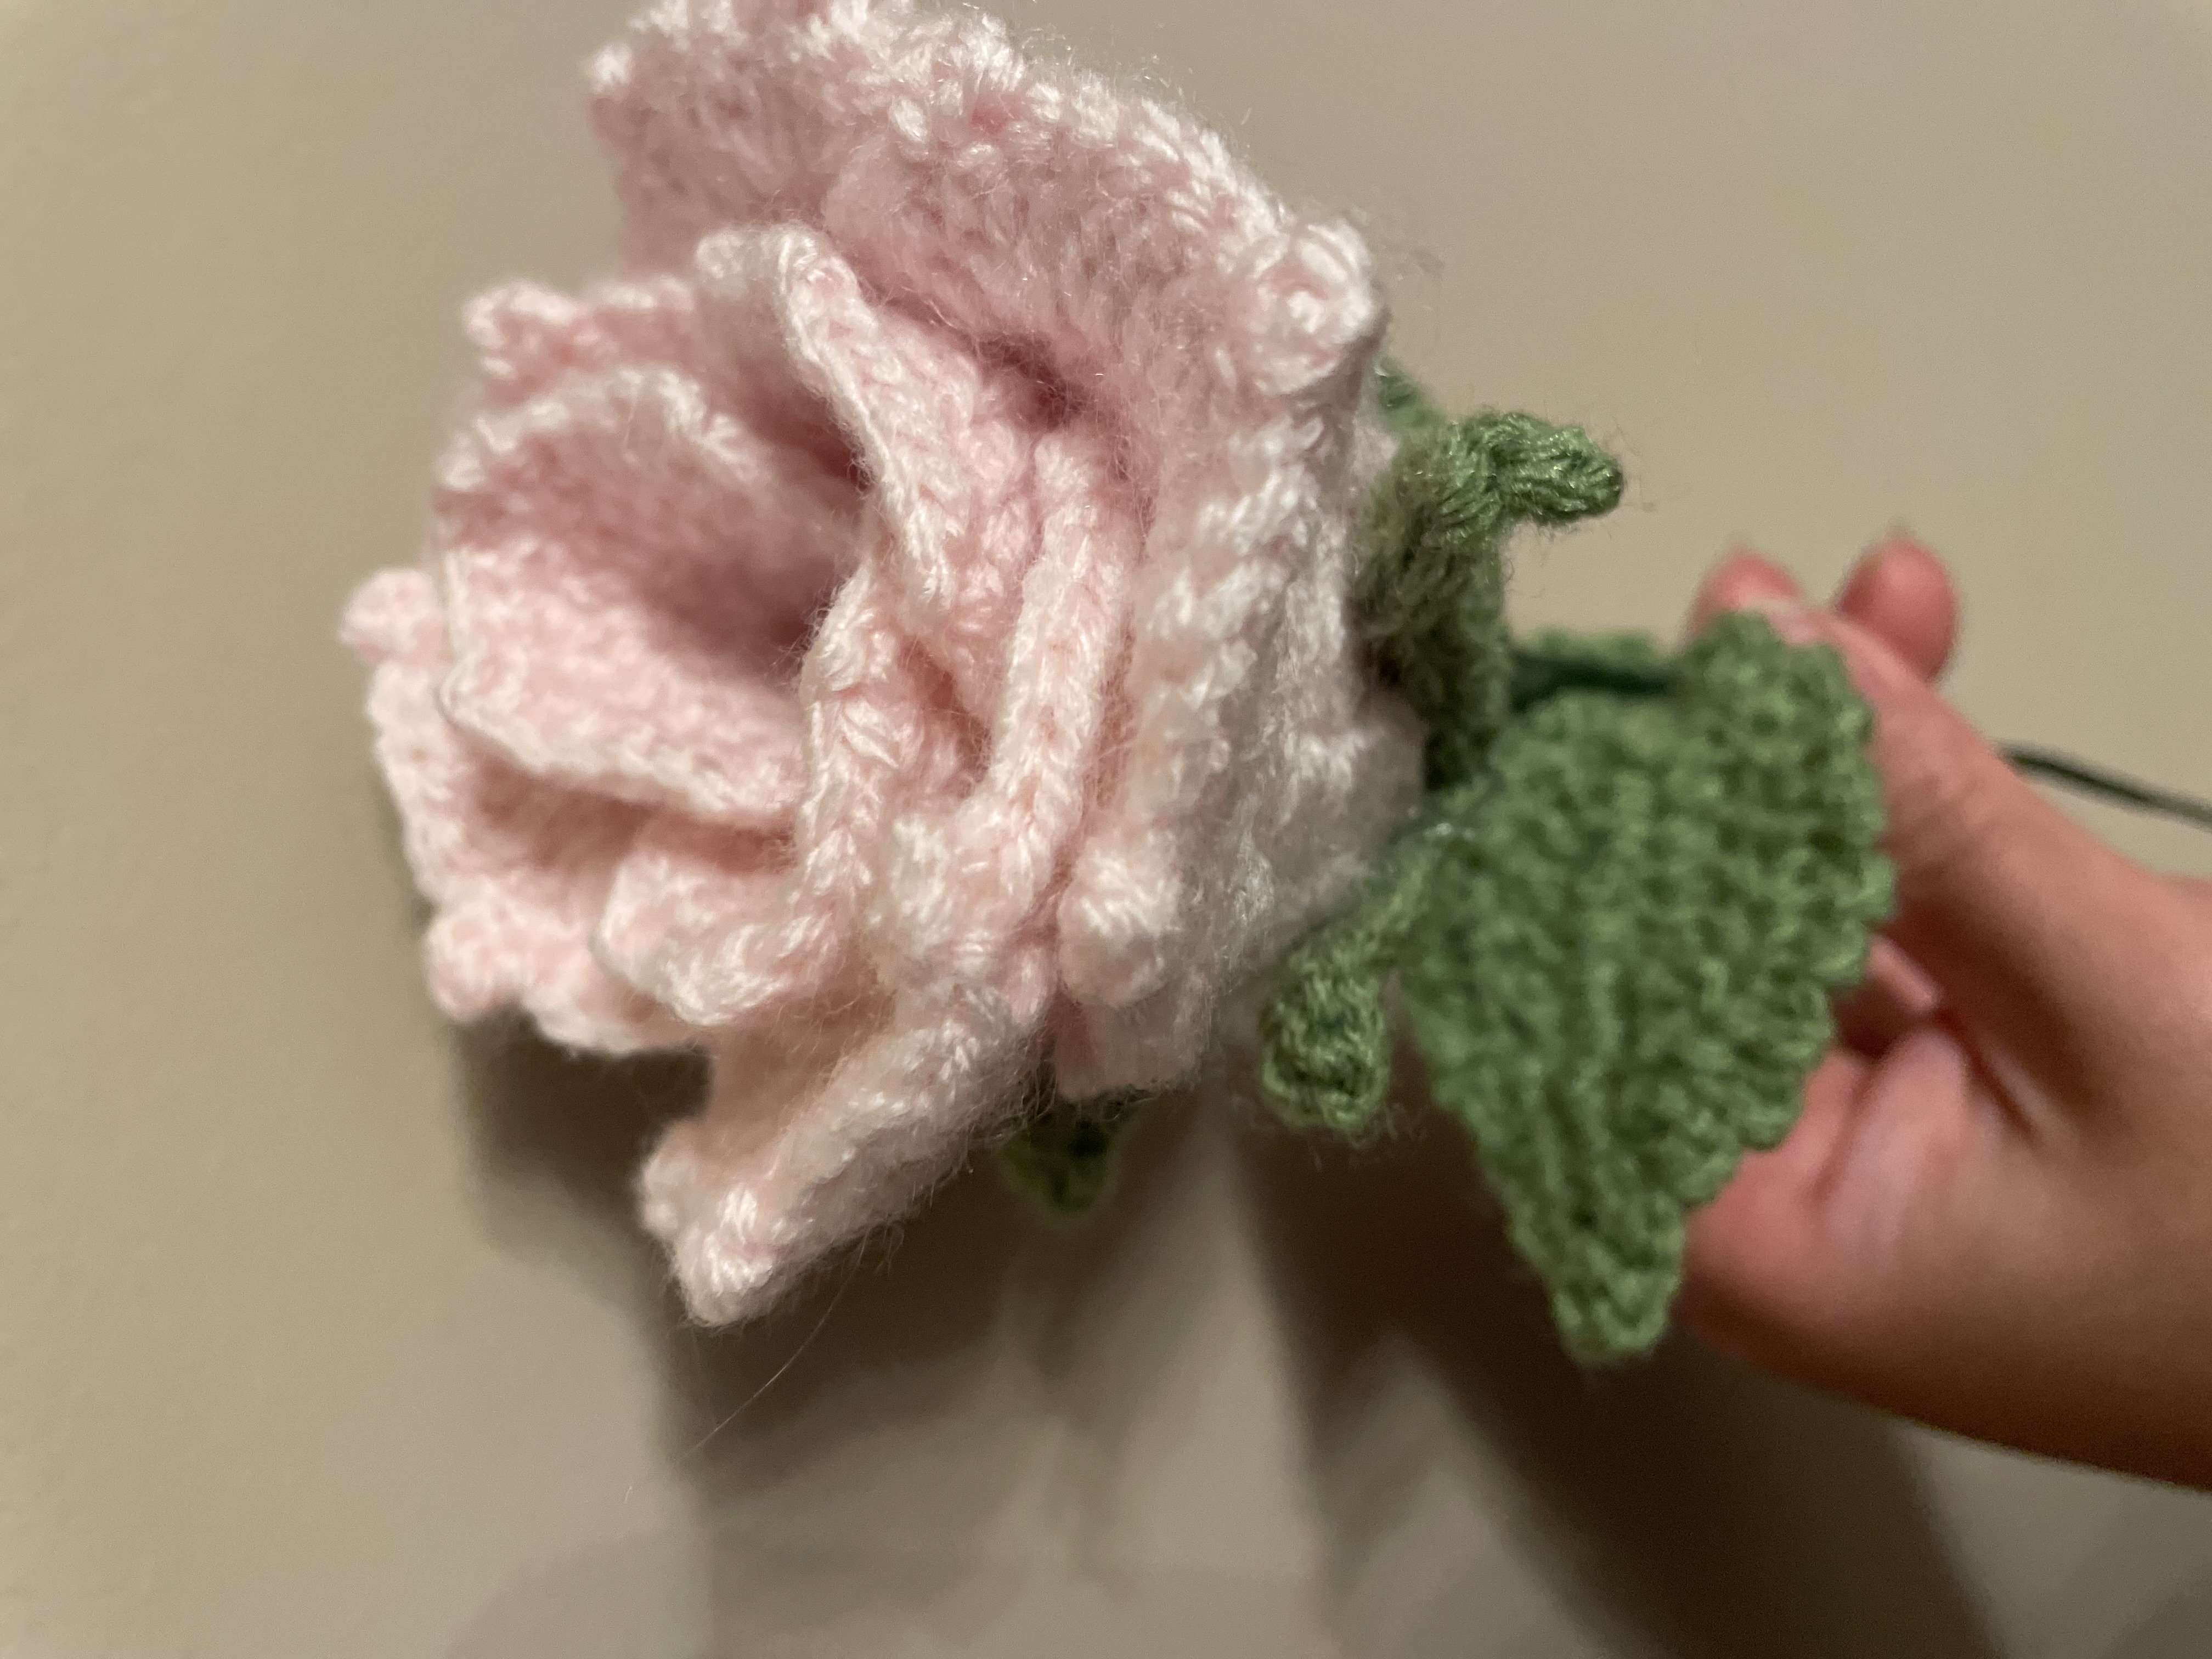
A convincing crochet rose needs both a gathered center and room for its outer petals to open. This design builds that contrast from seven separate petals: three smaller pieces form the inner flower, while four larger pieces spread around them. Green points cover the transition to the stem, and a shaped leaf completes the silhouette.
Both petal types begin with the same circular foundation. Their final rounds differ, giving the outer pieces more height and fullness. Make one of each first and compare them before repeating the set.
Materials and Preparation
Prepare petal-colored yarn, green yarn, a suitable hook, scissors, a yarn needle, a removable marker, and the stem and fine wire used for the supported construction. Appropriate wire-cutting tools help prepare the supports. Choose yarns of compatible thickness so the green details remain in proportion.
Smooth yarn makes counting easier. Softly textured yarn gives a gentler outline but can hide stitch tops around the pointed edges. Aim for fabric you can shape comfortably rather than making every stitch as tight as possible.
These notes use US terms. The tutorial does not establish a universal flower size or yarn allowance for substitute materials. Check your first petals before planning a bouquet.
| Term | Meaning | | --- | --- | | ch | Chain | | sl st | Slip stitch | | sc | Single crochet | | hdc | Half double crochet | | dc | Double crochet | | tr | Treble crochet | | inc | Two specified stitches in one base stitch | | picot | The pointed chain detail demonstrated in the video |
1. Make Three Small Petals
Start each petal in a magic ring.
| Round | Instructions | | --- | --- | | 1 | Ch 3, work 14 dc into the ring, sl st to join. | | 2 | Ch 3, work 14 dc increases, sl st to join. | | 3 | Ch 1, 7 sc; repeat [(sc, ch 2, sc) in one stitch, sc in each of the next 2 stitches] five times; 6 sc, sl st. |
Round 3 uses the 28 working double crochets from Round 2: seven at the beginning, fifteen across the five repeats, and six at the end. Match the video's rising-chain and joining position so the beginning chain does not accidentally become another working stitch.
The two single crochets separated by two chains create small points along one portion of the edge. This is not a uniform single-crochet round around the whole petal.
Finish three matching pieces and compare them without stretching. An incorrect increase count will be difficult to hide once they are gathered into the center.
2. Make Four Larger Petals
Work Rounds 1 and 2 as for a small petal. Change Round 3 to:
Ch 2, 7 hdc; repeat [(dc, picot, dc) in one stitch, dc increase in each of the next 2 stitches] five times; 6 hdc, sl st.
The caption abbreviates the middle section as [(dc, picot, dc), 2 dc inc] x 5. The two increases occupy the next two stitches; they are not two ordinary double crochets.
Use the close-up for the picot and its anchoring point. It sits between the two double crochets of the pointed group. Avoid adding an extra repeat at the join.
Make four larger pieces. Their fuller edge is intentional; compare them with one another rather than trying to match the smaller petals.
3. Crochet the Green Calyx
Begin in green with ch 3, 20 dc, sl st as captioned.
For the pointed round, repeat:
Ch 9, skip 1 chain, sl st, 2 sc, 2 hdc, 2 dc, tr; skip 3 stitches of the circular base and sl st to the next attachment point.
The eight return stitches work back along the chain, from short stitches at the tip to a treble near the base. Distinguish those chain stitches from the later instruction to skip stitches on the circular foundation.
Attaching every fourth base stitch creates five points around the 20-stitch foundation. This is a calculated check from the repeat. Inspect the final spacing before fastening off.
4. Make the Wired Leaf
Start with 11 chains, incorporating fine wire as demonstrated. The first-round caption is:
Ch 11, add wire, skip 1, sc, hdc, 6 dc, hdc, “3 sc tog,” hdc, 6 dc, hdc, sc, sl st.
Work along the chain and back on its opposite side, using the demonstrated end-turn placement. The caption's “3 sc tog” occurs at that turning point; check the insertion there rather than automatically applying a decrease across three separate stitches.
The second-round caption is:
(sc, ch 2) x 10; (sc, ch 2, picot, sc, ch 2); (sc, ch 2) x 10; sl st.
This produces the detailed edge and defined tip. Keep the wire covered, then curve the finished leaf gently. A gradual bend along its length looks more natural than a sharp fold across its middle.
5. Assemble from the Center Outward
Arrange the three small petals into a gathered center, then position the four larger petals around them. Let neighboring edges overlap while keeping their upper outlines visible. Rotate the bloom frequently; a gap hidden at the back will show when the flower is displayed from another angle.
Keep the bases together and secure the layers using the demonstrated assembly. Tightening the base should hold the flower without crushing its opening. Check that no outer petal shifts independently before concealing the ends.
Fit the stem connection at the underside and position the calyx beneath the bloom. Its points should frame the base while leaving the main petal surfaces visible. Add the leaf and complete the stem covering, enclosing the support ends.
Shape and Display the Rose
Hold the rose upright before deciding it is finished. If the head leans, inspect the stem connection and balance of the bases. Pulling the top petals in another direction will not correct an off-center attachment.
If the flower looks flat, separate the outer layers gently and check whether their edges are trapped. If one petal stands too high, adjust its base instead of stretching its tip downward.
Leave space between flower heads in a bouquet so the wider petals do not flatten each other. Wrap below the leaves and support the blooms loosely during transport. Follow the yarn's care instructions, considering the internal wire before washing or wet blocking.
Watch the Crochet Rose Tutorial
Use the video to check the picots, leaf turning point, base attachments, and stem finishing during your first rose.
Once the seven petals sit comfortably together, the flower has depth without extra decoration. Finish one rose carefully, record the yarn and hook, and use it as a sample to keep the rest of your bouquet consistent.
Watch every stitch up close
Pair these written notes with the complete video tutorial.
Made with yarn, shared with love. 🧶💗