
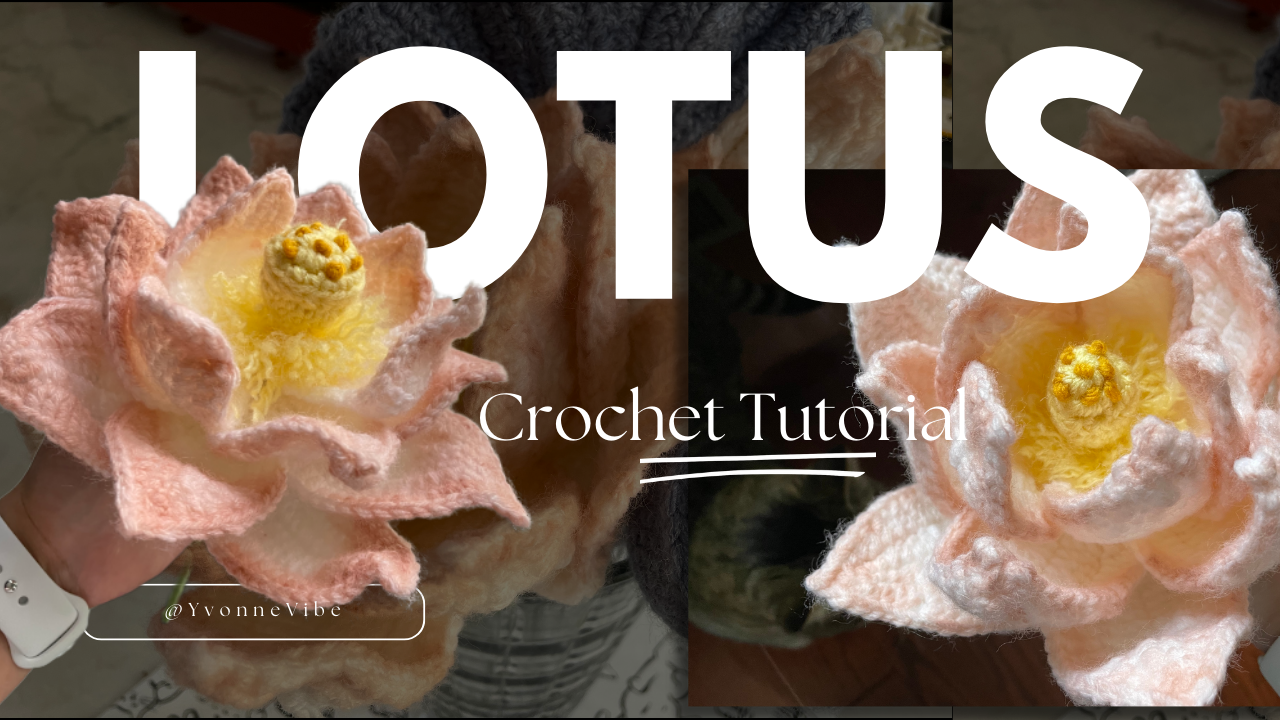
Crochet a Layered Lotus Flower with a Yellow Seedpod Center
A lotus has a different silhouette from a flat crocheted flower. Its inner petals rise around the center, while the outer petals spread farther outward. In this version, pointed tips and supported edges let you arrange those layers into a deep, open bloom.
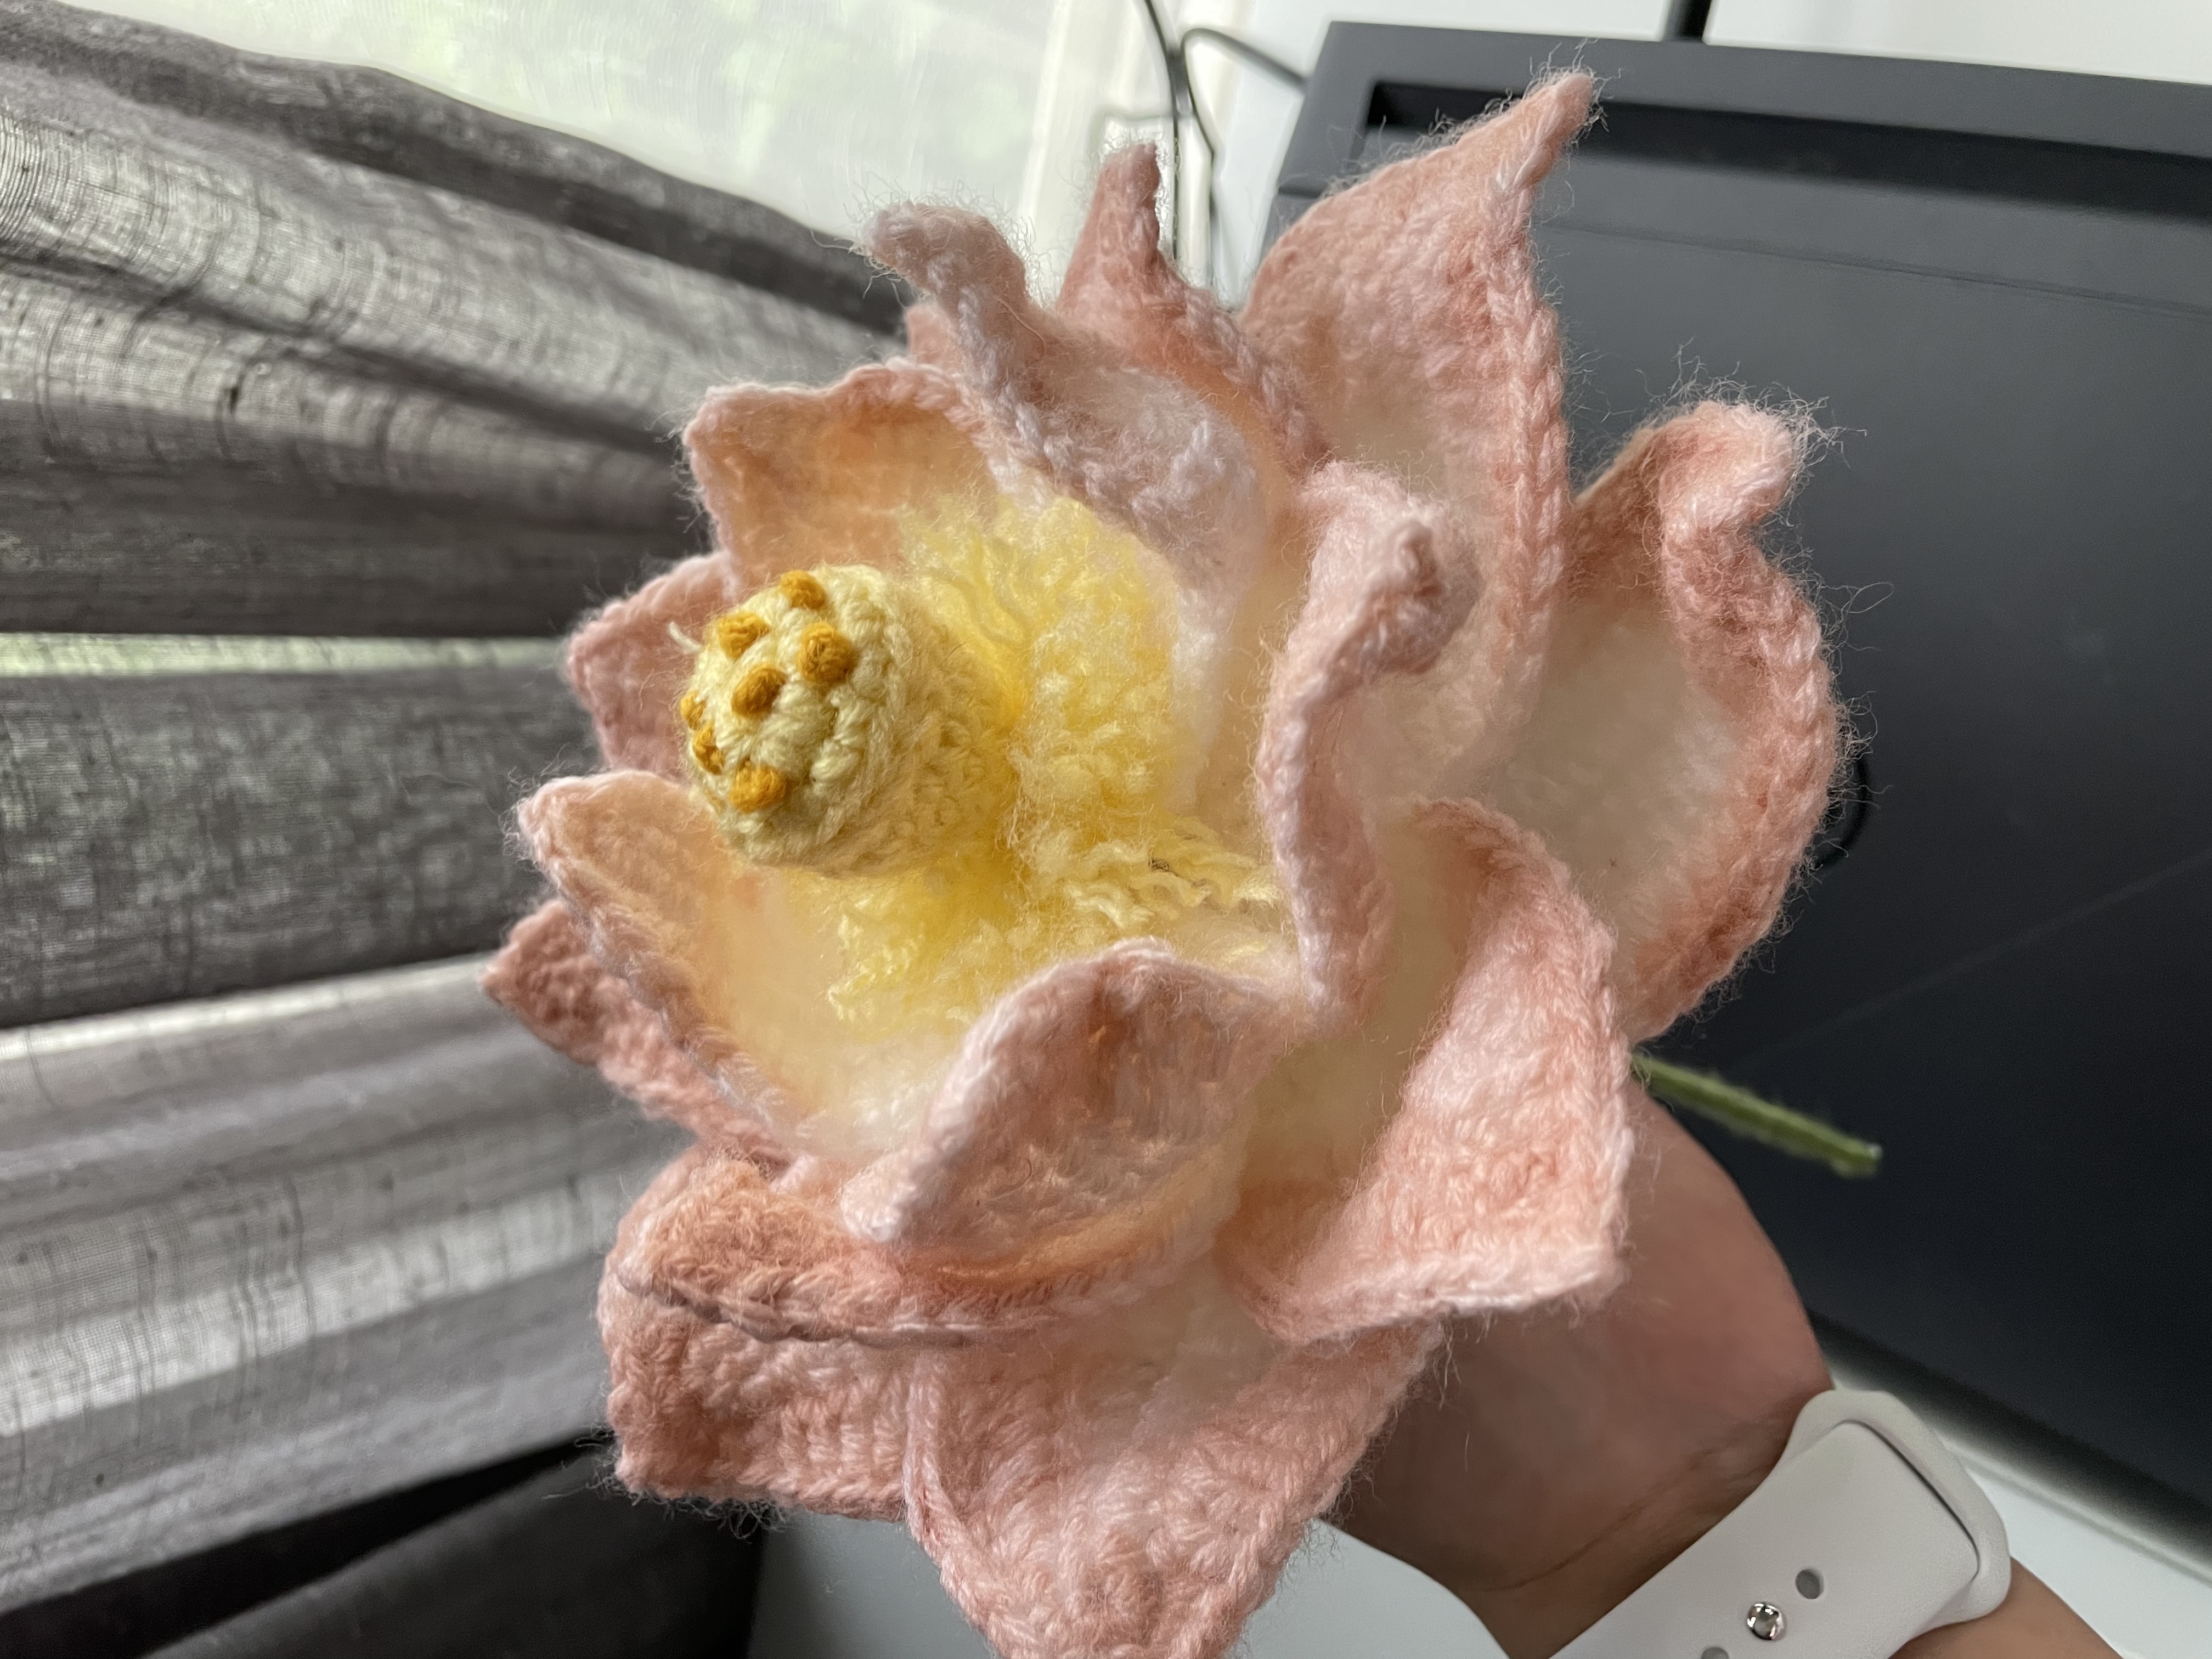
The video builds the petals from white yarn and demonstrates three sizes. A yellow center with darker seed details and a fringe of fine yellow strands sits inside. The finished example has soft pink shading on the petals; the petal formulas themselves are worked in white, so the visible blush should not be mistaken for a separate pink crochet-border round.
This project involves repeated components and careful assembly. Make and label one petal of each size before producing the sets. Comparing them at that stage is easier than discovering mixed sizes while attaching the flower head.
Materials and construction plan
Prepare white yarn for the petals, pale yellow for the center, a deeper yellow for the seed details, a suitable hook, scissors, a yarn needle, and stitch markers. The video also uses fine support wire in the petals, a stem support, wrapping yarn or thread, and a glue gun during finishing. Have suitable wire-cutting tools available for your chosen support material.
No fixed yarn weight, hook size, wire gauge, or finished flower measurement is established here. Choose compatible materials and check that the wire can be enclosed by the stitches without making a hard, exposed edge. This is a supported decorative flower; plan its display before choosing the stem and final angle.
Work in this order: petal samples and sets, seedpod top, seedpod body, yellow fringe, then the layered flower assembly. Keep the bases and wire tails accessible until the arrangement is secure.
Stitch terms and source notation
US terms are used: `ch` chain, `sc` single crochet, `hdc` half double crochet, `dc` double crochet, `tr` treble crochet, and `sl st` slip stitch. `Inc` means two sc in one stitch unless otherwise stated. The video's `SS` means slip stitch.
The petal captions divide a round into left and right sides, marked `L` and `R`. These are the two sides of a foundation chain, not separate petals. Work down one side, turn around the end, then return along the opposite side.
The caption `3 sc tog` at the chain end means the demonstrated three sc grouped in that end position to turn the petal. It is not a three-stitch decrease in this construction. Square brackets at the pointed tip also indicate a group worked at the same tip position.
- Choose the petal size
The three sizes share one construction. Their foundation length and central run of trebles change together.
| Size | Foundation chains | Trebles on each side of Round 1 | Trebles on each side of Round 2 | | --- | ---: | ---: | ---: | | Small | 19 | 4 | 7 | | Medium | 22 | 7 | 10 | | Large | 25 | 10 | 13 |
The small-petal section explicitly calls for a set of five. Keep the medium and large sets separate and compare their quantities with the intended layer arrangement in the video before final assembly; do not assume an additional petal is needed simply to fill a temporary gap in an unsecured layer.
2. Crochet Round 1 of each petal
Let T1 be the Round 1 treble number from the table: 4, 7, or 10.
Left side: Chain the listed foundation length and skip the first chain. Work:
`3 sc, 2 hdc, 2 dc, T1 tr, 2 dc, 2 hdc, 2 sc, 3 sc grouped into the end chain.`
Right side: Continue along the opposite side of the foundation:
`2 sc, 2 hdc, 2 dc, T1 tr, 2 dc, 2 hdc, 3 sc; join with a slip stitch.`
The short stitches narrow the base and tip, while the taller central stitches broaden the petal body. Keep the stitches on opposite sides aligned with the same foundation rather than twisting the chain.
For a counting check, the worked stitches from these sequences total 37 for small, 43 for medium, and 49 for large, excluding the joining slip stitch. Mark the tip area so it remains easy to find in the next round.
3. Work Round 2 and the pointed tip
Let T2 be the Round 2 treble number from the table: 7, 10, or 13.
Left side: Ch 1, then work:
`3 sc, 2 hdc, 2 dc, T2 tr, 2 dc, hdc, sc, [2 sc, picot, sc] at the tip.`
Right side: Continue:
`sc, hdc, 2 dc, T2 tr, 2 dc, 2 hdc, 3 sc; join.`
Finish with the chain and cut shown in the video. Follow its close-up for the picot's chain-and-anchor action. Keep the picot separate from the main perimeter count so its small chains do not become extra body stitches.
The wire is enclosed as demonstrated while working the supported petal edge. Hold it alongside the crochet rather than drawing loops through the wire itself. Keep the wire near the edge without pulling it so tightly that it shortens the perimeter. Leave the base tails needed for assembly and finish the ends so they cannot project through the fabric.
Compare petals before shaping them. Their central raised lines and pointed tips should be visible, and petals from the same size group should have similar proportions. Bend the support gently to create a shallow cup; avoid a sharp fold through the middle.
4. Make the yellow seedpod top
The video begins a pale-yellow top with a magic ring and the following captions:
| Captioned round | Displayed instruction | | --- | --- | | R1 | Ch 1, 6 sc; join. | | R2 | Ch 1, (sc, inc) 6 times; join. |
Source-count note: R2 as written requires 12 base stitches and produces 18, but the preceding R1 caption gives only six stitches. The displayed instructions do not explain that transition. Preserve the source and compare the close-up before proceeding; do not treat an unshown intermediate round as confirmed instructions.
The darker yellow seed details are added to the top with a yarn needle. Distribute them across the visible face, keeping the tails on the reverse. Their placement should remain clear after the pod is assembled and the fringe is added around it.
5. Crochet the seedpod body
A separate pale-yellow body uses a smaller series of increases. The video leaves a small opening in the starting ring rather than pulling it completely closed, with a caption referring to approximately 3 mm of space.
| Round | Instructions | Working stitches | | --- | --- | ---: | | 1 | Ch 1, 6 sc in the ring; join. | 6 | | 2 | Ch 1, (sc, inc) 3 times; join. | 9 | | 3 | Ch 1, (2 sc, inc) 3 times; join. | 12 | | 4 | Ch 1, (3 sc, inc) 3 times; join. | 15 | | 5 | Ch 1, (4 sc, inc) 3 times; join. | 18 |
This sequence adds three stitches per round. Keep its opening and the top panel accessible for the stem and attachment work shown. Align the decorated top with the body before securing them, keeping the visible seed details facing outward.
Because the top caption has the count issue described above, check the actual completed edges before joining. Do not gather a mismatched edge tightly just to conceal the discrepancy.
6. Prepare the fringe and assemble the flower
The fine yellow texture around the seedpod is made from strands rather than another ordinary round of petals. The video winds yellow yarn into a bundle, cuts it, separates the strands, and attaches the resulting fringe around the center with a glue gun. Keep the fringe even enough to surround the pod without covering its decorated top.
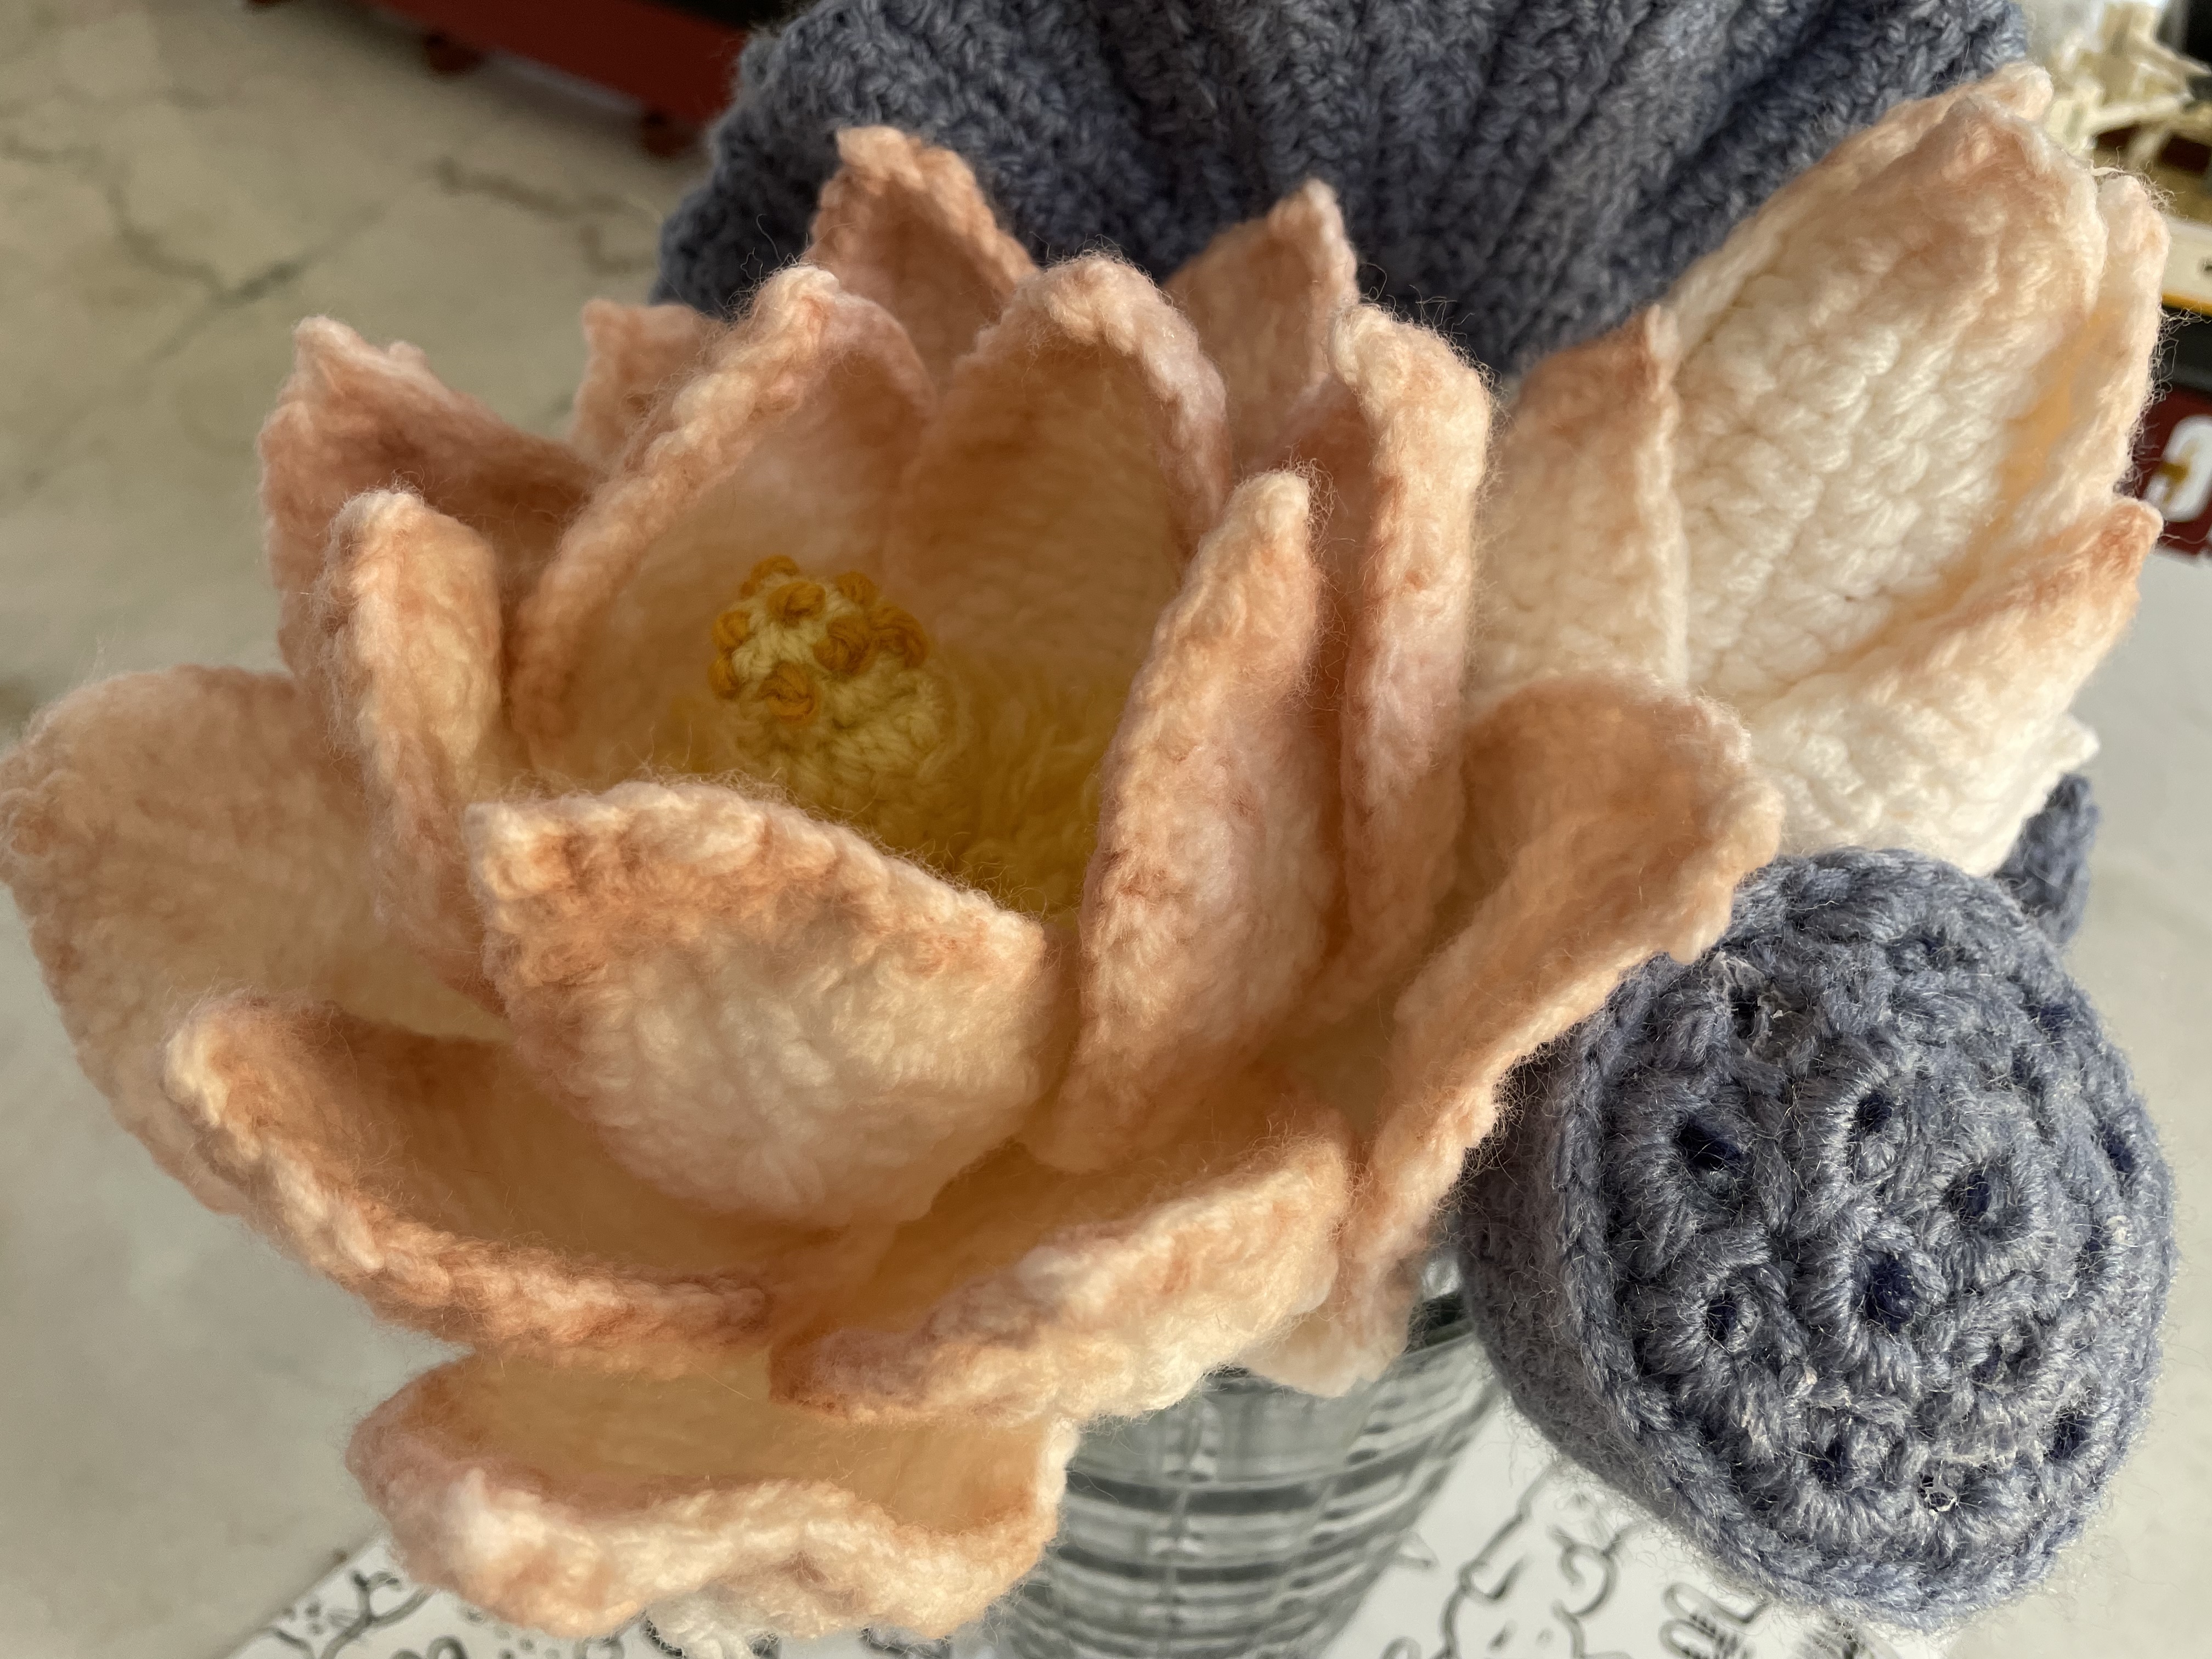
Arrange the smallest petals nearest the center, then place the medium and large petals progressively farther out. Trial-position the layers before fastening the bases. Offset the petals so a tip in one layer appears between the tips in the next, leaving the inner petals visible.
Secure the petal bases around the center support following the demonstrated wrapping and attachment method. Keep checking the flower from above and from the side: a layer that looks balanced overhead can lean once the stem is held upright.
The final wrapping holds the grouped bases together. Cover and contain the wire tails at this stage. Shape the supported petals gradually after the base is secure, raising the inner layer more closely around the seedpod and opening the outer petals into a broader outline.
Troubleshooting the layers
A petal twists along its length. Check whether the foundation chain turned while you worked its opposite side. Also inspect whether the support wire is shorter than the crocheted edge and pulling it sideways.
The pointed tip looks blunt. Find the marked tip position and compare the grouped stitches and picot with the demonstration. An ordinary stitch worked separately from the tip group changes the outline.
The center is hidden. Adjust the inner petals' angle before adding extra height to the stem. The pod and yellow fringe should remain visible between the raised petals.
One layer looks too crowded. Check that the petal sizes have not been mixed and that the bases are evenly spaced. Spread the attachment points before flattening or stretching the petal bodies.
The bloom leans. Check the support and the weight distribution at the base. Do not rely on the petal wire alone to hold up the entire head.
Display and care
Place the flower in a support that suits its stem and weight. For a low arrangement, shape the outer petals so they clear the vessel's rim. Avoid repeatedly bending the same wire point when changing the display.
Remove dust gently and follow the requirements of the yarn, wire, adhesive, and any optional surface coloring. The finished video's pink shading is a visual finish; no separate pink crochet-edge formula is included in the demonstrated petal rounds. Test any chosen coloring treatment on spare yarn before applying it to the completed flower.
Watch the lotus tutorial
Use the close-ups for the wire placement, picot, center decoration, and base wrapping. The seedpod-top caption discrepancy is identified above so it is not mistaken for a fully resolved written round sequence.
Build the flower a layer at a time
The lotus takes shape through the relationship between its three petal sizes. Keep their formulas and sets organized, preserve the pointed tips, and secure the bases before making the final curves. The result is a dimensional bloom with a visible seedpod and layers that open gradually from the center outward.
Watch every stitch up close
Pair these written notes with the complete video tutorial.
Made with yarn, shared with love. 🧶💗