
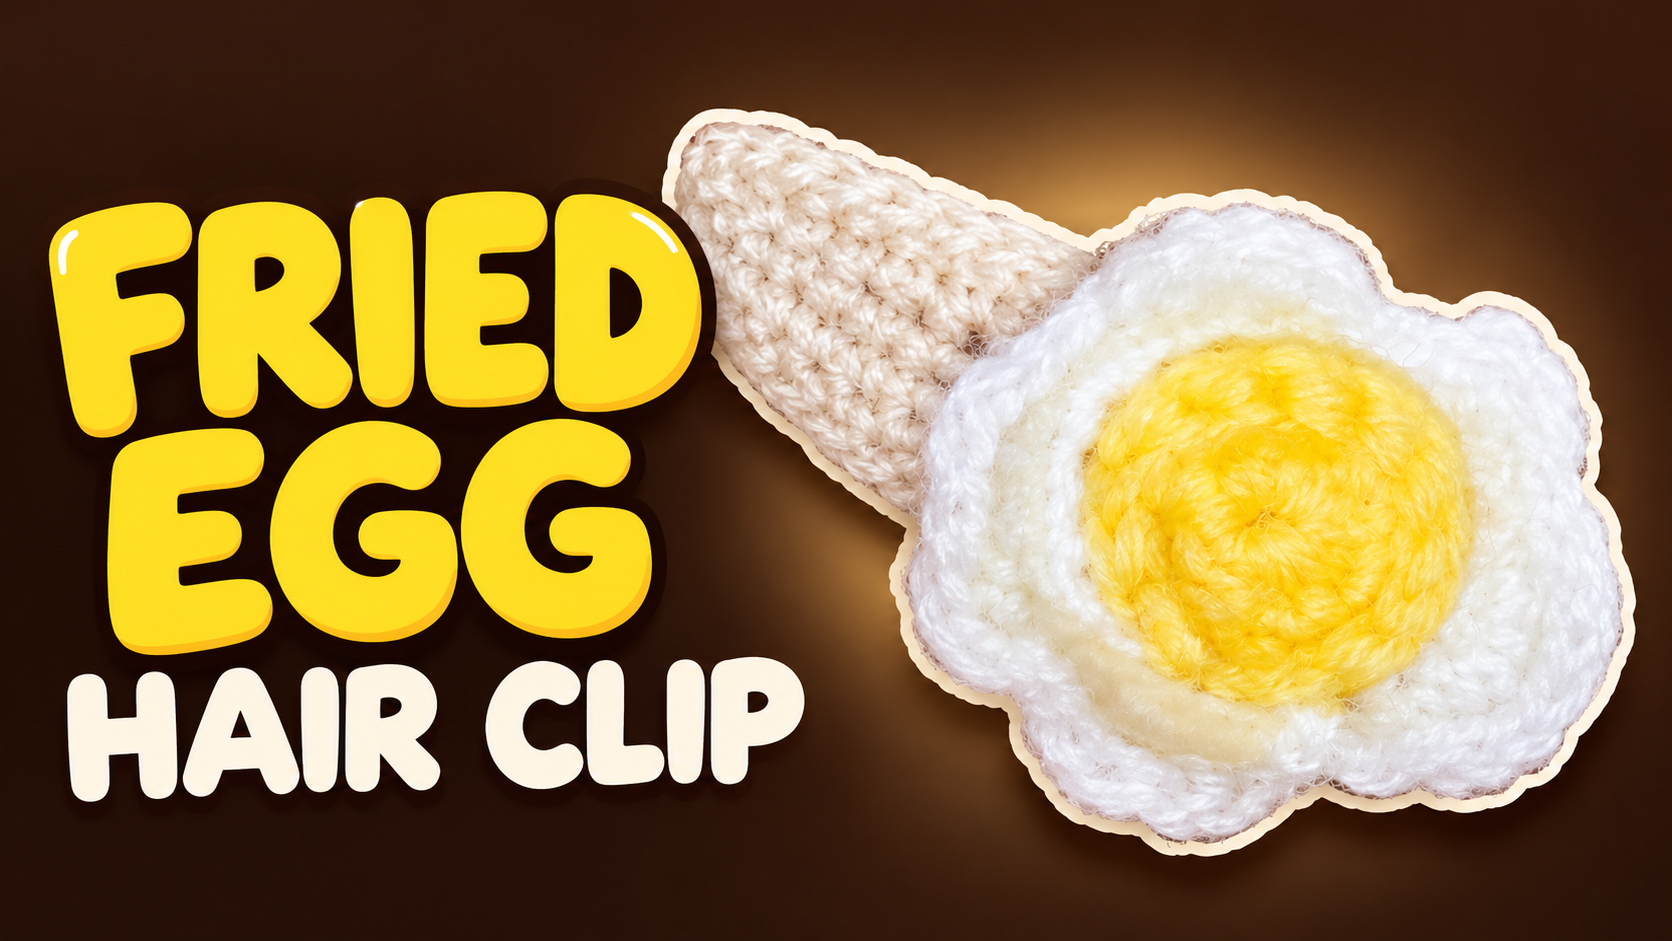
Crochet Fried Egg Hair Clip: A Little Breakfast-Inspired Accessory
A bright yellow center and a softly uneven white edge give this small crochet decoration its fried-egg shape. Beneath it sits a narrow crocheted oval that covers the upper surface of the hair clip. The two shapes have different jobs: the oval fits the hardware, while the egg provides the playful detail.
The video makes the clip base first, then the egg white, then the yellow yolk. The pieces are assembled with a glue gun near the end. Keeping those components separate until the final arrangement makes it easier to position the egg without blocking the clip's moving section.
Gather the materials
Prepare a snap-style hair clip, neutral yarn for its oval cover, white yarn for the egg white, and yellow yarn for the yolk. You will also need a compatible crochet hook, a marker, scissors, a yarn needle, and a suitable glue gun for the demonstrated assembly.
Keep the actual clip beside you while crocheting. A foundation that fits one clip may be too short or too wide for another when the yarn or hook changes. These notes do not establish a fixed gauge, hook size, or hardware measurement; use the video counts as the reference for the shown version and check the physical fit of your own materials.
Choose white and yellow yarns of similar thickness so the yolk remains proportionate to its surround. The neutral base can be close to the egg white in color or slightly warmer, as in the photographed project.
Understand the terms and joins
US crochet terms are used throughout: `ch` is chain, `sc` single crochet, `hdc` half double crochet, `dc` double crochet, `tr` treble crochet, and `sl st` slip stitch. An increase means two stitches of the named type in one base stitch. Thus a `dc inc` is two double crochets in one stitch, while `2 dc inc` means work that increase in each of the next two stitches.
The video uses `SS` for slip stitch. Joined rounds close with a slip stitch into the appropriate first working stitch. Keep lifting chains and joining stitches separate from the stated working counts.
The oval's first-round caption uses the shorthand `3 sc tog` at the far end of the foundation. In this oval context, follow the demonstrated three single crochets grouped into the end chain to turn the corner; do not interpret it as a three-stitch decrease. The construction works around both sides of the foundation chain.
- Crochet the long oval clip cover
Begin in the neutral base color with 13 chains.
Round 1: work around the foundation
Skip the first chain from the hook and work 11 sc along the chain. Work 3 sc into the final end chain to turn around it. Continue along the opposite side with 10 sc, then increase in the remaining starting-end position. Join with a slip stitch.
This gives 26 working stitches: 11 + 3 + 10 + 2. Keep the starting yarn tail clear of the hook when working along the underside of the chain.
Round 2: widen the rounded ends
Work:
`inc, 10 sc, inc in each of the next 3 stitches, 10 sc, inc in each of the next 2 stitches; join.`
The two long sides retain ten plain stitches each. The increases are concentrated around the rounded ends. This round uses 26 base stitches and produces 32 stitches.
Round 3: distribute the end increases
Work:
`sc, inc, 10 sc, (sc, inc) × 3, 10 sc, (sc, inc) × 2; join.`
This uses the 32 stitches of Round 2 and produces 38 stitches. The count increases by six, while the long side sections remain unchanged.
Lay the oval over the upper surface of your clip. The rounded ends should sit comfortably around the hardware without requiring the fabric to be pulled sharply lengthwise. Finish and conceal the yarn end, keeping the underside free from a bulky knot.
2. Crochet the egg white
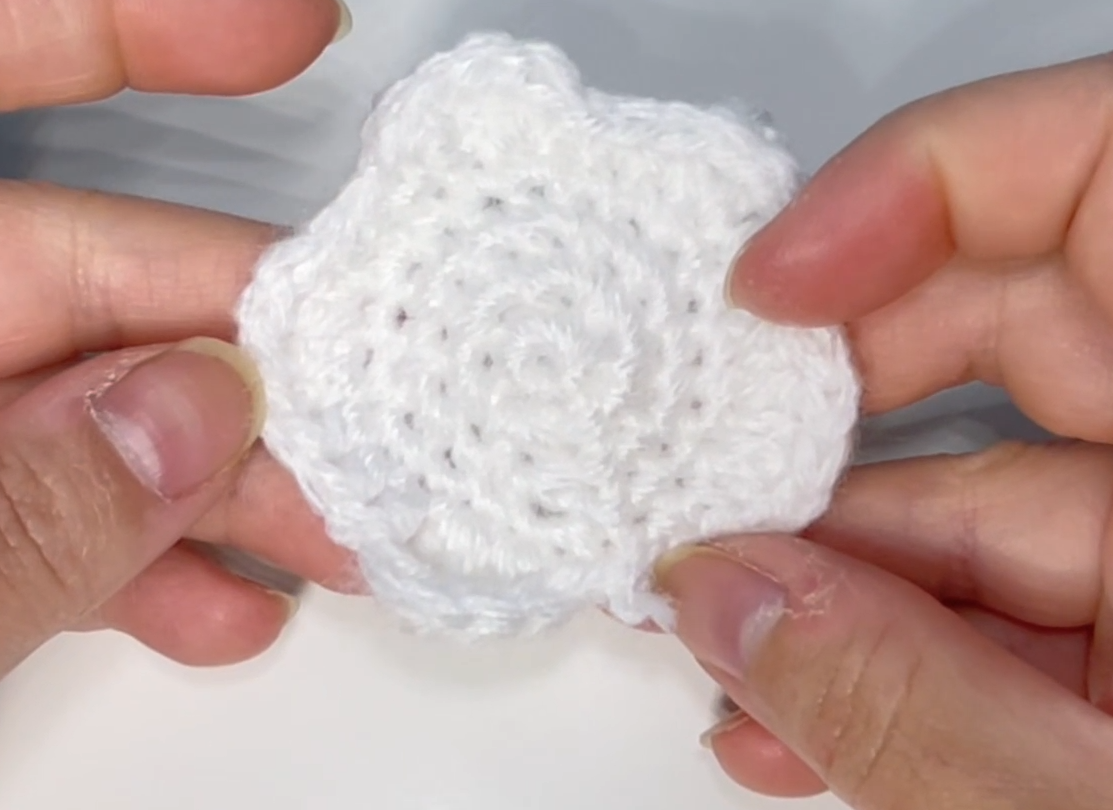
Begin a separate piece in white with a magic ring. The first four rounds create the foundation for the shaped edge.
| Round | Instructions | Working stitches | | --- | --- | ---: | | 1 | 6 sc in a magic ring; join. | 6 | | 2 | Inc in all 6 stitches; join. | 12 | | 3 | (Sc, inc) 6 times; join. | 18 | | 4 | (2 sc, inc) 6 times; join. | 24 |
Count the 24 stitches before starting the final edge. The next round is not a regular scallop repeated evenly around the circle; its changes in stitch height create the egg white's asymmetrical outline.
Round 5: shape the uneven edge
Follow this sequence in order:
- 2 sc.
- Dc increase in each of the next 2 stitches.
- 3 hdc.
- Tr increase in each of the next 2 stitches.
- 1 hdc.
- 2 sc.
- Dc increase in each of the next 2 stitches.
- 3 sc.
- Dc increase in each of the next 2 stitches.
- 3 hdc.
- Tr increase in each of the next 2 stitches.
- Ch 3 and join with a slip stitch as demonstrated.
The stitch groups before the closing chain use all 24 base stitches. Their increases produce 34 worked stitches, with the closing three-chain section separate from that count.
Take particular care with the treble-crochet increases: they make taller lobes than the double-crochet sections. Replacing every tall stitch with a single crochet would flatten the outline. Let the edge sit naturally and compare its silhouette with the close-up before fastening off.
3. Make the yellow yolk
The yolk is a separate small rounded piece rather than a color change in the middle of the egg white.
| Round | Instructions | Working stitches | | --- | --- | ---: | | 1 | 6 sc in a magic ring; join. | 6 | | 2 | Inc in all 6 stitches; join. | 12 | | 3 | 12 sc around; join. | 12 |
The plain third round adds a little depth after the increasing circle. Finish with enough yarn available if needed for securing the end, and keep the yellow center rounded rather than stretching it into a flat disk.
Place the yolk on the white piece before attaching it. Look for a position that leaves white visible on every side while allowing the uneven outer lobes to remain part of the silhouette. A slightly offset position can work well with the organic outline, but it should not make the decoration tip noticeably to one side on the clip.
4. Assemble the clip and egg
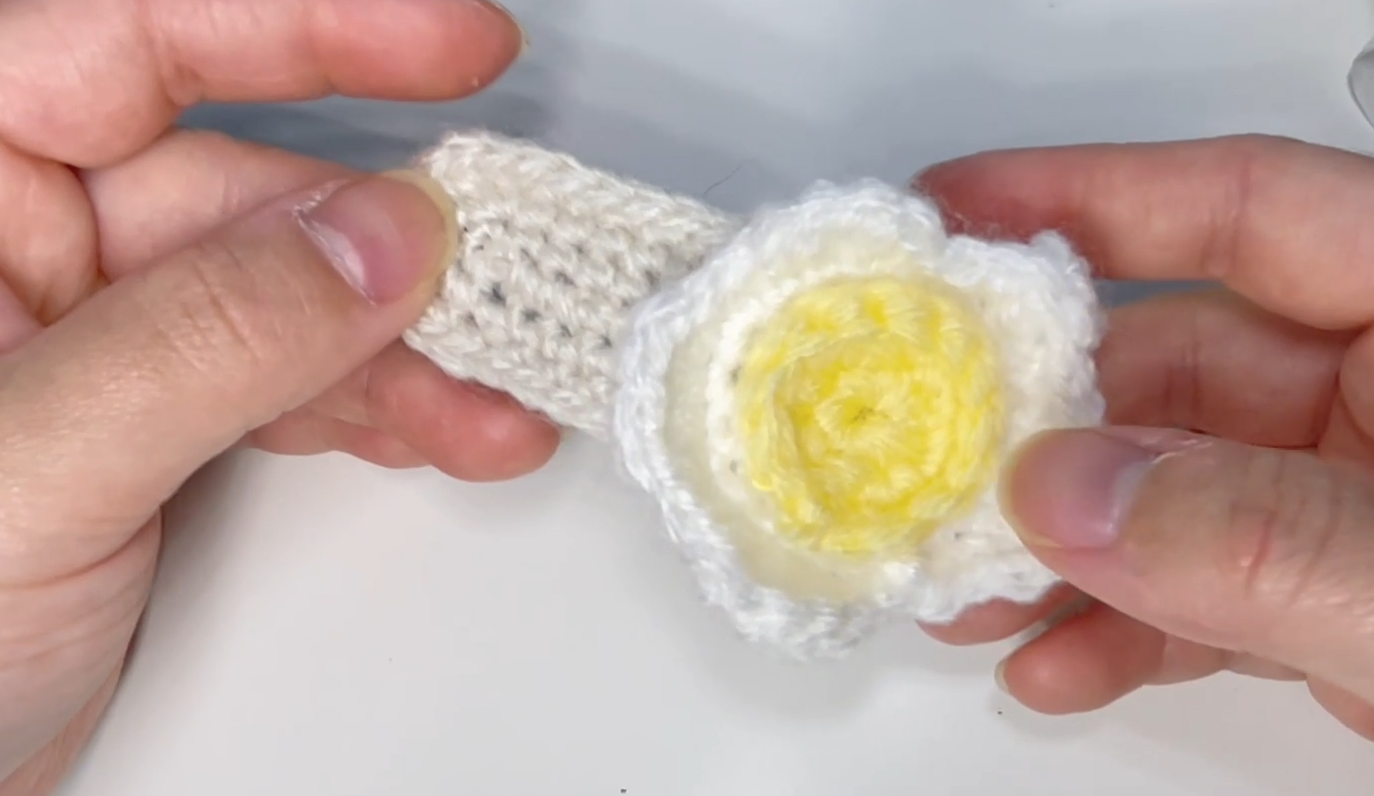
The video finishes with a glue gun. First check the arrangement without adhesive: the oval over the clip's upper surface, the white egg on the oval, and the yellow yolk on the white.
Open and close the undecorated clip once more to identify its moving areas. Keep adhesive away from the springing tongue, hinge action, and any surface that must move freely. Attach the oval to the intended upper section in controlled areas, following the demonstrated orientation.
Position the white piece so the egg is visible when the clip is worn and the neutral base remains aligned with the metal beneath it. Attach the yolk and egg securely without flooding the fabric with glue. Too much adhesive can create a hard lump or show through the crochet spaces.
Allow the adhesive to set according to its instructions before flexing the clip or tugging gently at the decoration. Remove exposed glue strings and check the underside with your fingertips. Yarn tails and hardened glue should not form sharp or bulky spots where the clip rests against the hair.
Troubleshooting the fit and shape
| Problem | Check before changing the pattern | | --- | --- | | The oval twists along its foundation. | Whether the first round followed both sides of an untwisted chain. | | A rounded end forms a point. | The grouped end stitches and the distribution of later increases. | | The base does not cover the clip comfortably. | The actual hardware dimensions, yarn thickness, and relaxed fabric size. | | The white edge looks uniformly round. | Whether the hdc, dc increases, and tr increases were worked in their distinct positions. | | The yolk lies completely flat. | Whether the plain third round was completed after reaching 12 stitches. | | The finished clip will not snap properly. | Adhesive or fabric interfering with its moving tongue or flexing area. |
If an edge becomes unexpectedly wavy during the oval's early rounds, recount before adding another round. The intended base increases occur at the two ends. An accidental increase along a straight side changes the fit differently from an increase at the rounded tip.
Final checks before wearing
Open and close the completed clip several times after the adhesive has fully set. The decoration should remain stable without forcing the mechanism. Check that the metal connector surfaces are clear and that no yarn loop can catch in the moving parts.
Look at the egg from above and from the side. The yellow center should remain visible, the white edge should retain its varied outline, and the base should follow the length of the clip. A tidy underside is just as useful as a neat top for an accessory handled and worn repeatedly.
Spot-clean where practical, following the requirements of the yarn, adhesive, and metal hardware. Avoid soaking the entire clip unless all of those materials are suitable for that treatment. Let it dry completely before wearing or storing it.
Watch the fried egg hair clip tutorial
Use the original close-ups for working around the foundation chain, the taller stitches in the egg white, and the final glue placement around the metal clip.
A small motif with a practical foundation
The egg decoration gives this accessory its personality, while the fitted oval makes it usable as a hair clip. Work the countable base carefully, preserve the changing stitch heights around the white, and leave the hardware free to move during assembly. Those details turn two simple yarn colors into a recognizable little fried egg that sits neatly on its clip.
Watch every stitch up close
Pair these written notes with the complete video tutorial.
Made with yarn, shared with love. 🧶💗