
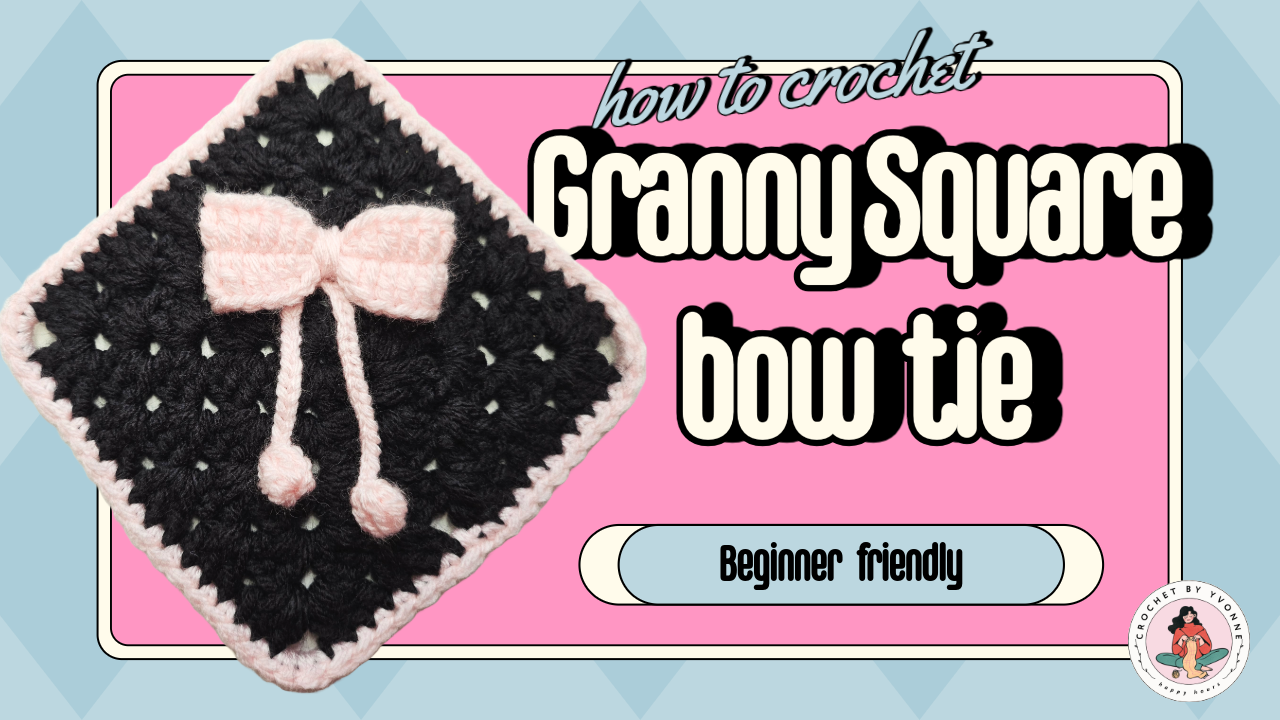
A Pale Pink Bow on a Black Granny Square
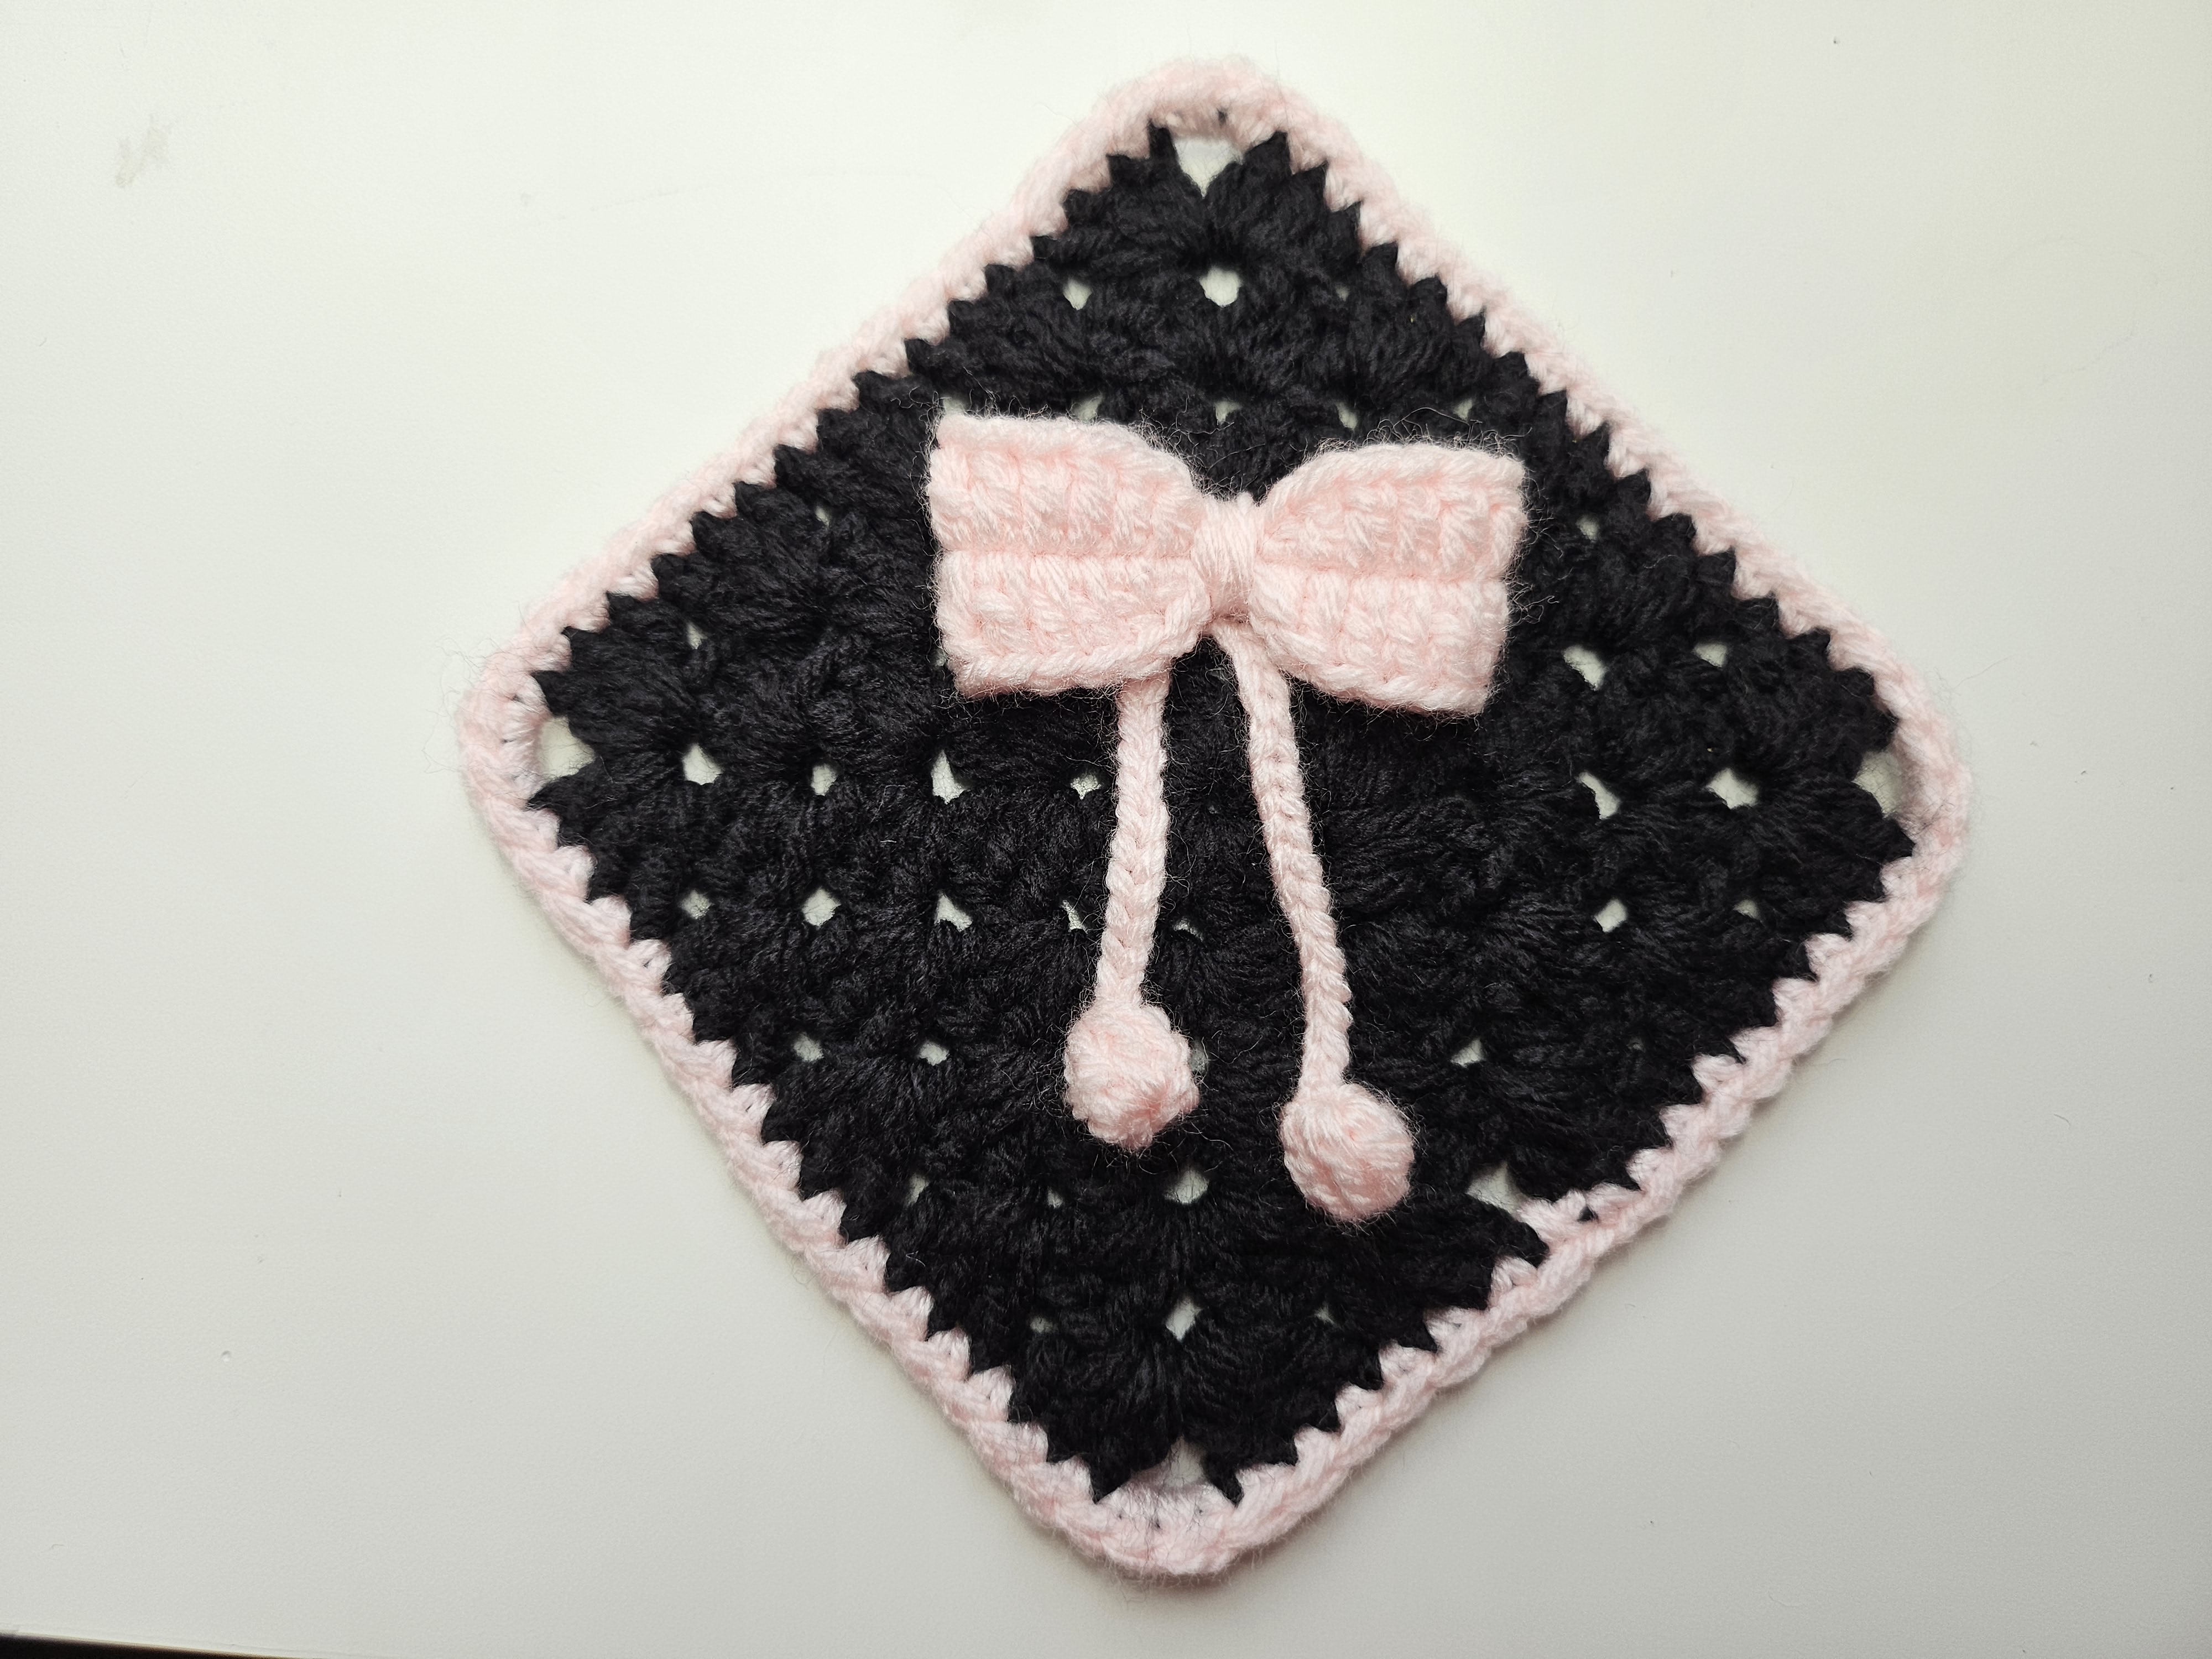
This motif combines a classic openwork granny square with a raised bow. The black background makes the pale pink decoration stand out, while a matching pink edge frames the square.
Two narrow ties hang below the bow, each ending in a small rounded crochet detail. They add movement and make this design more dimensional than a bow worked flat into the fabric.
The finished photo shows the square turned onto one corner, with the bow sitting horizontally across the upper part of that diamond-shaped view. Orientation is therefore part of the design to consider before attaching the decoration or joining several motifs.
Follow the video near the end for the crochet sequence and construction. These notes focus on making an even square, shaping the bow, and deciding where a motif with hanging details will work best.
Prepare the Materials
The original project notes specify medium yarn and a 2.5 mm crochet hook for the demonstration.
For the pictured version, prepare:
- Black yarn for the granny square.
- Pale pink yarn for the edging, bow, and hanging ties.
- A 2.5 mm hook if appropriate for your chosen yarn.
- Scissors and a yarn needle.
- Stitch markers if helpful.
“Medium yarn” does not identify an exact product or guarantee a particular finished size. Check the video’s materials and make a sample if the dimensions matter for your project.
Use yarns of similar thickness for the square and edging. A much thicker pink border can change the outline, while a much finer bow may look small against the background.
Make Dark Stitches Easier to See
Black yarn can make the spaces and stitch tops difficult to distinguish. Work in good light and use a pale surface behind the crochet when checking your placement.
Mark the beginning of a round or a corner if you find yourself losing track. It is easier to confirm the pattern while the stitches are accessible than after several rounds have been added.
Build the Square Before Judging the Decoration
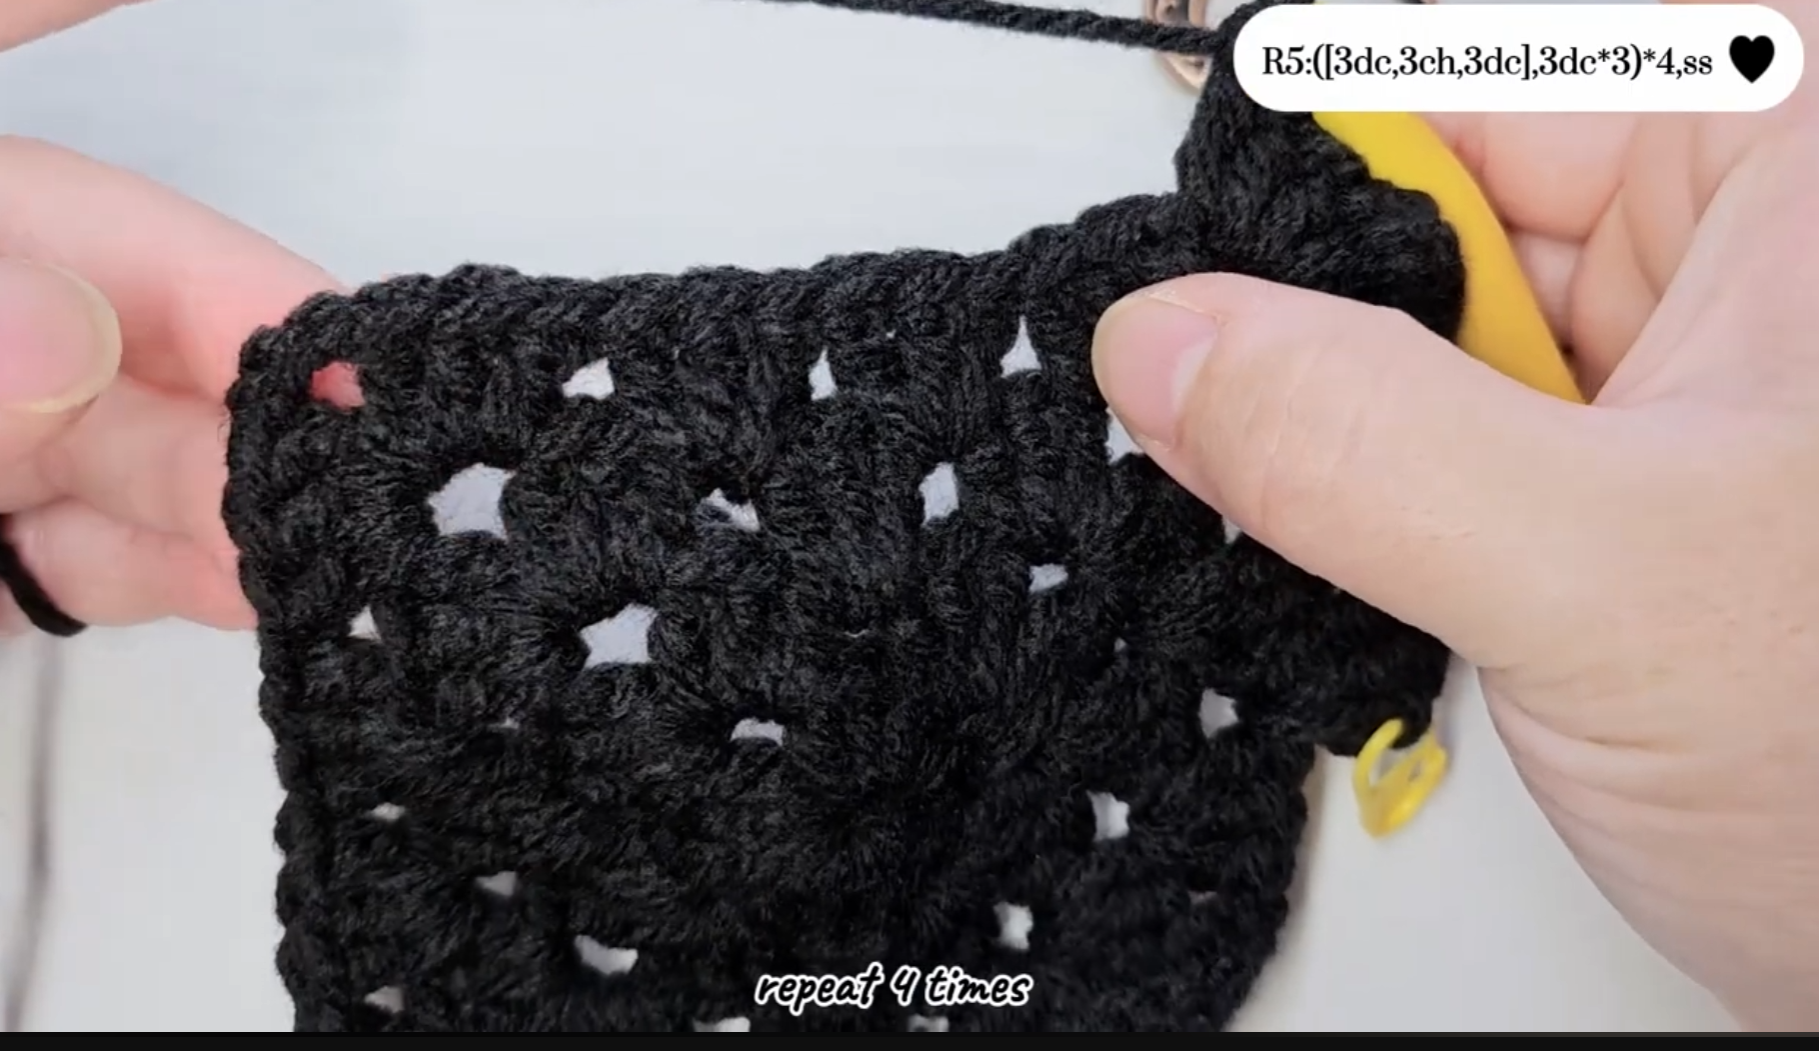
Follow the tutorial’s stitch groups, spaces, and corners carefully. Count the groups along each side at the end of a round.
Lay the work flat occasionally. Check that all four sides develop evenly and that a missed space has not shifted the pattern.
Avoid tightening the round join more than the surrounding stitches. A gathered join can make one area of the square look shorter even when the stitch count is correct.
Keep the Pink Edge Relaxed and Even
The pale pink edging outlines the black fabric without becoming a wide decorative border. Follow the demonstrated corner treatment and keep its tension consistent around all four sides.
A tight edge can draw the square inward. A loose edge can create waves around an otherwise flat motif.
After completing a side, check how it rests on the table. Review the stitch placement before continuing if the edge begins to pull or flare.
Weave the black and pink tails into matching areas where practical. A dark strand carried through the pale edging can be surprisingly visible.
Shape Both Sides of the Bow Together
The pictured bow has two broad sides gathered at a narrow center. Follow the tutorial’s construction and compare the sides before securing the middle.
Check their width, height, and fullness. The two sides do not need identical individual stitches, but they should feel balanced as a pair.
Arrange the folds gently. Pulling the center too tightly can compress the bow into a narrow bundle; leaving it too loose can make the central shape unclear.
Decide the Viewing Direction First
Place the completed bow on the square before attaching it. Rotate the square into the direction it will face in the finished project.
If you want the diamond-shaped presentation shown in the photo, check the bow in that orientation. If the square will sit upright in a conventional grid, position the bow for that layout instead.
Leave room beneath it for the hanging ties. They should be visible without extending unintentionally beyond the area available.
Arrange the Hanging Ties
The two pink ties end in small rounded crochet details. Follow the video for their construction and compare their lengths before finishing.
Lay them beneath the bow and check how they fall. Keep them separate enough to see both strands rather than letting them twist into one line.
Secure the upper connections carefully. Avoid tightening them so much that they distort the bow’s center.
Attach the Bow to Supported Fabric
Use the attachment points demonstrated in the tutorial. Catch enough of the intended crochet stitches to hold the decoration without pulling open one large gap.
Inspect the square from the back as you sew. Keep the attachment neat and avoid puckering the black fabric.
Secure the structural part of the bow while preserving its raised shape. Check that the ties remain free and have not been accidentally caught in the sewing.
Choose a Project That Suits the Raised Details
This square can become a decorative panel on a pouch, tote, or cushion cover. Its bow and hanging ties need more consideration than a flat motif.
On a bag, place it away from a zipper or the area you grip. On a cushion, choose a position where the raised decoration will not be pressed constantly.
If you use the motif in a blanket, consider how the ties may catch during handling and washing. You can adapt the decorative finish, but check the result on one completed sample before making a whole set.
Plan the Layout Before Joining
Arrange the squares with their bows facing the intended direction. The diamond-shaped presentation in the photo does not automatically translate into a standard square grid.
Compare the finished dimensions and edge stitches before mixing this motif with other designs.
Make a test join and check that the seam does not compress the bow or trap a hanging tie.
Finish One Sample First
Complete the square, edging, bow, and attachment before judging the final size. Record the yarn and hook combination for additional motifs.
If blocking is needed, use a method suitable for the yarn and preserve the bow’s raised shape. Gently arrange the ties afterward rather than stretching them under tension.
For a coordinated set, keep the border color consistent and vary the bow color. The black background can give several different accent shades a shared frame.
Watch the Bow Tie Granny Square Tutorial
The full video demonstrates the square and bow decoration. Follow it for the stitch groups, edging, bow construction, and finishing details.
Pause before attaching the bow to check its balance and orientation on your own square.
Check the Finished Motif
Inspect the corners, edging, bow connection, and tie ends. Hide the remaining yarn tails and check that the black fabric still lies comfortably beneath the decoration.
The contrast gives this square its visual impact. An even background, balanced bow, and thoughtfully placed ties help the finished motif look clear and deliberate.
Watch every stitch up close
Pair these written notes with the complete video tutorial.
Made with yarn, shared with love. 🧶💗