
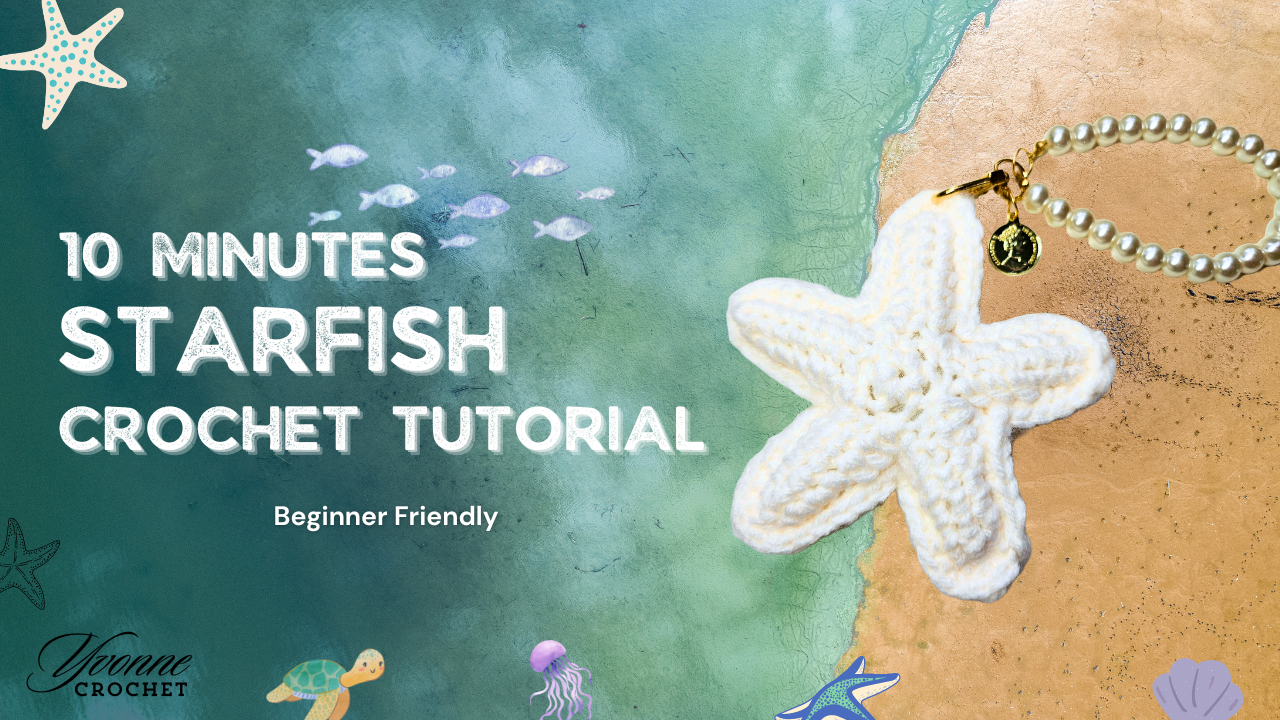
Easy Crochet Starfish Keychain: Beginner-Friendly Tutorial
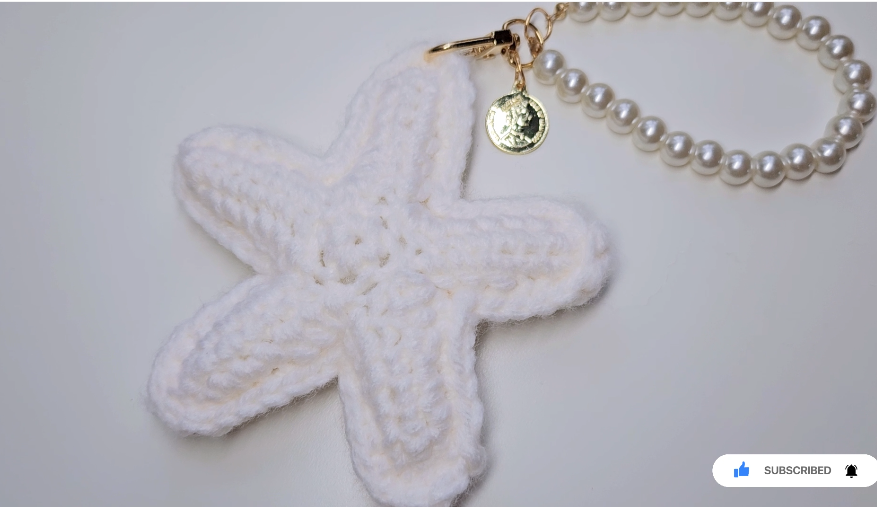
A starfish makes a lovely small crochet project because its shape does most of the decorating. Five narrow arms grow from a tiny center, and a second layer gives the finished piece a softly padded shape. In white yarn, the raised edge is especially easy to see; a sandy beige, coral pink, or pale blue would give the same construction a different mood.
The tutorial builds each side in just three rounds. The first establishes five attachment points, the second creates the long spokes, and the third works around those spokes to give them width. You then make a second piece and join the pair. The written chart below follows the on-screen instructions, with the construction explained in plain language so you can check your work as you go.
Gather your supplies
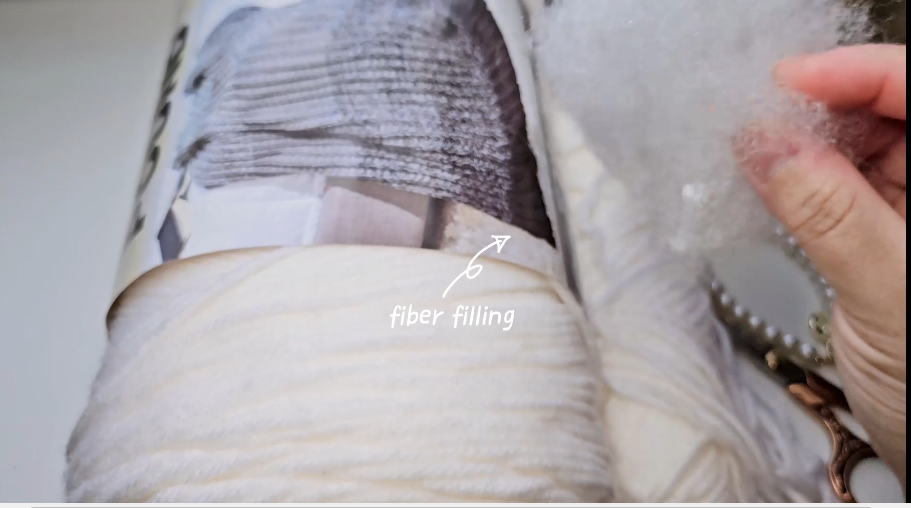
- Yarn for the starfish; use the same yarn for both sides.
- A suitable crochet hook that produces close stitches.
- A small amount of fiberfill.
- A yarn needle, scissors, and a stitch marker.
- A keyring or clasp, plus a short attachment loop if desired.
Choose a smooth, light-colored yarn for your first attempt. It makes the narrow chain edges and slip stitches easier to identify. The source uses white yarn; the exact yarn weight, hook size, yardage, and finished measurements are not specified here, so treat size as dependent on your materials and tension.
The sample's decorative pearl-style attachment can be replaced with a plain yarn loop. Keep the starfish's construction secure before adding any decorative hardware.
Abbreviations and construction notes
US crochet terms are used: ch = chain, sc = single crochet, hdc = half double crochet, ss = slip stitch, and sk = skip. A magic ring forms the center. Parentheses followed by a number mean to repeat the enclosed sequence that many times.
The joining slip stitches are separate from the five central single crochets. Mark the first actual stitch so that the join does not accidentally become a sixth spoke. Keep the chain foundation relaxed enough to work into both edges later.
Three-round starfish chart
Make two matching pieces.
| Round | On-screen sequence | What it builds | | --- | --- | --- | | 1 | 5 sc, ss | Five stitches in a magic ring, joined with a slip stitch. | | 2 | (8 ch, sk, 7 sc, ss) × 5 | Five chain spokes, each worked back toward the center. | | 3 | 2 ch, (3 hdc, 4 sc, ss, 4 sc, 3 hdc) × 5 | The shaped edge around all five arms. |
Round 1: a small, firm center
Work 5 sc into a magic ring. Pull the ring closed and join with a slip stitch as shown in the tutorial. Count five actual single crochets before moving on. Tighten the ring enough to close the hole without making its stitches impossible to enter.
Round 2: build the five spokes
Chain 8. Skip the first chain from the hook and work 7 sc back along the chain toward the center. Slip stitch into the next central stitch, following the placement shown in the video.
Repeat this sequence five times. Spread the spokes out on the table before continuing: there should be five, with seven single crochets along each chain foundation. A missing chain or an extra slip stitch is easier to correct now than after the shaping round.
Round 3: give each arm its outline
Chain 2, then repeat 3 hdc, 4 sc, ss, 4 sc, 3 hdc around each arm. The taller half double crochets give the base more width, while the single crochets narrow the outer section. The slip stitch forms the turn at the tip.
These are consecutive stitches along the arm edges: “3 hdc” does not mean three half double crochets in one stitch. Work outward along one edge and back along the other, using the chain edge and the tip placement demonstrated in the video. Each repeat contains fourteen hdc/sc stitches plus the tip slip stitch.
Keep the tip slip stitch loose enough to let the point lie naturally. After all five repeats, finish and conceal the tail as demonstrated. Do not pull the woven-in end so tightly that it shortens one arm.
Make and match the second side
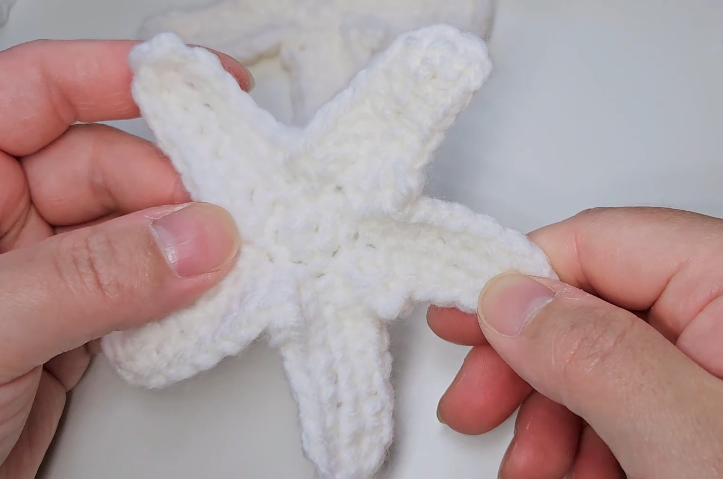
Repeat the same three rounds for a second starfish. Compare the pieces before joining them. Their centers and all five tips should line up without stretching one layer to fit the other.
If they differ noticeably, check the foundation chains, the number of stitches along each spoke, and the tension of the tip slip stitches. A slight difference in how tightly you hold the yarn can become quite visible across five narrow arms.
Join the edges and add stuffing
The video explicitly shows two pieces and joins them with single crochet. Place them together so that the faces you want to display point outward. Match one arm at a time and work through corresponding edges of both layers.
Work slowly around the tips and down into the valleys. Do not skip across a valley with a long loose stitch, and do not make several unnecessary stitches at a tip: either change can distort the outline.
Leave an opening before the last section is closed. Add small wisps of filling, guiding a little into each arm with a blunt tool. Use just enough to separate the layers and soften the shape. Dense stuffing makes the narrow arms stiff and can expose gaps in the crochet.
Complete the single-crochet join, fasten off, and bury the tail inside. Set the starfish down and adjust the filling gently until the arms look balanced.
Add the keychain attachment
Position the attachment at one arm tip or just below it, depending on how you want the starfish to hang. Anchor a yarn loop through several secure stitches rather than pulling a metal ring through one isolated strand. Sew the loop firmly, conceal the ends, and then attach the clasp or keyring.
Hold the ring and give the finished charm a gentle pull. The force should be carried by the secured attachment stitches, not by an elongated point. If you prefer a decorative piece without hardware, leave it as a small hanging ornament or bag embellishment.
Troubleshooting the shape
| Problem | Check before changing the pattern | | --- | --- | | One arm is shorter | Count its seven foundation sc and compare its tip placement with the other arms. | | There are six spokes | Check whether the Round 1 joining slip stitch was mistaken for a central sc. | | The two sides do not align | Compare chain tension and all five Round 3 repeats before joining. | | The edge curls inward | Loosen the joining stitches and check that corresponding edge stitches have not been skipped. | | Filling shows through | Reduce the stuffing; if the fabric itself is open, use a more suitable hook for the yarn. |
Finishing and care
Weave in every end and inspect the center ring on both sides. Wash according to the yarn label, keeping detachable metal hardware separate when practical. Reshape the arms while damp and let the filling dry completely.
For a gift, a simple card with the yarn's care instructions is useful. Keep small hardware and loose decorative beads away from young children and pets.
Video tutorial
The three-round chart appears during the crochet demonstration. Around 8:30, the tutorial shows the two completed sides; the following section demonstrates the single-crochet join. Use that close-up when checking the narrow tip turns and the alignment of both layers.
A little shape with plenty of character
The most satisfying part of this project is seeing the flat spokes become a padded starfish. Accurate chains, matching sides, and a relaxed join do more for the finished outline than extra stuffing or elaborate decoration. Once those details are in place, a simple loop is enough to turn the little star into an everyday accessory.
Watch every stitch up close
Pair these written notes with the complete video tutorial.
Made with yarn, shared with love. 🧶💗