
Easy Crochet Heart Coaster Tutorial: A Sweet Handmade Gift
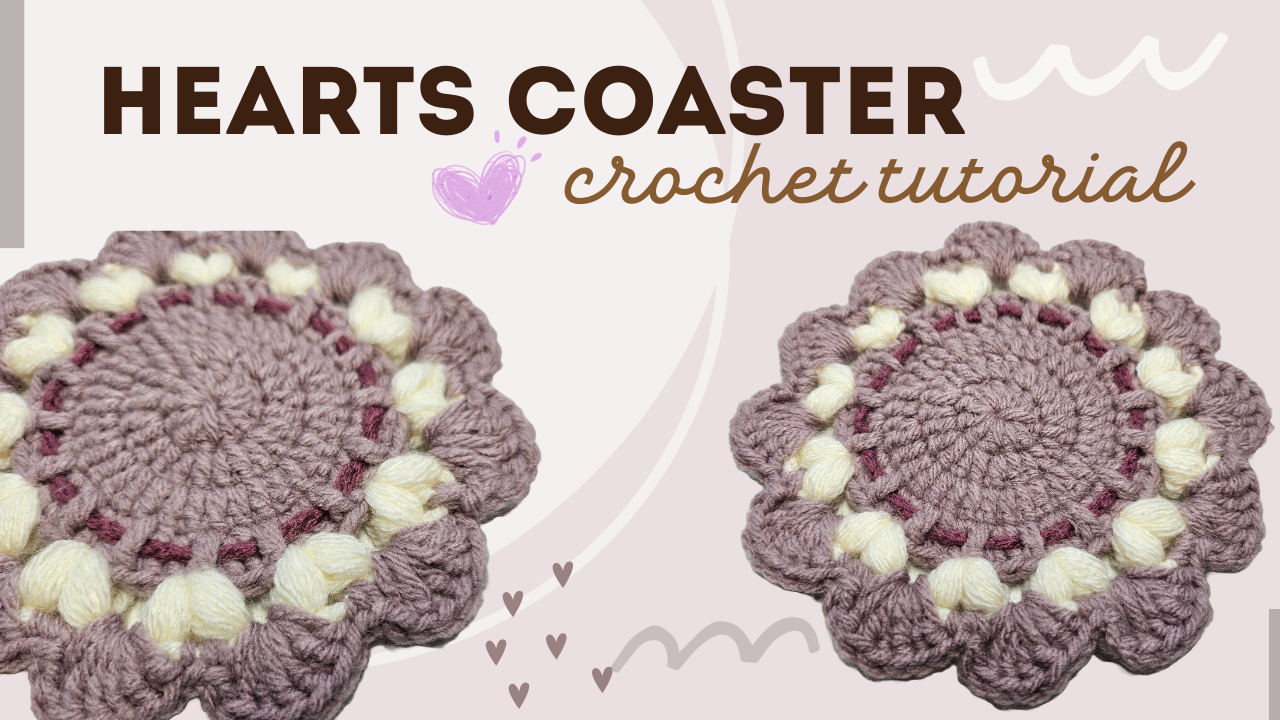
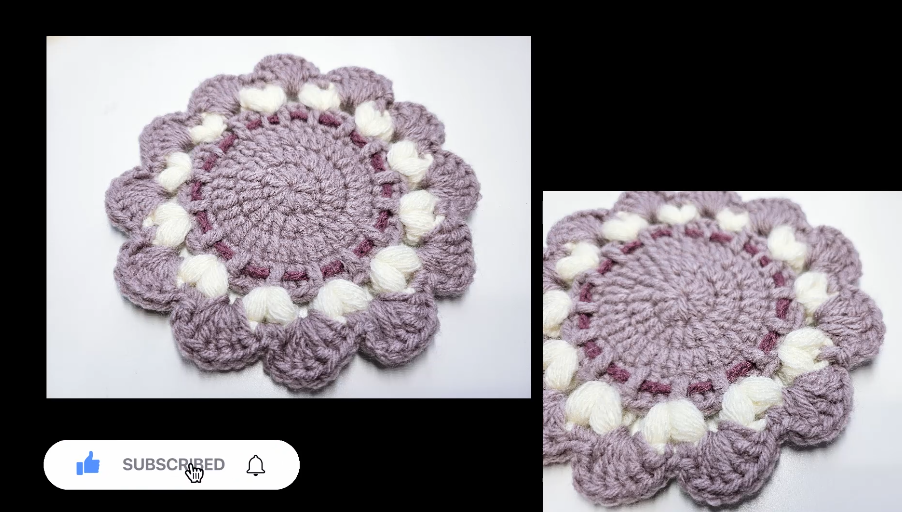
This coaster keeps the cup area simple and saves the decoration for its edge. A solid mauve center is surrounded by small cream hearts and a row of scallops, with a darker stitched line adding definition near the heart bases.
The construction is compact: four expanding double-crochet rounds form the center, paired clusters make the hearts, and a final fan round finishes the perimeter. That separation makes it easier to check the flatness before adding the raised details.
The instructions below follow the Crochetnotes video’s on-screen chart. Calculated totals are given separately from the starting chains and joins. Keep the video nearby for the cluster closure, exact placement between hearts, and the needle-worked accent line.
Materials and color choices
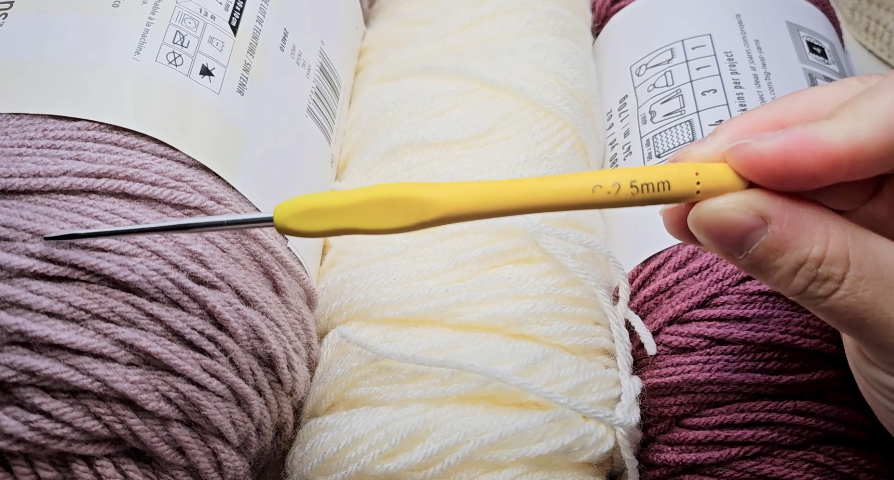
The source materials show a 2.5 mm hook, a main mauve or lavender shade, cream for the hearts, and a darker accent yarn. Prepare scissors, a yarn needle, and a stitch marker as well.
Use yarns of compatible thickness. A much heavier cream strand makes the heart ring fuller and can crowd the edging; a very fine strand produces smaller details against the same center.
The hook size is a reference for the demonstrated materials. Check the resulting fabric if you substitute yarn. No fiber content, exact yardage, or finished diameter is established here, so follow your yarn’s care information and test the finished coaster with your intended mug.
Stitch key
All stitch names use US terminology.
| Notation | Meaning | | --- | --- | | ch | Chain | | sc | Single crochet | | dc | Double crochet | | dc inc | 2 dc into one base stitch | | hdc cluster | The grouped half-double-crochet loops demonstrated in the video | | sk 3 | Skip 3 base stitches | | ss | Slip stitch | | [group] | Work the grouped elements together at the indicated location |
For the raised hearts, follow the demonstrated cluster movement rather than making five ordinary completed half double crochet stitches. The grouped loops are what give each lobe its fullness.
1. Crochet the solid center
Begin with a magic ring in the main color. The video uses a chain-2 rise and a slip stitch to join each displayed round.
| Round | On-screen instruction | Calculated worked stitches | | --- | --- | --- | | 1 | 2 ch, 12 dc into the ring; ss | 12 dc | | 2 | 2 ch, 12 dc inc; ss | 24 dc | | 3 | 2 ch, (dc, dc inc) × 12; ss | 36 dc | | 4 | 2 ch, (dc, dc inc, dc) × 12; ss | 48 dc |
The starting chains and joining slip stitches are written separately from the double crochet counts. Mark the first actual stitch and keep that convention consistent through all four rounds.
Round 4 has a single double crochet on each side of the increase inside its bracket. Work the complete three-part repeat twelve times; do not accidentally work the final double crochet only once after all the repeats.
Check the center before adding hearts
Close the magic-ring opening and lay the circle on a level surface. It should rest naturally without being stretched flat by hand.
If it cups or waves, count the last round and check the joins. A doubled join stitch or an omitted increase can affect the decorative rounds even when the center looks almost correct.
This is also the right moment to compare the solid area with the bottom of your mug. The raised hearts sit outside it; they are not intended to become an uneven support under a wide cup base.
2. Work the cream heart round
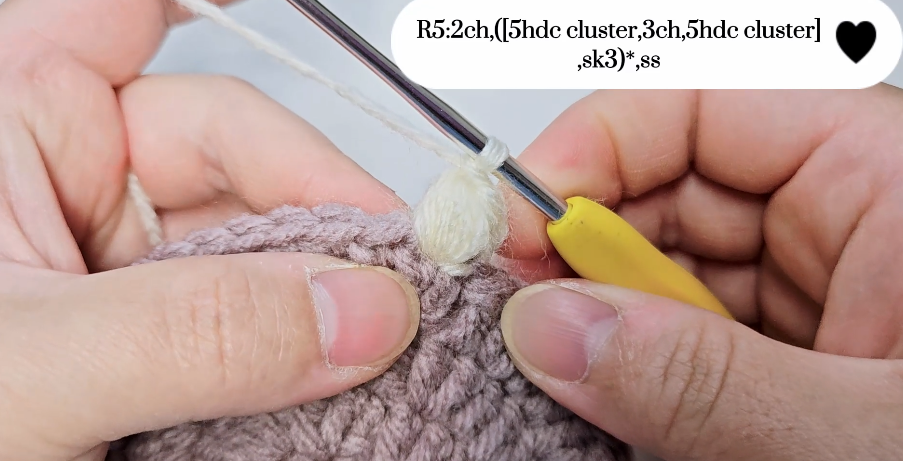
Change to cream as shown in the tutorial. The source writes Round 5 as:
2 ch, ([5 hdc cluster, 3 ch, 5 hdc cluster], sk 3) repeat around; ss.
Each bracketed pair forms one heart: a raised lobe, a three-chain space, and a second raised lobe worked at the same indicated base location. Skip three base stitches before working the next pair.
With a 48-stitch base, one occupied anchor followed by three skipped stitches gives a four-stitch repeat. That produces 12 hearts around the coaster. This is a calculation from the displayed repeat and the preceding round.
Make the paired lobes consistent
Draw the loops to a similar height and complete each cluster with the video’s closing movement. Keep the three-chain section open enough to remain identifiable in the next round.
Before moving to the next anchor, check the pair as a whole. One tightly worked lobe beside a loose one makes the heart look uneven even if both use the same number of drawn-up loops.
Count the skipped base stitches rather than estimating the distance visually. If the final repeat seems crowded, recount the anchors before adding an extra heart or omitting the last one.
At the end, check for twelve three-chain heart spaces and twelve paired shapes. Secure the cream transition without drawing the whole ring inward.
3. Add the scalloped perimeter
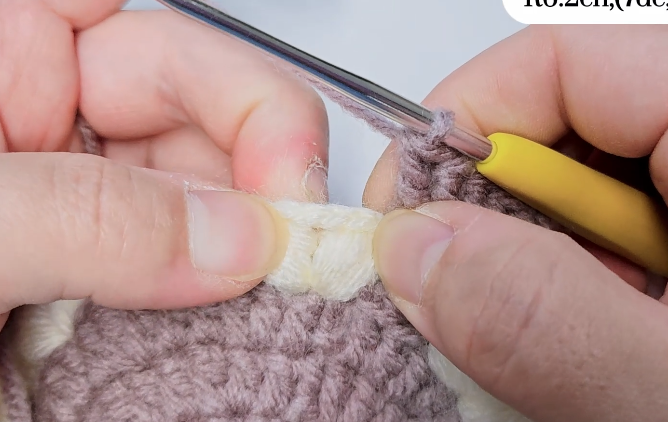
Return to the main color. The displayed Round 6 is:
2 ch, (7 dc, 2 sc) repeat around; ss.
Follow the demonstration for the placements: the seven-double-crochet fan uses the heart’s three-chain opening, and the single crochet stitches connect the edging between the fans at the indicated points.
The compact overlay does not spell out every insertion point, so do not spread the seven double crochet one per stitch around the entire cream round. They form a fan in the designated space.
There is one fan for each heart, giving 12 scallops when the preceding round has twelve hearts. Keep the two connecting single crochet stitches relaxed enough that the scallops can settle around the center.
After a few repeats, lay the coaster down. Check that the edge frames the cream details without turning the center into a bowl. If a section is crowded, inspect its fan placement and connecting stitches before continuing.
4. Work the darker surface accent
The darker line is finished with a needle after the main crochet. It is not an additional numbered body round between the center and the hearts.
The later demonstration traces a chain-like line along Round 4. Its subtitle describes moving two stitches back and one stitch forward as the needle passes through the developing chain. Follow the close-up to keep each new link connected to the previous one.
Work a short section and lay the coaster flat. The line should sit on the surface without gathering the double crochet underneath it. Pulling every link tightly makes a dark ridge and can shrink the center.
Keep the accent positioned consistently around the same reference round. Join its beginning and end neatly, secure the tail on the reverse, and hide it through matching fabric where practical.
Finish without crushing the hearts
Weave in all ends and inspect the back for loose strands. The cream tails should not cross open spaces where they will remain visible or catch during use.
If the yarn benefits from blocking, use an appropriate method and ease the coaster into a round shape. Arrange the heart pairs and scallops gently rather than pressing them completely flat.
Let it dry fully before measuring or judging the final shape. Check both the solid center and the perimeter on a level surface.
Test the coaster with a mug
Place an empty mug on the solid center. The base should sit comfortably inside the raised heart ring and remain steady when touched lightly.
If a wide mug straddles the decorative round, use a smaller mug with this sample. A larger coaster requires a deliberate adjustment to the center and a compatible heart-repeat count; simply adding an arbitrary base round changes the relationship between the circle and the four-stitch repeat.
For a matching set, finish one complete coaster first. Record its yarns, hook, solid-center diameter, outer diameter, and the fullness of the heart clusters. Compare those details as well as the final scallops when making additional pieces.
Troubleshooting
The heart count is wrong. Recheck the 48-stitch base and the anchor-plus-three-skips repeat. Do not compensate by squeezing an extra heart into the join.
The hearts look like flat fans. Check the cluster technique. Five completed ordinary hdc stitches do not create the same raised lobe as the demonstrated grouped loops.
The perimeter lifts. Check the fan spaces and connecting single crochet tension before trying to block it flat.
The center puckers after adding the dark line. Ease the needle-worked chain links. The accent should follow the existing circle rather than tighten around it.
Watch the heart coaster tutorial
Use the video to follow the cluster closure, the fan and connecting-stitch placements, and the darker needle-worked line on Round 4.
A useful center with a decorative finish
The coaster works best when its two roles remain clear: a level middle for the mug and a raised heart-and-scallop frame around it. Check the repeat counts, settle the details, and finish the reverse neatly. Those small steps turn a short crochet project into a thoughtful handmade gift.
Shape the Coaster Without Flattening the Details
Weave in the ends securely, then use a blocking method suitable for the yarn.
Ease the round center and scallops into position. Avoid stretching one side more than another or pressing the raised cream details completely flat.
Let the coaster dry fully before assessing its final shape. Inspect it on a level surface and check whether the center sits evenly.
Test the Mug on the Solid Center
Place an empty mug on the lavender middle before using the coaster for a drink. The base should rest on a stable area rather than straddle the raised heart ring.
Gently check for rocking. A mug with a wide base may need a larger coaster than the sample.
If the base extends into the decorative rounds, choose a smaller mug or make a larger version using an appropriate pattern adjustment. Do not rely on stretching the finished center to create extra space.
Check the coaster after washing as well, since its dimensions may change with the yarn and care method used.
Make a Coordinated Gift Set
Finish one complete sample before making several. Record the yarns, hook, and finished diameter so you can compare the next pieces.
Keeping the cream hearts consistent while changing the center and border colors creates a related set. Lavender, dusty pink, and soft blue can each give the same detail a different appearance.
For a more uniform collection, compare the center size and cluster fullness as well as the outer diameter.
Stack the finished coasters loosely for gifting, and include care information for the actual yarn you used.
Watch the Heart Coaster Tutorial
The full video demonstrates the round center, contrasting details, cream hearts, and scalloped edging.
Pause during the cluster round to check the repeated shapes and spacing before moving to the outer border.
Keep the Cup Area Ready for Use
Inspect the center, round joins, and hidden yarn ends before using the coaster. Make sure the mug sits comfortably within the solid area.
Allow a damp coaster to dry fully before putting it away, and follow the yarn’s care instructions when cleaning.
The appeal of this design comes from its balance: a simple round center for the mug, with small cream hearts and lavender scallops arranged around it.
Watch every stitch up close
Pair these written notes with the complete video tutorial.
Made with yarn, shared with love. 🧶💗