
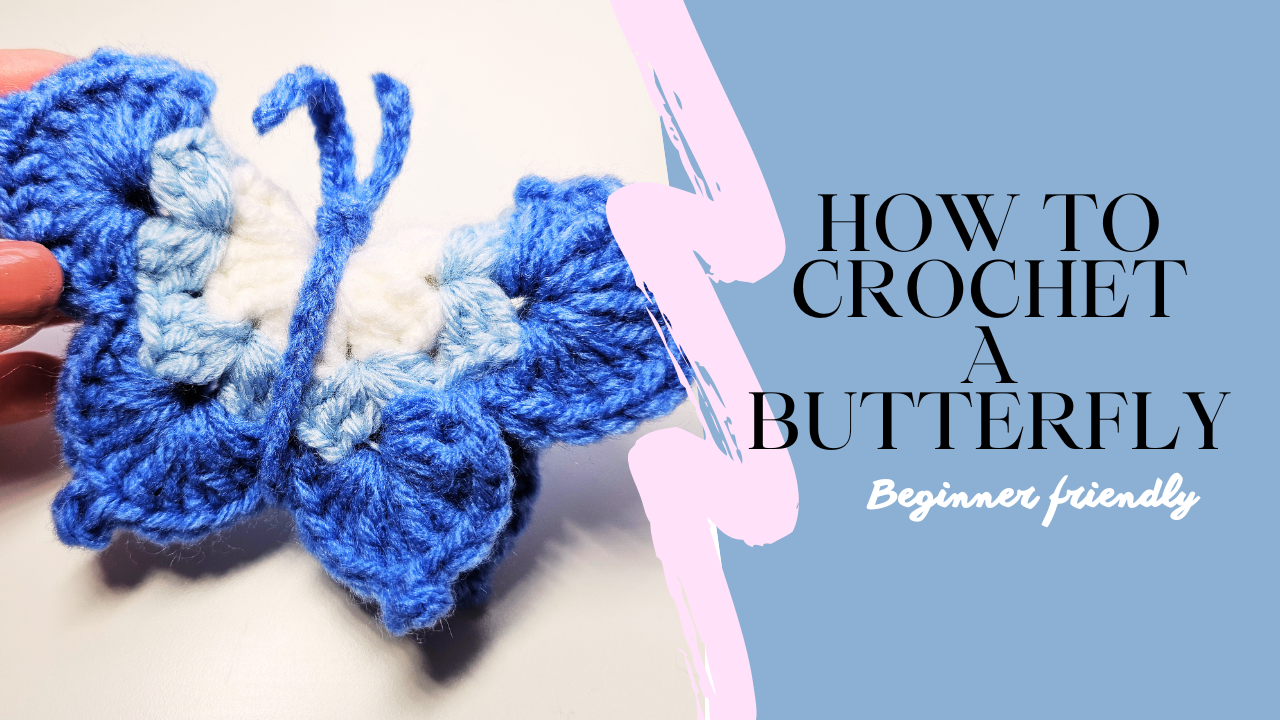
Easy Crochet Butterfly with Layered Blue Wings
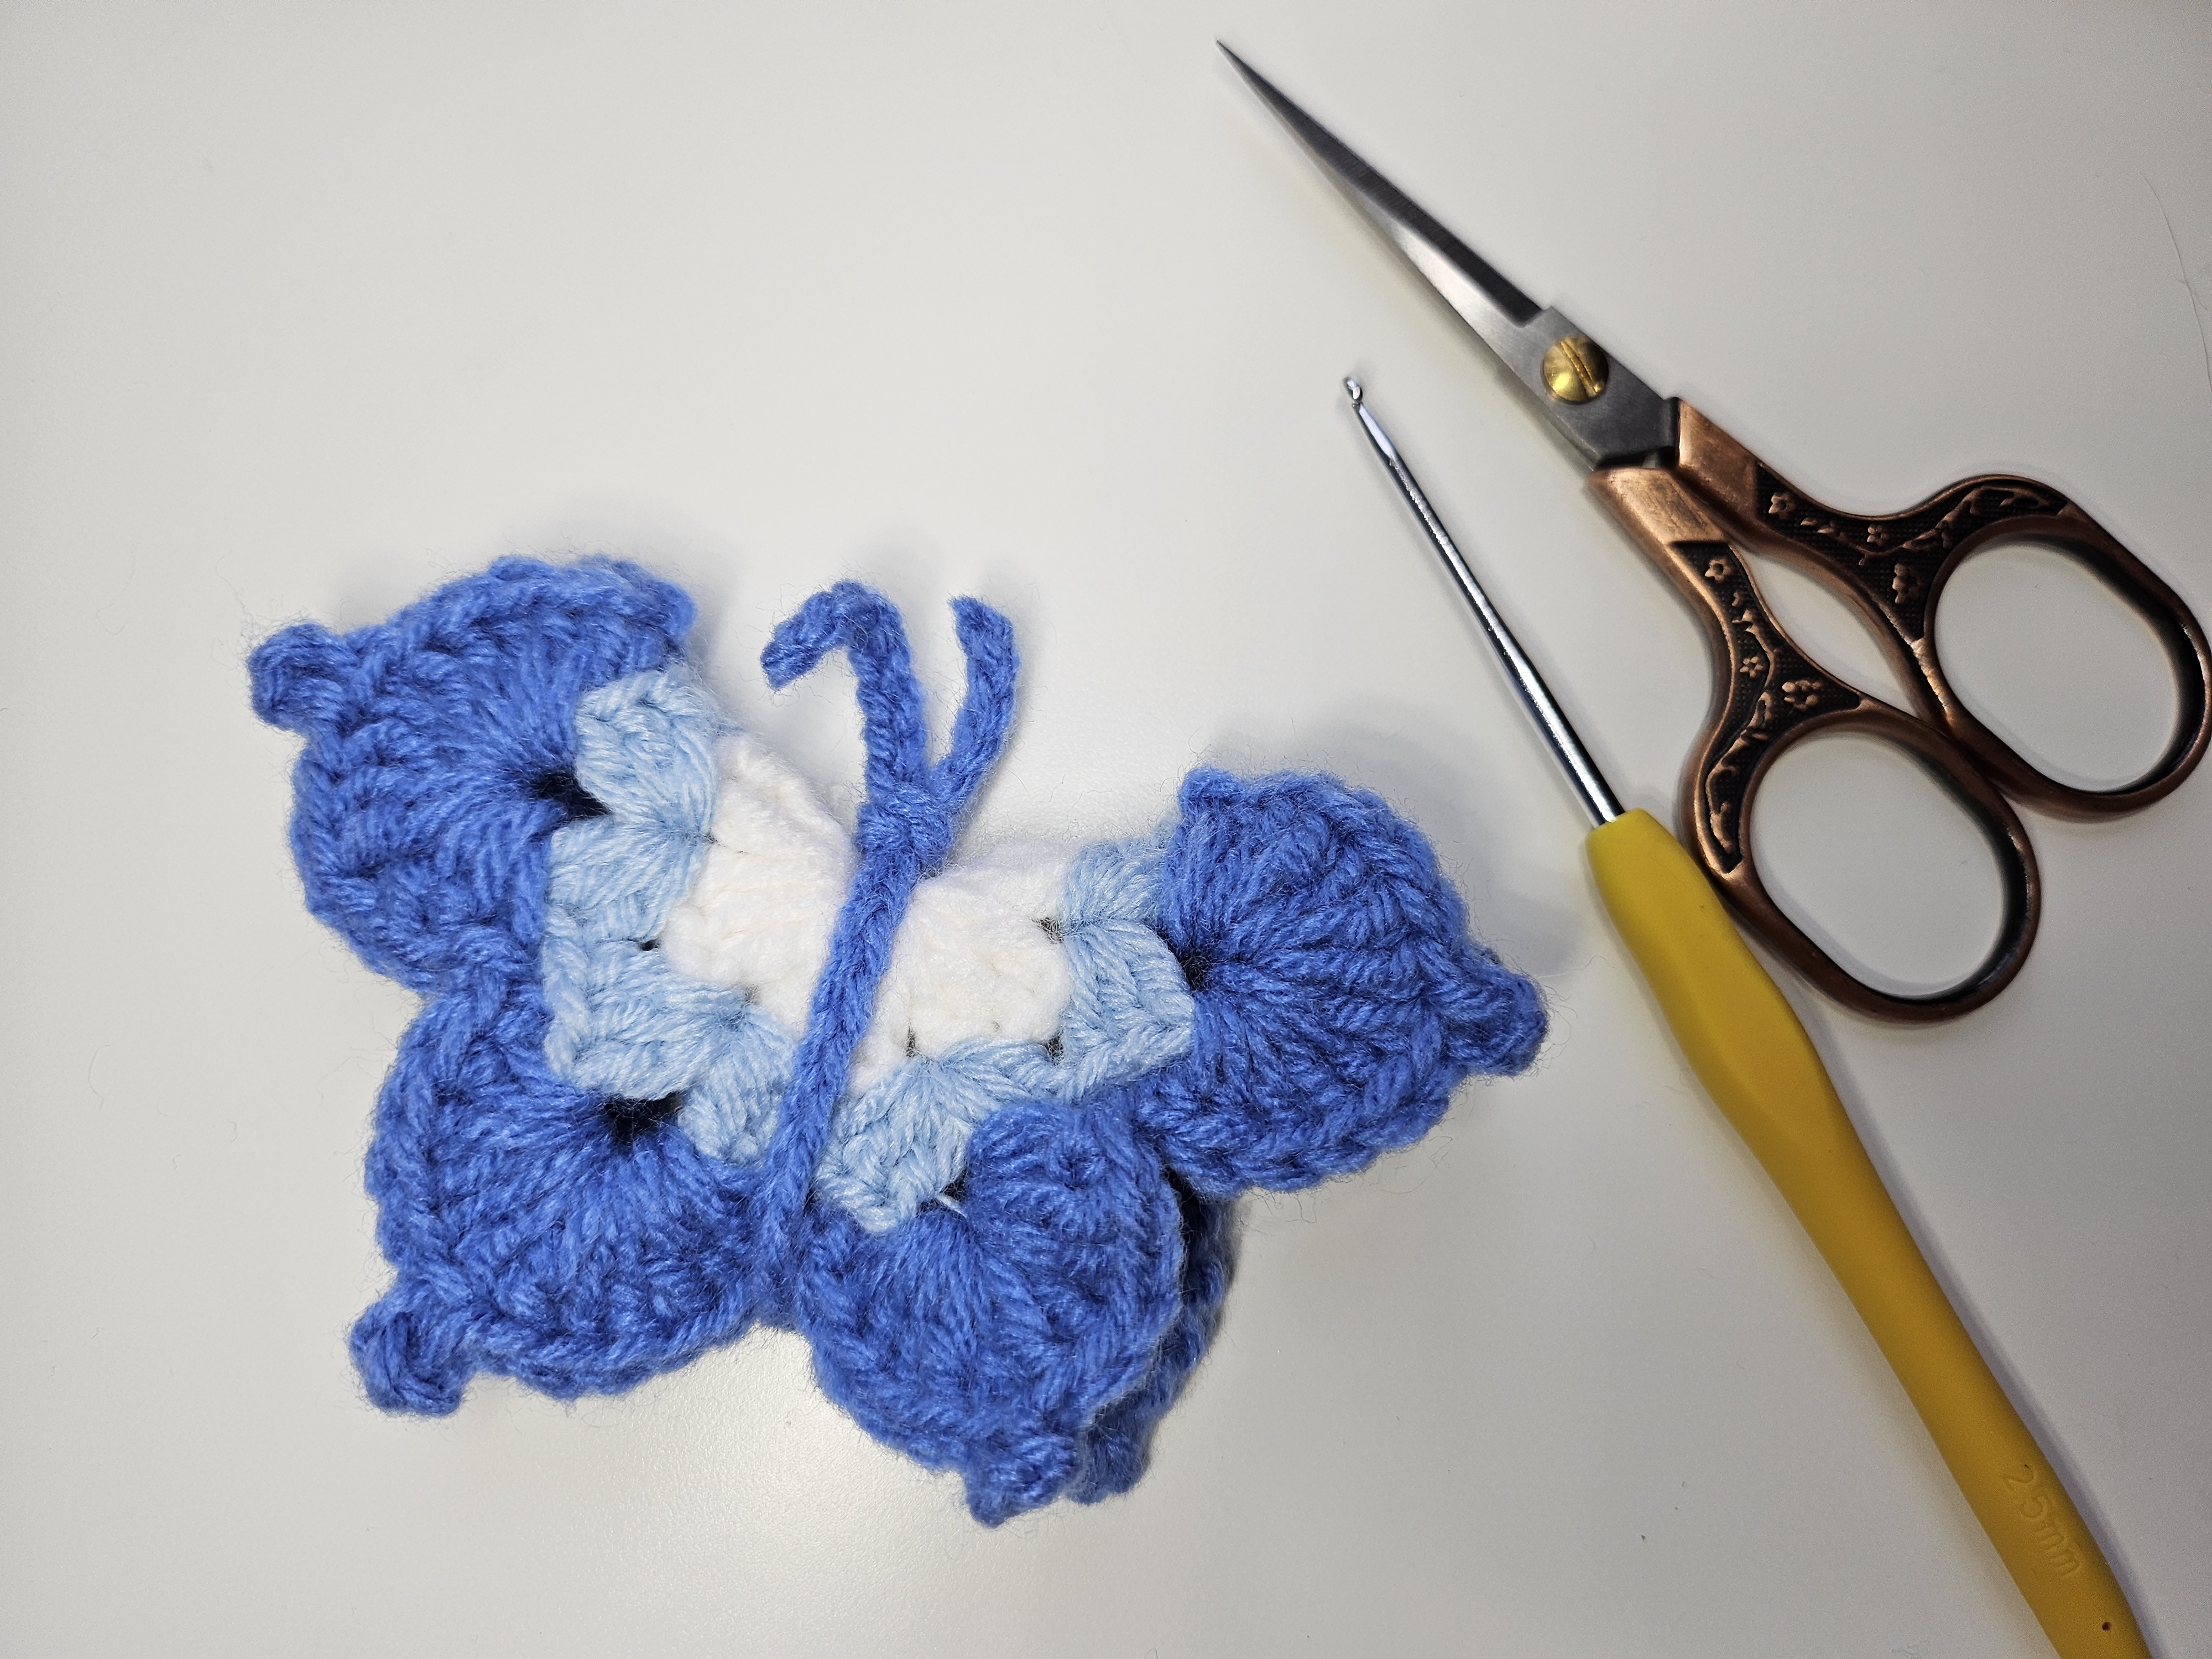
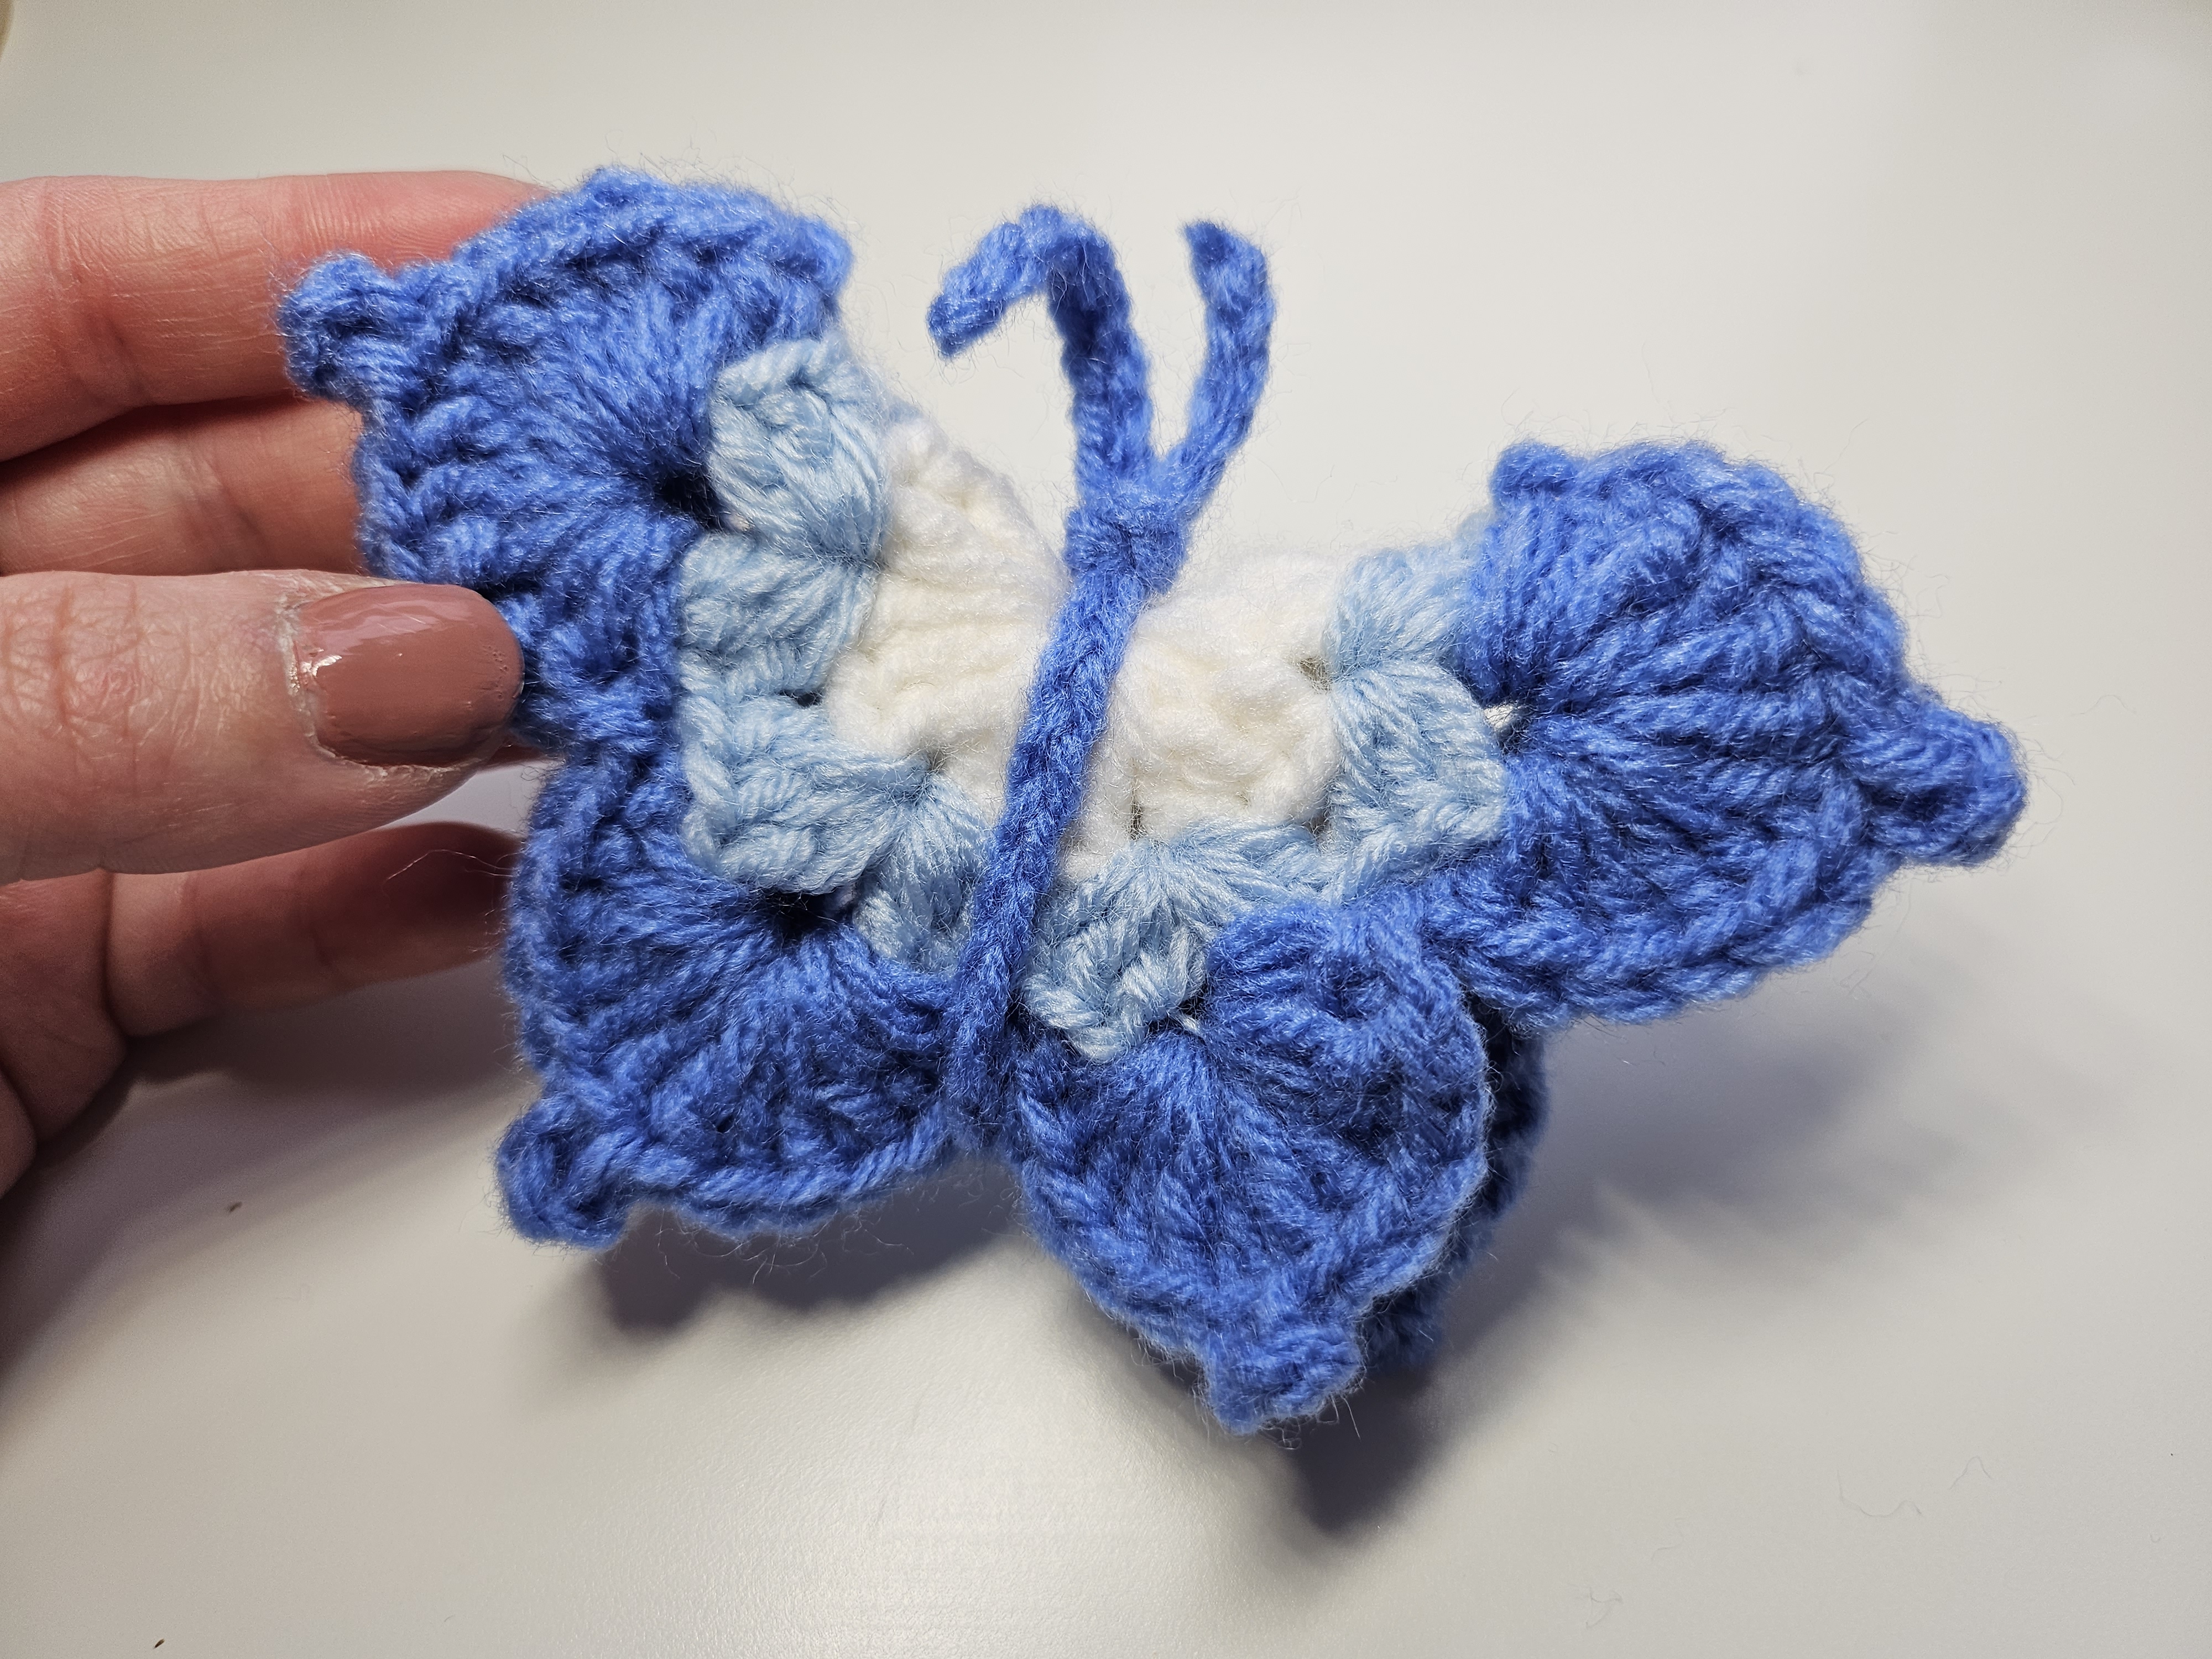
White, pale blue, and deeper blue spread outward across this butterfly's wings. The white center keeps the middle light, while the darker edge defines the scalloped outline and little pointed tips. A matching blue chain gathers the center and gives the soft motif its butterfly shape.
The construction is the part that makes this project interesting: you first crochet a flower-like piece with eight repeated sections. Folding it brings corresponding sections together, and a separate chain tie holds the center. You do not crochet four separate wings and sew them onto a body.
This guide follows the formulas displayed in the ten-minute tutorial. Keep the video nearby for the first group of each round, the picot closure, and the final fold. The captions abbreviate those transitions, so the notes distinguish their literal text from the practical count checks.
Prepare Three Compatible Colors
For the pictured version, use white for Round 1, pale blue for Round 2, and a stronger blue for Round 3 and the center tie. You will also need a suitable hook, scissors, a yarn needle, and a removable marker for the beginning of the round.
The verified video frames do not establish a numeric hook size, yarn quantity, gauge, or finished measurement. Choose yarns of similar thickness so each band grows in proportion to the previous one. Smooth yarn helps reveal the chain spaces and decorative tips.
If you change yarn thickness, assess the finished motif before deciding how to use it. The same round sequence in fine thread can produce a very different accessory from a version in thicker yarn.
US Stitch Key
| Term | Meaning | | --- | --- | | MR | Magic ring | | ch | Chain | | sc | Single crochet | | dc | Double crochet | | ss | Slip stitch | | ch-2 space | The opening made by two chains | | picot | The small pointed loop demonstrated after three chains | | ( … ) × 8 | Repeat the enclosed sequence eight times |
For a dc: yarn over, insert into the indicated space, draw up a loop, yarn over and draw through two loops, then yarn over and draw through the remaining two.
A group worked into a chain space goes into that opening. It is not spread across the individual stitches of the preceding group unless the demonstration explicitly shows that placement.
The Three-Round Plan
| Round | Displayed formula | Main checkpoint | | --- | --- | --- | | 1, white | 2 ch, (3 dc, 2 ch) × 8, ss | Eight groups and eight ch-2 spaces | | 2, pale blue | 3 ch, (3 dc, 2 ch, 3 dc) × 8, ss | Eight expanded groups with ch-2 openings | | 3, deeper blue | 3 ch, (6 dc, 3 ch, picot, 6 dc, sc) × 8, ss | Eight outer fans with pointed tips |
The beginning chains are listed separately in the captions. Follow the close-up for how they form the first group and where the final ss enters. Do not interpret them as an instruction to add a ninth group.
The useful counts here are complete groups and spaces. Assigning a total top-edge stitch count without resolving the starting-chain treatment would make the instructions less clear, so no unverified grand total is supplied.
1. Work the White Center
Start with a magic ring and make the displayed two-chain rise. Work the repeated groups of three dc and two chains into the ring, following the video for the first group and the join.
Before moving to pale blue, spread the work gently and count eight three-dc groups. There should be a two-chain opening between successive groups. Marking the first completed group can help prevent counting the join as another repeat.
Draw the ring closed without gathering one side much more tightly than the other. Keep the chain spaces open enough to receive the next round. This center is the foundation for the whole butterfly, so a missing space will affect every later section.
2. Expand the Pale Blue Sections
Change to pale blue at the demonstrated point. The caption begins with three chains, then repeats (3 dc, ch 2, 3 dc) eight times.
Work each expanded group into a ch-2 opening of Round 1. The two sets of three dc share that opening, with the new two-chain space between them. Continue around all eight original spaces and join as shown.
Each new ch-2 opening becomes the center of an outer fan in Round 3. Count those openings before changing colors. If there are only seven, return to the missing group now rather than attempting to spread the next round over the mistake.
Keep the pale blue stitches relaxed enough that the work can bend. The motif does not need to behave like a rigid, perfectly flat coaster; its fuller sections will later fold into layered wings.
3. Make the Deep Blue Fans and Picots
Attach the darker blue as demonstrated and begin with the caption's three-chain start. Work the following repeated arrangement around the pale blue groups:
- Work six dc into the indicated Round 2 ch-2 opening.
- Make three chains and close them into the picot shown in the close-up.
- Work six more dc into that same ch-2 opening.
- Work the sc at the valley between the expanded groups as demonstrated.
- Continue into the next ch-2 opening and repeat.
Complete eight outer fans, then join with ss.
The subtitle says to chain three and make a picot. Those three chains form the small tip; do not automatically add a second three-chain segment simply because the caption writes “3ch, picot” as separate words. Follow the shown closure and keep the point the same size on every fan.
The six dc on each side of a point are important. A fan with five on one side and six on the other can look noticeably uneven after folding. Check each completed fan before moving on.
4. Check the Flower-Like Piece Before Folding
Spread the motif on the table and count all eight outer fans. Compare their height, fullness, and tip placement. Check that the white and pale blue bands remain visible rather than being covered by a tight outer round.
Weave in the color-change tails through matching-color sections, avoiding long strands across the open spaces. Keep the first and last groups accessible until you have checked the join.
If one section is much smaller, inspect its stitch count. Pulling its picot outward will not replace a missing dc and may distort the tip.
5. Crochet the Separate Center Tie
Using the darker blue, crochet a chain of around 40 stitches. The video explicitly adds “you decide” to that length, so forty is an approximate starting point rather than a fixed fit requirement.
Leave enough chain to wrap the folded center and complete the shown knot. A different yarn thickness or motif size may need a different length.
The tie is separate from the three-round flower. It does not add another ring of stitches around the wings. Keep the chain even and avoid making it so tight that it becomes a stiff cord.
6. Fold the Motif into a Butterfly
The assembly subtitle says to fold the “flower” and tie a knot. Bring the eight-part motif into the folded arrangement shown, aligning corresponding sections so the layered wings sit together.
Position the separate blue chain around the center and secure it using the demonstrated knot. Tighten gradually while comparing both sides. The center should define the body without squeezing the wings into a narrow bundle.
Arrange the remaining chain ends at the upper center as shown. Keep the white middle visible and spread the outer fans with your fingertips. Do not trim the tie until you have confirmed the knot and the final arrangement.
Check the butterfly from both faces. If one side appears smaller, first compare the fold and tie placement before assuming its crochet count is wrong. A slightly off-center tie can hide more of one wing than the other.
7. Finish for Your Chosen Use
The tutorial presents the butterfly as a decoration or keychain. The following attachment options are practical finishing suggestions, rather than additional stitch formulas from the source.
For a bag charm: add an appropriate separate connection through a secure body area, distributing the attachment across more than one stitch if needed. Check that the butterfly's center knot cannot slide. Do not rely on a loose decorative chain end to carry the attachment.
For a sewn appliqué: position it on the actual bag, pouch, or garment before sewing. Secure the body and selected wing areas according to how much movement or snag resistance you want. Check that the base item and motif have compatible care requirements.
For gift decoration: attach it with a removable loop or ribbon so it can be reused. Keep the wings clear of tight wrapping that would flatten their tips.
Troubleshooting
The next round has nowhere to go. Count the eight ch-2 openings of the previous round. A missing opening usually comes from an omitted chain pair or group.
There are more than eight fans. Check whether the beginning chains or join were mistaken for an extra repeat. Establish the first complete group before counting around.
One wing looks smaller after folding. Compare the fold and body-tie position, then count the corresponding fans. Correct placement before stretching the crochet.
The points disappear into the edge. Check the three-chain picot and its closure. Keep the surrounding six-dc sections consistent.
The butterfly feels rigid. Assess your yarn and hook on a sample. The grouped stitches need enough room to spread and fold comfortably.
Watch the Butterfly Tutorial
The 10-minute-9-second video shows the three rounds, chain-space insertion points, picot tips, approximately forty-chain tie, and final fold.
A Small Motif with Several Uses
Give the finished butterfly one last check: eight completed fans before folding, balanced layers afterward, and a secure center tie. With the colors kept in matching bands, the same construction can become a coordinated set in blue, pink, or another palette. Record your yarn, hook, and chosen tie length so the next butterfly can match the first.
Watch every stitch up close
Pair these written notes with the complete video tutorial.
Made with yarn, shared with love. 🧶💗