
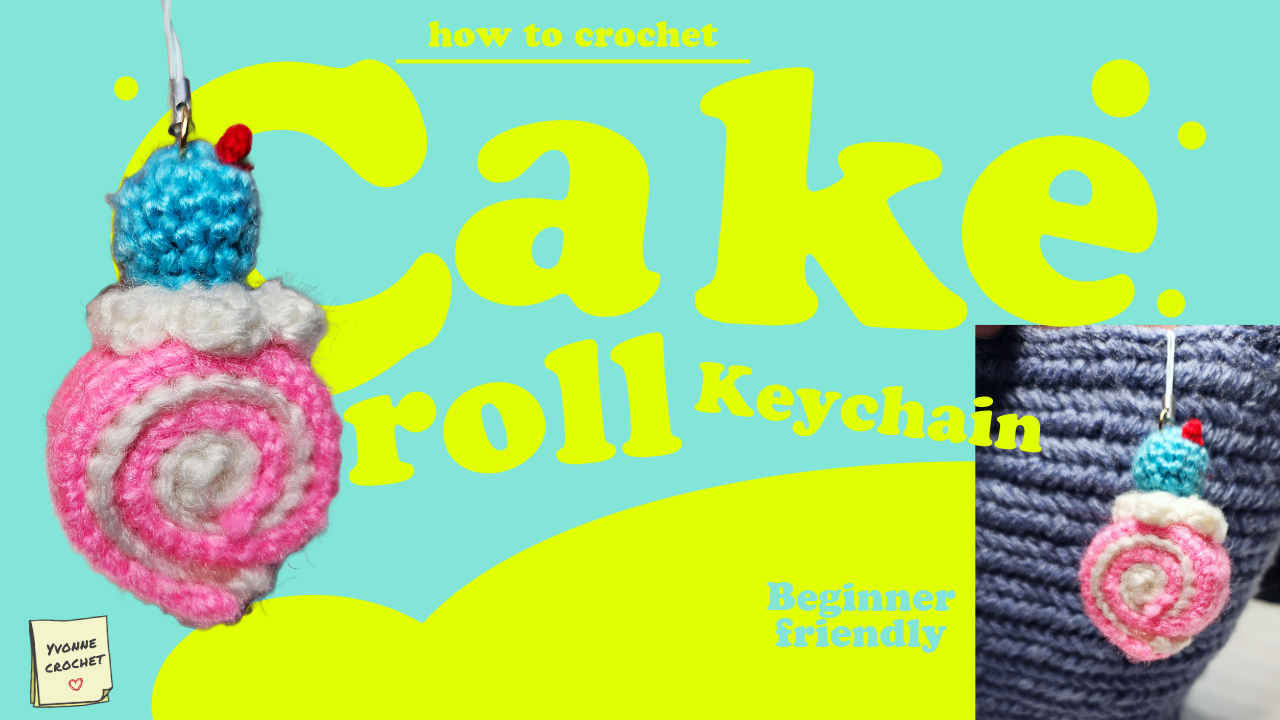
Cute Crochet Cake Roll Keychain: Beginner-Friendly Tutorial
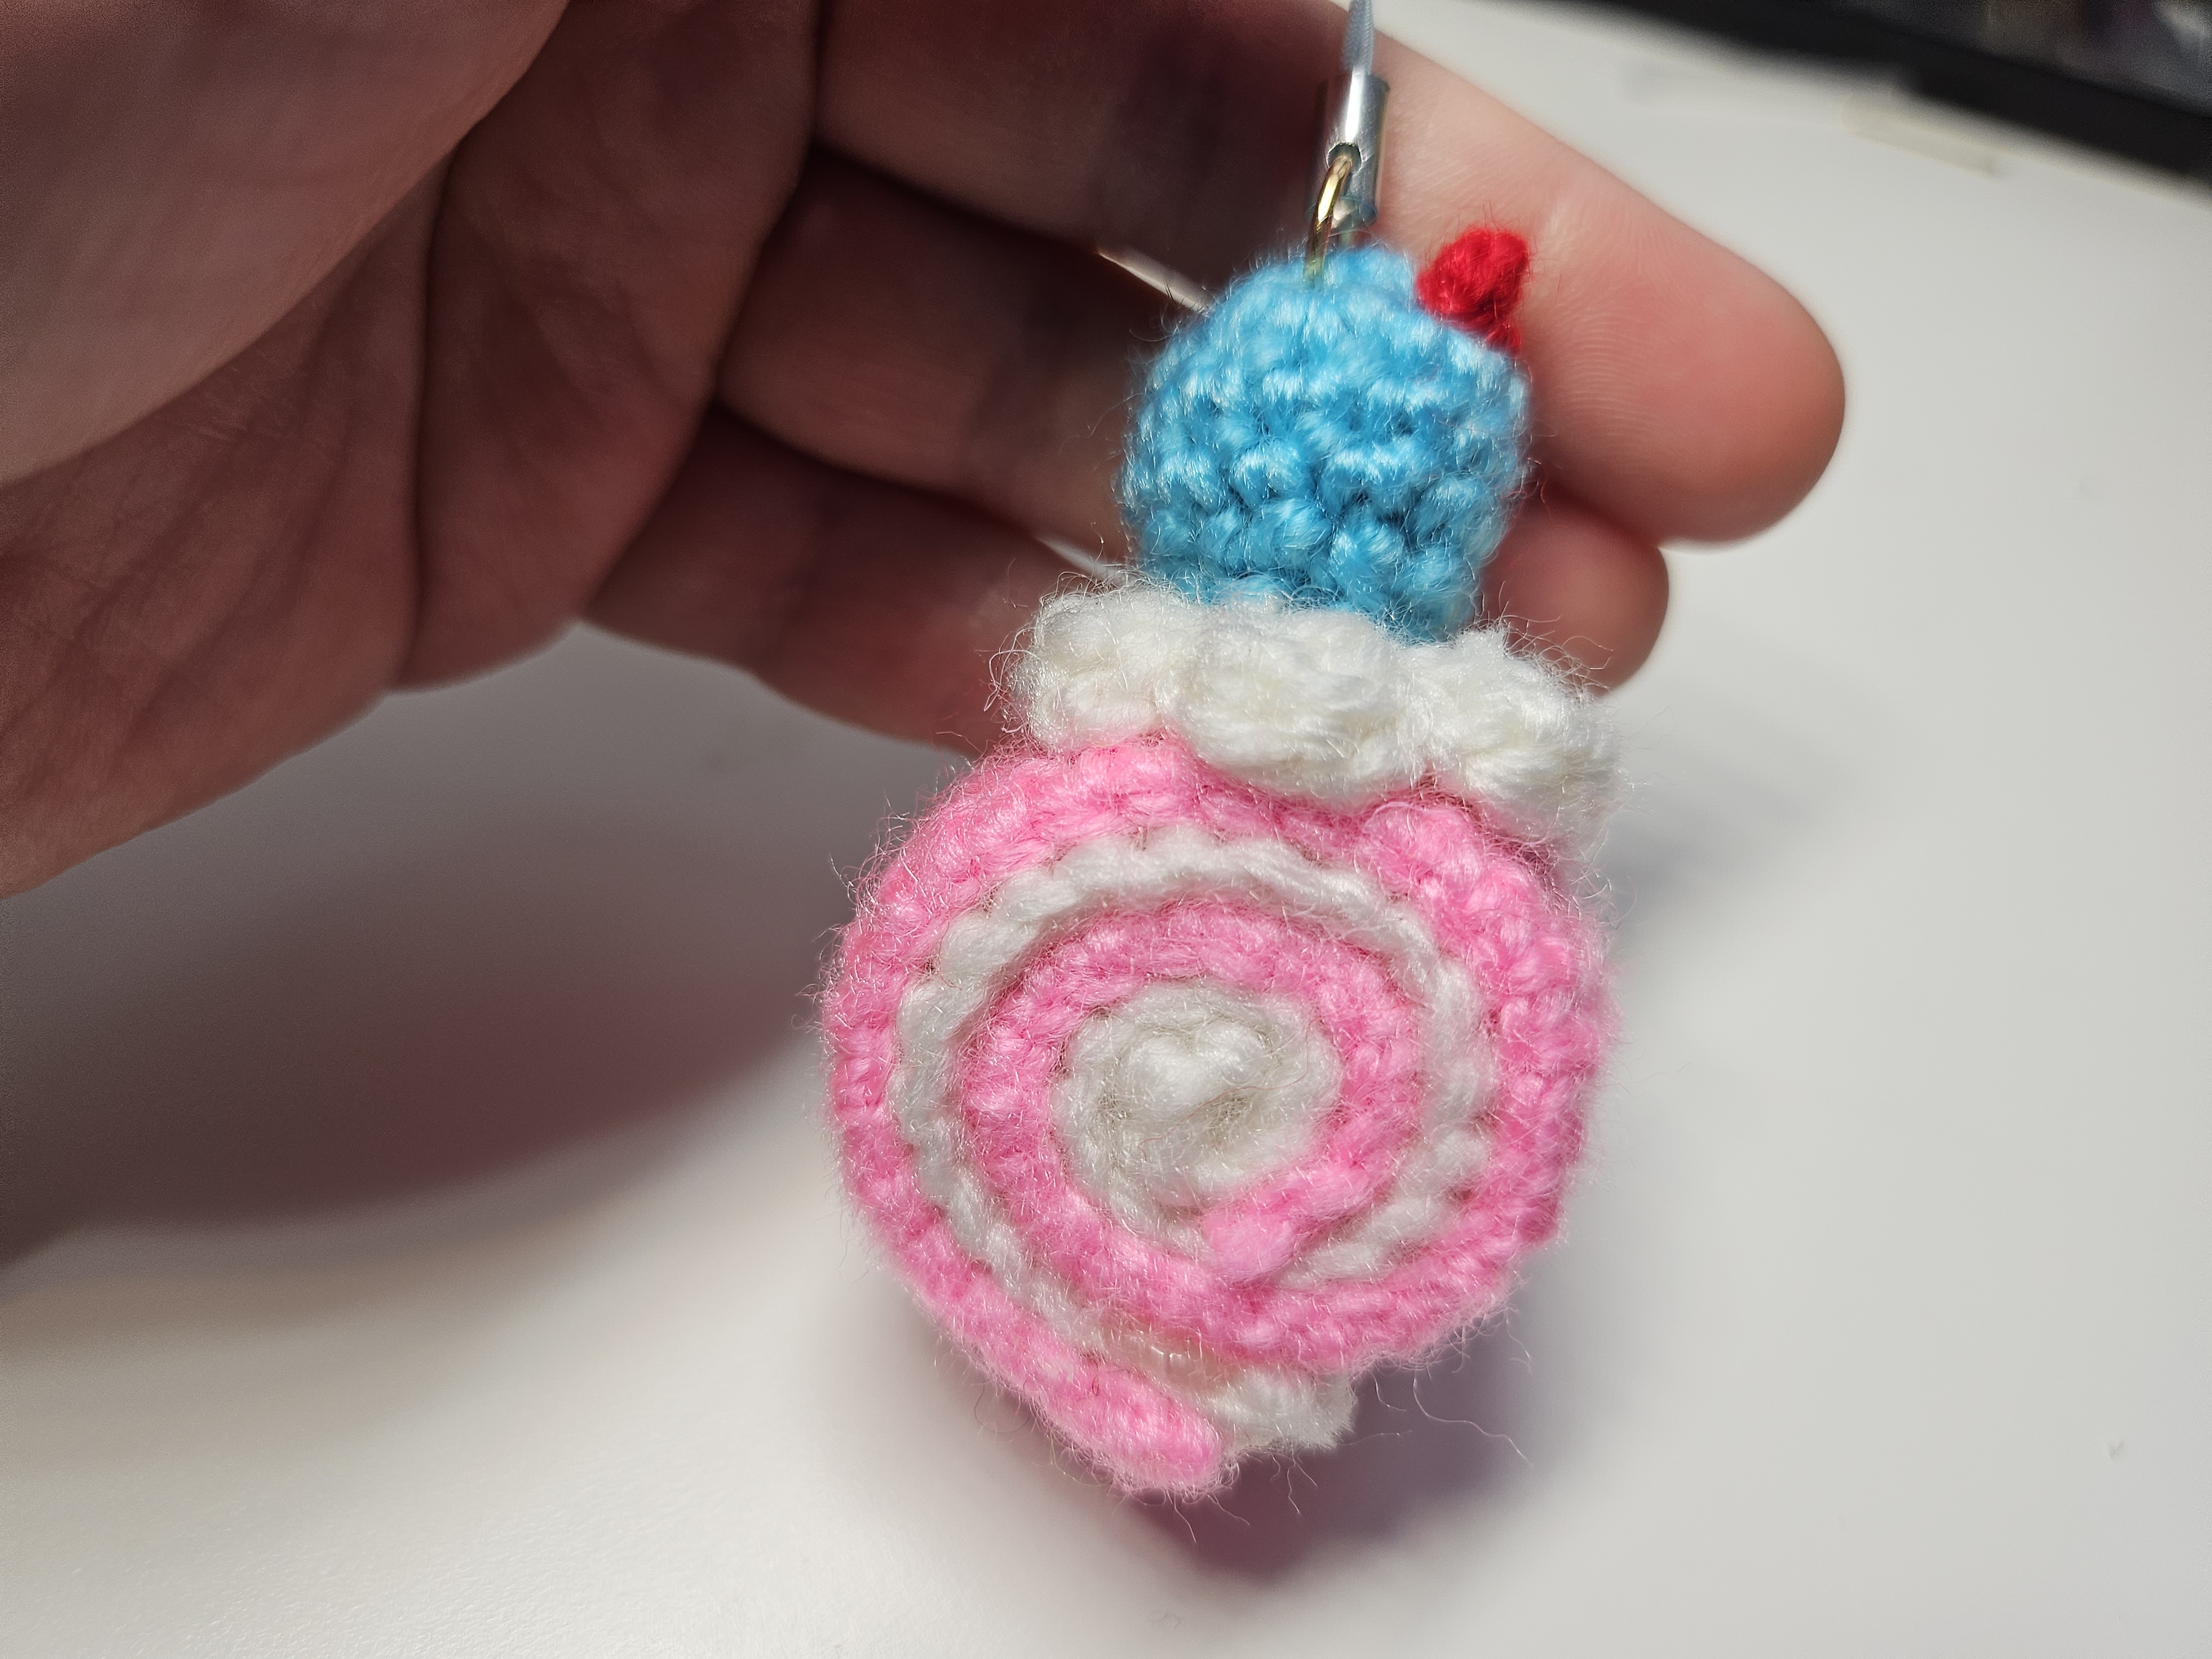
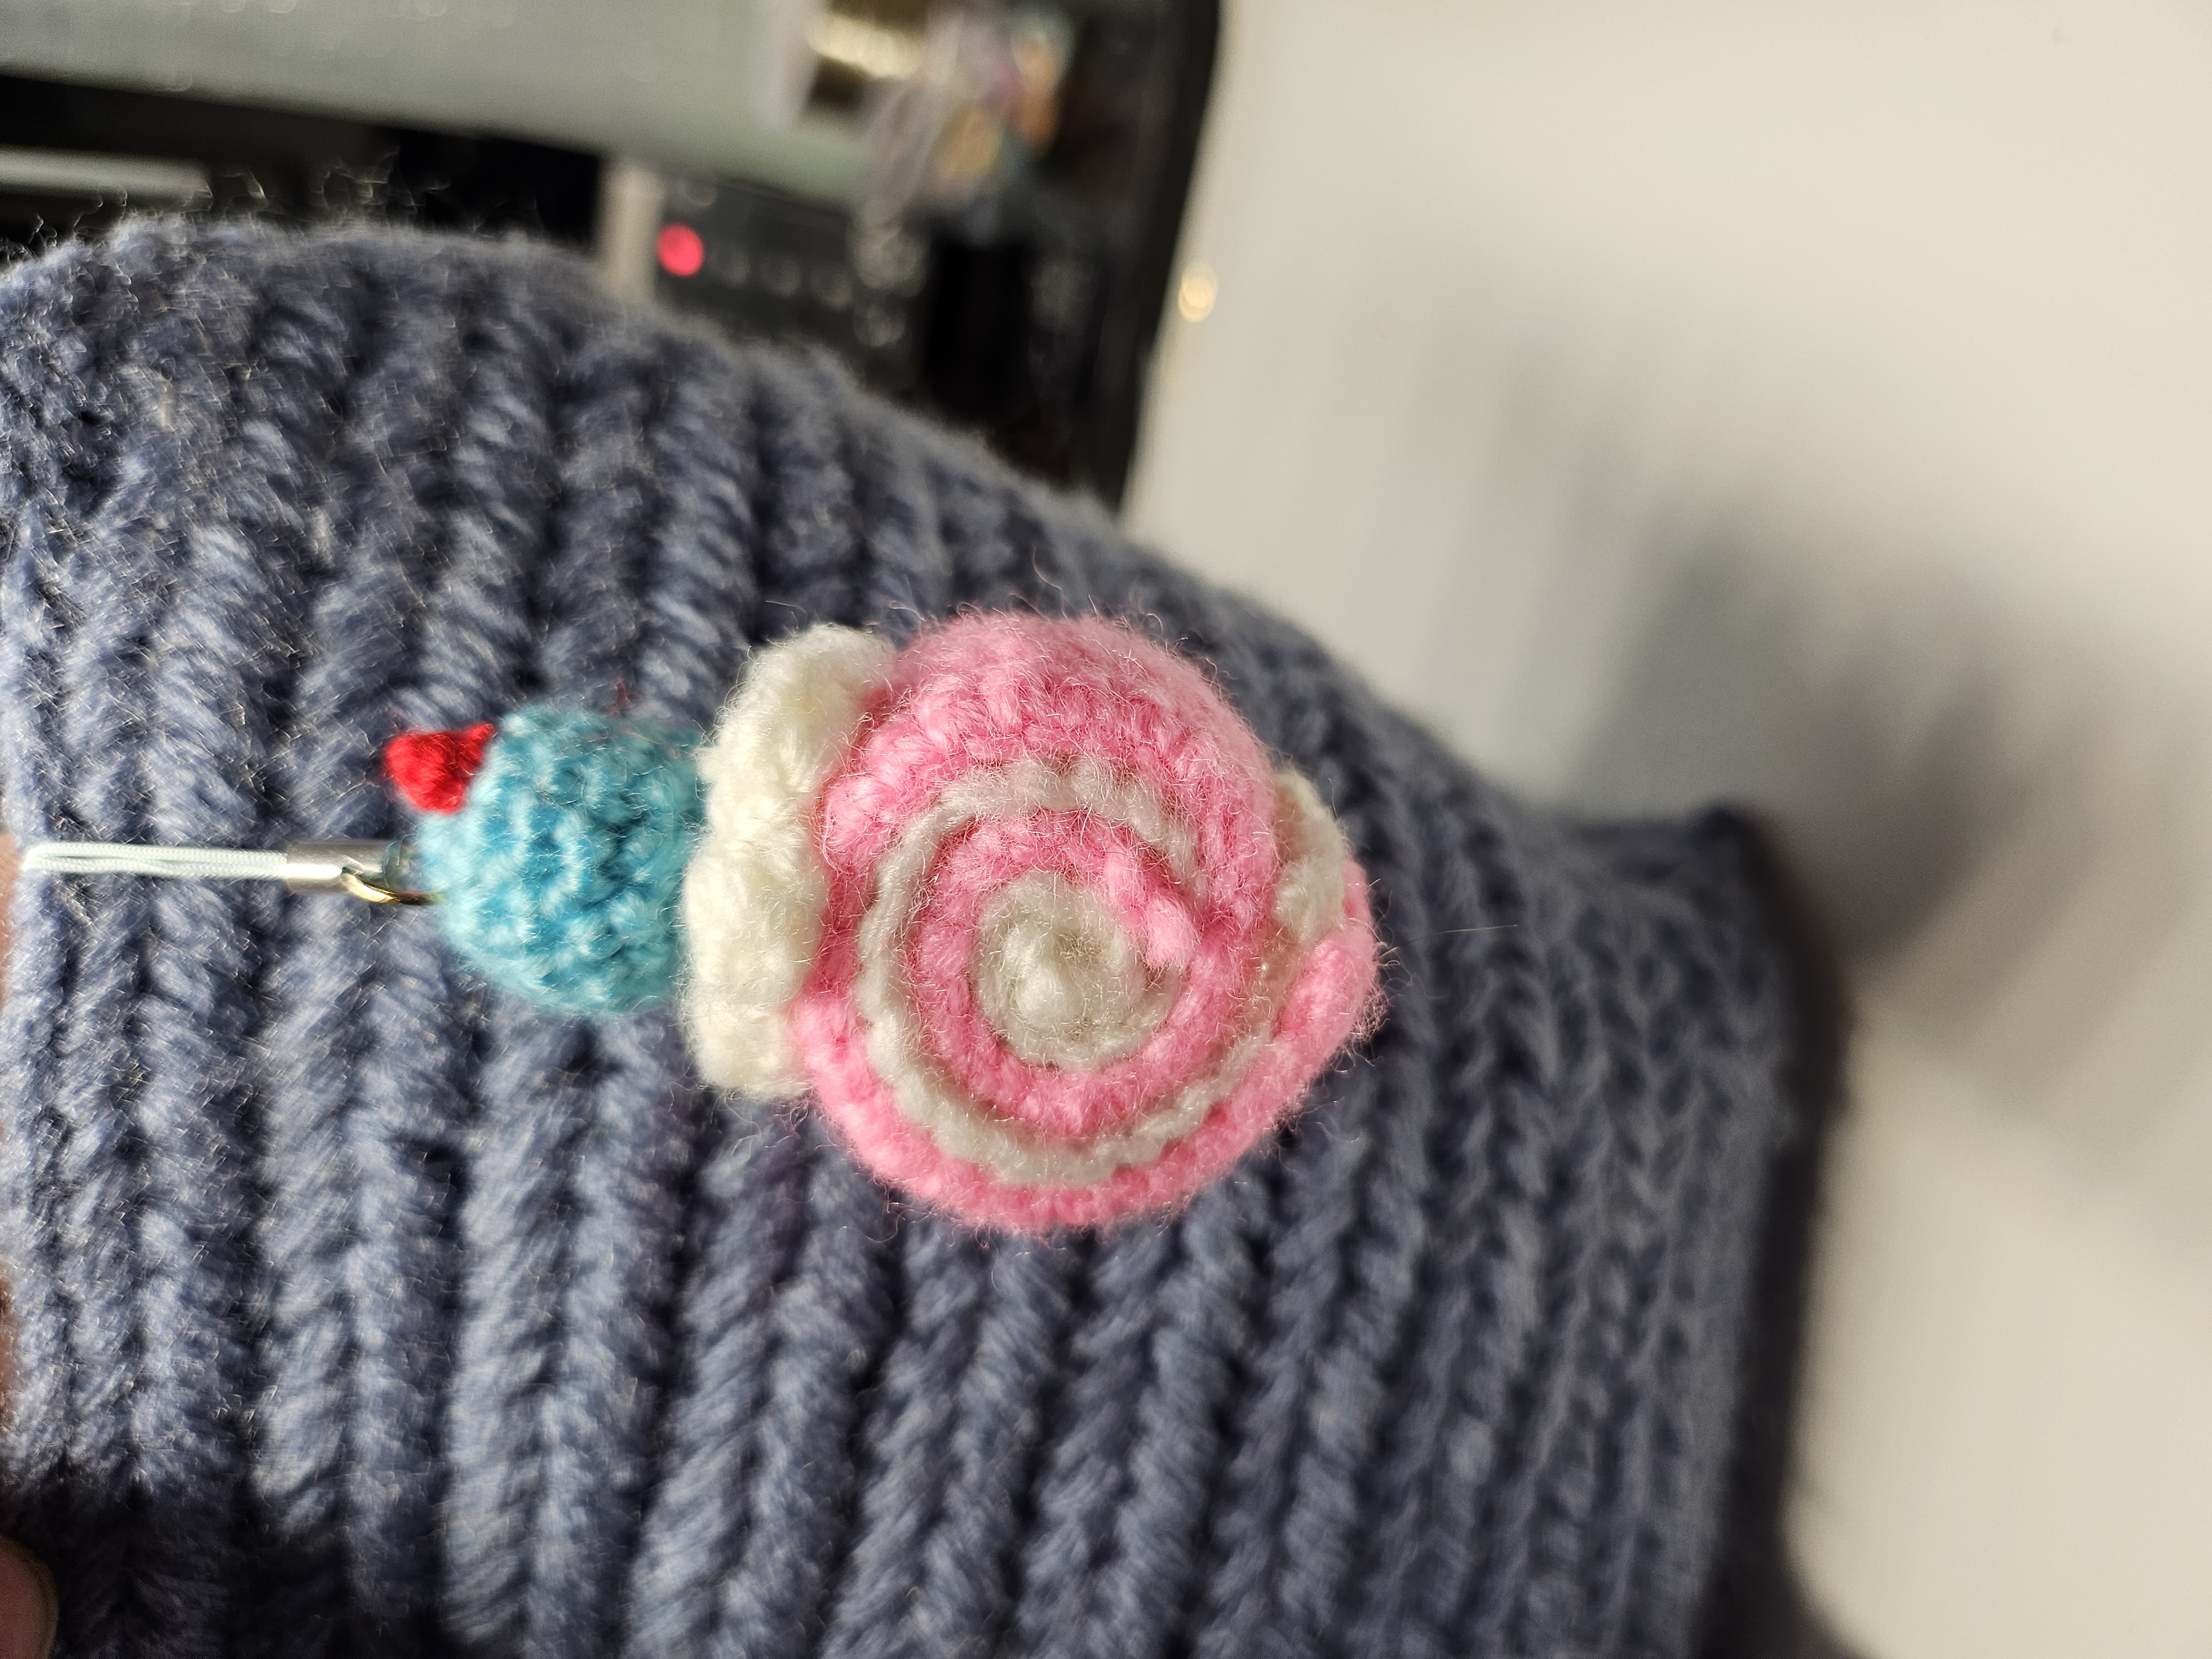
The spiral is what makes this little cake roll recognizable. A longer pink strip wraps around a shorter white strip, so the two colors become sponge and cream when viewed from the end. A scalloped white topping and a small blue decoration finish the miniature dessert.
This project combines flat single-crochet rows with small joined rounds. Assembly deserves as much attention as the stitches: rolling the strips evenly and securing the outside edge help the cake keep its shape when it hangs from a bag.
The charts below follow the video's on-screen instructions. The blue ball is called a “cherry” in the tutorial; keep that playful color choice or choose another shade.
Materials and preparation
Prepare pink yarn for the outside, white yarn for the filling and cream, and blue yarn for the round topper. You also need a compatible hook, yarn needle, scissors, stitch marker, a little fiberfill for the topper, and keychain hardware.
Use yarns of comparable thickness for the strips. If one is much thicker, it will dominate the spiral. Exact hook size, yardage, gauge, and finished measurements are not established here; choose a hook that produces stable, close stitches. The cake body is formed by rolled fabric rather than a large ball of stuffing.
Terms and stitch notes
US terms: ch = chain, sc = single crochet, hdc = half double crochet, ss = slip stitch, sk = skip, inc = increase, and dec = decrease.
A sc increase is 2 sc in one stitch. A sc decrease combines two stitches. The cream uses a 2 hdc cluster, with its two elements closed together rather than worked as two separate completed stitches. Follow the close-up for the loop handling.
The strips are worked in rows; the decorations use rounds. The source says “both loops” for the strips. Do not substitute an unmentioned back-loop-only ribbing pattern.
Part 1: pink outside strip
| Row | On-screen chart | Stitch count | | --- | --- | --- | | 1 | 41 ch, sk, 40 sc (both loops) | 40 sc | | 2–7 | 40 sc | 40 sc in each row |
Chain 41. Skip the first chain from the hook and work 40 sc. Turn and continue across the strip until you have seven rows altogether. Any turning chain is separate from the 40 actual single crochets.
Mark the first and last stitches if you tend to lose them. The long edges should remain parallel. An extra stitch at every turn creates a flare that becomes obvious when rolled. Leave a useful sewing tail when fastening off.
Part 2: white inside strip
| Row | On-screen chart | Stitch count | | --- | --- | --- | | 1 | 36 ch, sk, 35 sc (both loops) | 35 sc | | 2–7 | 35 sc | 35 sc in each row |
Chain 36, skip the first chain, and work 35 sc. Continue until this strip also has seven rows.
The pink strip deliberately has five more stitches per row than the white strip. Keep that difference: the outside layer needs additional length as it travels around the roll. Making the strips identical changes how the outer end finishes.
Compare the pieces before assembly. They should be similar in width, with the white one shorter along its length. If their widths differ substantially, compare row counts and tension.
Part 3: scalloped cream
Use white yarn and a magic ring.
| Round | On-screen chart | Checkpoint | | --- | --- | --- | | 1 | 6 sc, ss | 6 sc in the ring | | 2 | 6 sc inc, ss | 12 sc | | 3 | (2 ch, 2 hdc cluster, 1 ch, sk, ss) × 6 | Six raised scallops |
In Round 2, increase in each stitch. For Round 3, repeat the displayed sequence six times, following the video's anchor and slip-stitch placement. The skipped stitch separates neighboring scallops; do not add a cluster to every base stitch.
Leave an attachment tail. The center should be compact and flat enough for the cherry to sit on it securely.
Part 4: little round cherry
The source uses blue yarn.
| Round | On-screen chart | Result | | --- | --- | --- | | 1 | 6 sc, ss | 6 sc in a magic ring | | 2 | 6 sc inc, ss | 12 sc | | 3 | 12 sc, ss | 12 sc | | 4 | 12 sc, ss | 12 sc | | 5 | 6 sc dec, ss | 6 sc |
Keep joins separate from the stitch count. Add a small amount of filling before the opening becomes too narrow. After Round 5, use the tail to close the remaining opening. Avoid pulling so hard that the ball becomes a flattened button.
Roll the cake before sewing
Place the white strip against the pink strip and arrange their starting ends together. Roll the layers from that end, keeping the edges aligned so both colors remain visible in the spiral. The extra pink length should finish around the outside.
Make a loose trial roll first. Look at both ends and choose the neater spiral as the front. If one color disappears, unroll and adjust the alignment instead of tugging the center after it is tightly wound.
Roll again with even pressure. Keep the two faces reasonably parallel: pushing the center far forward creates a cone rather than a cake roll.
Sew and decorate
Use the pink tail to stitch the outside end to the layer beneath it. Take several small stitches through the crochet fabric, checking the front spiral as you work. Avoid a long visible strand across the face. The source shows needle sewing during assembly; secure the roll before adding the hardware.
Position the cream on top, then place the blue cherry above it. Sew the attachments securely and hide the tails inside. A tiny additional accent is optional; the essential construction is the two strips, cream, and round topper charted above.
Add a firmly sewn loop and connect the keychain fitting. Carry the pull through several stitches in the cake body so a tug does not peel off the decorative topping. Gently test the attachment before using it.
Troubleshooting
| Problem | Useful check | | --- | --- | | White filling covers the outside end | Confirm 40 stitches for pink and 35 for white. | | Spiral is lopsided | Align the strip edges and reroll before sewing. | | Cake unwinds | Add small securing stitches through adjacent layers. | | Cream has too many scallops | Check twelve base stitches and six repeats with skips. | | Cherry grows unexpectedly | Make sure a joining slip stitch was not counted as an extra sc. | | Hardware lifts the topping | Reinforce the loop through the main cake body. |
Color choices and care
Keep the stitch counts when changing colors. Brown and cream suggest chocolate sponge; pale yellow gives a vanilla look. Changing color is simpler than altering the strip lengths, whose difference helps the spiral close neatly.
Follow the yarn label for washing, remove detachable hardware where practical, and let the layers dry fully. Rolled fabric can retain moisture longer than flat crochet.
Video tutorial
The video separates the outside strip, inside strip, cream, and cherry. The cherry appears around 12:45–16:00, followed by rolling and sewing. Watch the assembly close-up when positioning the outer end and choosing which spiral face to display.
A miniature dessert worth finishing carefully
Count the strip rows, preserve the difference in their lengths, and spend a few minutes on the trial roll. A clear spiral and secure attachments make the finished keychain look polished without needing elaborate decoration.
Watch every stitch up close
Pair these written notes with the complete video tutorial.
Made with yarn, shared with love. 🧶💗