
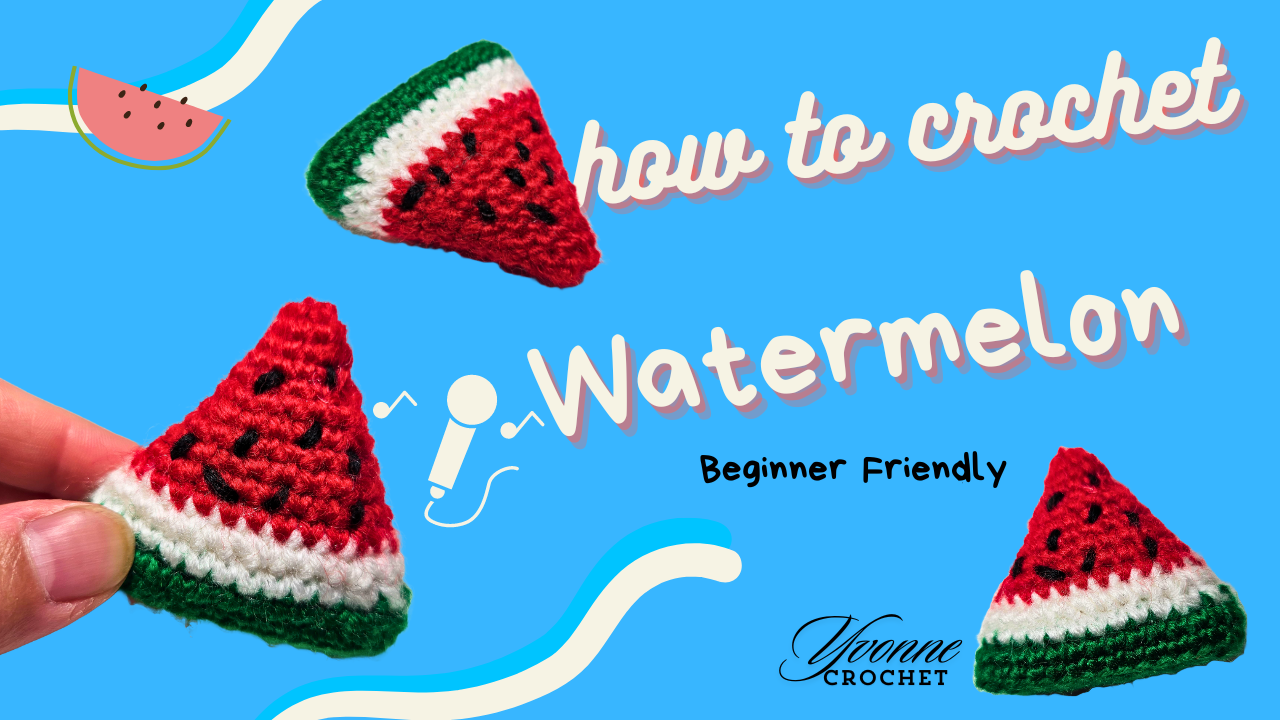
Crochet Watermelon Keychain: A Slice of Summer to Take Along
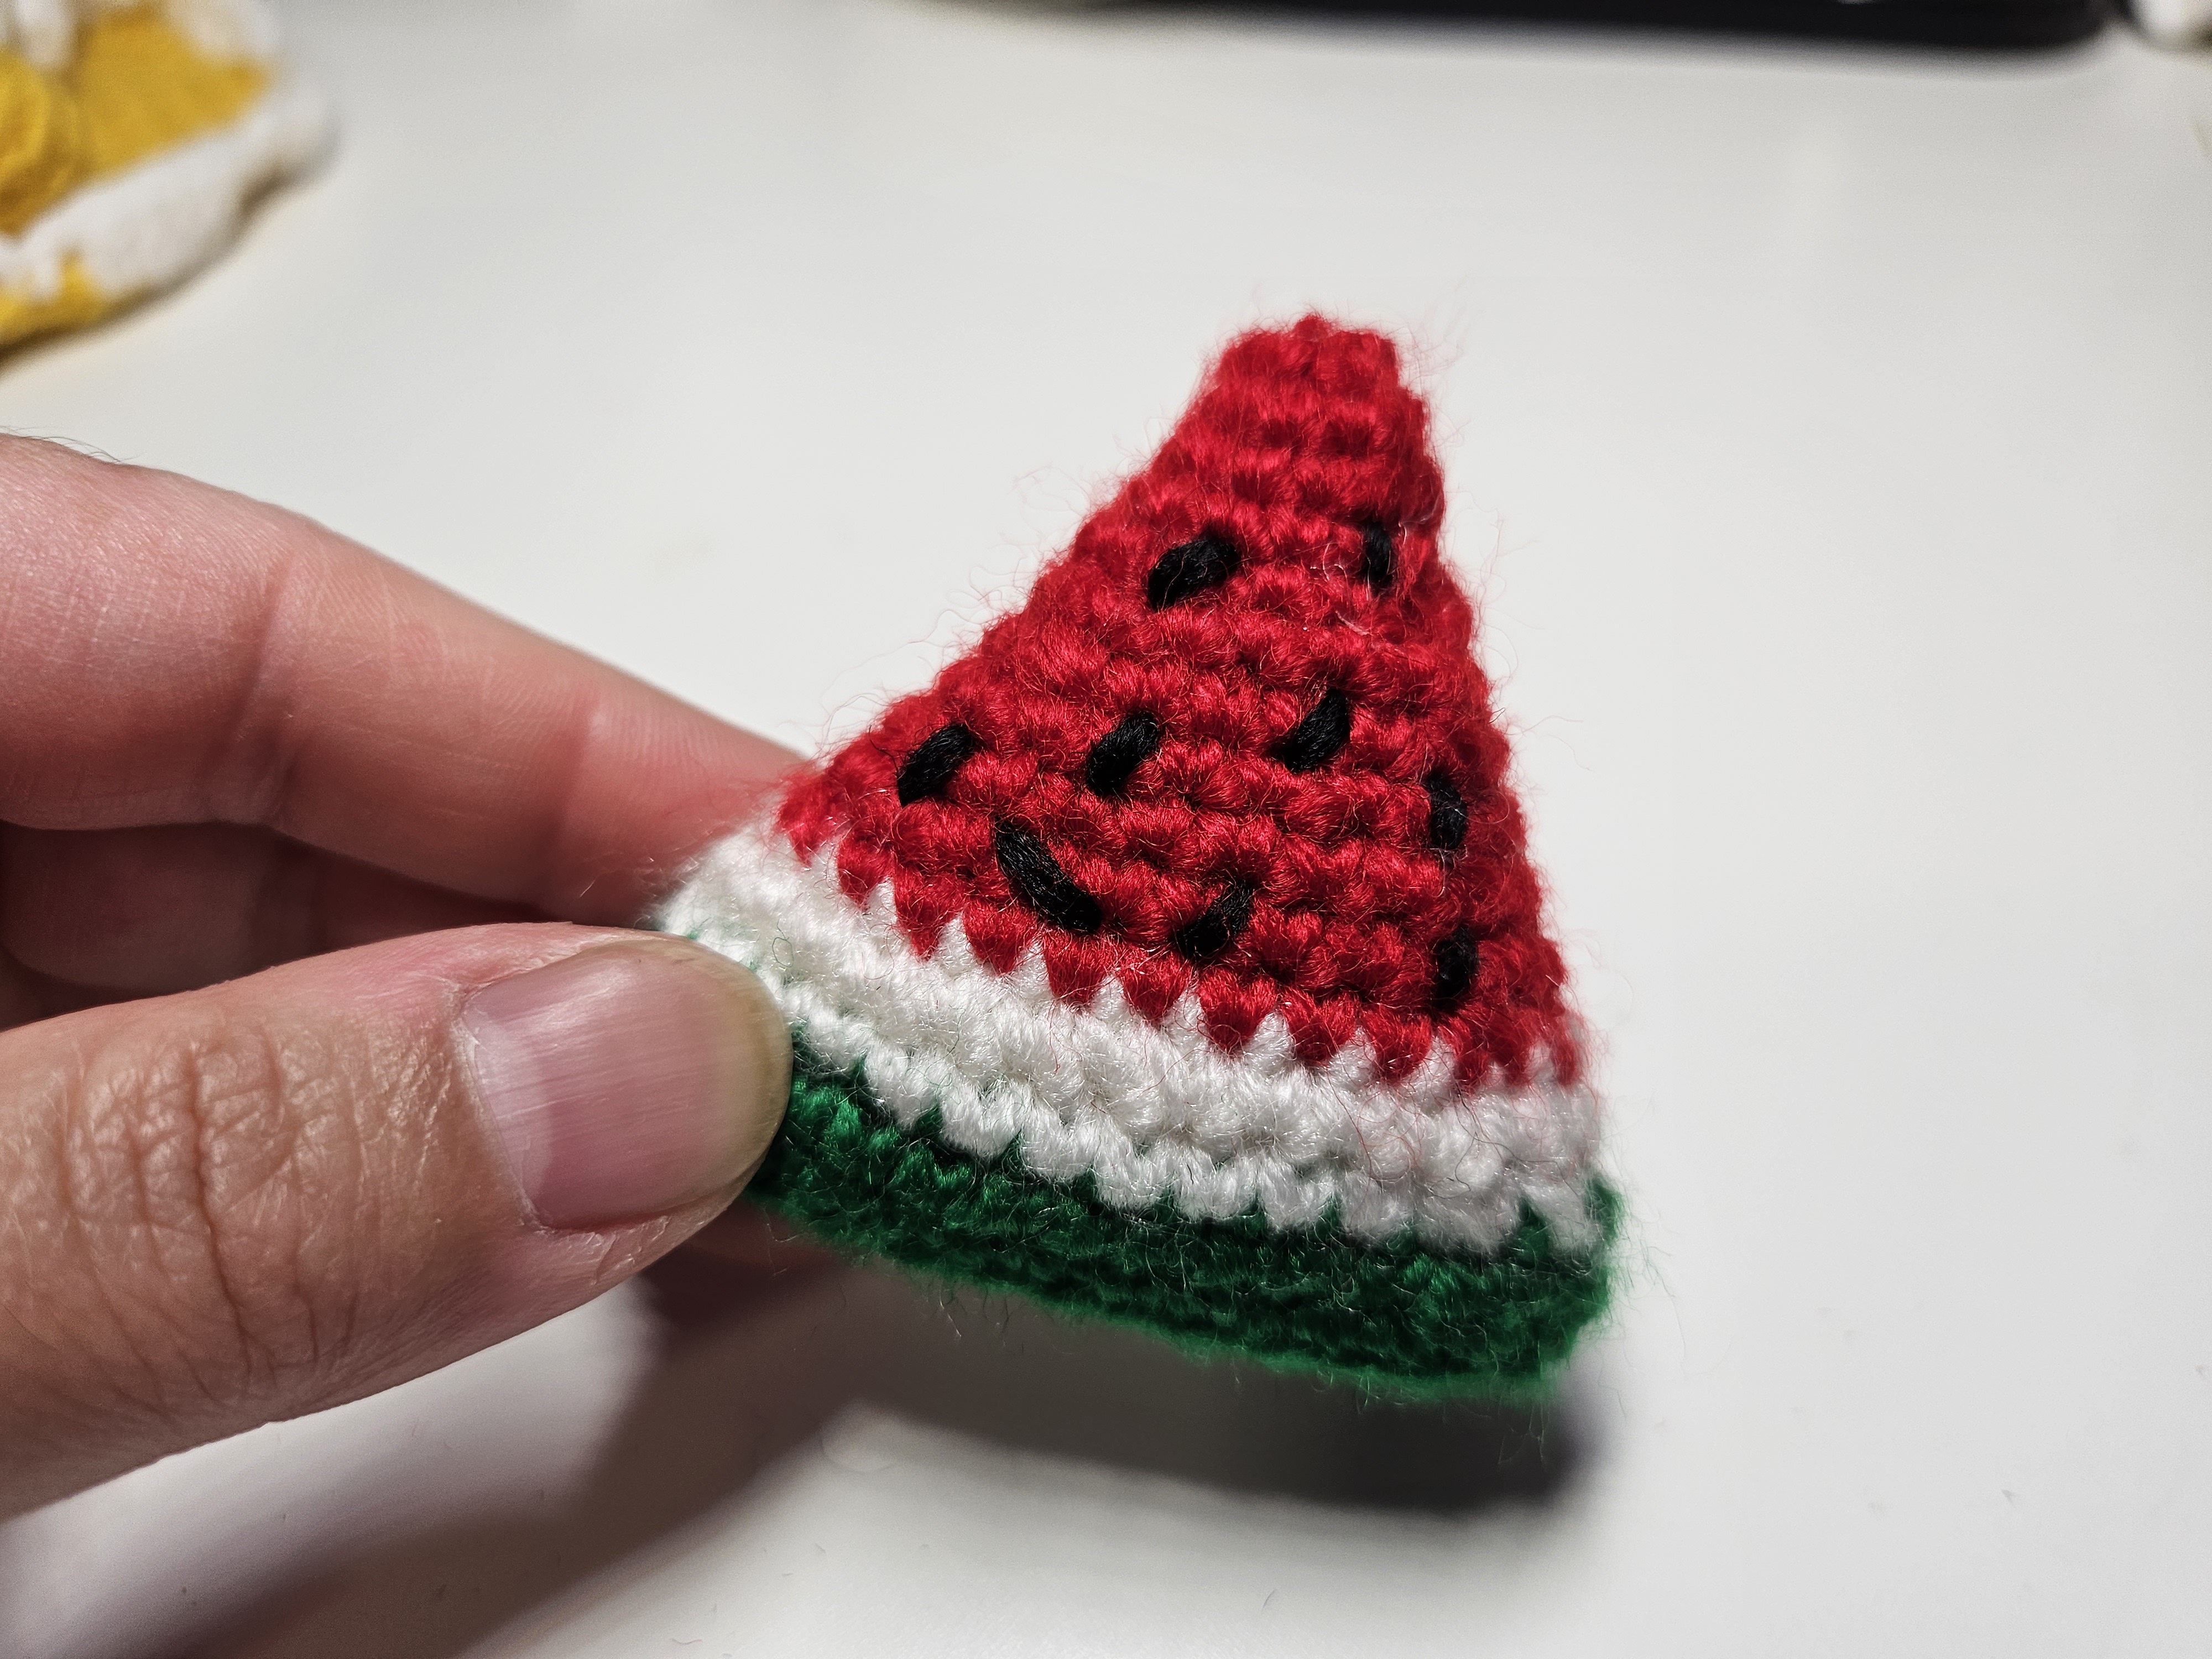
A watermelon slice is a small project with a very clear silhouette. The red center, pale rind, and green skin make it recognizable, while a few black seed stitches and a curved smile give it personality.
This version is a little stuffed shape rather than a flat appliqué. The construction starts at the green rind, works around a foundation chain, and continues upward through white into red. The red section narrows toward the tip, so the familiar triangle develops through shaping rather than by sewing two separately made triangles together.
The guide below follows the visible construction and instructional subtitles in the Crochetnotes video. It records confirmed instructions and explains the work in stages. Keep the video beside you for the complete round-by-round counts: the checkpoints here are not a substitute for a fully transcribed written pattern.
Gather the materials
Prepare green, white, and red yarn, a little black yarn for embroidery, a suitable hook, stuffing, scissors, a yarn needle, and a stitch marker. Add a ring or clasp if you want a keychain finish.
Use yarns that make a similar fabric. A heavy green yarn beside a thin white one can change the shape at the rind; a much thicker black strand can make the seeds look oversized.
Smooth yarn makes this project easier to count and embroider. Choose a hook that gives a close fabric without making each stitch difficult to enter. The source checked here does not establish a reliable finished measurement or yarn quantity, so make one sample before estimating materials for a batch.
Understand the construction
| Stage | What you are making | What to check | | --- | --- | --- | | Green foundation | An elongated base worked around a chain | Both sides of the chain and the end increases | | Green turning section | The change from the base to the upright rind | Back-loop placement | | White band | The pale inner rind | Consistent tension and a clean color join | | Red section | The flesh, narrowing toward the point | Decrease placement on both sides | | Filling and closure | A lightly rounded slice | Defined edges and an even tip | | Embroidery | Seeds and a smile | Gentle tension and readable spacing |
The order matters. The green and white are structural parts of the body, not decorative bands attached to a finished red triangle.
1. Start with the green foundation chain
The early subtitle gives chain 13, then skip one chain backward. Work back into the foundation as demonstrated. The video next specifies 11 single crochet along the chain before showing the turning work.
Keep the chain relaxed enough that the hook can enter its opposite side later. Mark the first working stitch rather than the loose loop on the hook.
At the foundation ends, follow the demonstrated increases and the return along the opposite side of the chain. A later instruction specifies 2 single crochet in the last stitch of that return section. That is a local end instruction; it should not be read as two stitches into every stitch of the row.
Do not join the foundation into a chain ring. Working around both sides of it is what creates the long rind base.
Check the base before building upward
Lay the green piece down and compare its two long sides. Check that the turns follow the ends of the original chain rather than jumping into a nearby strand.
If one end folds sharply or an extra loop appears in the middle, inspect the stitch placement before continuing. A base error becomes harder to reach once the upright body develops.
2. Follow the green turning section
During the green portion, the tutorial specifies single crochet in the back loop only. Viewed from above, a stitch has a front and back strand forming its familiar V. Enter the back strand at this instructed section, leaving the other strand visible on the outside.
That remaining strand creates a line between the base and the upright rind. It is a construction detail worth preserving: working through both loops throughout will not give exactly the same turning edge.
Continue with the demonstrated count and round sequence. Keep your marker at the start of the working round and move it only after identifying the first actual stitch. Do not count the join as an additional single crochet.
3. Change to white for the inner rind
The tutorial brings in white after the green section. Keep the join at the demonstrated reference point and avoid dragging a green tail across the visible white fabric.
The pale band separates the dark skin from the red flesh. It should remain visibly continuous around the body, with a tension similar to the green section underneath.
Keep the previous color’s end long enough to secure. Hide contrasting ends through matching fabric where practical, and check the outside before trimming them.
Pause when the white section is complete. Compare the two long sides and make sure neither side has gathered at its color transition. The shape should still provide a clear base for the narrowing red section.
4. Build the red flesh and taper
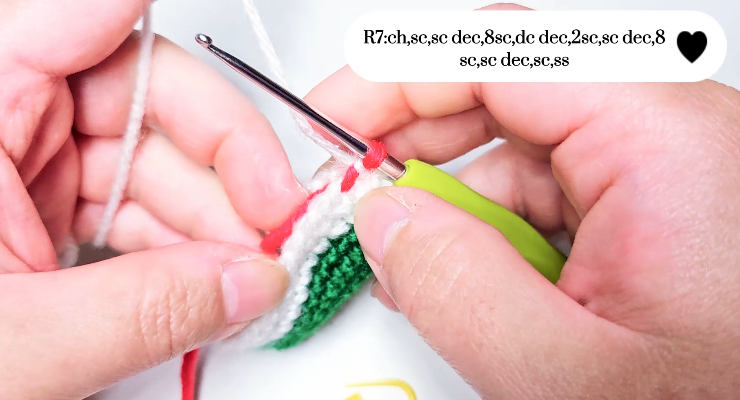
Join red and follow the source’s shaping sequence. The red body is worked above the rind and gradually reduces toward the top point.
Keep the decrease reference points aligned as shown in the video. They control the two sloping sides of the slice; moving a decrease to an arbitrary convenient stitch can twist the outline.
Count each complete shaping round before continuing. If the number differs from the displayed instruction, check the previous decrease and join rather than working an extra decrease to make the next count fit.
A triangular shape may not look settled while it is still open. Compare both sides and the width over the rind, but wait until the filling has been distributed before judging the final silhouette.
5. Add the filling while the opening is accessible
The demonstration adds stuffing during the narrowing red section. Use small pieces and spread them across the interior rather than pushing one large lump into the opening.
Support the center and the lower corners first. Keep enough filling behind the face to make the embroidery sit smoothly, but avoid packing the slice until it becomes round like a ball.
Turn the work and compare the front, back, and rind edge. Redistribute filling if one side feels hollow and the other feels hard. Keep stray fibers out of the hook while completing the remaining shaping.
6. Finish the tip neatly
Follow the final decrease and closing method in the video. Tighten the closing yarn gradually, checking that the top remains centered above the rind.
A hard pull can create a dent or draw the point sideways. If the tip needs support, adjust the filling before securing the final end instead of trying to correct the shape by pulling the closure tighter.
Hide the end inside the body and gently reshape the slice. The finished piece should retain a broad green base, sloping red sides, and a distinct top.
7. Embroider the seeds and smile
Arrange the face before sewing. Mark the smile position with a removable strand and leave enough red space around it for separate seed marks.
Make the seeds as short black stitches at varied angles, keeping them distinct from one another. A few well-spaced stitches are easier to read than many crowded ones. Keep the white band clear so the fruit’s layers remain visible.
Work the curved smile in short controlled sections. Avoid pulling a long black strand tightly across the red surface, which can flatten the filling or dent the face.
After a few stitches, look at the charm from a normal viewing distance. Adjust the placement before burying the final ends. The finished expression depends more on spacing than on perfectly identical seed stitches.
8. Choose the hanging finish
Finish the fruit itself before deciding where to attach hardware. The project can remain a small decoration, or you can add a loop and key ring suited to its size.
For a keychain adaptation, test a temporary thread loop at the intended hanging point. Check that the front remains visible and that the connection does not pull the tip out of alignment.
Secure the final attachment through a supported area of crochet rather than one loose strand or an embroidered seed. Keep a clasp clear of the face and use hardware that does not overwhelm the small fruit.
Follow the video by construction stage
These are approximate navigation points, not exact round boundaries:
| Around | Visible stage | | --- | --- | | 1–4 minutes | Green foundation chain, single crochet, and end turns | | 7–9 minutes | Green section and back-loop instruction | | 11–15 minutes | White rind band | | 18–22 minutes | Red section and narrowing body | | 25–26 minutes | Filling the partly closed slice | | 33 minutes onward | Final red shaping and finishing |
Troubleshooting
The rind bends unevenly. Check the foundation turns and the return side of the chain before blaming the filling.
The white band gathers. Inspect the color join and the tension of the previous yarn end. A tight strand can pull the band inward.
The slice looks like a ball. Reduce or redistribute the filling and check the decrease placements along the red sides.
The embroidery makes dents. Ease the black stitches. More stuffing is not a reliable correction for an overly tight seed or smile.
Watch the watermelon tutorial
Use the full demonstration for the complete end-increase sequence, round counts, back-loop transition, and final taper.
A little summer detail to carry
A clear outline and a few well-placed black stitches are enough to make this charm cheerful. Give the rind, tip, and hanging point a final check before clipping it onto a bag. The careful finishing keeps the small fruit recognizable even when it is moving with an everyday accessory.
Watch every stitch up close
Pair these written notes with the complete video tutorial.
Made with yarn, shared with love. 🧶💗