
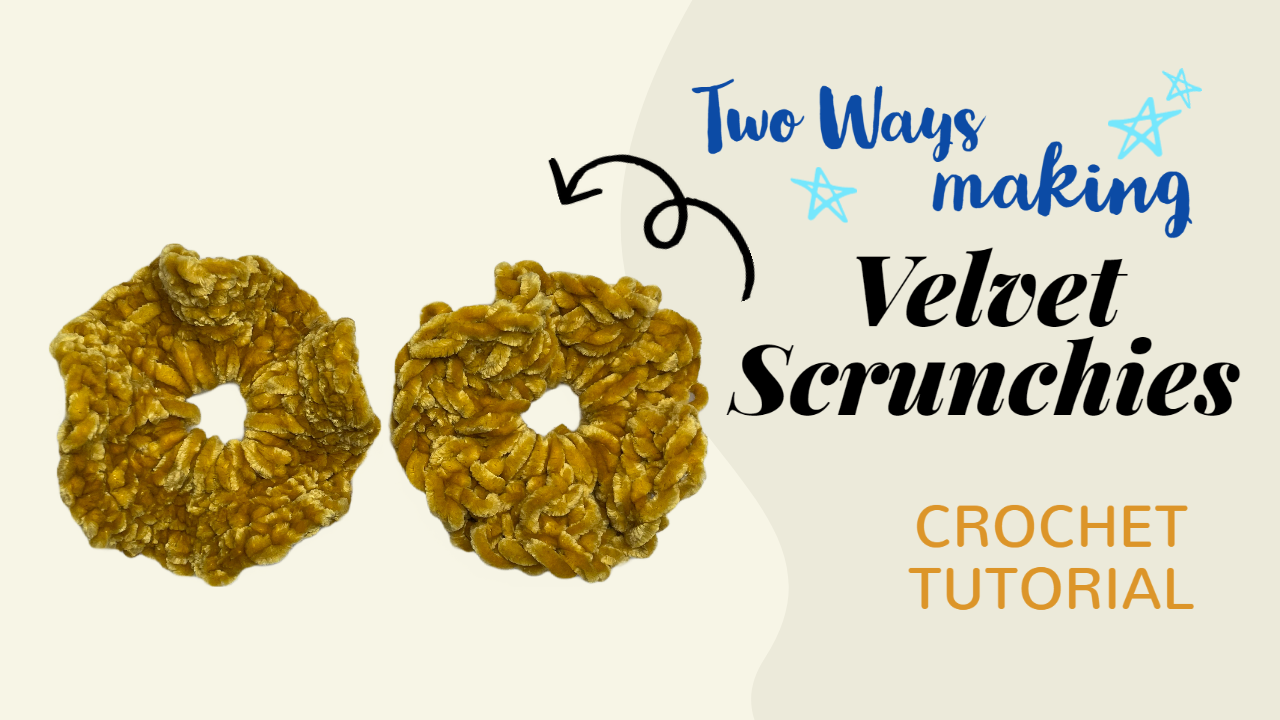
Crochet Velvet Scrunchies: A Soft, Full Hair Accessory
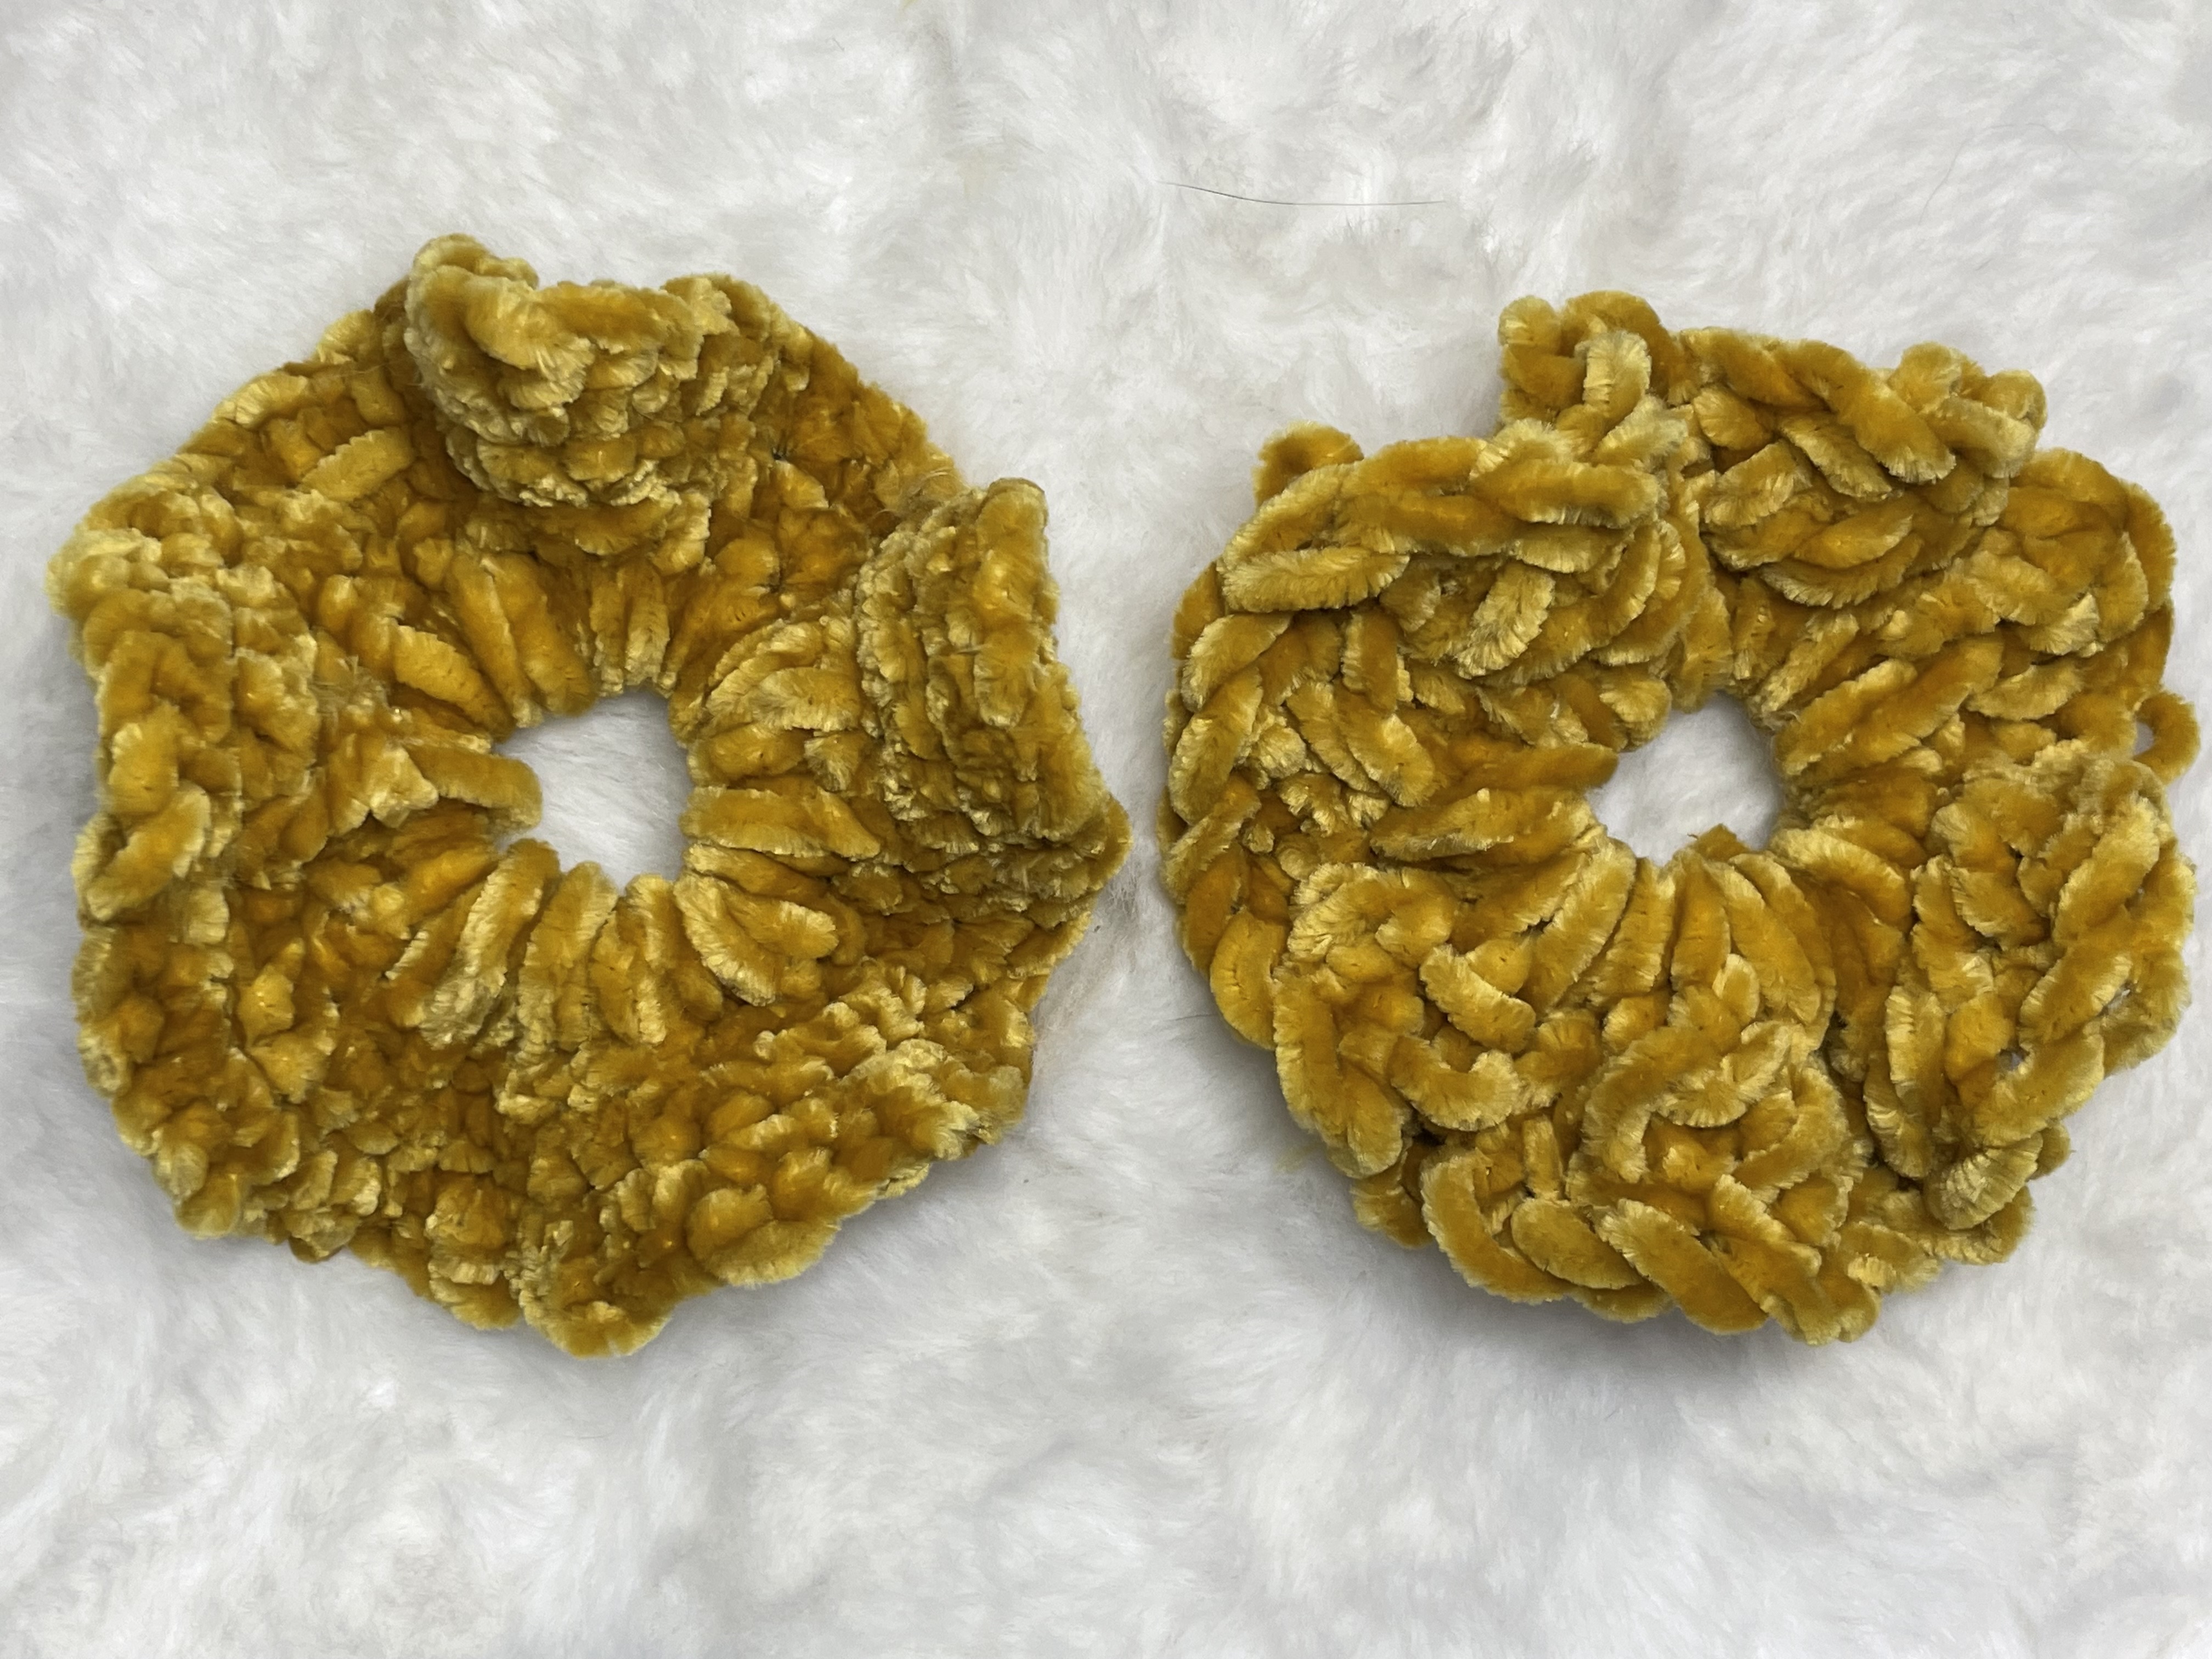
Golden velvet yarn gives this crochet scrunchie a plush surface and softly gathered shape. Its texture catches the light across the folds, making a single-color accessory feel full without added decorations.
The video works directly around a ready-made hair elastic. A repeated stitch sequence builds the covering, and an increasing single-crochet border adds fullness along the outside edge. There is no separate fabric tube to make and thread with elastic afterward.
The technique deserves a closer look: the main stitches retain several loops on the hook, but those loops are worked off in pairs rather than gathered together as a puff. Understanding that movement makes the repeated section easier to follow.
Materials to Prepare
You will need:
- Velvet yarn.
- A crochet hook suitable for your yarn.
- A ready-made hair elastic.
- Scissors and a yarn needle.
- A removable stitch marker, if helpful.
The demonstration uses golden yarn and a covered elastic. These notes do not specify an unverified yarn weight, hook size, elastic diameter, or finished measurement.
Choose an elastic that already suits your hair and preferred hairstyle. Stretch and release it before crocheting: it should move smoothly and recover well. The crochet adds volume, but the elastic remains responsible for holding the hairstyle.
Working with Velvet Yarn
The soft pile can hide the underlying stitch structure. Before starting, make a few practice stitches and check that you can locate the loops without splitting or forcing the yarn.
Keep the working loop controlled but comfortable. Pulling every stitch extremely tight makes the repeated insertions difficult; working too loosely can leave loops that stand out from the fabric.
When you need to undo a section, pull gently and release one stitch at a time. Check that the pile has not caught on a neighboring loop before continuing.
Stitch Terms Used Here
These notes use US crochet terminology.
Term Meaning
ch Chain
sc Single crochet
sl st Slip stitch
increase Work 2 sc into the same stitch
yarn over Bring the working yarn over the hook
The main repeated structure is described by its actions below rather than given a potentially misleading standard stitch name.
Important: When five loops are on the hook, work them off two at a time. Do not pull through all five together.
Construction Overview
Stage What you do
Attach the yarn Work a single crochet around the elastic
Set up the height Chain 3
Build the main covering Repeat the demonstrated five-loop sequence around the elastic
Connect the covering Join the final section to the beginning
Add fullness Repeat 1 sc, then an increase along the outer edge
Finish Join, secure the ends, and distribute the folds
The tutorial does not establish a fixed total number of main repeats for every elastic. Coverage depends on the elastic, yarn, hook, and tension.
1. Attach the Yarn to the Elastic
Hold the elastic so that the hook can pass through its center and reach around the band.
Attach the yarn and work one single crochet around the elastic, following the starting movement shown in the video. The stitch wraps around the band; the hook does not pierce the elastic itself.
Leave a tail long enough to secure later.
Check that the stitch sits firmly while still allowing you to move the crochet covering along the band as it grows.
2. Chain Three
From the starting single crochet, ch 3.
These chains establish the beginning of the first tall section. Keep them even and avoid pulling them tighter than the stitches that follow.
Before continuing, identify the third chain from the hook. Velvet pile can hide it, so separate the strands gently rather than inserting into the first visible gap.
3. Make the First Five-Loop Section
The video first demonstrates an unfinished half-double-crochet movement into the starting chain, then another pickup around the elastic.
Follow this sequence:
- Yarn over and insert the hook into the third chain from the hook.
- Pull up a loop and retain the loops on the hook instead of completing an ordinary hdc.
- Yarn over again, pass the hook around the elastic, and pull up another loop.
- Check that you have five loops on the hook.
- Yarn over and draw through two loops.
- Continue drawing through two loops at a time until one loop remains.
Starting with five loops, this takes four successive draw-through-two movements.
Keep the retained loops similar in size. A loop pulled much shorter than its neighbors can make the section difficult to finish and change its height.
4. Repeat Around the Elastic
For the following sections, the video picks up through the indicated part of the preceding tall stitch structure, then around the elastic again.
Use the close-up demonstration to locate that insertion point. It is part of the preceding crochet section, rather than an instruction to begin another chain-three foundation each time.
Repeat the process:
- Pick up the retained loops through the preceding section as demonstrated.
- Pick up around the elastic to reach five loops.
- Work the loops off two at a time until one remains.
Continue around the band, keeping the height and tension consistent.
Make Room as You Work
Slide the completed sections together gently to expose more elastic. The video demonstrates stretching the band slightly to make room for additional stitches.
Do this gradually. Do not force the crochet into a hard, immovable bundle.
Pause occasionally to distribute the fabric, stretch the elastic gently, and let it relax. This reveals whether you have a sparse area or a section that has become unusually tight.
5. Join the Main Covering
When the covering reaches around the elastic, bring the last section beside the beginning.
Check that the crochet is arranged consistently around the ring, then follow the joining movement shown in the video. Match the beginning and ending edges without pulling one substantially shorter than the other.
Before moving on, gently open and release the scrunchie. The join should hold the covering together while allowing the elastic to stretch.
The video’s close-up is useful here because the velvet pile makes the precise joining loops less obvious than they would be in smooth yarn.
6. Add the Increasing Outer Border
Work along the outer edge of the crochet fabric, rather than around the elastic again.
The demonstrated repeat is:
1 sc in the next stitch, 2 sc in the following stitch.
Repeat that sequence around the edge.
The increase adds an extra stitch in every second position. This gives the outside edge more length and encourages the fabric to form folds around the smaller elastic center.
Keep the single crochets even. Do not tighten the whole border to make the scrunchie appear neater; an overly tight edge can restrict the fabric beneath it.
If the pile hides the stitch tops, use a marker at the beginning and check the underlying loops with your fingers. Avoid placing an extra increase into a nearby gap simply because it is easier to enter.
Join the border at the beginning when the round is complete.
7. Secure the Ends and Arrange the Folds
Fasten off and weave the yarn ends through the crochet fabric with a needle.
Keep the finishing area compact but flexible. Avoid wrapping the yarn tightly around the elastic or accidentally sewing through it.
Spread the covering around the band, then gently stretch and release it several times. Arrange the folds so that the fullness is distributed around the ring.
Run your fingers around the inside edge. Check for a loose end or bulky join that could catch on hair.
How Full Should the Scrunchie Be?
Judge the result in both its relaxed and gently stretched positions.
When relaxed, the fabric should gather into folds. When stretched, those folds should open without one tight area taking all the strain.
A sparse section may simply need the nearby crochet redistributed. If the gap remains after spreading the covering, inspect the number and spacing of the main sections.
If the band feels crowded and barely moves, check whether the crochet has been packed too tightly or whether the join restricts it. Extra fabric alone does not guarantee a more comfortable accessory.
Troubleshooting
Problem What to check
A main section looks shorter Compare the retained loop heights and check that all draw-through-two movements were completed.
The stitch resembles a tight puff Confirm that the five loops were worked off in pairs, not closed together.
One area looks flat Redistribute the covering, then compare the main sections in that area.
The outer edge pulls inward Check for tight tension, missed stitches, or omitted increases.
The elastic shows through a gap Check the distribution of the covering and inspect the beginning-to-end join.
The scrunchie stretches poorly Compare the bare elastic’s movement with the finished piece and inspect the join for restriction.
Care for the Velvet Finish
Follow the yarn label’s cleaning instructions. Velvet yarns can differ in fiber content and care requirements.
After washing, reshape the folds gently and allow the scrunchie to dry completely. Avoid direct heat unless the yarn’s care instructions permit it.
Check the elastic and finishing ends periodically. If a loop begins to lengthen or the join loosens, inspect the neighboring stitches before pulling on it; tightening one visible loop can shift yarn from another part of the fabric.
Watch the Velvet Scrunchie Tutorial
Use the video alongside these notes to follow the five-loop pickups, the repeated draw-through-two movements, and the joining placement.
A Plush Finish from a Repeated Sequence
This scrunchie gets its fullness from two parts working together: the covering built directly around the elastic and the increasing border around its outside edge.
Take time to understand the first section before repeating it. Consistent loop heights, a flexible join, and evenly distributed folds help turn the soft velvet yarn into a neatly finished hair accessory.
Watch every stitch up close
Pair these written notes with the complete video tutorial.
Made with yarn, shared with love. 🧶💗