
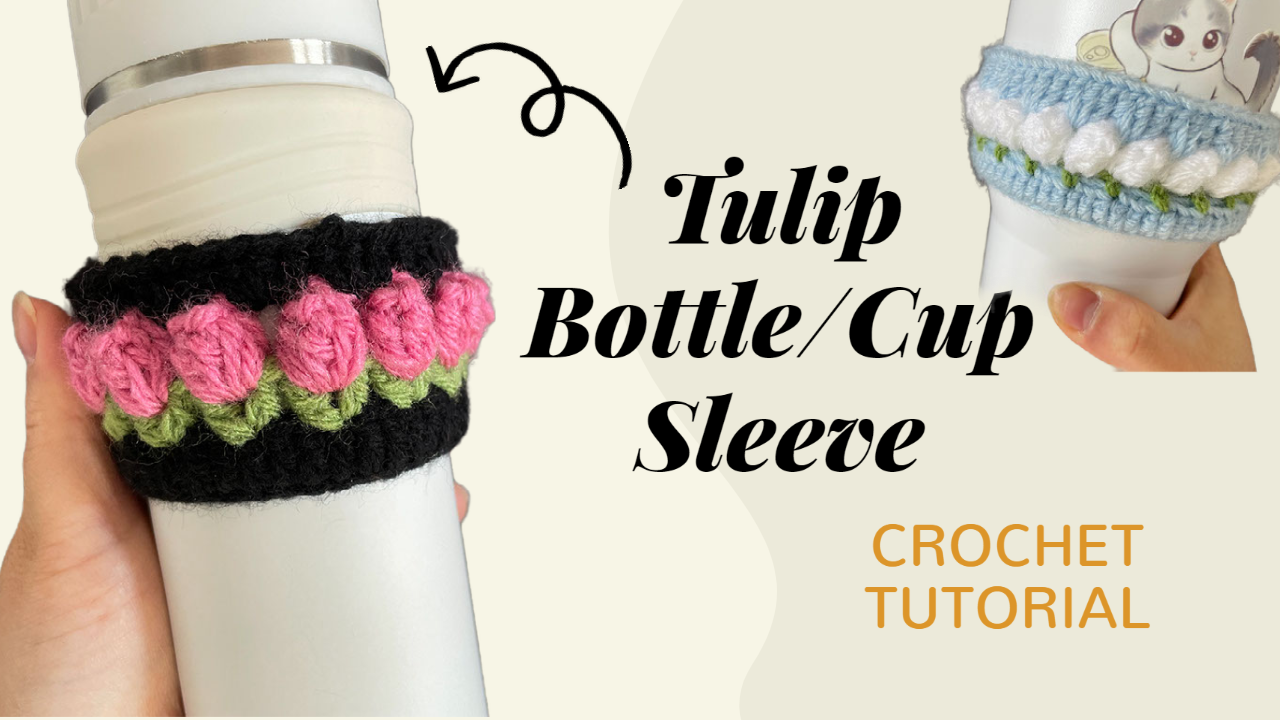
Crochet Tulip Bottle Cozy in Two Colorways
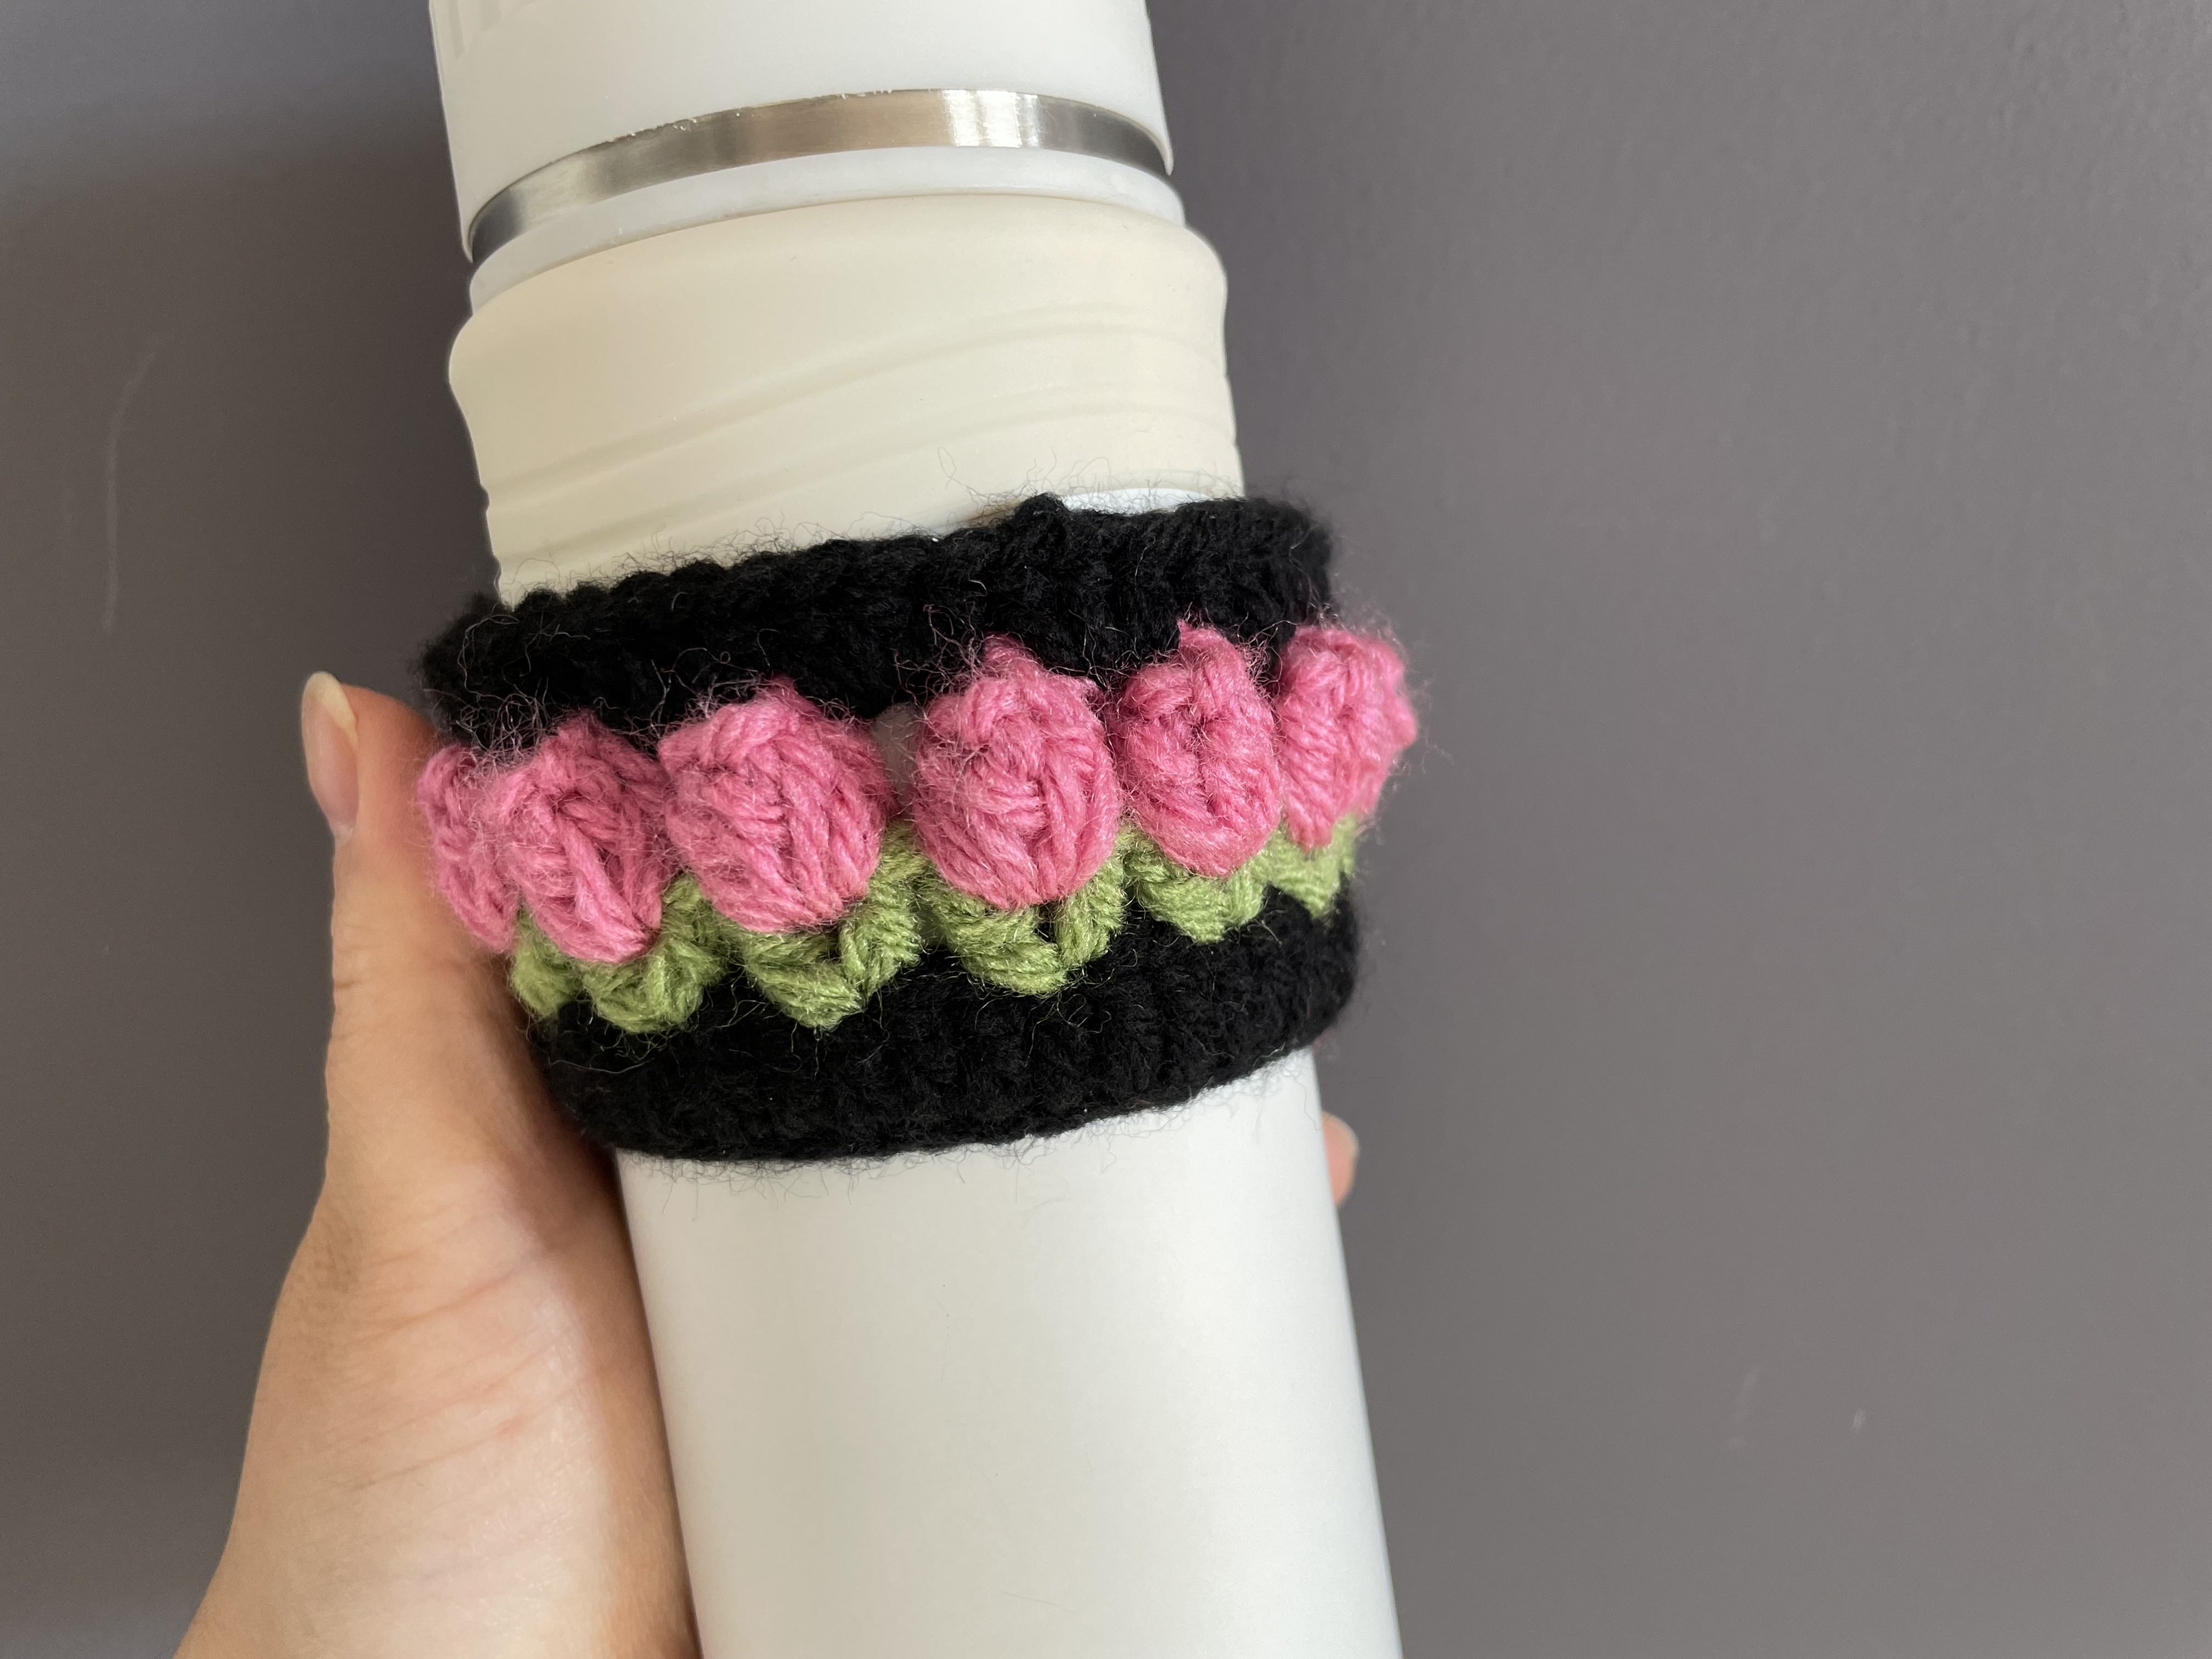
A row of little tulips gives this crochet bottle cozy its character. Green V-shaped stitches form the leaves beneath raised flower buds, while matching borders frame the design above and below.
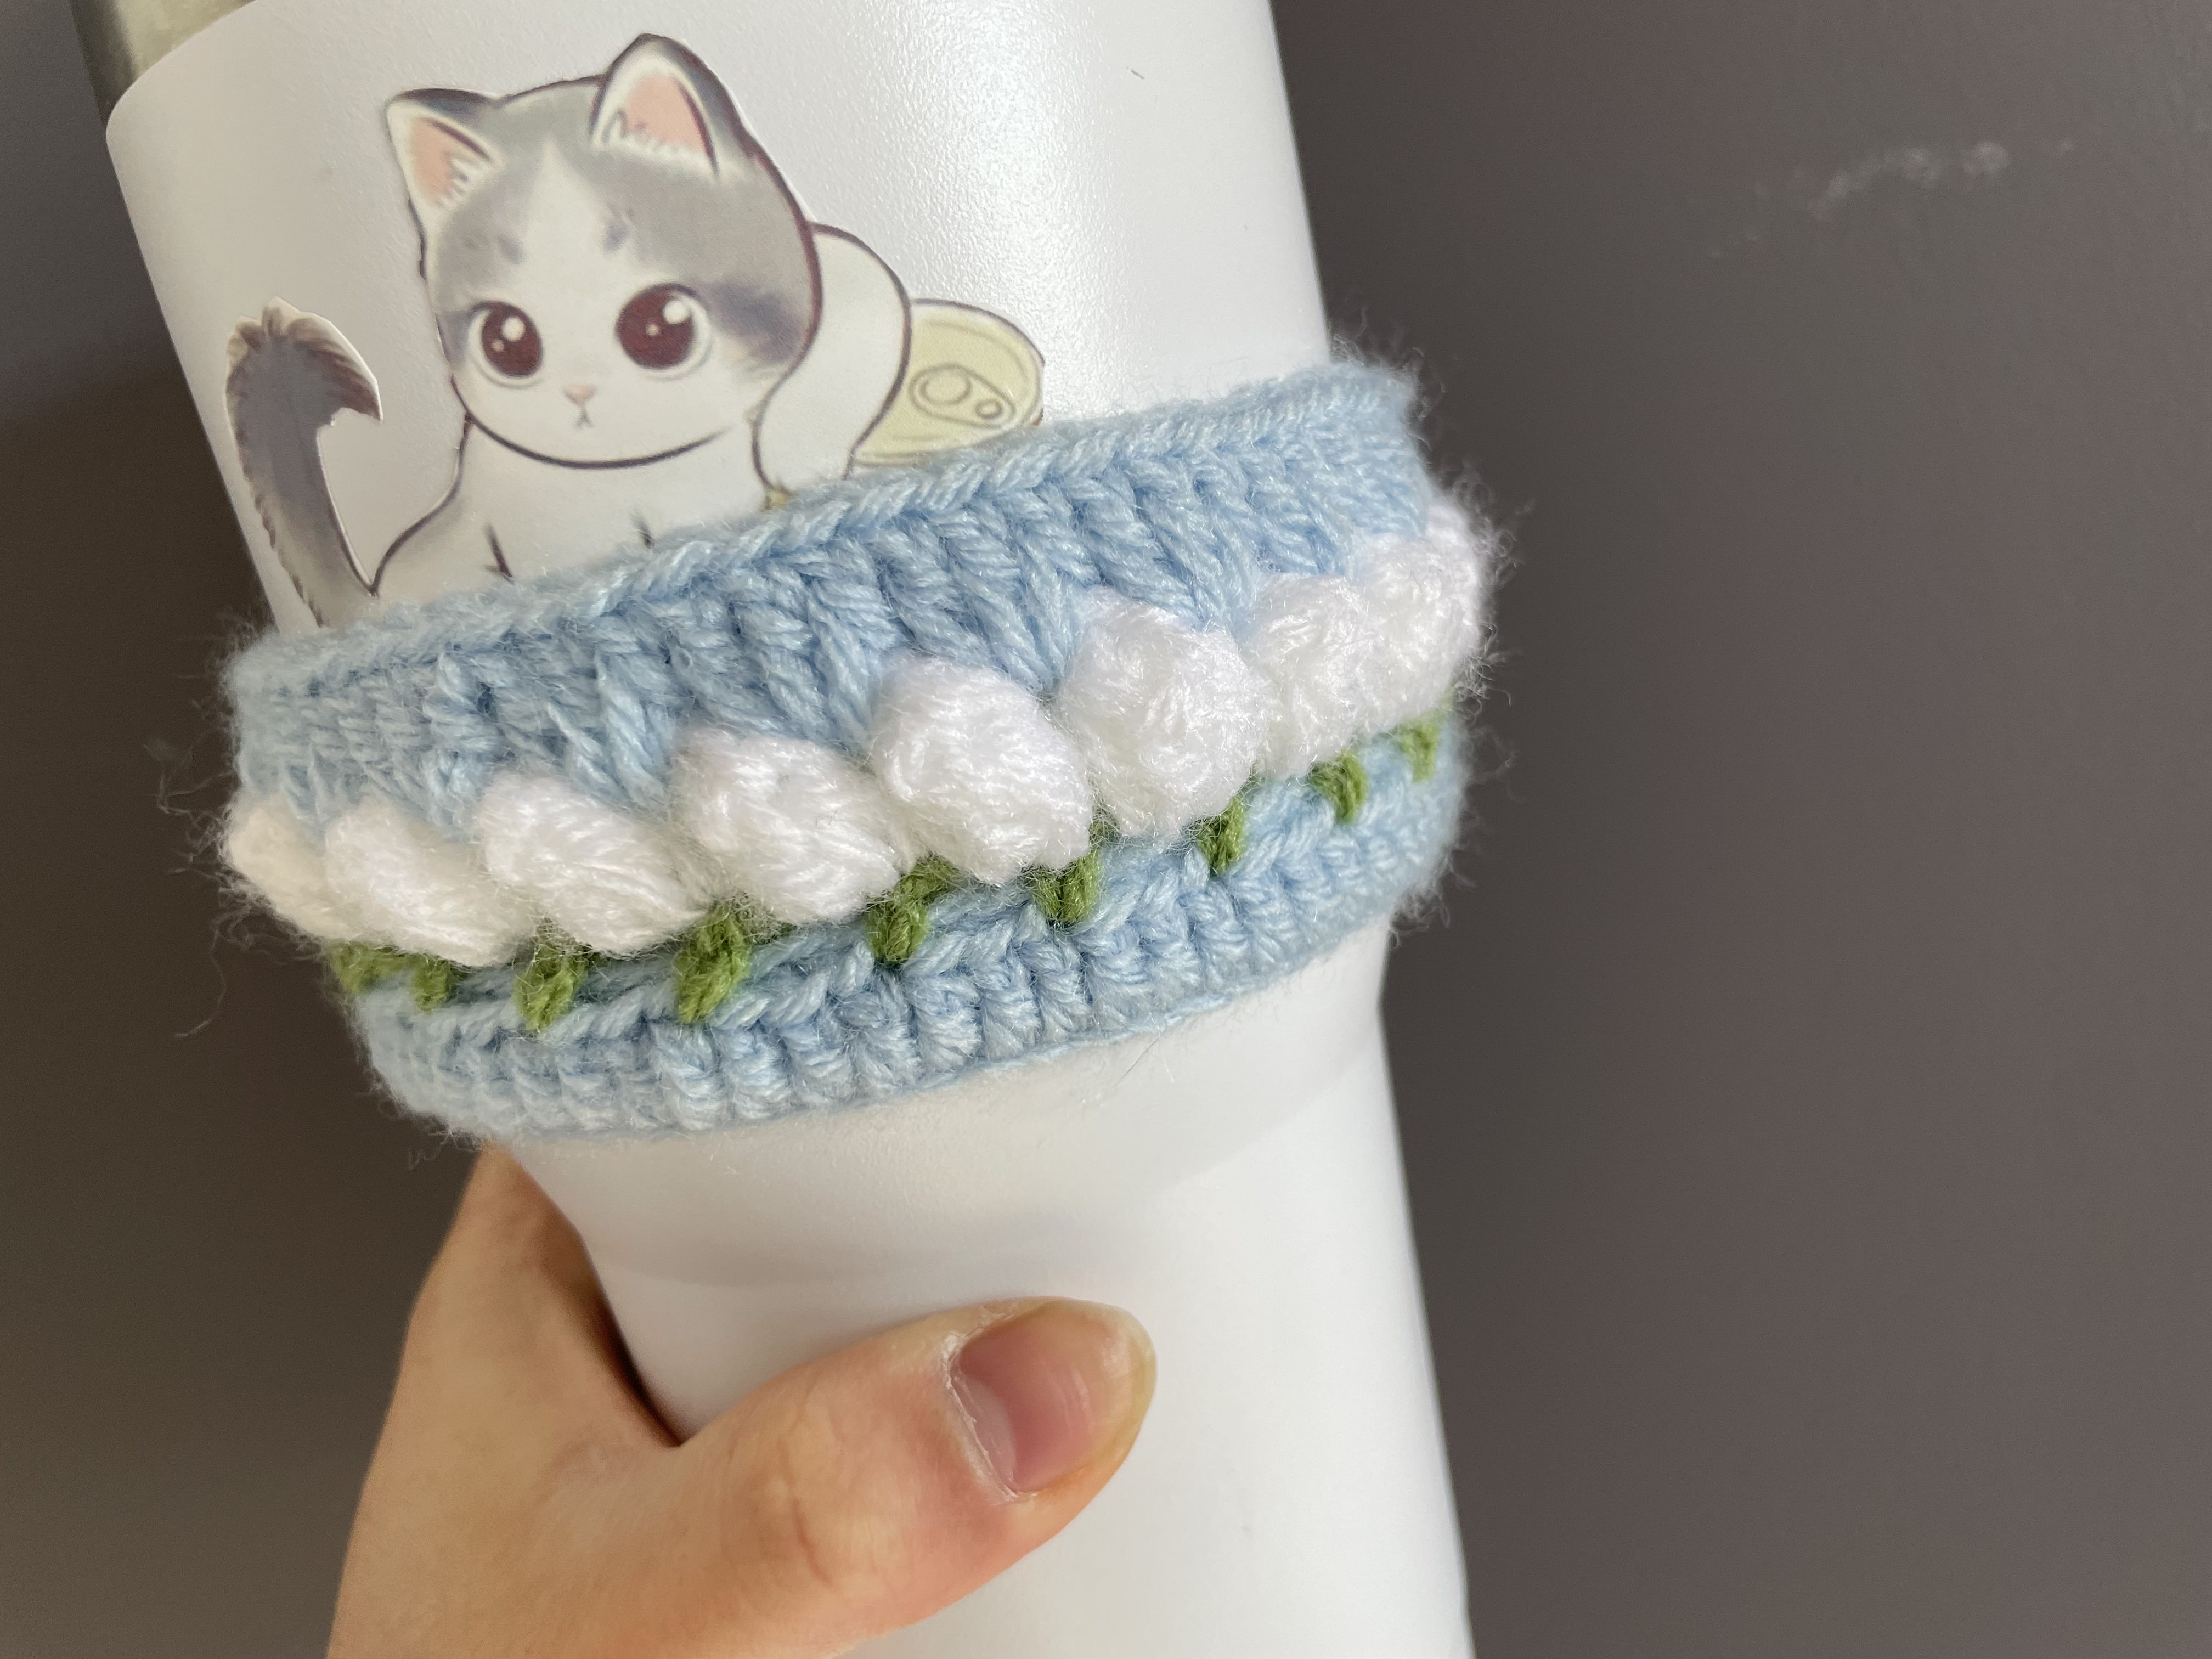
The video shows two color combinations: pink tulips with a black background, and white tulips with a pale blue background. Both use the same arrangement of contrasting leaves and flowers, but the finished effect feels quite different. The dark version gives the pink buds a strong outline; the blue version creates a softer, lighter appearance.
This project begins with a foundation chain, followed by a double-crochet band. The green stitches establish spaces for the flowers, the flower-color round adds the buds, and a final background-color round finishes the upper edge.
The written guide below follows the on-screen instructions and explains the shaping that the abbreviated captions leave out.
Materials to Prepare
You will need:
- Background-color yarn for the lower and upper borders.
- Green yarn for the leaves.
- Flower-color yarn for the tulip buds.
- A crochet hook suitable for your yarn.
- A yarn needle and scissors.
- The bottle you want the cozy to fit.
Choose yarns of similar thickness so that the leaves and flowers sit comfortably between the borders. A much thicker flower yarn can crowd the green spaces, while a much thinner one may produce small buds with little definition.
No verified project gauge, hook size, or finished dimensions are specified here. Keep your bottle nearby and check the fit as the fabric develops.
Before You Begin: Check the Bottle
The video starts with 45 chains, but that number is a starting point for the demonstrated bottle rather than a universal size.
Wrap the chain around the part of your bottle where the cozy will sit. Let it rest naturally without pulling it tight. It should reach around the bottle comfortably and remain removable.
Check the bottle’s shape as well. A straight-sided area is easier to fit than a sharply tapered one. If the bottle narrows below the cozy, the finished band may slide even when it initially feels snug.
The green stitch pattern uses a repeating sequence based on skipping two stitches and working into the next. When considering another size, plan around complete repeats rather than adding isolated stitches. Check the beginning and ending arrangement against the video before committing to a different foundation count.
Stitch Abbreviations
These notes use US crochet terminology.
Abbreviation Meaning
ch Chain
dc Double crochet
sl st Slip stitch
ch-1 space The opening beneath one chain
ch-2 space The opening beneath two chains
The green V-stitch is (dc, ch 1, dc) worked into the same stitch.
The flower caption uses the shorthand “5DC.” The demonstration holds unfinished double-crochet loops on the hook and closes them together to form a raised bud. This is explained below; five separate, completed double crochets would create a different shape.
Pattern at a Glance
The video numbers the foundation chain as R1.
Video section Color On-screen instruction
R1 Background 45 ch
R2 Background 45 dc
R3 Green Ch 2, dc; repeat skipping 2 stitches and working (dc, ch 1, dc); ending dc as shown
R4 Flower color Ch 2; repeat the five-double-crochet bud and ch 2
R5 Background Ch 2; repeat 3 dc in the spaces between flowers
Use this table to track your place. Follow the detailed steps and video for the round beginnings, joins, and color changes.
1. Make the Foundation and Lower Border
With your background color, chain 45.
Check the chain against your bottle before continuing. Keep the chains reasonably even; an overly tight foundation can make the lower edge much less flexible than the rest of the cozy.
The next video caption specifies 45 double crochets, with a two-chain setup demonstrated at the beginning. Follow the starting placement shown rather than adding extra stitches beyond the stated border count.
After completing the lower band, the video demonstrates a slip-stitch connection before changing to green. Arrange the band carefully so that the foundation is not twisted.
Try it on the bottle at this stage. If the lower border already needs considerable stretching, address the fit before adding the decorative rounds.
2. Work the Green Leaf Round
Change to green.
The on-screen sequence begins with ch 2, dc, followed by the repeating leaf arrangement:
Skip 2 stitches; work (dc, ch 1, dc) into the next stitch.
Continue the repeat around the band, following the final double crochet and joining arrangement demonstrated in the video.
Both double crochets of each V-stitch go into the same stitch. The chain between them creates a small opening that will hold a flower bud in the next round.
Keep these openings visible and reasonably even. If the chain is pulled very tight, inserting the hook for the flower round becomes harder.
Before changing colors, check that the green groups are spaced consistently and that none of the chain spaces has been missed.
3. Crochet the Raised Tulip Buds
Join your flower color and follow the ch 2 beginning shown in the video.
Work each bud into a green ch-1 space, between the two double crochets of a V-stitch.
How to Form the Bud
The flower is made by gathering unfinished double crochets together:
- Yarn over, insert the hook into the green chain space, and pull up a loop.
- Yarn over and draw through two loops, leaving the double crochet unfinished.
- Continue making unfinished double crochets into that same space, retaining their remaining loops on the hook.
- After the five-double-crochet group is formed, yarn over and draw through the retained loops together.
- Chain 2, then move to the next green V-space.
Repeat the bud-and-chain sequence around the cozy, following the video’s starting and closing arrangement.
The important distinction is that the long stitches are gathered together at the top. Do not complete five ordinary double crochets independently and expect the same enclosed bud shape.
Keep the Flowers Facing Outward
As each bud forms, gently guide it toward the outside of the cozy. Check the direction before moving on to the next repeat.
Keep the two chains between flowers relaxed enough for the band to curve around the bottle. Pulling them too tightly can crowd the buds and reduce the circumference.
After completing the flower round, spread the band gently with your fingers. Check that every intended green space contains a bud and that the spaces between flowers remain accessible for the upper border.
4. Add the Upper Border
Return to the background color.
The video shows a ch 2 beginning, followed by repeated groups of 3 dc worked into the flower round’s ch-2 spaces.
These stitches go into the openings between the buds. Avoid working the entire border into the tops of the flowers, which would change the structure and flatten their outline.
Continue around, following the demonstrated join at the end.
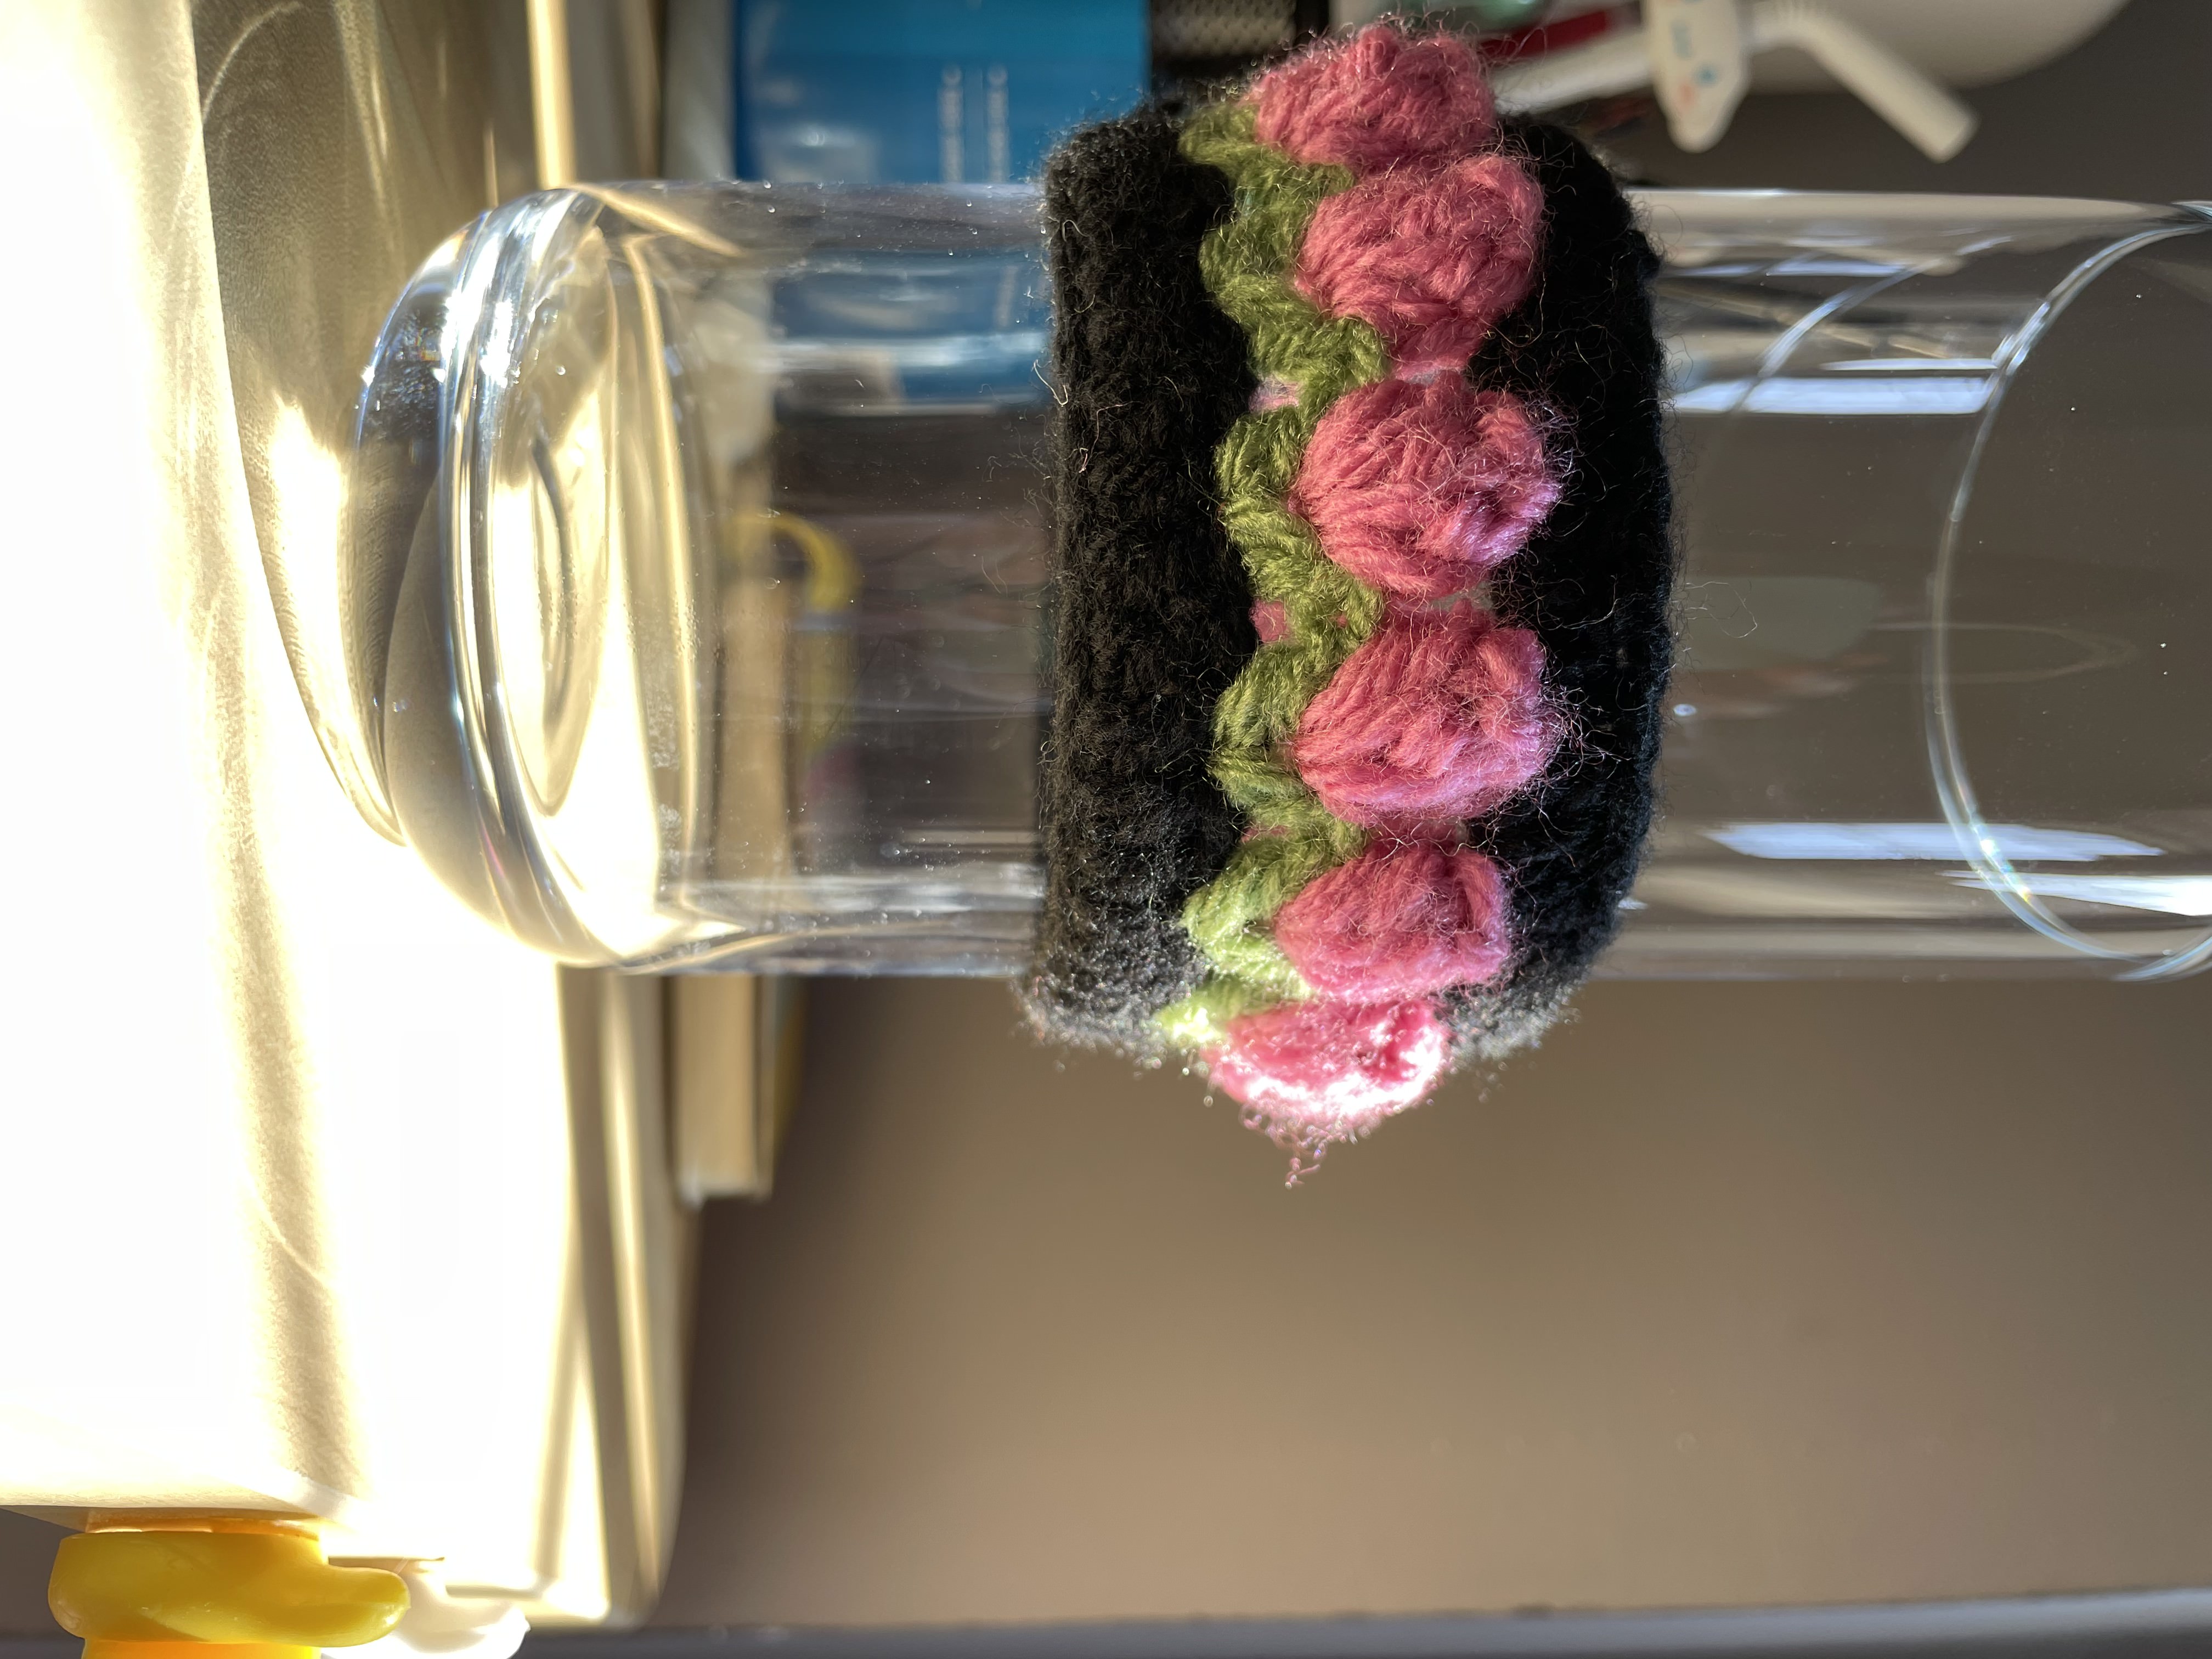
Check the upper edge before fastening off. It should frame the tulips without forcing them downward or making the band flare excessively.
5. Finish and Check the Fit
Secure the final join and weave in the yarn ends with a needle. Work them through the matching color sections where practical, taking care not to draw the fabric into a tight spot.
If the foundation connection leaves a small opening, close it neatly with the yarn tail. Keep this area flexible enough to sit comfortably against the bottle.
Slide the finished cozy into place and check it from all sides:
- The lower border should sit evenly.
- The green leaves should remain visible beneath the flowers.
- The buds should face outward.
- The upper border should rest without squeezing the flowers flat.
- The cozy should come off without excessive stretching or snagging.
Keep the fabric below the drinking opening and clear of the cap or lid.
Choosing Between the Two Colorways
Pink Tulips on Black
Black creates a distinct outline around the pink flowers. It also makes the spaces between the buds less visually prominent, bringing attention to the raised shapes.
Choose a green that remains visible against the black. A very dark leaf color can disappear into the lower border.
When working with dark yarn, use good lighting and count the foundation stitches carefully before starting the green round.
White Tulips on Pale Blue
White flowers and pale blue borders create a gentler contrast. The green becomes particularly important because it separates the white buds from the surrounding fabric.
Try the yarns together against the actual bottle. A printed label or dark surface can show through the open spaces and affect the appearance of the finished colors.
Troubleshooting the Tulip Band
Problem What to check
The buds look like open fans Check that the unfinished double crochets are closed together rather than completed separately.
The flowers bunch together Check the tension of the two chains between buds and confirm that each bud occupies its own green space.
The lower edge feels too tight Compare the foundation-chain tension with the double-crochet band before changing the decorative rounds.
The top edge flares Check for extra groups or stitches in the spaces between flowers.
The cozy slides down Check whether the bottle tapers beneath the band and whether the fabric has relaxed after handling.
Care for Your Finished Cozy
Remove the cozy from the bottle before washing. Follow the care instructions for the yarns you selected, especially if the three colors use different fibers.
Gently reshape the leaves and buds while the fabric is damp, and let it dry completely before putting it back on the bottle. Avoid stretching the flowers flat while drying.
Watch the Tulip Bottle Cozy Tutorial
Watch the video alongside these notes for the foundation connection, the gathered flower stitches, and the joins between colors.
A Little Garden Around Your Bottle
The appeal of this cozy comes from the relationship between its three colors: a simple border, green stitches that suggest leaves, and rounded buds that stand above them.
Take particular care with the foundation fit and the first flower. Once those are working well, the repeating sequence becomes easier to follow. Finish with an even upper border, arrange the tulips outward, and your plain bottle has a small handmade garden of its own.
Watch every stitch up close
Pair these written notes with the complete video tutorial.
Made with yarn, shared with love. 🧶💗