
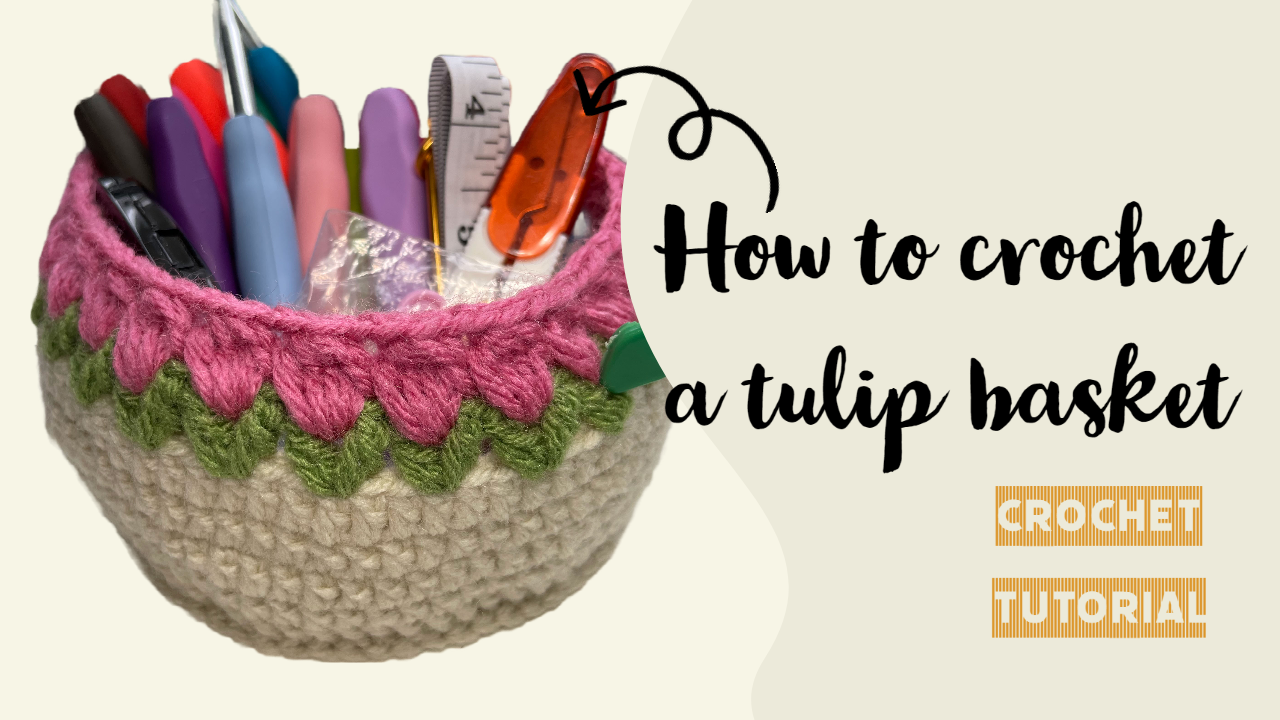
Crochet Tulip Basket: A Flower-Inspired Organizer for Craft Tools
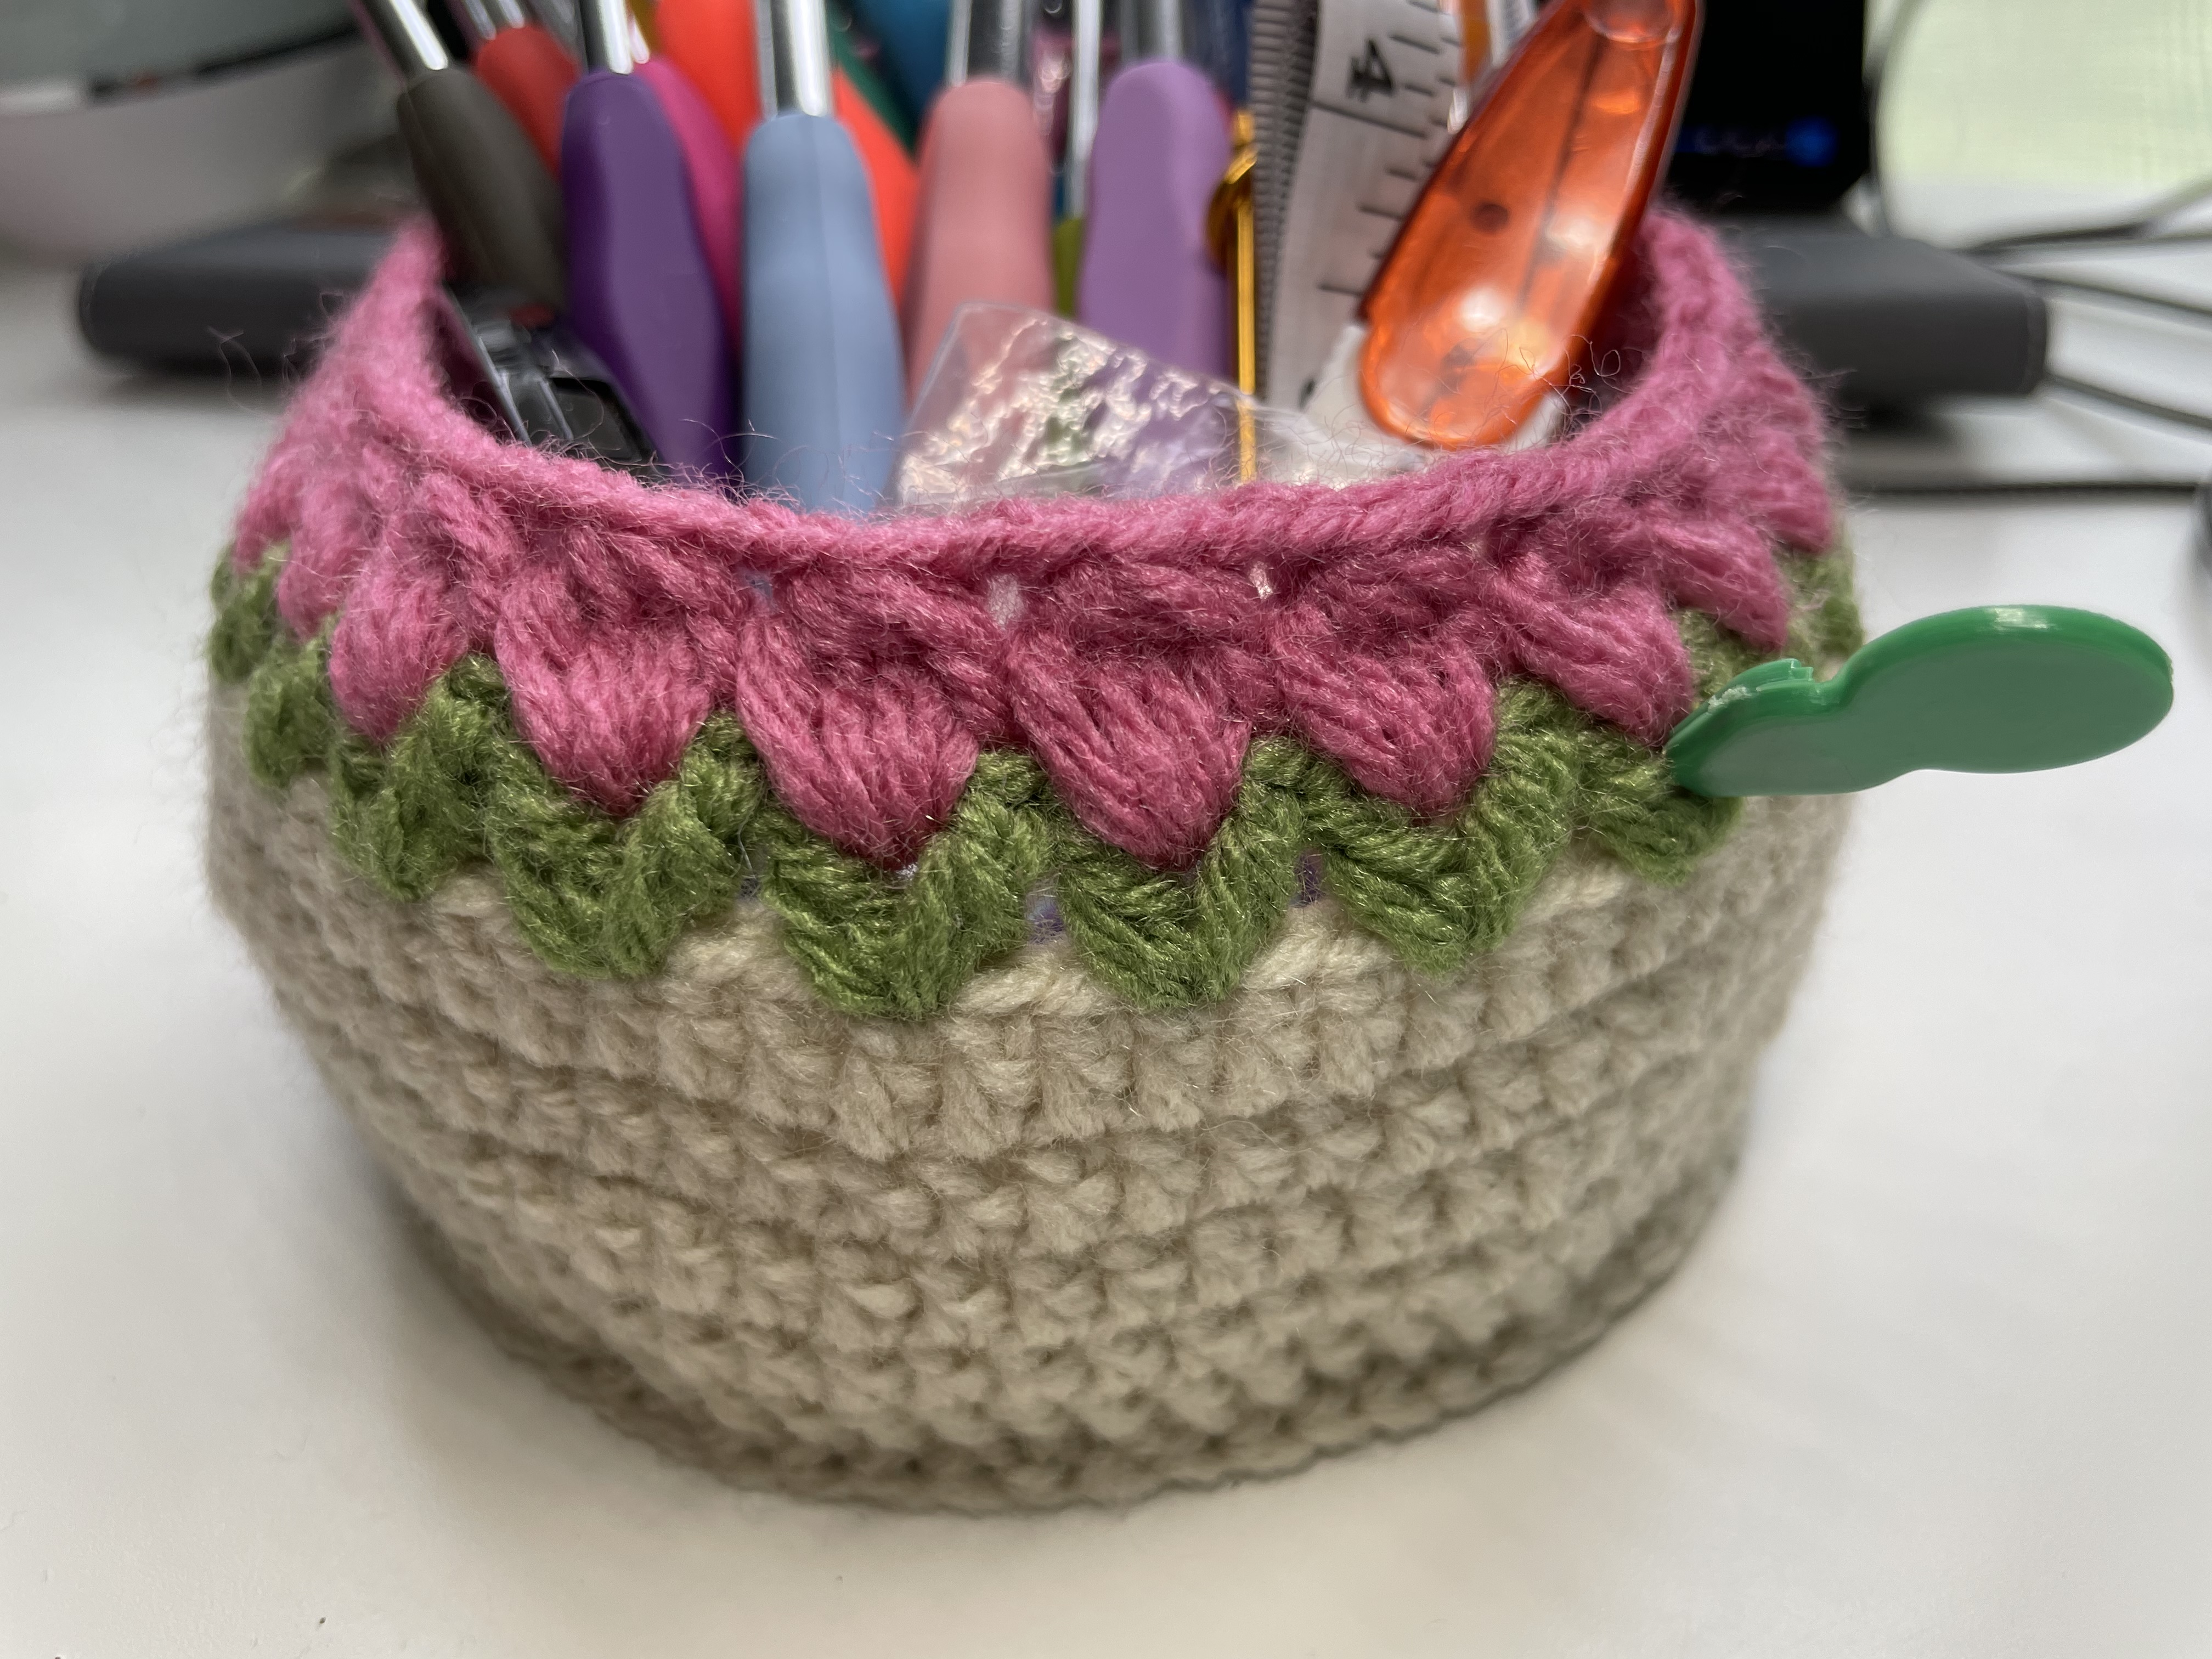
A little basket beside your project can save a surprising amount of searching. Hooks stay within reach, a measuring tape has somewhere to go, and small supplies stop disappearing under the yarn. This version adds a garden around the opening: green V stitches support a row of raised pink tulip-like flowers above a simple cream body.
The construction is easy to understand in stages. Five increasing rounds make the circular base. A back-loop-only round turns the fabric upward, four straight rounds build the walls, and two contrasting rounds create the floral rim. Knowing where those changes happen makes the project much easier to check as you crochet.
Before You Begin
Gather cream yarn for the basket, green for the leaves, and pink for the flowers, together with a suitable hook, scissors, a yarn needle, and a removable marker. Choose three yarns of similar thickness so the border does not become much heavier or tighter than the body.
For a tool basket, test the fabric rather than relying on the fiber name alone. It should feel firm enough to support the intended contents. A loose fabric may make a lovely decorative bowl but fold under taller hooks. Make the demonstrated size first before changing the base or flower repeat.
The instructions below use US terminology. Finished dimensions and yarn quantities depend on your yarn and tension; the stitch counts describe the tutorial's construction rather than a guaranteed basket size.
| Abbreviation | Meaning | | --- | --- | | ch | Chain | | dc | Double crochet | | dc inc | Two double crochets in one stitch | | sl st | Slip stitch | | BLO | Back loop only |
1. Crochet the Circular Base
Begin with an adjustable ring in cream. Follow the video's beginning-chain and slip-stitch placement at each join. The numbered counts below refer to the working double crochets; do not accidentally create an additional working stitch at the joining chain.
| Round | Instructions | Working dc count | | --- | --- | --- | | 1 | Work 15 dc into the ring; join with sl st. | 15 | | 2 | Ch 3; dc inc in each stitch; join. | 30 | | 3 | Ch 3; repeat (dc in next stitch, dc inc in next stitch) 15 times; join. | 45 | | 4 | Ch 3; repeat (dc in each of next 2 stitches, dc inc in next stitch) 15 times; join. | 60 | | 5 | Ch 3; repeat (dc in each of next 3 stitches, dc inc in next stitch) 15 times; join. | 75 |
Each increase round adds 15 stitches. Count before beginning the next round, especially near the join, where an extra stitch can be easy to overlook.
Set the base on a table after Round 5. It should settle into a circular foundation without pronounced waves. If it ruffles, check for additional increases; if it cups strongly before the turning round, check for missed increases or uneven tension. Correct the count before building the walls.
2. Turn Up the Walls
Round 6: Ch 3, work 75 dc in BLO, and join with sl st.
Work into the back loop of each actual stitch, leaving the other loop visible around the base. This change in placement defines the lower edge and helps the walls rise from the circle. It is a structural step, so keep it distinct from the ordinary double-crochet rounds that follow.
Rounds 7-10: Ch 3, work 75 dc around, and join each round with sl st.
These four rounds maintain the same count. The basket should gain height without becoming progressively wider. Mark the first working stitch and count at the end of each round. An unintended increase at every join can noticeably flare a small basket.
3. Add the Green Leaf Round
Change to green for Round 11. The on-screen repeat is:
Ch 3; repeat [(dc, ch 1, dc), skip 2 stitches] around; join with sl st.
Work the two double crochets of each V into the same attachment stitch. After skipping two base stitches, start the next V in the following stitch. Match the video's starting V at the join rather than adding a second V beside it.
Each repeat uses three stitches of the 75-stitch body, giving 25 V units. This is a calculated check from the pattern repeat. Count the green units before changing colors; each one provides a space for a pink flower.
4. Make the Pink Flowers
For Round 12, the caption reads:
Ch 3; repeat [popcorn (4 dc each), ch 2] around; join with sl st.
Place the flower groups in the green V spaces, with a two-chain bridge between neighboring flowers. Keep the green points visible beneath the pink section rather than pulling the flowers down over them.
A stitch-name detail: the video labels this group “popcorn,” while the close-up shows unfinished double crochets gathered on the hook before the group is closed. Follow that demonstrated grouped closure. A conventional popcorn made by removing the hook and reconnecting the first and last completed stitches is a different operation and should not be substituted automatically.
Keep the grouped stitches at a similar height. If one flower is much tighter than the others, the rim may pinch inward at that point. Check the first and last groups together before fastening off so the join does not create a doubled flower or an oversized gap.
Finish and Put the Basket to Work
Fasten off and conceal the cream, green, and pink ends on the inside. Route them through firm stitches without dragging on the flower groups. Gently arrange the rim with your fingers; pressing it flat would remove the raised detail.
Test the basket first with a few frequently used hooks. Distribute taller tools around the center instead of leaning them all against one side. Keep needles in a separate case and loose stitch markers in a small pouch so they do not slip through the fabric.
If the walls fold under the contents despite a correct count, reduce the load or use a smooth inner container that fits without stretching the crochet. For a future basket, a firmer yarn-and-hook combination may provide better support. Adding random increases to this version would also change the 25-flower repeat.
Watch the Tulip Basket Tutorial
Use the video to check the round joins, the BLO transition, and the grouped flower closure before completing the rim.
With its simple body and compact floral edge, this basket works best when it stays easy to reach into. Finish the stitches carefully, give the flowers a little space, and let the organizer hold the tools you actually enjoy using.
Watch every stitch up close
Pair these written notes with the complete video tutorial.
Made with yarn, shared with love. 🧶💗