
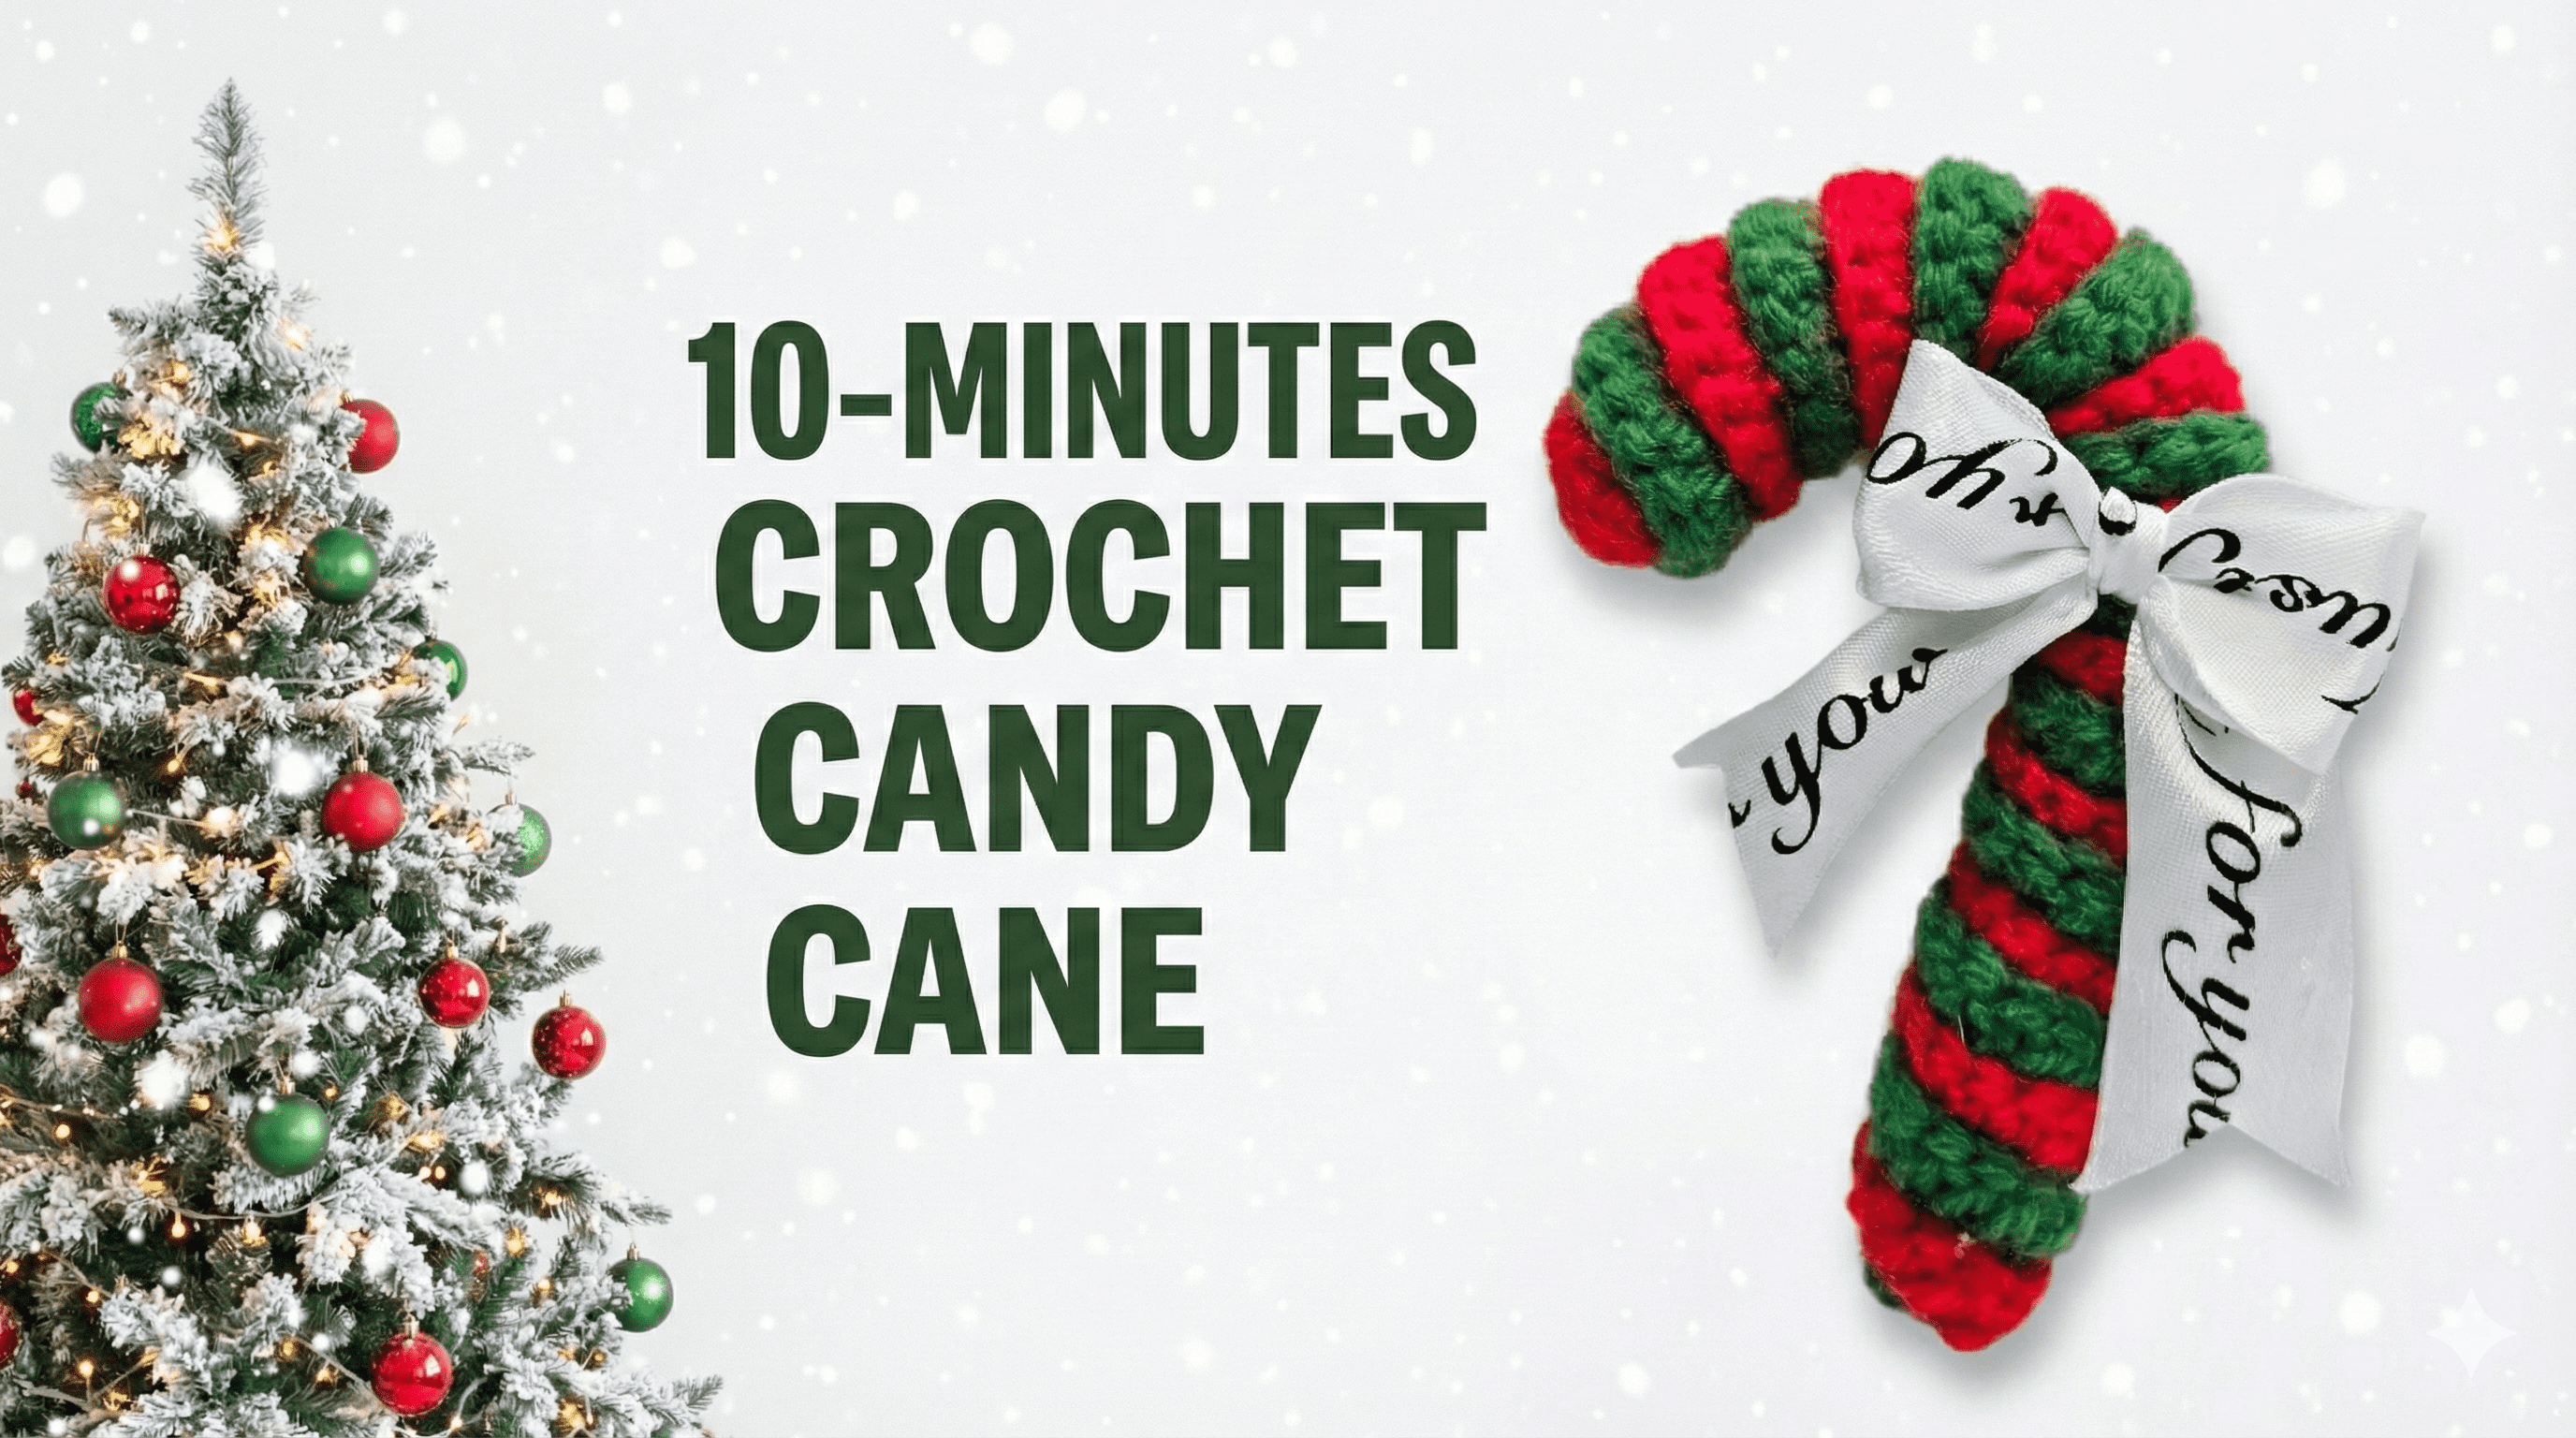
A crochet candy cane brings a playful touch to Christmas decorating. This version pairs red and green yarn in a spiral design, then finishes the curved shape with a white ribbon bow. The raised texture gives the stripes extra definition, making the ornament easy to recognize even among other decorations.
The pictured candy cane uses a printed ribbon for a cheerful finish. You can keep that look, choose a plain bow, or leave the ribbon off to make the crochet itself the focus.
Below, you will find practical notes for planning your colors, checking the shape, and attaching the finished ornament to a gift. The video near the end provides the crochet demonstration.
Choose Two Colors That Stand Out
Red and green create a traditional Christmas palette. Red and white give the project a more familiar candy-cane appearance, while cream and a muted green work well with natural wrapping paper and simple holiday decorations.
Whatever combination you choose, use yarns of similar thickness. A noticeable difference between the two can make one color dominate the spiral and affect how evenly the pieces sit together.
For your first ornament, choose yarn with clearly visible stitches. Very fluffy yarn can soften the stripe edges and make it harder to compare your work with the demonstration.
Prepare Your Supplies
Start with:
- Two coordinating yarn colors.
- A crochet hook suited to the yarn and tutorial.
- Scissors and a yarn needle.
- Ribbon for an optional bow.
- Cord or yarn for an optional hanging loop.
Watch the construction portion of the tutorial before gathering any additional shaping supplies. The finished photograph shows the outside of the ornament, so it should not be used to guess what is inside or how the curve is secured.
If you are working from leftover yarn, check that both colors will be sufficient before starting. Matching a discontinued shade halfway through a small project can take longer than the crochet itself.
Keep the Spiral Even
The alternating colors are the main feature of this design. As you follow the video, pause to check whether both colors remain visible along the length.
Look for a consistent rhythm rather than a perfectly measured stripe. One area that is twisted much more tightly than the rest may look compressed, while a loose section can interrupt the spiral.
Avoid pulling hard on the crochet to correct the spacing. Instead, make small adjustments as you follow the tutorial’s assembly method. It is easier to arrange a short section carefully than to reshape the entire ornament at the end.
Check the Curved Top
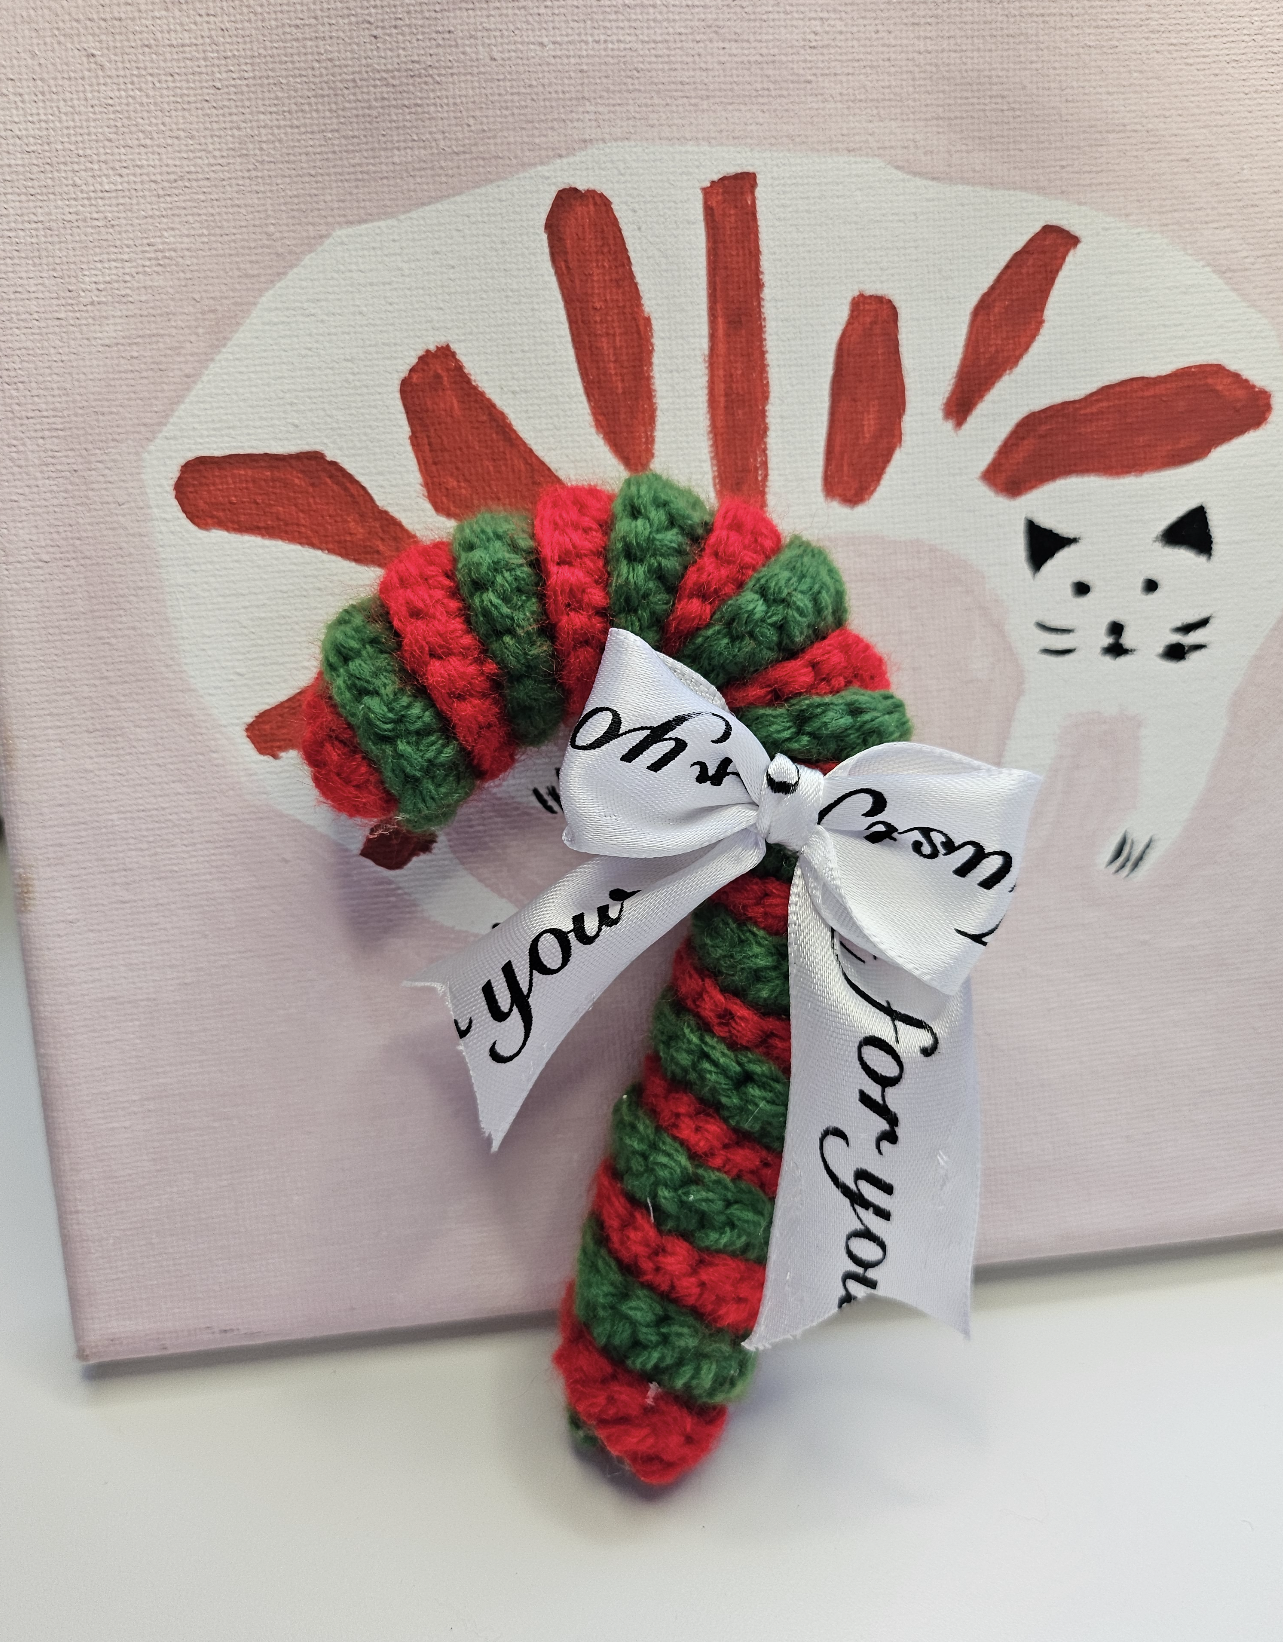
The hook-shaped top distinguishes the candy cane from a straight striped decoration. Before finishing, look at the ornament upright and check the relationship between the curve and the stem.
A very tight bend can crowd the stripes together. A shallow bend may make the top look more like a slight lean than a candy-cane hook. Follow the tutorial’s shaping method, then compare the overall outline with the finished example.
If the shape looks uneven, check the spiral arrangement before forcing the bend further. A compressed section near the top can affect both the curve and the spacing of the colors.
Add a Bow Without Hiding the Stripes
In the photographed example, the bow sits near the bend, with its tails extending down the stem. This draws attention to the curved top while leaving the lower stripes visible.
Try the ribbon in position before attaching it. Check the ornament from the front and adjust the bow’s width so that it complements the crochet.
For a smaller candy cane, a narrow ribbon may be easier to balance. If you use ribbon with printed words or a directional design, check which side faces outward before tying the final bow.
Trim the tails after you are happy with the placement. Leaving them long at first gives you room to adjust.
Turn It into a Reusable Gift Topper
A crochet candy cane can become part of the present rather than just part of the wrapping.
Tie it to the package ribbon with a removable loop. Keep the attachment separate from the ornament’s decorative bow so the recipient can detach it easily.
For wrapping that lets the crochet stand out, try:
- Plain kraft paper with red ribbon.
- Cream wrapping paper with green cord.
- A simple gift bag with the candy cane tied to one handle.
Add the recipient’s name on a separate paper tag. This leaves the ornament ready to hang elsewhere once the gift has been opened.
Watch the Crochet Candy Cane Tutorial
Follow this Crochetnotes video for the crochet and construction demonstration. Pause whenever you need to check the stitch placement or arrangement of the spiral.
Allow time for shaping and finishing as well as crocheting. Your pace will depend on your yarn, experience, and how much decoration you add.
Finish and Store Your Ornament
Before using the candy cane, weave in visible yarn ends and check that the bow and any hanging loop are secure. Hold it by the loop to see whether it hangs in the direction you intended.
For a coordinated set, repeat the same yarn colors and vary the ribbon. Keeping one element consistent makes several ornaments look related without requiring identical bows.
Store the finished pieces without heavy decorations pressing on the curved tops. Loosely arranging them in a small box will help protect both the crochet shape and the ribbon between holiday seasons.
Watch every stitch up close
Pair these written notes with the complete video tutorial.
Made with yarn, shared with love. 🧶💗