
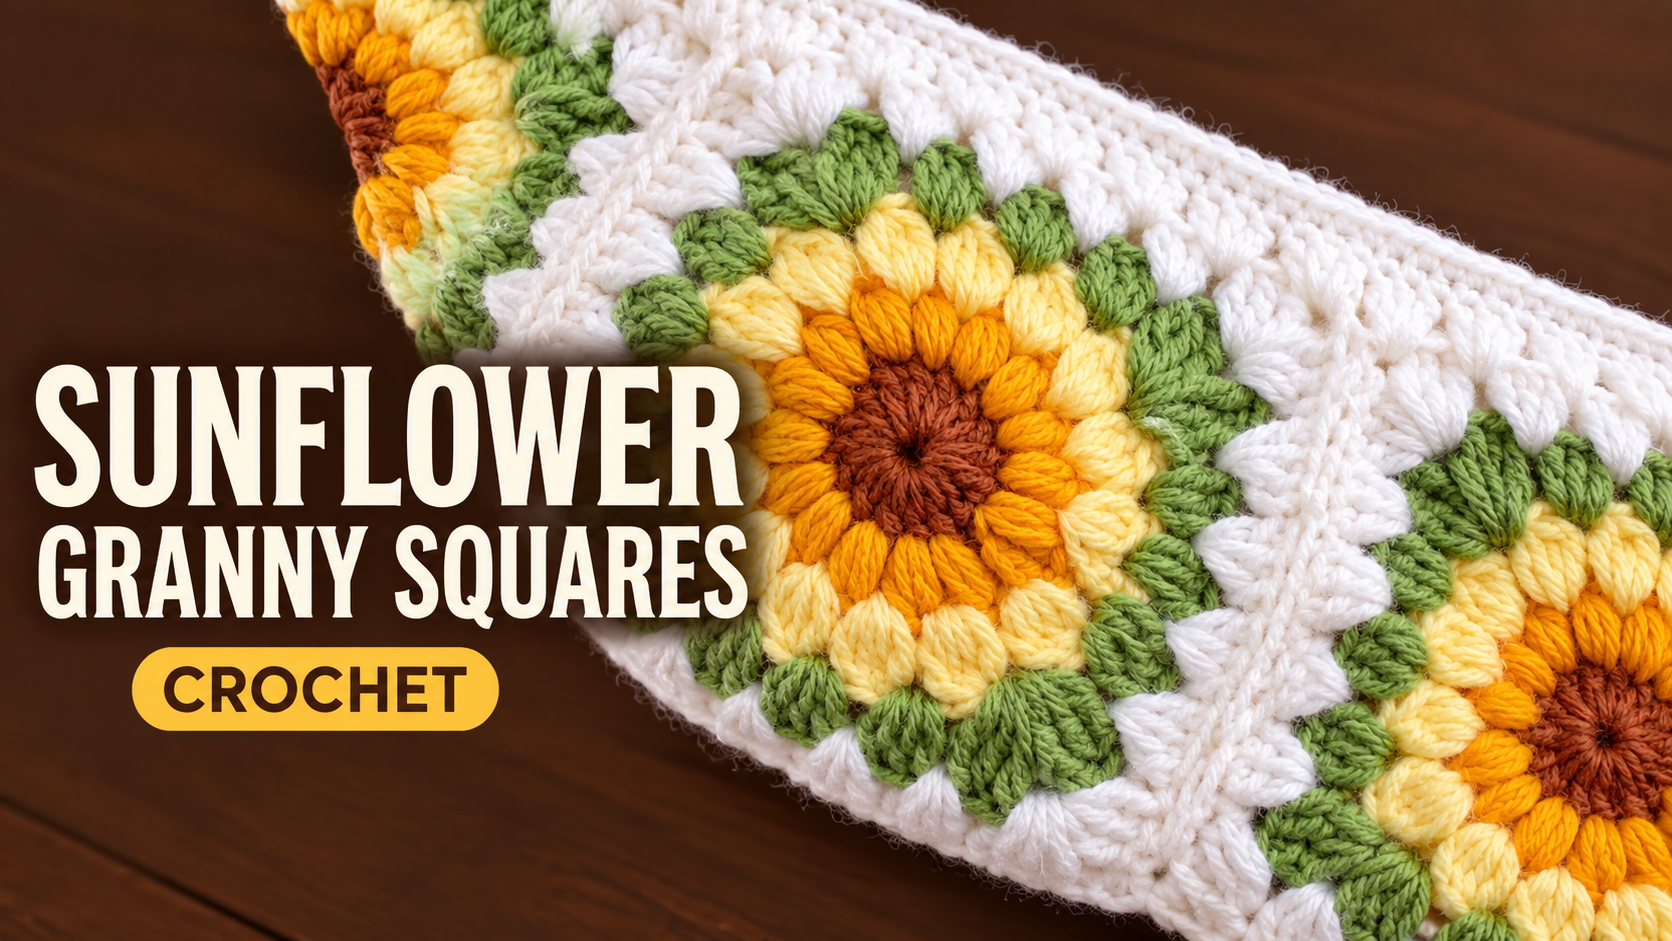
Crochet Sunflower Granny Squares: A Warm Yellow and Sage Project
Two shades of yellow give these crochet sunflowers their depth. A ring of golden puff stitches surrounds the brown center, followed by larger pale yellow petals. Sage green turns the flower into a square, and a white border gives each motif room to stand out when several are placed together.
The construction moves through five color rounds. Each round has a different job, making this a useful project for practicing textured stitches and learning how a circular flower becomes a square.
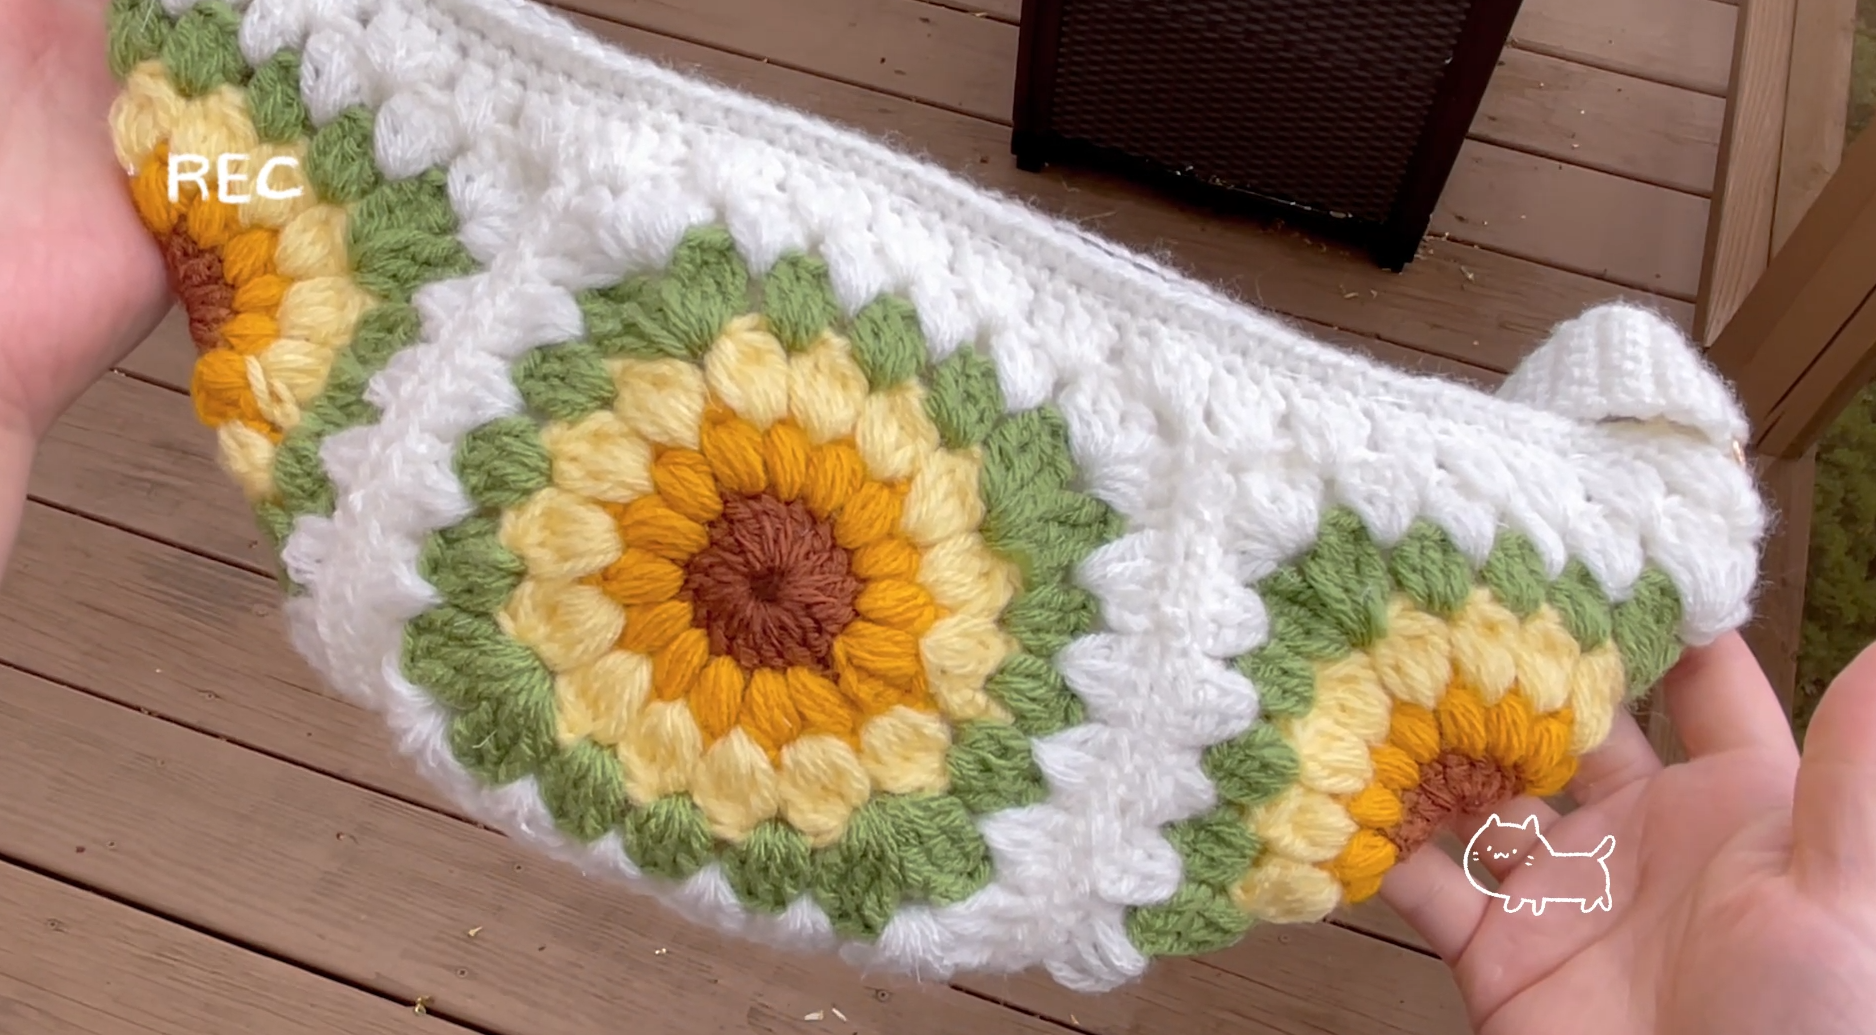
The tutorial finishes by showing several motifs joined into a longer piece. Start with one complete square, check its shape and size, then use it as your reference for the rest.
Materials and Color Planning
Prepare:
- Brown yarn for the center.
- Golden yellow yarn for the inner petals.
- Pale yellow yarn for the outer petals.
- Sage green yarn for the first square round.
- White yarn for the border.
- A crochet hook suitable for your yarn.
- Scissors and a yarn needle.
- Removable stitch markers.
Use yarns of similar thickness and compatible care requirements. A thicker petal yarn or thinner border yarn can change how the square lies, even when the stitch sequence is correct.
Place the five colors beside each other before starting. The two yellows should remain distinguishable, while the green should separate the flower clearly from the white background.
A fixed yarn weight, hook size, gauge, or finished measurement is not specified here. Measure your first completed square before planning a larger project.
Abbreviations
These instructions use US terminology.
Abbreviation Meaning
ch Chain
sl st Slip stitch
dc Double crochet
tr Treble crochet
puff The elongated-loop puff demonstrated in the video
dc3tog Three unfinished double crochet stitches closed together
dc4tog Four unfinished double crochet stitches closed together
ch-space Opening formed by chains
R Round
For the pale yellow petals, the unfinished double crochet stitches are worked into the same indicated space before being closed together. They are not spread across several neighboring stitches.
Construction at a Glance
Round Color Main feature
1 Brown Double crochet center
2 Golden yellow Puff-stitch ring
3 Pale yellow Cluster petals separated by chain-two spaces
4 Sage green Three-double-crochet side groups and treble corners
5 White Groups worked into the established square framework
Finish and secure each color change carefully. Leave enough yarn for weaving rather than cutting the ends close to the joins.
1. Crochet the Brown Center
Begin with a magic ring.
Chain 3, work 15 dc into the ring, then join with a slip stitch.
The beginning chain three occupies the first double crochet position, giving 16 positions around the center.
Pull the ring closed gradually. Spread the stitches around it so the circle rests evenly, then secure the starting tail when weaving in the ends.
Before changing color, identify the beginning chain and the 15 worked double crochet stitches. Do not accidentally count the joining slip stitch as another position.
2. Add the Golden Puff-Stitch Ring
Attach golden yellow yarn as demonstrated.
The video’s compact instruction reads:
Ch 3, (puff, ch 1) × 15, sl st.
Watch the initial puff beside the beginning chain before following the repeated section. The caption compresses the setup, so the “× 15” should not be used on its own to judge the complete flower’s arrangement.
Work the Puff Carefully
The demonstrated puff builds elongated loops in one insertion point, retains them on the hook, and closes them together.
Keep every drawn-up loop at a similar height. The full puff should remain rounded rather than being pulled tightly against the brown center.
Use the close-up to match the number of draw-ups and the initial setup. The short on-screen label names the stitch but does not spell out its internal loop count.
After each completed puff, work the separating chain indicated in the repeat.
Check the Spaces
The spaces between the golden groups provide the attachment locations for the next petal round.
Before fastening off:
- Check the spacing around the entire center.
- Compare the fullness of neighboring puffs.
- Identify the starting section and final join.
- Make sure an extra repeat has not been added at the seam.
The next round forms 16 pale yellow petal groups, so check that the golden round’s setup and spaces agree with the demonstration before continuing.
3. Work the Pale Yellow Petals
Attach pale yellow yarn in the indicated space between golden groups.
First Petal
Ch 3, dc3tog, ch 2.
The beginning chain supplies the height of the first component. The three unfinished double crochet stitches complete the first petal group.
Remaining Petals
Work:
(Dc4tog, ch 2) × 15.
Join with a slip stitch.
This gives 16 petal groups, each followed by a chain-two space.
How to Make dc4tog in One Space
- Yarn over, insert the hook into the space, and pull up a loop.
- Yarn over and draw through two loops, leaving the stitch unfinished.
- Repeat until four unfinished double crochet stitches have been worked into that same space.
- Yarn over and draw through the remaining loops.
- Chain 2.
Keep the closure controlled but relaxed. Pulling it sharply can make one petal shorter than its neighbors.
Count all 16 chain-two spaces before beginning the green round. They determine the placement of the square’s sides and corners.
4. Turn the Flower into a Sage Green Square
Attach sage green yarn in a chain-two space.
Begin with:
Ch 3, 2 dc in the same space.
This forms the first three-double-crochet side group, with the chain three standing in for its first dc.
The square uses two kinds of groups:
Location Instructions
Side space 3 dc
Corner space 3 tr, ch 3, 3 tr—all in the same space
After the starting side group:
- Work a corner into the next chain-two space.
- Work 3 dc into each of the next three chain-two spaces.
- Work another corner into the next space.
- Continue that arrangement around the flower.
Complete four corners. On the final side, account for the side group already made at the beginning rather than adding a duplicate group.
Join to the beginning chain.
Check the Square Framework
The 16 flower spaces accommodate:
- Four corner spaces.
- Three side groups between each pair of corners.
Treble crochet stitches provide the extra height needed at the corners. Keep the chain-three corner openings relaxed enough to turn without becoming oversized loops.
Lay the motif on a table. The flower may remain raised, while the surrounding framework should begin to show four clear sides.
5. Add the White Border
Attach white yarn in a gap between green groups.
Begin with ch 3 and 2 dc in the same gap when starting a side group.
Continue around using:
- 3 dc in each side gap between green groups.
- 3 tr, ch 3, 3 tr in each green corner chain-three space.
Join and fasten off.
Watch the Corner-Adjacent Gaps
The white-round caption repeats the previous round’s compact wording. Use the established green framework to guide the placement rather than assuming that every side still contains only three available gaps.
The gaps immediately beside the green corner groups belong to the side sequence too. Skipping one can pull the white border inward.
For a correctly completed green round, there are four side gaps between neighboring corner spaces. Work a white three-dc group into each of them.
Before fastening off, check that all four sides follow the same arrangement.
Finishing and Blocking
Weave the yarn ends into their matching color sections where practical. Keep brown and green tails out of open white areas where they might show through.
Check the back as well as the front for loose loops around the petal joins.
If blocking suits your yarn, shape the square gently:
- Dampen it according to the yarn’s care requirements.
- Arrange the sides and corners evenly.
- Leave the raised petals free to retain their texture.
- Allow the motif to dry completely.
Avoid pulling only on the corners or pressing the flower beneath a heavy object. Blocking can refine the outline, but it cannot replace a missed group.
Make Matching Squares
Use the first finished square as a reference.
Record your yarns, hook, and finished width after any blocking. Compare later motifs at the same stage so you are not measuring a blocked square against an unfinished one.
If a square differs noticeably, check the petal spaces, side groups, and yarn thickness before trying to stretch it into agreement.
For a larger project, complete a small batch first. This reveals whether your tension changes as the puff and cluster stitches become more familiar.
Joining the Motifs
Arrange the completed squares with their flower sides facing upward. Check size, orientation, and color balance before joining.
Test your chosen seam on two squares:
- Align the corners first.
- Match corresponding edge stitches or spaces.
- Keep the seam relaxed enough for both borders to rest flat.
- Inspect the front and back before assembling more pieces.
The tutorial shows a joined example at the end, but this article does not assign a specific joining pattern to that example.
Measure the joined sample before calculating the size of a cushion panel, bag, or blanket. Seams and additional edging can affect the final dimensions.
Troubleshooting
Problem What to check
Pale yellow petals do not fit around the flower Revisit the golden round’s initial setup and attachment spaces.
One petal looks smaller Compare loop height and closing tension.
Corners fall in the wrong places Count the 16 chain-two spaces before the green round.
The white border pulls inward Check the gaps immediately beside each corner.
One square is larger Compare counts, yarn thickness, and tension at the same finishing stage.
Joining makes the panel pucker Ease the seam tension and check edge alignment.
Watch the Crochet Tutorial
Use the close-ups for the golden puff setup, the pale yellow cluster closure, and the corner transitions. Pause after each color round to compare your motif before continuing.
A Little Garden, One Square at a Time
The brown center and two yellow petal rings create the flower’s depth, while sage and white give it a practical square outline.
Once the first motif is balanced, repeating it becomes easier. Consistent petal tension, complete side groups, and relaxed joins help the flowers sit together as one coordinated piece.
Watch every stitch up close
Pair these written notes with the complete video tutorial.
Made with yarn, shared with love. 🧶💗