
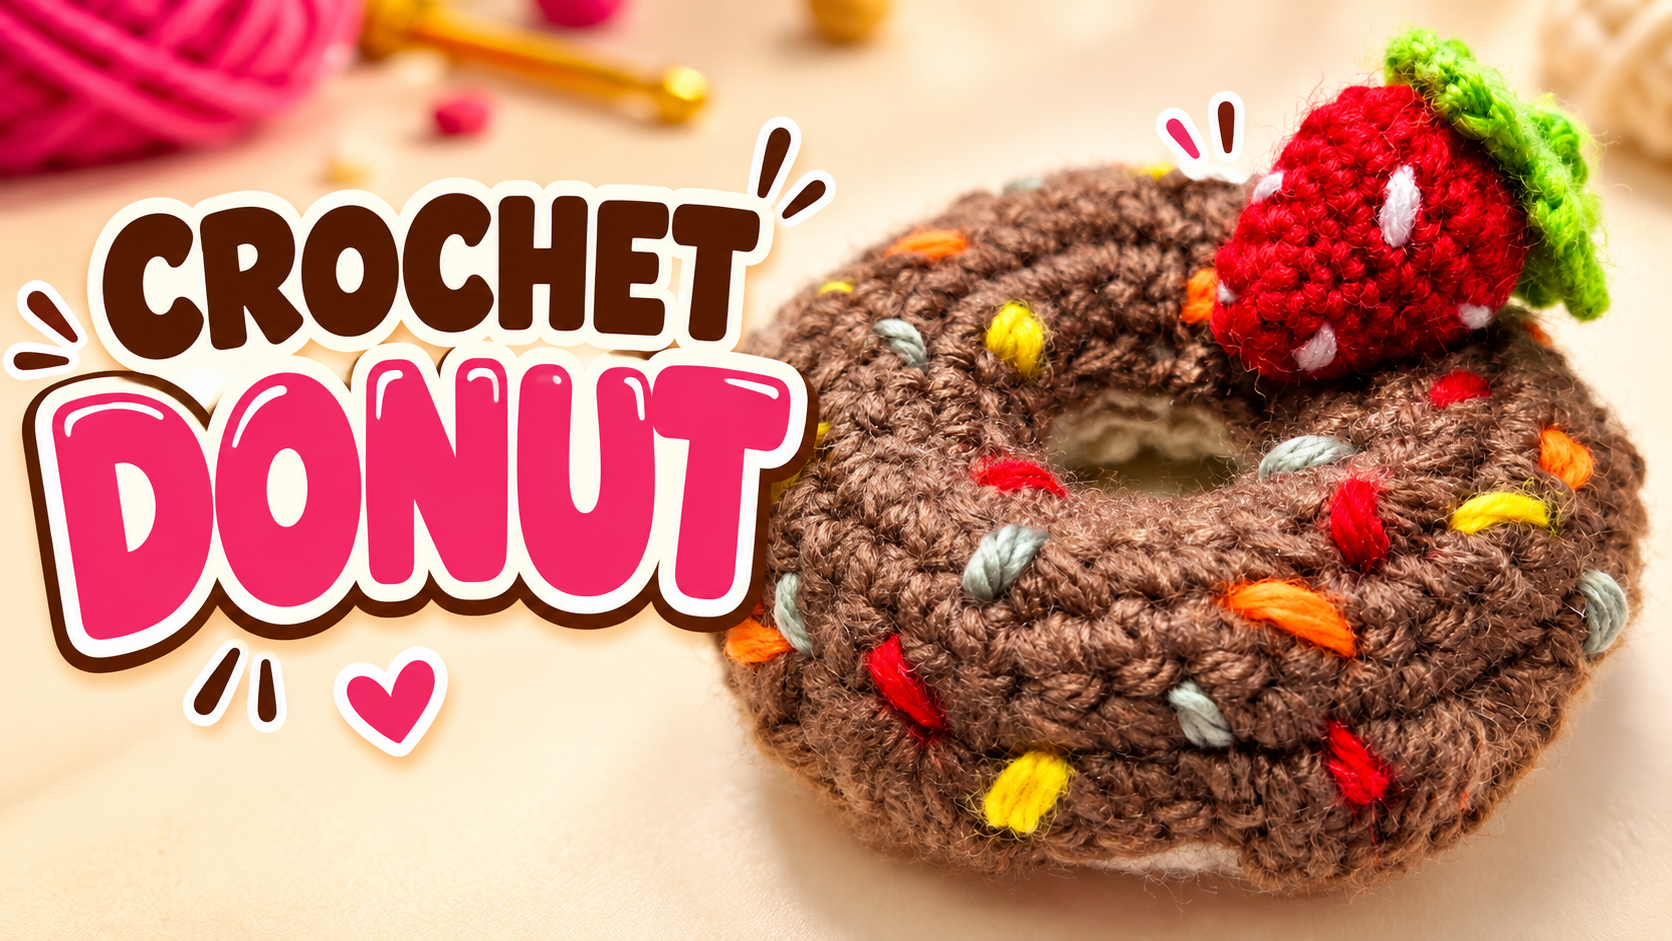
Crochet Strawberry Chocolate Donut: Cute Amigurumi Tutorial
The center hole makes this little dessert recognizable before any decoration is added. A cream ring forms the base, brown crochet creates the chocolate topping, and a small strawberry adds height. Short embroidered sprinkles break up the brown surface without hiding its curved edge.
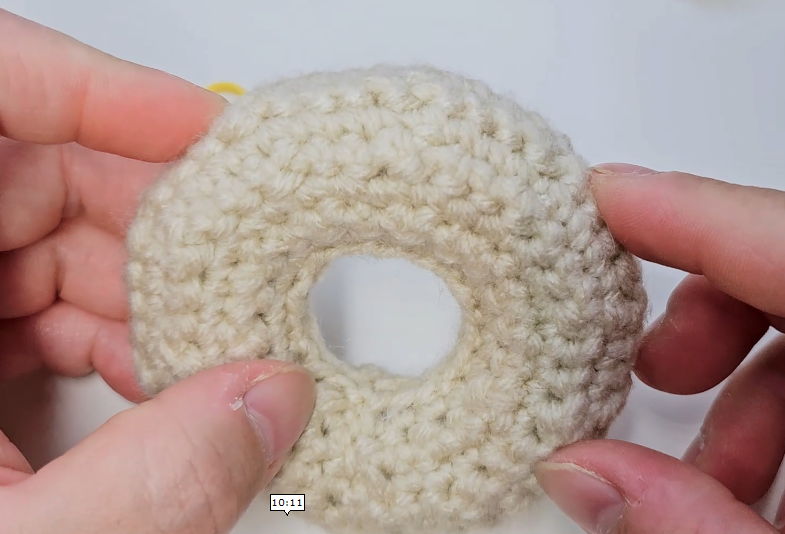
The body is especially useful to understand: it starts narrow, expands through regularly spaced increases, then decreases back to its starting width. Sewing turns that shaped fabric into a filled ring. The frosting and strawberry are separate pieces, so you can check their proportions before attaching them.
This guide transcribes the body chart and explains the assembly. It does not reproduce every frosting and strawberry instruction; follow those portions of the source video for the complete decorative pieces.
Materials and preparation
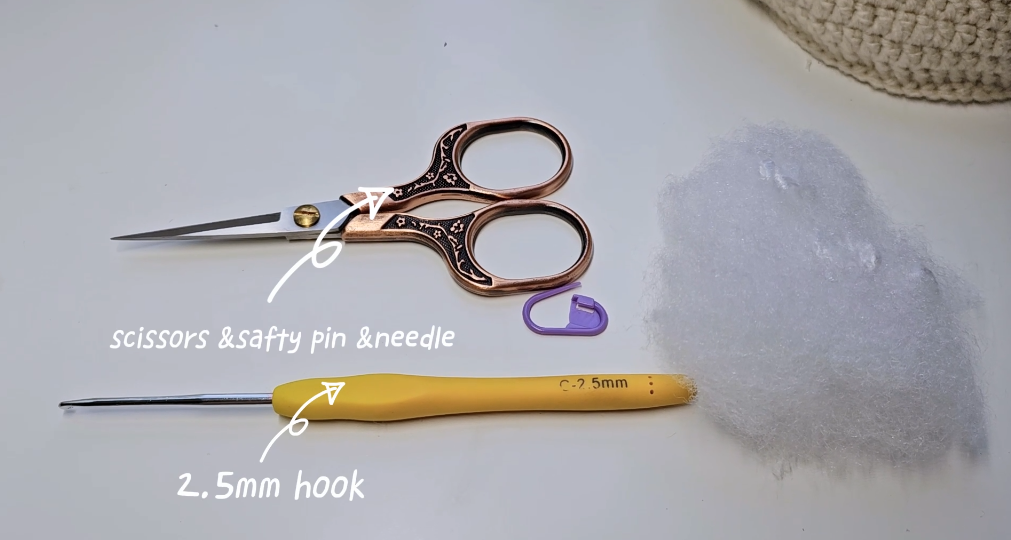
Prepare cream, brown, red, and green yarn; small amounts of white and sprinkle colors; a suitable hook; fiberfill; a yarn needle; scissors; and markers. The original materials image shows a 2.5 mm hook. Use it only if it gives an appropriate fabric with your yarn; exact yarn weight, yardage, gauge, and finished size are not established here.
Keep cream and brown yarns similar in thickness. A substantially heavier frosting yarn can make its layer too large or stiff for the donut underneath. Smooth yarn also makes the strawberry's seed embroidery easier to distinguish.
Donut body chart
Use cream yarn.
| Source row | On-screen formula | Actual sc total | | --- | --- | --- | | R1 | 20 ch | Foundation | | R2 | 1 ch, 20 sc | 20 | | R3 | 1 ch, (sc, sc inc) × 10 | 30 | | R4 | 1 ch, 30 sc | 30 | | R5 | 1 ch, (2 sc, sc inc) × 10 | 40 | | R6 | 1 ch, 40 sc | 40 | | R7 | 1 ch, (3 sc, sc inc) × 10 | 50 | | R8 | 1 ch, 50 sc | 50 | | R9 | 1 ch, (3 sc, sc dec) × 10 | 40 | | R10 | 1 ch, 40 sc | 40 | | R11 | 1 ch, (2 sc, sc dec) × 10 | 30 | | R12 | 1 ch, 30 sc | 30 | | R13 | 1 ch, (sc, sc dec) × 10 | 20 |
Establish the foundation without shortening it
Make the twenty-chain foundation, then follow the demonstrated turning-chain treatment to work twenty actual sc for R2. Mark the ends if necessary. Losing an end stitch now changes the number available for the ten repeats in R3.
Expand evenly
The increases are distributed in ten groups. R3 adds ten stitches to reach thirty; R5 adds ten more; R7 reaches fifty. A plain row follows each of those increasing rows.
Count before moving on. One omitted increase may be difficult to see in the soft fabric, but it prevents the later decrease sequence from fitting evenly.
Return to twenty stitches
R9, R11, and R13 each remove ten stitches. The resulting totals are forty, thirty, and twenty. Keep the decreases firm enough to be tidy without pulling them into hard lumps.
At this point, the two narrow stitch-count edges each have twenty stitches. Follow the video for the folding and order of the seams; matching counts alone does not identify every seam in this three-dimensional construction.
Crochet and fit the chocolate layer
Make the brown layer from its separate source instructions. One verified checkpoint is R7: 1 ch, (3 sc, sc inc) × 10, producing fifty sc. This is a checkpoint, not the full frosting chart.
The edge demonstration uses groups of 5 dc and 3 tr in different places to create the irregular frosting silhouette. Follow the demonstrated anchors, spacing, and transitions rather than treating those two groups as a complete repeating border formula.
Trial-fit the frosting over the finished ring. Keep its opening aligned with the donut hole and leave some cream visible around the outside. If it bunches or needs considerable stretching, check the crochet before forcing it into place.
Sprinkles and the strawberry
Use short embroidered stitches for the sprinkles. Vary their angles and spacing, reserving a clear area for the topper. Keep the tension gentle so the embroidery does not gather the brown fabric. Secure the reverse-side ends while they remain accessible.
Follow the separate red fruit and green cap instructions in the video. The green section includes a displayed R2: 5 sc inc, ss, but that line alone does not specify the complete cap and leaves. Finish the pieces before deciding their position on the donut.
Add the small white seed details without pulling deep dents into the red surface. Set the strawberry slightly away from the hole so its base does not cover the defining opening.
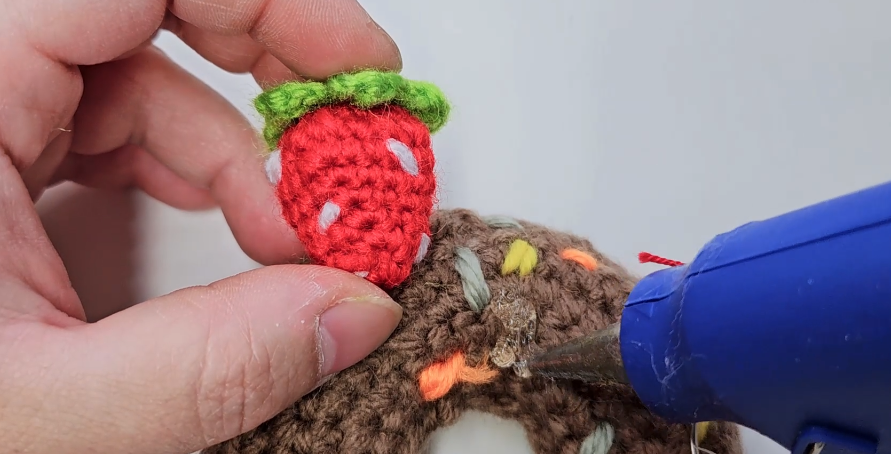
The source assembly image shows a glue gun near the strawberry attachment. If following that method, use materials suitable for your yarn and let the connection set before handling. Sewing is an alternative adaptation for an attachment that can be inspected and repaired; spread the stitches across the topper's base without gathering the frosting.
Checks that improve the finished result
| Problem | First thing to inspect | | --- | --- | | The chart will not fit the row | End stitches, turning chains, and the ten increase/decrease repeats. | | The hole nearly disappears | Filling pressure against the inner wall and seam tension. | | One side of the ring looks thicker | Stuffing distribution before judging the frosting fit. | | Frosting bridges the opening | Alignment of both openings and the layer's size. | | Sprinkles dent the surface | Embroidery tension. | | Strawberry leans heavily | Its attachment position and the support beneath its base. |
Care and presentation
Follow the requirements of the yarn and any adhesive used. Let the filling dry completely after cleaning. For gifting, support the ring in a box with enough depth above the strawberry; tight wrapping can flatten the topper and distort the frosting edge.
Video tutorial
Use the opening section for the body chart and sewing, the middle for the chocolate layer, and the later section for the strawberry and its cap. The source remains necessary for the decorative-piece formulas and exact seam route.
Build the shape before adding the sweetness
A balanced ring and a visible hole do most of the work. Once the cream base is evenly filled and neatly closed, a fitted frosting layer, a few small sprinkles, and one carefully positioned strawberry give the project its dessert-like character.
Watch every stitch up close
Pair these written notes with the complete video tutorial.
Made with yarn, shared with love. 🧶💗