
Crochet Strawberry and Puff Flower Keychains
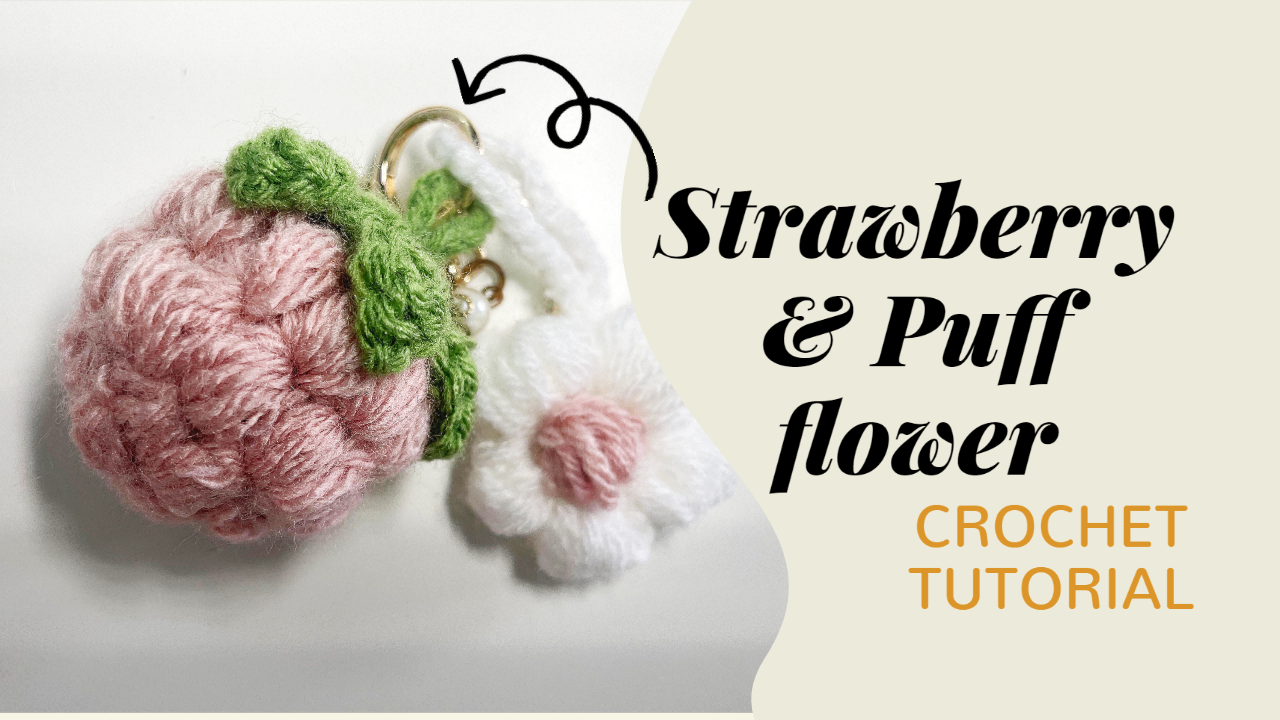
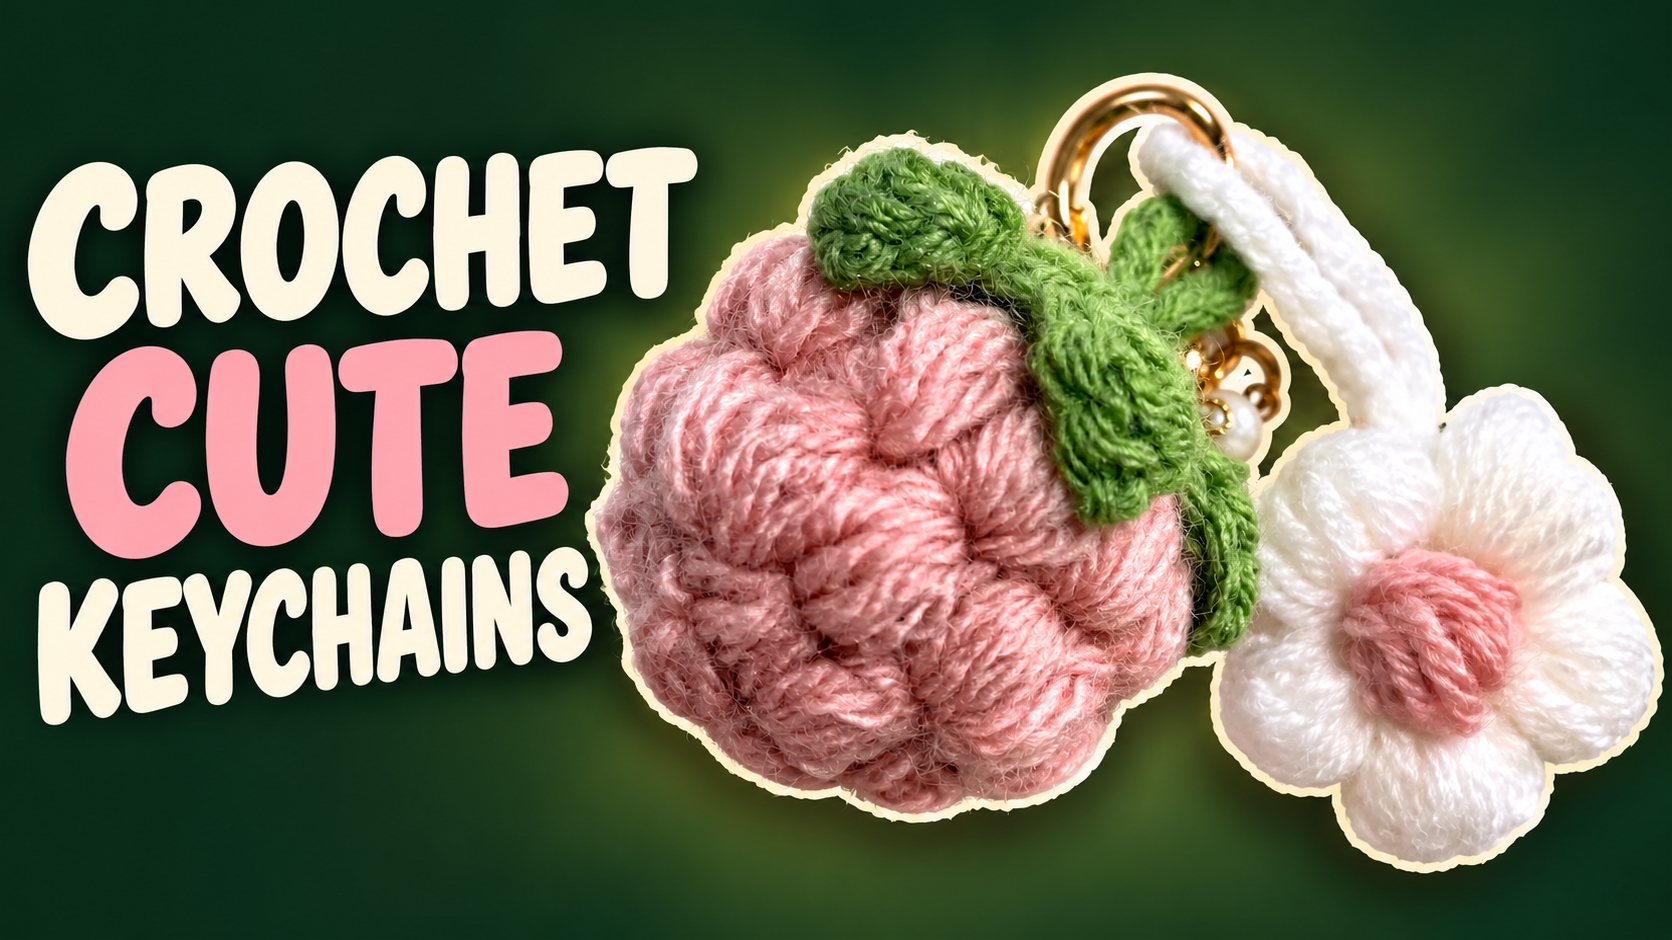
A textured pink strawberry and a soft white flower make a charming pair of crochet keychains. The strawberry’s green cap gives it a recognizable outline, while the flower repeats the pink shade in its raised center. Together, they form a coordinated set without needing identical shapes.
Both projects use gathered loops to create their fullness. The strawberry grows through rounds of puff stitches, and the flower uses larger gathered groups to form five rounded petals. Learning to keep those loops even is the main technique to practice.
You can make either charm on its own or complete both for a matching bag accessory. The guide below follows the video’s construction, beginning with the strawberry leaves and ending with the flower and hanging loops.
Materials and Preparation
Gather:
- Pink yarn for the strawberry and flower center.
- Green yarn for the strawberry cap and hanging loop.
- White yarn for the flower and its loop.
- A crochet hook suitable for your yarn.
- A small amount of toy stuffing.
- A yarn needle, scissors, and a stitch marker.
- Keychain hardware, if desired.
Choose yarns of similar thickness so that the green cap fits comfortably over the strawberry and the pink flower center remains in proportion to the petals.
A smooth yarn makes it easier to see where the puff stitches begin and end. Very fuzzy yarn can hide these openings, particularly when several loops are gathered on the hook.
No verified hook size, yarn weight, or finished dimensions are specified in these notes. The size will depend on your chosen yarn, hook, and loop height.
Stitch Abbreviations
These instructions use US crochet terminology.
Abbreviation Meaning
ch Chain
sc Single crochet
hdc Half double crochet
dc Double crochet
sl st Slip stitch
sk Skip
dec Single crochet decrease
× Repeat the preceding sequence
The Video’s “HDC Popcorn” Stitch
The video calls the strawberry stitch an “hdc popcorn” and defines it as five unfinished half double crochets.
Here, it is described as a puff to distinguish it from a popcorn made with completed stitches.
To make the demonstrated gathered stitch:
- Yarn over, insert the hook into the indicated opening, and pull up a loop.
- Leave the loops on the hook without completing an ordinary hdc.
- Repeat the yarn-over, insertion, and pull-up action five times in total.
- Draw the yarn through the gathered loops and secure the stitch as demonstrated.
Draw the loops to a consistent height. If some are much shorter, the finished puff may lean or look pinched.
A puff increase means working two complete puffs into the same indicated position.
Part 1: Make the Strawberry’s Green Cap
The cap consists of a small round center surrounded by six pointed leaves.
Round 1: Center
Using green yarn, make an adjustable starting ring.
Work 12 hdc into the ring, then join with a sl st. Tighten the center carefully without drawing the whole round into a hard knot.
Round 2: Six Leaves
Repeat the following sequence six times:
- Ch 5.
- Starting in the second chain from the hook, work sc, hdc, hdc, dc along the chain.
- Skip one stitch of the center round.
- Slip stitch into the next center stitch to anchor the leaf.
The video abbreviates this as:
(5 ch, sc, 2 hdc, dc, sk, sl st) × 6.
The short stitch near the tip and taller stitch near the base create the tapered leaf shape. Each repeat advances across two stitches of the 12-stitch center.
Fasten off with enough yarn for assembly. Set the cap aside while you make the fruit.
Part 2: Crochet the Strawberry Body
Use pink yarn and follow the adjustable-ring setup shown in the video.
The strawberry begins with four puffs, widens to twelve, and finishes with short stitches around the upper opening.
Round Instructions Result
1 Ch 2, work 4 puffs into the starting ring, sl st 4 puffs
2 Ch 2, work a puff increase at each position, sl st 8 puffs
3 Ch 2, repeat (1 puff, puff increase) around, sl st 12 puffs
4 Ch 2, work 12 puffs, sl st 12 puffs
5 Ch 1, work 12 sc, sl st 12 sc
6 Decrease around, sl st 6 stitches
Keep the beginning chains and joining slip stitches separate from the puff totals. Follow the demonstrated insertion points at the tops and openings of the preceding round.
Check the Increases as You Work
Round 2 doubles the four starting positions to eight puffs. Round 3 alternates one puff with an increase, producing twelve.
Count the completed raised groups before beginning the next round. Several loops on the hook still belong to one puff; they are not separate finished stitches.
Round 4 maintains twelve puffs without further increases. Let the fabric curve naturally rather than pulling it flat.
Stuff and Close the Strawberry
Add stuffing before the opening becomes too small to reach through comfortably. The video shows this during the final shaping.
Use small amounts and distribute them evenly. The body should feel rounded while retaining the raised texture. Too much stuffing can spread the gaps between puffs and make the surface look stretched.
Complete the final decreases, fasten off, and use the yarn tail to close the remaining opening. Secure the end inside the body.
Assemble the Strawberry Keychain
Place the green cap over the closed top of the pink body. Arrange the six leaves around the fruit before sewing.
Check the cap from the front, back, and sides. It should cover the closure while leaving most of the pink texture visible.
Sew the center of the cap securely to the strawberry. Keep the leaf tips free so that they retain their shape.
The video also makes a separate green chain for hanging. No fixed chain count is established here; choose a length that suits your intended connection, then secure both ends firmly to the assembled charm.
Check the attachment to the main body rather than relying on a leaf tip to support the charm.
Part 3: Crochet the White Puff Flower
The flower begins with ten center stitches. Each petal spans two of those stitches, producing five petals.
Round 1: Flower Base
With white yarn, make an adjustable ring.
Work 10 sc into the ring, then join with a sl st. Close the center while keeping the stitches accessible for the petal round.
Round 2: Gathered Petals
Begin with ch 3, as shown in the video.
For each petal:
- Work four unfinished hdc draw-ups into the first base stitch, retaining the loops on the hook.
- Work four more unfinished hdc draw-ups into the next base stitch.
- Draw the yarn through the gathered loops together and secure the petal.
- Ch 4 and slip stitch back to the base as demonstrated.
Continue the demonstrated sequence around the ten-stitch center to form five petals.
The on-screen wording is:
“3 ch, (4 unfinished half double crochet, 4 unfinished half double crochet, sc go through, 4 ch), sl.”
The important construction detail is that the two groups of four unfinished stitches belong to one petal. Keep both groups on the hook until they are gathered together. Closing them separately would create a different shape.
Use the video to check the anchoring slip stitch and the transition into the next petal.
Keep the Petals Even
Draw the loops to a similar height on both sides of each petal. If the second group is shorter than the first, the petal can tilt toward one side.
After completing a petal, compare it with the previous one before continuing. Check its height, fullness, and the tension of the chain that returns to the base.
Let the finished flower rest without stretching it. Gently arrange the petals with your fingers, keeping their rounded texture.
Part 4: Make the Pink Flower Center
The pink center is a separate small puff piece.
The video gives this sequence:
Ch 3, make 1 hdc puff, ch 4, sl st.
For this center, the puff again consists of five unfinished hdc draw-ups gathered together. Follow the demonstrated starting and slip-stitch placement, then fasten off with a sewing tail.
Position the pink piece over the middle of the white flower. Check its placement before sewing so that it sits between the petals rather than pulling one forward.
Sew it securely through the flower’s center. Avoid tightening the sewing yarn enough to collapse the surrounding white petals.
Add the Flower’s Hanging Loop
Make a white chain loop to suit the intended keychain or bag attachment.
The video demonstrates making another chain, but these notes do not assign an unverified fixed length. Check the loop against your hardware before securing it.
Attach it firmly to the flower’s base structure. If necessary, take reinforcing stitches through the back of the center so the connection does not depend on one loose decorative loop.
Hold the flower by its hanging loop and check which side faces forward. Adjust the attachment before finishing if it consistently tilts away from the intended display side.
Troubleshooting the Texture
Problem What to check
One strawberry puff looks smaller Compare its loop height and confirm that all five draw-ups were included.
The strawberry is uneven Recount the puff groups, then check the distribution of stuffing.
Stuffing shows between puffs Reduce overfilling and check the firmness of the fabric.
One flower petal leans Compare the loop heights of its two gathered groups.
The flower folds inward Check whether the anchoring chains or sewing stitches are too tight.
A hanging loop stretches one stitch Reinforce its connection to the main structure of the charm.
Finish the Matching Pair
Weave in loose ends and inspect the backs of both pieces. A keychain turns during use, so the reverse side deserves the same attention as the front.
If adding metal hardware, check that the connector is fully closed and does not catch directly on the raised stitches. Give the hanging connections a gentle pull and inspect the surrounding fabric.
For cleaning, follow the yarn’s care instructions. Reshape the leaves and petals gently and let the pieces dry completely before use.
Watch the Strawberry and Puff Flower Tutorial
Use the video alongside the tables and explanations, especially for gathering the puff loops, anchoring the flower petals, and assembling the hanging loops.
Two Small Projects with a Shared Detail
The pink yarn connects these two charms: it forms the whole strawberry and reappears as the flower’s center. Green leaves and white petals give each piece its own outline.
Take your time with the first few gathered stitches. Once the loop height becomes consistent, the repeated texture is easier to maintain. Neatly secured centers and hanging loops complete the pair, ready to carry together or give as separate handmade gifts.
Watch every stitch up close
Pair these written notes with the complete video tutorial.
Made with yarn, shared with love. 🧶💗