
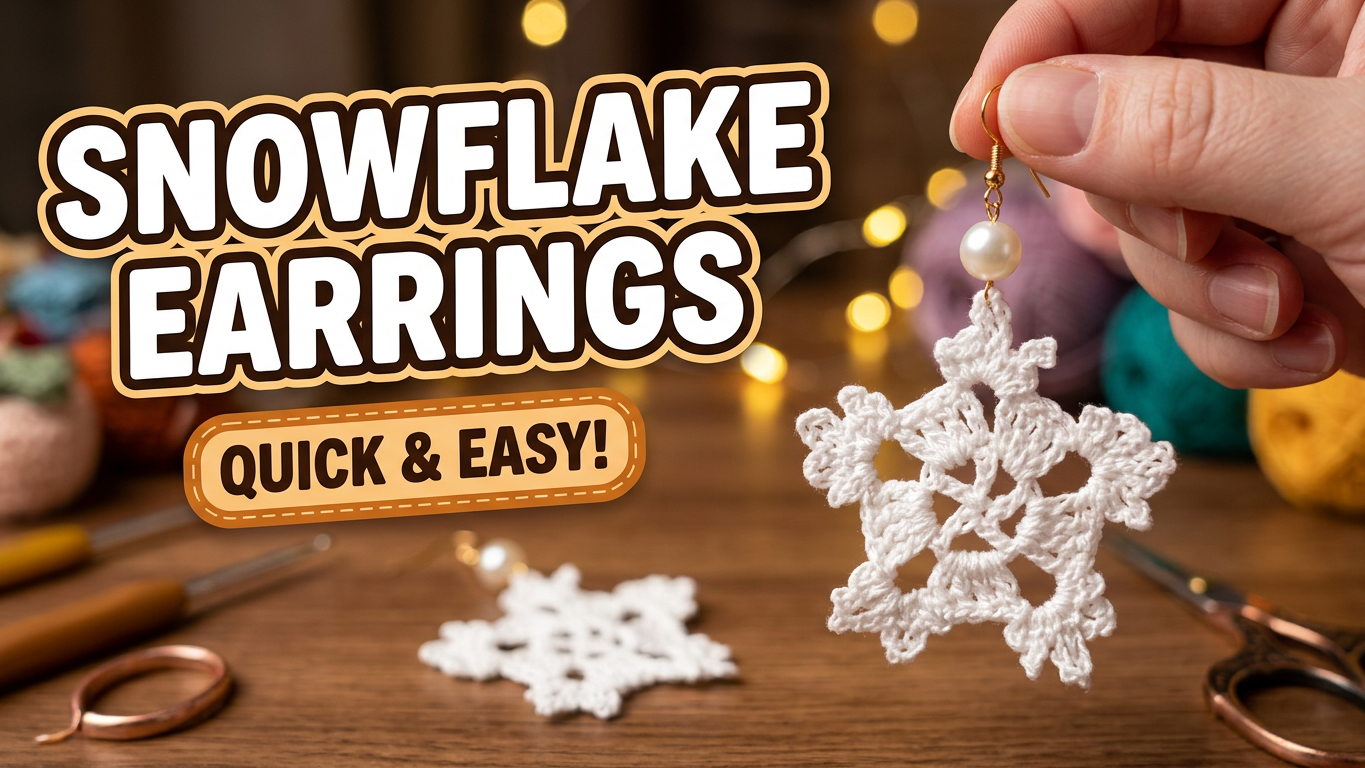
Crochet Snowflake Earrings: From Fine Thread to Winter Jewelry
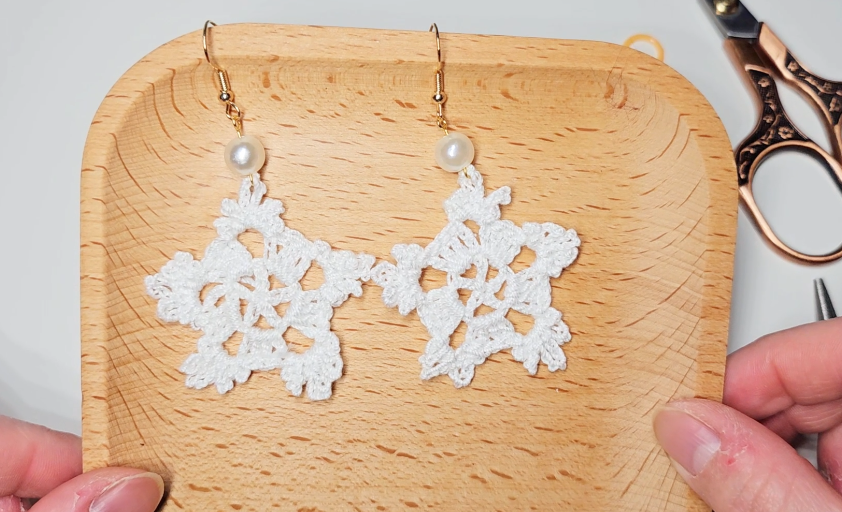
White thread, open spaces, and a small pearl-style bead give these earrings their light winter look. The snowflakes remain the focal point; the bead provides a simple transition between each motif and its gold-tone hook. Against dark clothing, the openwork becomes particularly easy to see.
The project is as much about finishing as crochet. Two attractive motifs still need to match, hang in the same direction, and connect to the findings without stretching their upper points. Those small decisions make the difference between a pair of loose snowflakes and a coordinated piece of jewelry.
About the source: the currently linked video is a 15-second showcase of the finished earrings. It does not contain a complete stitch chart or round-by-round pattern. This article therefore provides a materials and finishing guide for completed crochet snowflakes. It does not reconstruct unverified stitch counts from the finished photograph.
Materials and What Is Confirmed
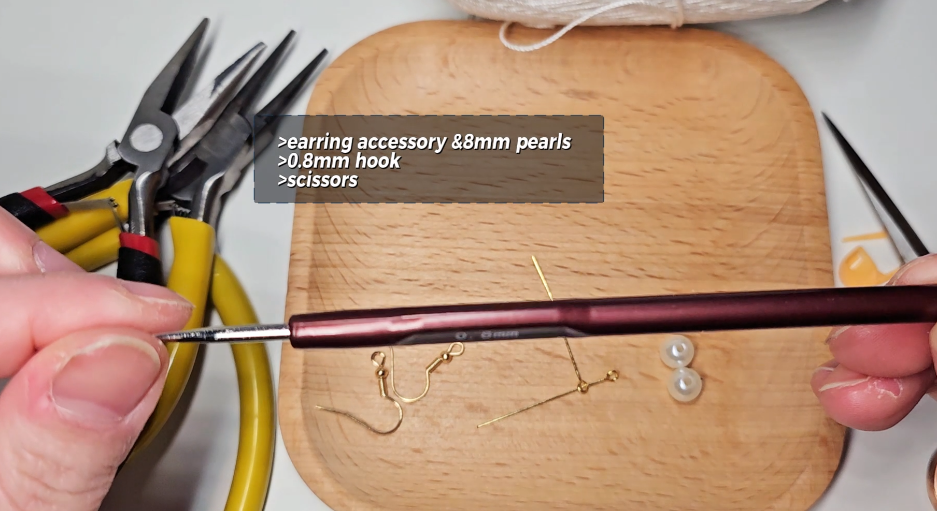
The video description identifies size 10 lace yarn. The project page records a 0.8 mm hook, 8 mm pearl-style beads, and earring accessories for the sample.
| Component | What to prepare | | --- | --- | | Crochet | Two matching snowflake motifs made from one complete motif pattern | | Thread | Size 10 crochet thread or lace yarn for a similar scale | | Hook | The hook required by that motif and your thread; the sample lists 0.8 mm | | Beads | Two matching 8 mm pearl-style beads | | Ear wires | A matching pair of hooks | | Connectors | Eye pins, bead links, or compatible connectors with a loop at each end | | Tools | Suitable jewelry pliers, scissors, and a fine thread needle | | Shaping | A pinning surface and rust-resistant pins, if appropriate for your thread |
A size 10 label and a hook size do not establish the finished dimensions. Make one motif before choosing the final connector length. Check the actual earring drop as a whole: hook, bead connection, and snowflake together.
Gold-tone describes the appearance of the findings, not their metal composition. Use components with an identified composition suitable for the intended wearer, and retain that information if the pair will be a gift.
Start with a Complete Motif Pattern
For this version, use a snowflake pattern that includes the starting ring, all rounds, decorative tips, and final join. Keep the same pattern, thread, and hook for both motifs.
The showcase reveals an airy center and repeated outer points, but that appearance cannot determine the exact number of chains in an arch or stitches in a point. A guessed count might produce a snowflake while still failing to reproduce this one.
Before beginning the second motif, record your hook, thread, any changes to the chosen pattern, and the finished size of the first. This makes a replacement earring easier to reproduce later.
- Compare the Motifs Before Adding Metal
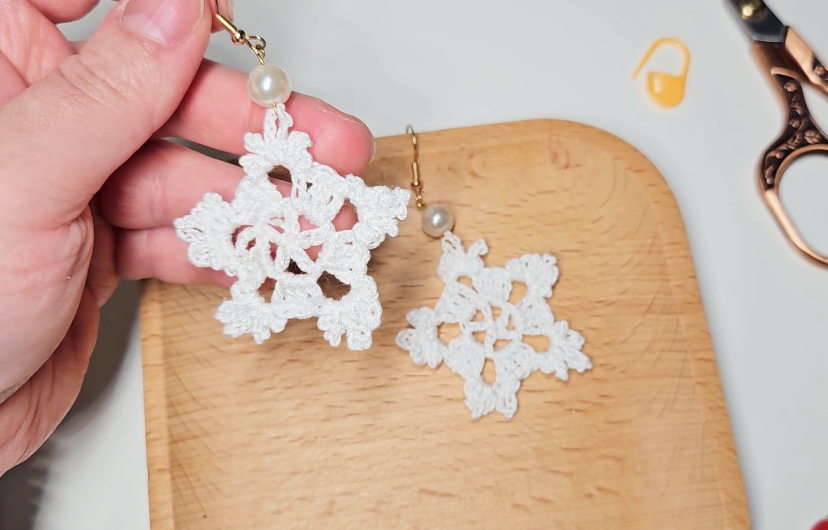
Lay both snowflakes flat with corresponding points facing upward. Compare the center openings, overall width, height, and distance between points.
If one is larger, count the repeats first. An extra chain in several arches can change the outline even when the motifs initially look similar. If the counts match, compare tension and loop length. Do not stretch a smaller motif aggressively to compensate for a construction error.
Choose the same attachment point on each snowflake. Mark it temporarily with a short piece of contrasting thread or a removable marker. This establishes the hanging orientation before any connectors are closed.
2. Finish the Thread Ends
Weave each end through denser stitch sections where it can be concealed. Avoid drawing a long strand across an open arch; it will be visible when the earring is held against a contrasting background.
Keep the tension gentle so the center does not gather and one point is not pulled shorter than the others. Trim only after checking that the end remains secure when the motif is handled lightly.
Inspect both faces of each snowflake. Earrings can turn while worn, so a tidy back matters as well as the front.
3. Shape Both Snowflakes to the Same Outline
If the thread's care instructions allow it, lightly dampen the motifs and pin them to matching outlines. Position the center first, then arrange corresponding points gradually around the outside. Use rust-resistant pins and avoid pulling hard on a single decorative tip.
Let both motifs dry completely before handling them. Compare them again in the same orientation.
Stiffening is optional and is not confirmed as part of the original sample. If you use a fabric stiffener, test it on spare thread and follow its instructions. Check for changes in color, sheen, flexibility, and the size of the openings before applying it to the finished pair.
4. Prepare Two Matching Bead Links
The sample places one bead above each snowflake. For a connector with loops at both ends, one loop joins the hook and the other joins the crochet.
Use findings designed for that arrangement. An eye pin provides an existing loop at one end; a head pin has a stop rather than an attachment loop, so those parts are not interchangeable without changing the construction.
Following the connector manufacturer's method, add the bead and form or close the second loop. Compare the two finished links side by side. Keep their lengths and loop orientations consistent before attaching either to the crochet.
Inspect each loop for a gap or rough cut end. Fine thread can escape through a small opening or catch against an unfinished metal edge.
5. Connect the Snowflakes and Hooks
The following is a practical assembly workflow for the arrangement visible in the showcase:
- Place both snowflakes in their intended orientation and identify the marked upper attachment points.
- Open the appropriate connector loop using the method required by that finding. For an ordinary open jewelry loop, twist it sideways rather than spreading it into a wide oval.
- Pass it through the chosen crochet attachment without forcing the metal through a tiny opening.
- Close the loop neatly, checking that the thread is not pinched against a rough edge.
- Join the top of the bead link to the ear wire. Repeat with the second earring.
If the chosen crochet point deforms under the connector, stop and reassess the connection size or attachment point. Do not make it fit by pulling one chain loop much longer than its neighbors.
6. Check the Pair While Hanging
Hold the earrings by their hooks and let them hang freely. Compare the total drop length and the direction each snowflake faces.
If one hangs sideways, inspect the connector-loop orientation before changing the crochet. The bead link may need a different alignment so the motif faces forward. Adjust the finding carefully and check that every opened loop is fully closed afterward.
The upper point should retain its shape under the combined weight. Check for a stretched chain, a gap at the connector, or a bead link that rubs the thread. Resolve those details before wearing or gifting the pair.
Troubleshooting
One earring is longer. Compare the bead links and the crochet motifs separately. The difference may be in the metal connection rather than the snowflake.
A point folds inward. Check whether its repeat matches the other motif and whether the thread allows gentle reshaping. Avoid using the finding to pull it into position.
The fine thread catches on the connector. Inspect the metal gap and cut end. Use a properly finished connection instead of covering a rough edge with more thread.
The snowflake loses its outline in storage. Store the pair flat, with hooks positioned away from the crochet. Reassess the thread's shaping or stiffening method if you used one.
See the Finished Snowflake Earrings
This short showcase shows the bead placement, hanging direction, and completed pair. It is a visual reference for the finished jewelry rather than a complete crochet lesson.
A Thoughtful Finish for a Small Gift
Place the earrings on a card or in a shallow box, leaving room for the points to remain flat. Include the known metal composition and care information. Careful matching and clean connections let the snowflakes' openwork remain the main detail, without needing additional decoration.
Watch every stitch up close
Pair these written notes with the complete video tutorial.
Made with yarn, shared with love. 🧶💗