
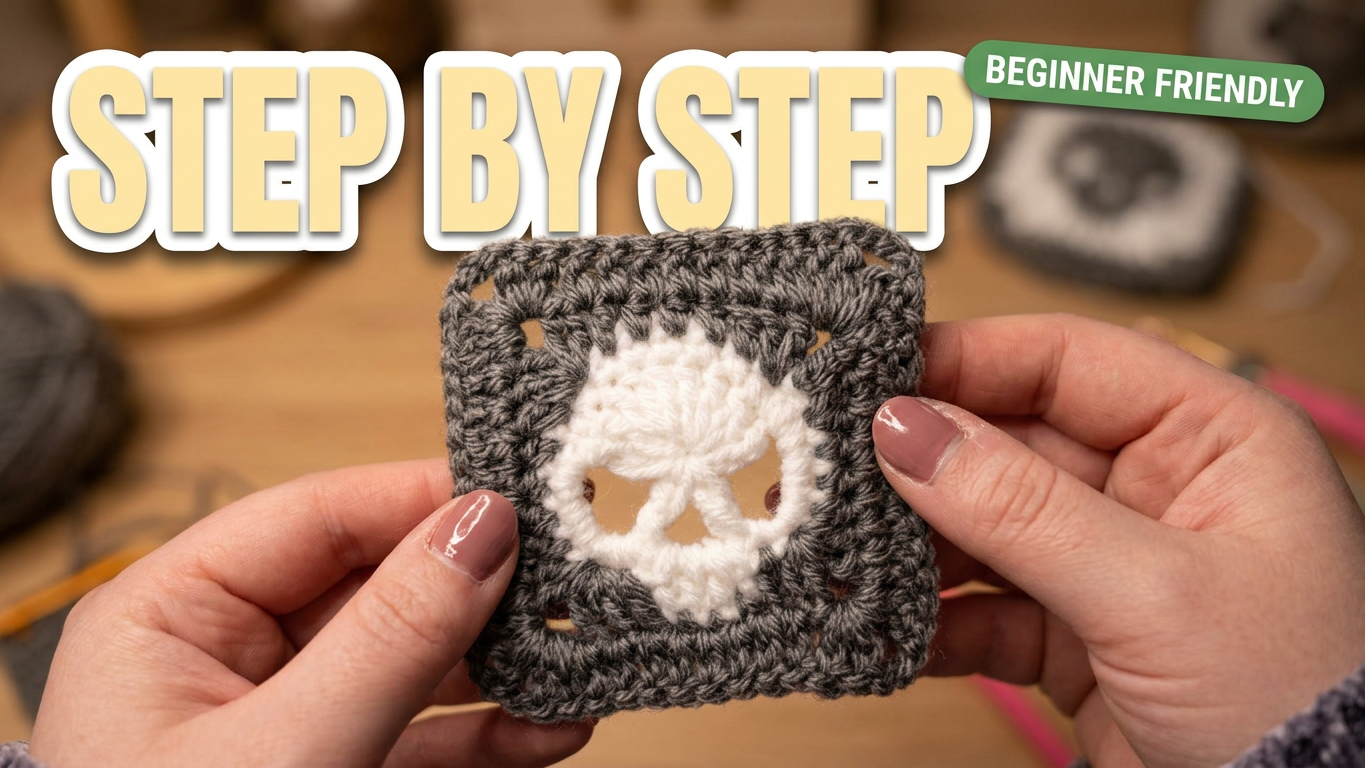
# Crochet Skull Granny Square: A Spooky Motif for Bags and Blankets
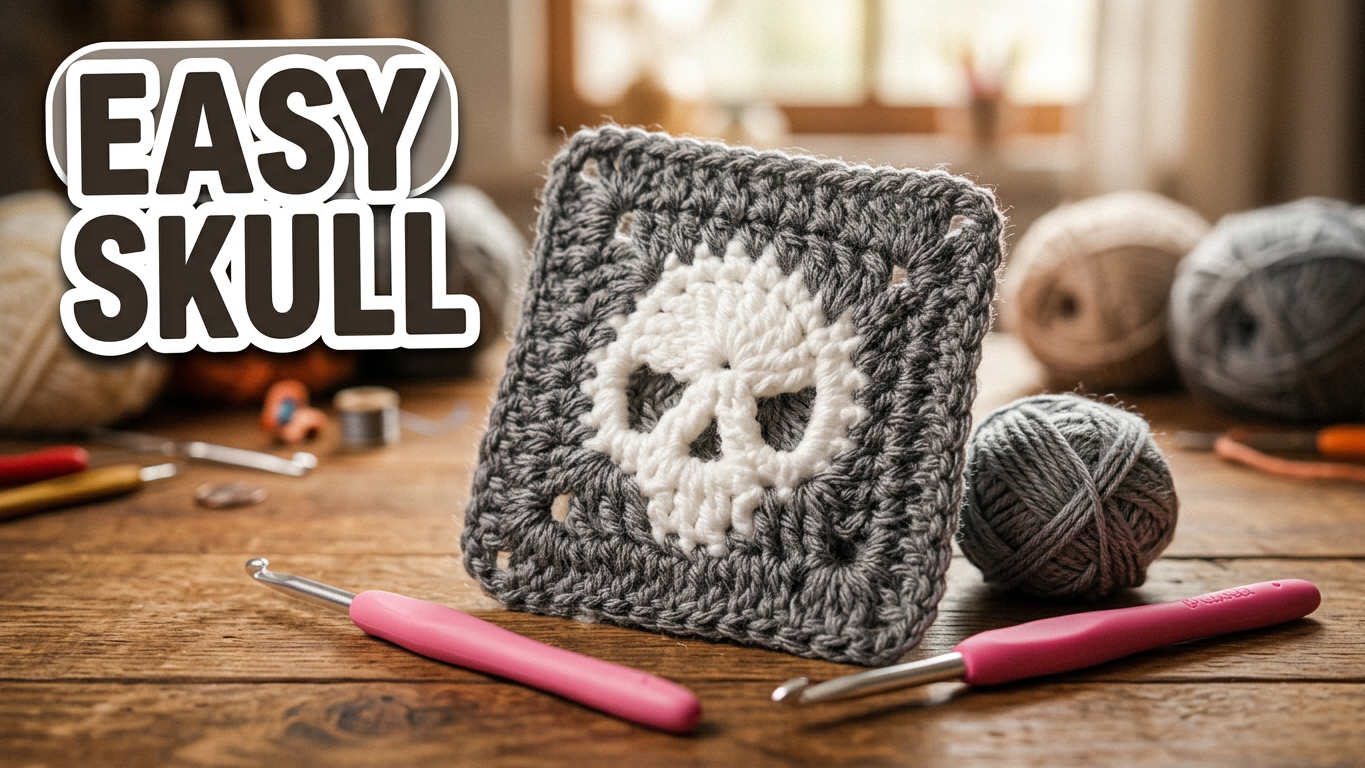
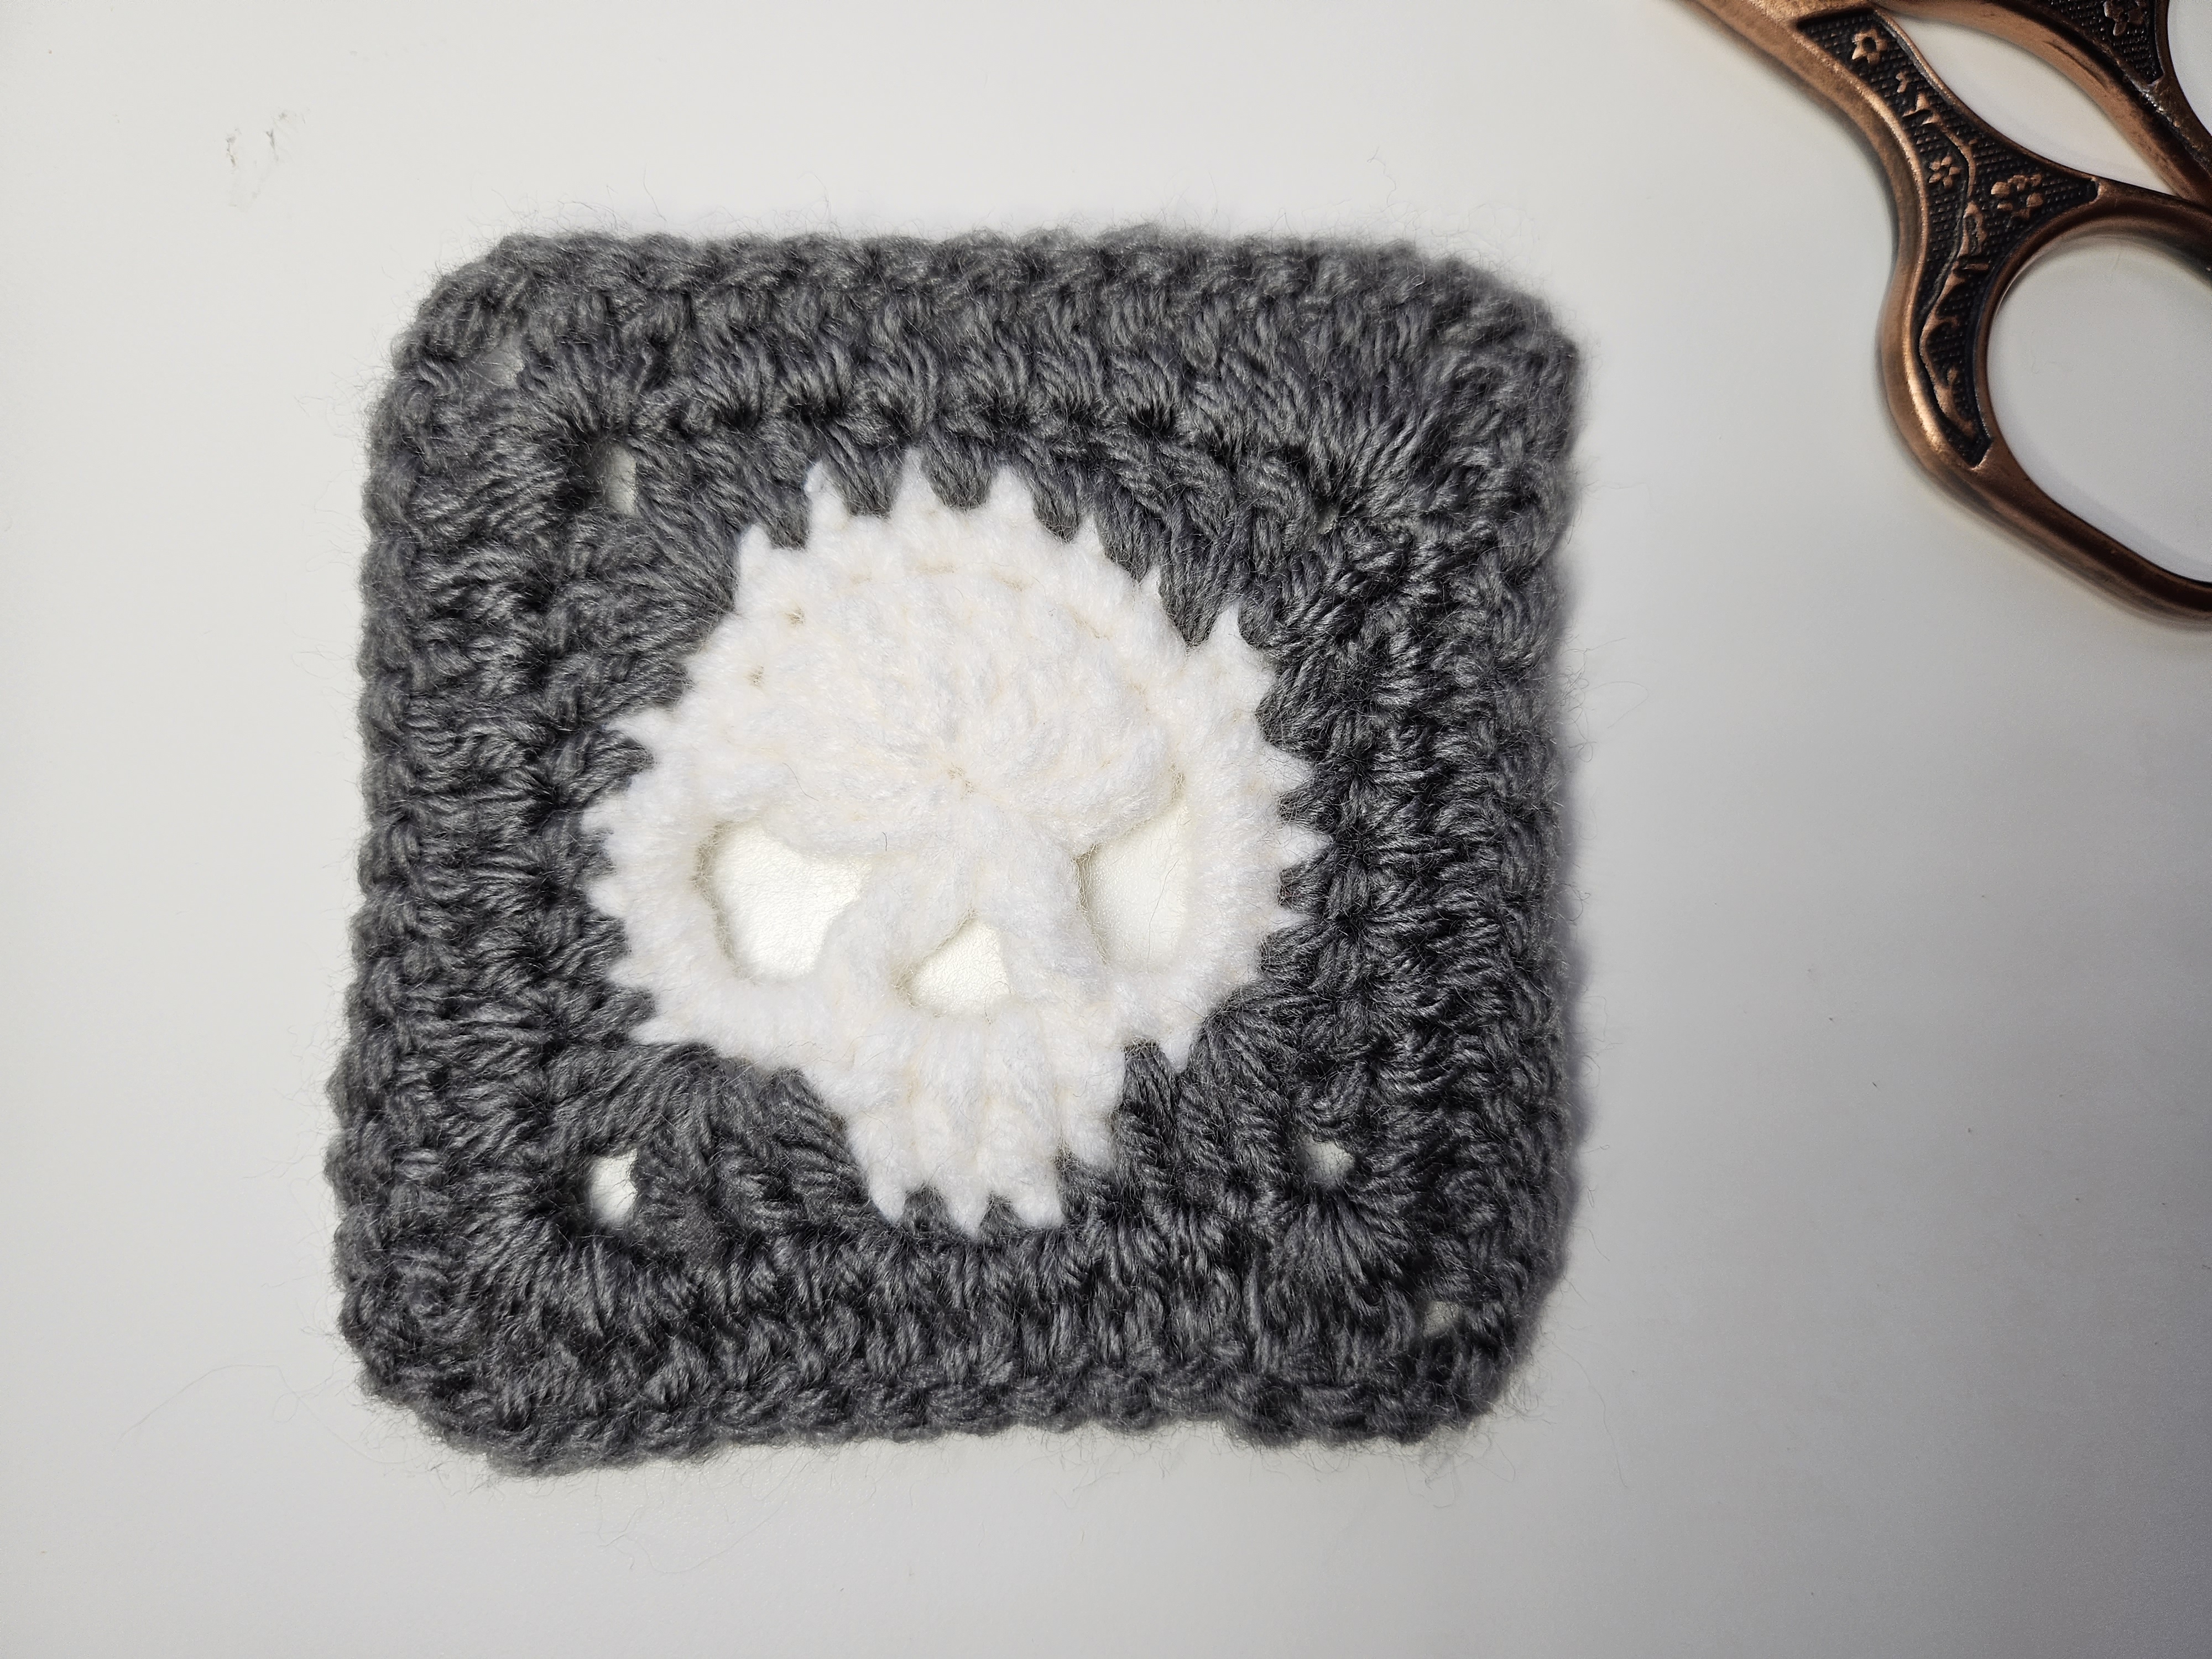
A skull can look surprisingly expressive with no embroidery at all. In this square, the eyes and nose are open spaces in the crochet, while the white stitches form the forehead and the lower face. A charcoal background frames the motif and turns its irregular outline into four useful edges.
This is a good small project for practicing more than a standard granny cluster. The background moves between single, half double, and double crochet to fill the space around the skull. Following those changes matters: replacing them all with double crochet would change the shape of the square.
Make one as a Halloween patch, or repeat the motif for a cushion, tote panel, or blanket. Start with a sample before deciding how many to make, since the video does not give a finished square measurement or gauge.
Materials and preparation
The demonstration shows medium-weight white and gray yarn with a 3.5 mm crochet hook. You will also need scissors, a yarn needle, and optional markers for the corners.
Use both colors in a similar thickness. Smooth yarn makes the small openings easier to identify than very fuzzy yarn. The yarn shown is a full-size supply ball; its label weight is not a statement of how much one square uses. No per-square yardage is established here.
Choose a softer fabric for a blanket or a firmer fabric for a bag. Keep the same yarn and hook combination across a batch of squares, and save one finished sample to compare with the rest.
Abbreviations and how to read the chart
These notes use US crochet terms.
| Abbreviation | Meaning | | --- | --- | | ch | Chain | | sc | Single crochet | | hdc | Half double crochet | | dc | Double crochet | | sl st | Slip stitch; written `sl` or `ss` in the video | | MR | Magic ring |
The video calls the four stages “Row 1” through “Row 4.” Those labels are retained below even though the work travels around the motif. A bracketed corner group belongs together at the indicated corner location, rather than being spread across separate stitches.
The written sequences preserve the on-screen chart. For the first dark round, use the close-up to match each attachment point around the uneven skull outline; the compact chart alone does not label every insertion point. Do not treat the list as an instruction to put one new stitch into every previous stitch without checking its location.
1. Begin the white skull
Make a magic ring in white. The first row combines a solid upper head with three chain spaces that will help form the face.
Row 1, as displayed: ch 2, 8 dc, ch 5, dc, ch 3, dc, ch 5.
Work the foundation into the ring as demonstrated, arrange the chain sections, and join at the start of the head as shown. Close the ring enough to bring the upper stitches together without tightening the chain arches out of shape.
There are 10 actual double crochet stitches in this sequence: eight together, followed by two single double crochets between the chain sections. That calculation does not assign an additional stitch value to the opening ch 2.
Before continuing, identify the two ch-5 arches and the smaller central ch-3 space. Keeping those three sections distinct is more useful than trying to read the whole shape as a conventional circle.
2. Define the face in white
Row 2, as displayed: ch 1, 8 sc, then `(6 sc, [sl st, ch 2, 2 dc, ch 2, sl st], 6 sc)`.
The eight single crochets follow the solid top of the head. The six-stitch sections and bracketed middle detail shape the lower part of the face around the chain openings. Follow the demonstration for their placement in and around those spaces.
Work the middle group together where shown. Its chain rises and double crochets create a more pronounced lower facial detail than a row of single crochet would.
Lay the motif down before changing color. Both eye openings should remain visible, and the smaller opening should sit between them. If a loose tail lies across an opening, move it out of the way before judging the shape.
Avoid pulling the arches to make them perfectly identical. First check that their chain counts and the stitches worked into them match the video. Blocking will settle a correct motif; it will not replace a missing chain.
3. Add the charcoal background
Join gray at the point shown in the tutorial. This row uses mixed stitch heights to fill around the white motif and form four corners.
Row 3, in the order printed on screen:
- `[ch 5, 2 dc]`
- Dc, 3 hdc, dc
- `[2 dc, ch 3, 2 dc]`
- Dc, 4 hdc
- `[2 dc, ch 3, 2 dc]`
- Dc, 3 sc, dc
- `[2 dc, ch 3, 2 dc]`
- 4 hdc, dc
Complete the join as demonstrated. The opening ch-5 section and the final stitches meet to finish the first corner area; they should not be treated as two separate corners.
There are three complete bracketed `(2 dc, ch 3, 2 dc)` groups after the opening corner section. Mark the four corner locations as they emerge. The shorter stitches along the face and taller stitches elsewhere are part of the shaping, not interchangeable decoration.
The printed sequence is not mirrored word for word on every side. Keep its order and watch the attachment points rather than rewriting it into four identical repeats. At this stage the skull should sit within the background, with its eye openings clear and its lower face facing one side of the square.
4. Work the outer row
The video explicitly says to turn before the final row.
Row 4, as displayed: turn, 8 dc, `[2 dc, ch 3, 2 dc]`, then repeat `(9 dc, [2 dc, ch 3, 2 dc])` three times.
Work each corner group into its corner space and finish the row join following the close-up. The text begins with 8 dc and then uses 9 dc in the later sections. Those printed numbers are retained here; the short chart does not separately state a whole-row total or the counting treatment of a starting chain. Do not add a ninth stitch to the opening section simply to make the written sections look identical.
After joining, check the start/end area against the other corners. Remove any accidental extra stitch made into a previous slip stitch before fastening off.
Finish without closing the facial openings
Weave white ends into white fabric and gray ends into gray fabric. A dark strand carried across the back of an eye can remain visible from the front, even when the tail is technically secure.
Use a blocking method suitable for your yarn. Ease the square into shape from its outer edges. Keep pressure away from the eye and nose spaces so they retain their proportions.
Measure after the square has settled. Record the width, height, hook, and yarn before starting a larger set. No fixed square size is promised by the stitch chart alone.
Turn the motif into a larger project
For a tote, lay out both panels with the skulls upright before joining. A lining helps prevent small objects from catching in the openwork. Attach handles to supported sections of the bag rather than asking one chain corner to carry the weight.
For a blanket, alternate skull squares with plain squares if you want more space around each face. Match both finished measurements and usable edge counts before committing to a seam. Two squares can measure the same width yet have different numbers of joining points.
A single square can also be a decorative panel on a pouch. Sew around the border so the face remains visible, and choose a backing color deliberately: charcoal behind the holes emphasizes them, while a pale backing reduces their contrast.
Troubleshooting
| What you notice | What to check first | | --- | --- | | One eye opening is noticeably smaller | The ch-5 arches and the placement of Row 2 stitches | | The skull is pulled toward one corner | Where the first gray row attaches around the white motif | | A side looks too tall | Whether hdc or sc was accidentally replaced by dc | | The square ripples | Extra stitches near the joins or incorrectly spread corner groups | | The last corner is bulky | Whether the opening corner section has been counted twice |
Correct stitch placement before trying to stretch the square flat. Gentle shaping is a finishing step, not a substitute for the different stitch heights in Row 3.
Watch the skull square tutorial
Use the video particularly for the white facial details, the attachment points of the first gray row, and the join between the opening and final sections.
The appeal of this square comes from the contrast between an irregular little face and a clean outer frame. Make one carefully, keep it as your reference, and the next squares will be easier to compare and join.
Watch every stitch up close
Pair these written notes with the complete video tutorial.
Made with yarn, shared with love. 🧶💗