
Crochet Rose with Bud: A Handmade Flower That Lasts
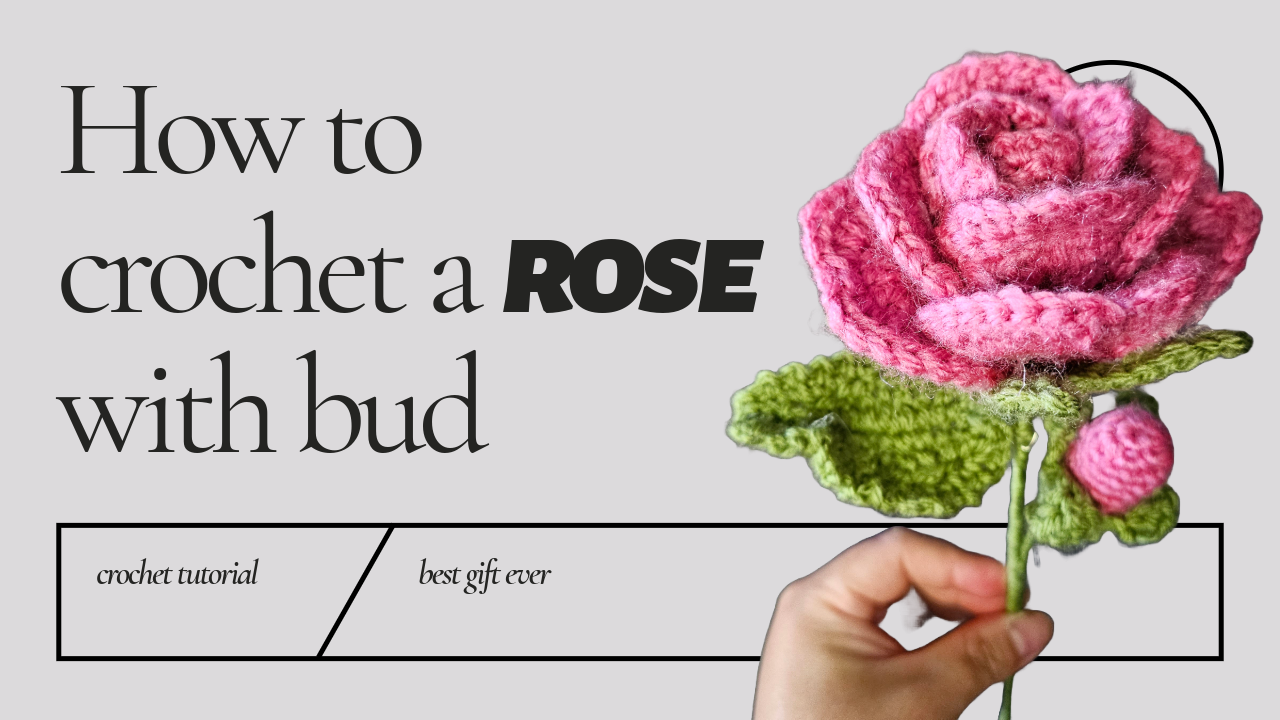
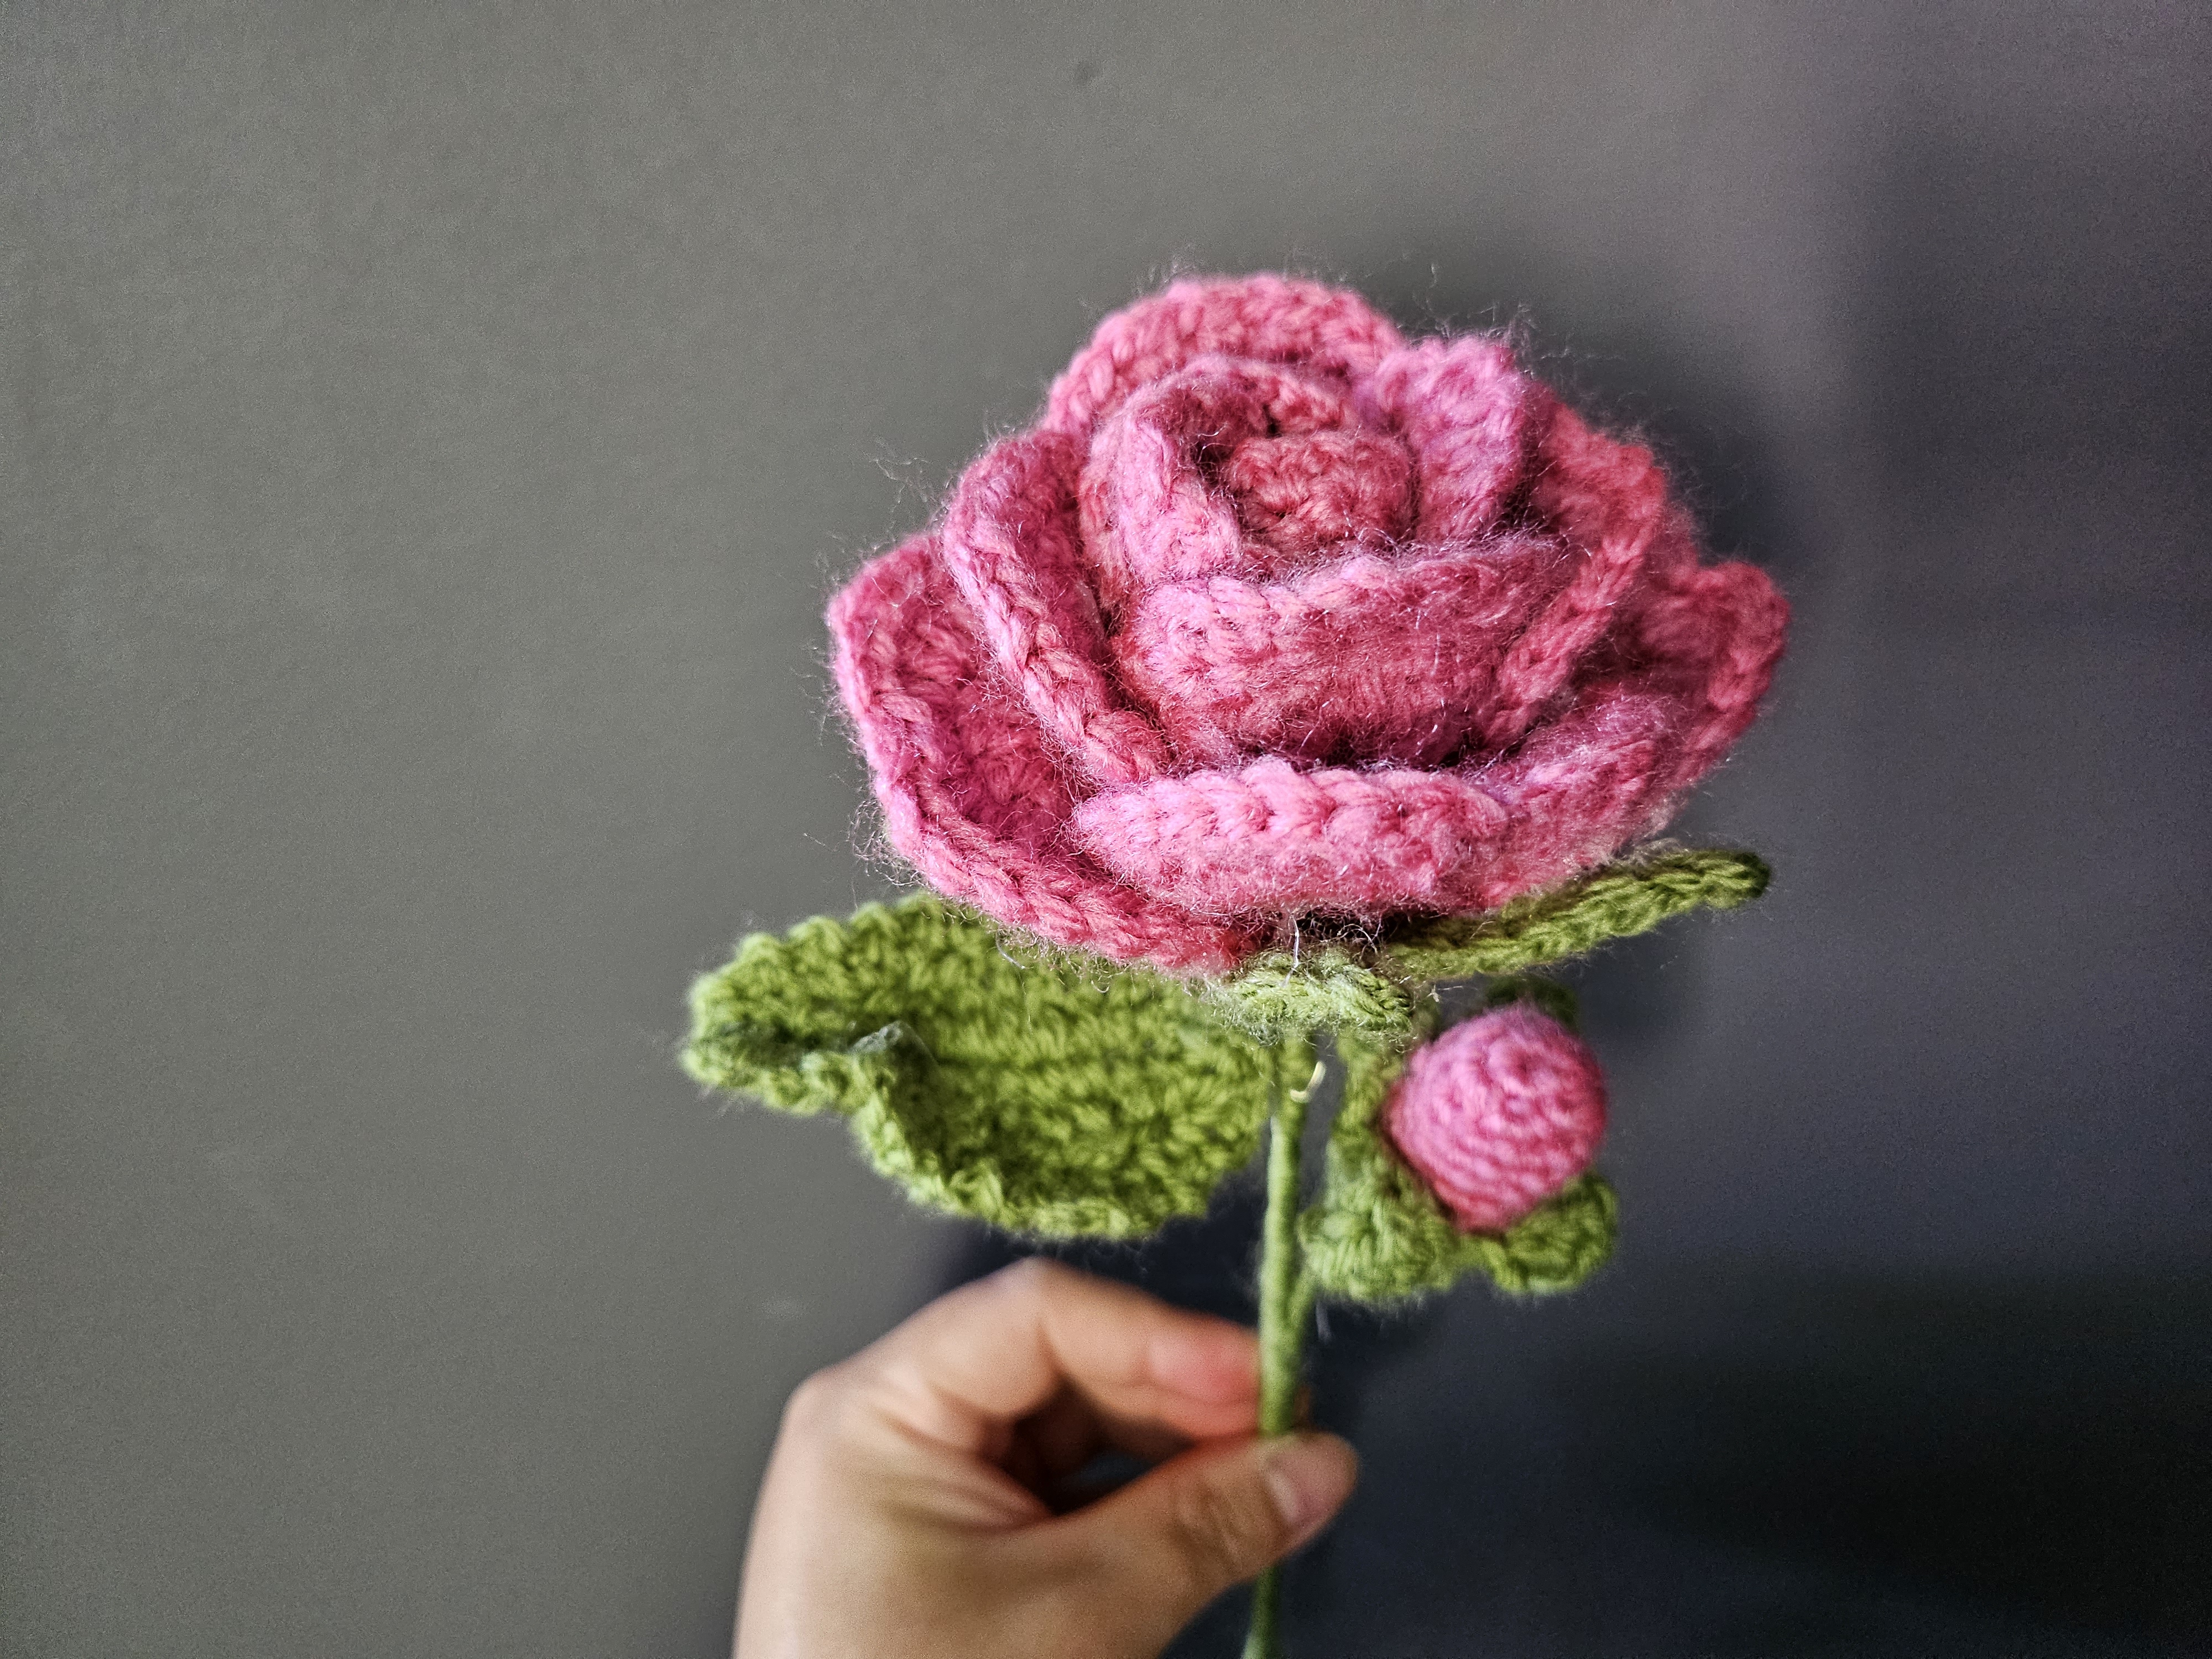
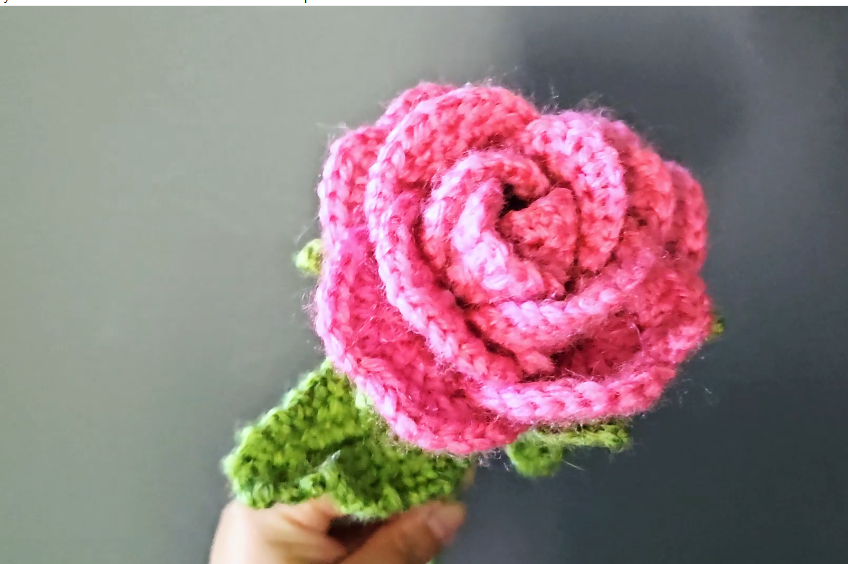
An open rose beside a small closed bud gives a crocheted flower stem a sense of movement. The bloom supplies the layers and texture; the bud and green leaves help the whole piece feel like a branch rather than a flower head placed on a stick.
This project is built from separate components. Three petal shapes create the main rose, a lightly stuffed pink piece becomes the bud, and two different green calyxes sit beneath them. The leaves are worked around a foundation chain and supported with fine wire before the pieces are assembled onto stems.
The guide below follows the Crochetnotes video’s on-screen stitch text. It also identifies a small-calyx counting problem instead of silently replacing the displayed formula. Keep the tutorial available for petal quantities, overlap, the leaf tip, and that unresolved transition: this is a detailed companion to the demonstration, rather than a corrected and independently tested pattern.
Materials and project planning
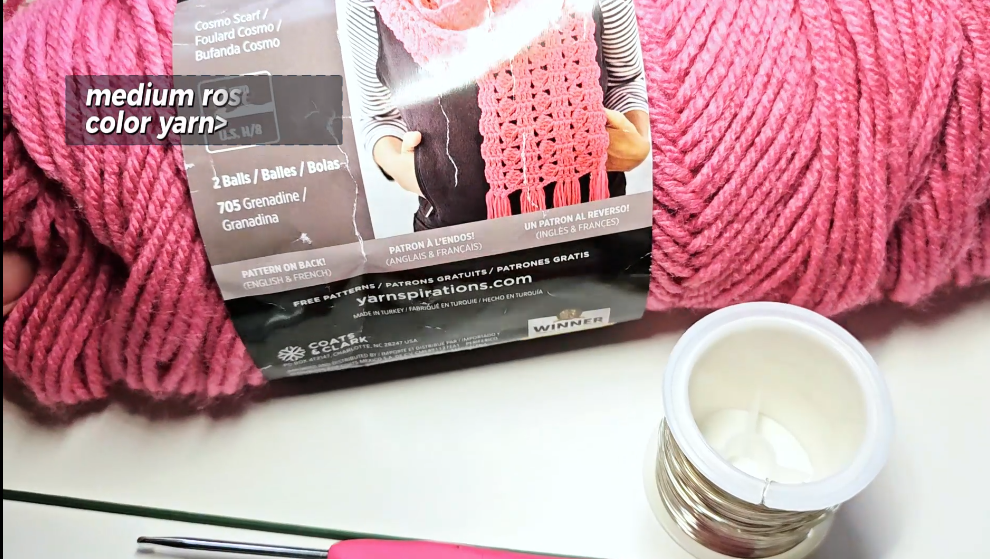
The opening materials show rose-colored yarn, green yarn, a 3.5 mm hook, two stems, fine wire, stuffing, and a glue gun. Also prepare scissors, a stitch marker, and a yarn needle for securing ends and joining where needed.
The shown hook is a reference for the demonstrated materials, not a guarantee of a particular finished measurement. Your yarn and tension will affect the bloom’s size, how tightly the bud fills its calyx, and the stiffness of the leaves.
Keep the small, medium, and outer petals in separate piles. Make and compare one of each before producing the remaining pieces. The exact repeat quantity for each petal type is not established in this written transcription; use the video’s assembly layout to match the demonstrated flower rather than treating an invented quantity as part of the pattern.
Read the stitch notation first
The following names use US crochet terminology.
| Video shorthand | Meaning | | --- | --- | | ch | Chain | | sc / hdc / dc / tr | Single / half double / double / treble crochet | | sc inc / dc inc | 2 of that stitch into one stitch | | sc dec | Single crochet decrease over 2 stitches | | sl or ss | Slip stitch; `ss` commonly marks the round join | | sk | Skip | | picot | The small decorative tip shown in the video |
The source uses compact groups, so distinguish two stitches in one place from two consecutive stitches. A slip stitch join and a decorative chain are not automatically counted as ordinary single crochet stitches.
- Crochet the three petal shapes
Begin each petal separately with a magic ring in the rose color. The petal rounds are short, but the chain edging matters: it gives the smaller petals a softer outline when they are curled into the flower.
Small petal
| Round | On-screen instructions | | --- | --- | | 1 | 8 dc; ss | | 2 | 7 sc inc, sc; ss | | 3 | 2 sc, (sc, ch) × 11, 2 sc; ss |
Round 2 produces 15 single crochet stitches. Round 3 works 15 single crochet stitches with 11 chains distributed through the middle section. Keep those chains relaxed enough to form an edging instead of pulling the petal into a tight bowl.
Medium petal
| Round | On-screen instructions | | --- | --- | | 1 | 15 dc; ss | | 2 | (2 sc, sc inc) × 5; ss | | 3 | 6 sc, (sc, ch) × 9, 5 sc; ss |
Round 2 produces 20 stitches. The next round has 20 single crochet stitches and 9 decorative chains. The unequal plain sections are retained as displayed; do not replace them with a symmetrical sequence just because the finished piece is called a petal.
Outer petal
| Round | On-screen instructions | | --- | --- | | 1 | 15 dc; ss | | 2 | 6 dc inc, (dc, ch, sc), (sc, ch, dc), 7 dc inc; ss |
Work each mixed group into its corresponding stitch as demonstrated. The two groups sit between the runs of double crochet increases. They create the change in outline that distinguishes this outer petal from the other two shapes.
Under that grouping, Round 2 uses the 15 starting stitches and produces 30 worked stitches plus 2 chains. That is a calculation of the displayed groups, not an additional edging round. Fasten off and keep the piece with the other outer petals.
2. Make the main flower’s green calyx
Begin in green with a magic ring.
| Round | On-screen instructions | Calculated body stitches | | --- | --- | --- | | 1 | 6 sc; ss | 6 | | 2 | 6 sc inc; ss | 12 | | 3 | (sc, sc inc) × 6; ss | 18 | | 4 | 18 sc; ss | 18 | | 5 | (9 ch, sk, 2 sl, sc, 2 hdc, 2 dc, tr, sk 2, sl) × 6 | Six points |
For a point, chain 9 and skip the first chain from the hook. Work back along the chain with 2 slip stitches, a single crochet, 2 half double crochet, 2 double crochet, and a treble crochet. Skip 2 stitches on the calyx base and slip stitch into the next to anchor the point.
Repeat around the base for six points. The return stitches grow taller toward the calyx, making each sepal narrow at its tip and wider near the flower. Keep the chain return separate from the skipped base stitches when reading the formula.
3. Crochet the rosebud
Use the rose color and begin with a magic ring.
| Round | On-screen instructions | Calculated total | | --- | --- | --- | | 1 | 5 sc; ss | 5 | | 2 | 5 sc inc; ss | 10 | | 3–7 | 10 sc in each round; ss | 10 each | | 8 | 5 sc dec; ss | 5 |
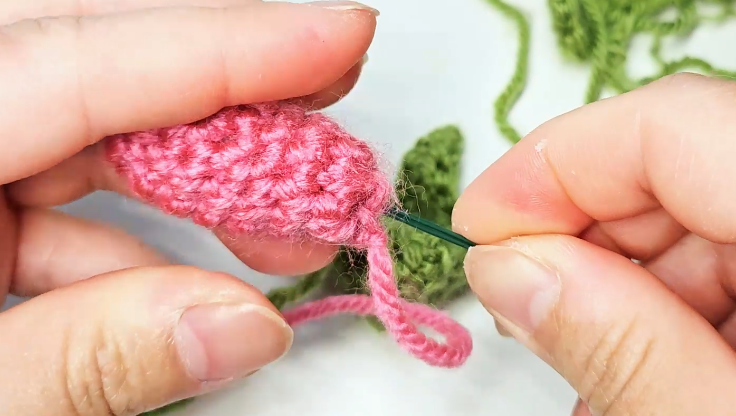
Rounds 3–7 are five separate rounds. They give the bud its length, so mark them off individually. Add stuffing before the final opening becomes too small to reach, using enough to support the shape without stretching the stitches apart.
Finish the narrow end and retain enough yarn for the assembly method you are using. The stem is inserted during the later finishing sequence; compare its position with the video before fastening the green cup permanently.
4. Make the bud’s smaller calyx
The smaller calyx is a separate green piece. Its displayed chart reads:
| Round | Literal on-screen text | | --- | --- | | 1 | 5 sc, ss | | 2 | 5 sc inc, ss | | 3 | (sc, sc inc) × 2, ss | | 4 | 12 sc, ss | | 5 | (7 ch, sk, sl, sc, hdc, 2 dc, tr, sk 2, sl) × 4 |
Counting note: Round 2 gives 10 stitches. As written, Round 3 uses only 4 of those stitches and produces 6; it does not explain the transition to the 12 stitches displayed for Round 4. The original formula is preserved here. Do not treat it as a complete, mathematically continuous round or assume that this guide has supplied a verified correction.
Review the demonstration around 28–30 minutes before continuing this particular component. Round 5’s four points use the same chain-and-return idea as the large calyx, but with shorter chains: after skipping the first chain, work sl, sc, hdc, 2 dc, and tr back toward the cup, then anchor after skipping 2 base stitches.
The four anchoring repeats are consistent with a 12-stitch base. That observation helps explain Round 4; it does not resolve the missing information in Round 3.
5. Crochet and support the leaf
The leaf begins with a 12-chain foundation. The video’s first-round line is:
12 ch, sk, sc, hdc, dc, 4 tr, dc, hdc, sc, 3 sc tog, sc, hdc, dc, 4 tr, dc, hdc, sc; ss.
Work down one side of the foundation and back along the other. The shorter stitches narrow the ends while the treble crochet stitches create the broad middle. Watch the turning end carefully: the source’s `3 sc tog` label is used at that turn as the demonstration forms the end cluster. Do not automatically interpret this compact label as a conventional decrease across three separate base stitches.
The second-round text is:
sc, (sc, 2 ch) × 10, [sc, 2 ch, picot, sc], (sc, 2 ch) × 10, sc; ss.
The bracket marks the leaf tip. Follow the actual tip movement in the video rather than substituting an arbitrary picot chain count; the compact line does not spell out a separate picot recipe.
Fine wire is incorporated along the leaf edge to support its shape. Keep it covered by the crochet and leave the lower wire ends available for attaching the leaf to the stem. Shape the leaf gently after the edging is complete instead of repeatedly bending one sharply creased spot.
6. Build the flower and finish the stems
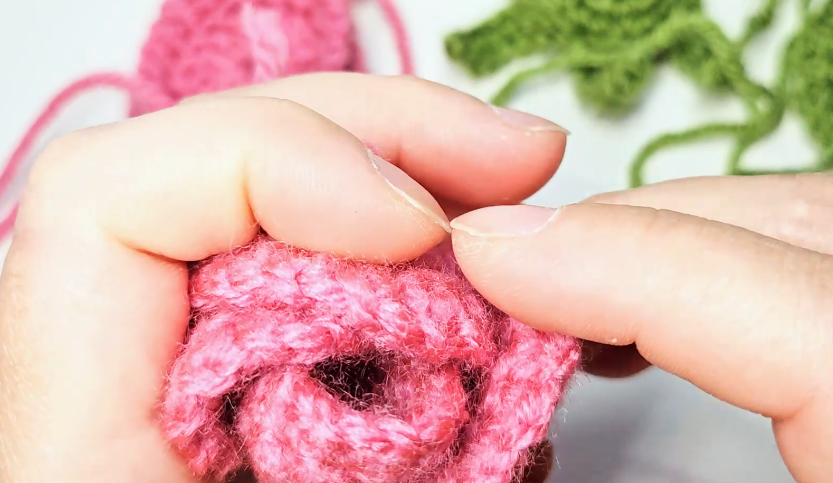
Arrange all the components before using glue. Keep the smallest petals for the center, medium petals around that center, and larger petals on the outside. Compare the video’s layout and overlap so that the blossom opens gradually instead of forming several flat, evenly stacked discs.
Curl the central petals together, then add the surrounding petals with their edges offset. Hold the bloom upright and check its outline from above and from the side. Keep the lower attachment area compact enough to fit inside the large green calyx.
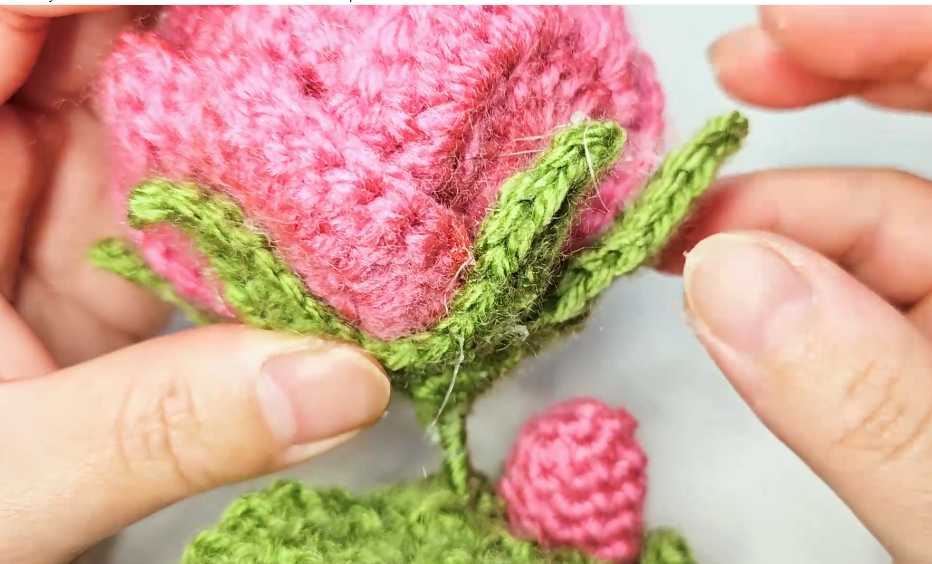
Insert and secure the flower stem using the demonstrated method. Bring the main calyx underneath the bloom and arrange its points against the petal bases. The cup should conceal the attachment area without swallowing the lower petals.
Prepare the bud on its own stem and fit the smaller calyx beneath it. Place the bud beside and below the main bloom, then bring the stems together. Add the wired leaves at the desired branching points and wrap the stems in green yarn, covering the joins and wire ends as you work downward.
Use small amounts of glue where needed, keeping it inside the attachment areas. Allow a join to set before pulling on it or continuing the wrap. The final arrangement should have no exposed sharp wire ends, loose stem wrapping, or visible blobs of glue at the petal edges.
Shape checks and common problems
The rose looks flat. Adjust the curl and overlap of the inner petals before adding another outer layer. More petals alone will not create a defined center.
The outer petals hide the center. Lower their attachment points slightly and open their top edges with your fingers. Check the bloom from above before securing them.
The calyx points twist. Confirm which stitches belong to the return chain and which belong to the base. Pulling the return chain too tightly can also twist an otherwise correct point.
The leaf tip is bulky. Revisit the turning cluster and picot demonstration. Adding an extra conventional decrease or an assumed picot chain changes that small area substantially.
The bud calyx count will not work. Check the counting note above before undoing correct work elsewhere. The displayed Round 3 has an unresolved instruction gap.
Watch the flower tutorial
Use the video for the petal overlap, leaf tip, small-calyx transition, and the order in which the flower, bud, leaves, and stems are brought together.
Give the finished stem room to show
A narrow vase lets the layered bloom, closed bud, and pointed leaves remain visible. Turn the stem until the bud sits slightly to the side rather than directly behind the flower. Those final adjustments make the separate crocheted parts read as one arrangement, with each shape contributing to the finished rose.
Watch every stitch up close
Pair these written notes with the complete video tutorial.
Made with yarn, shared with love. 🧶💗