
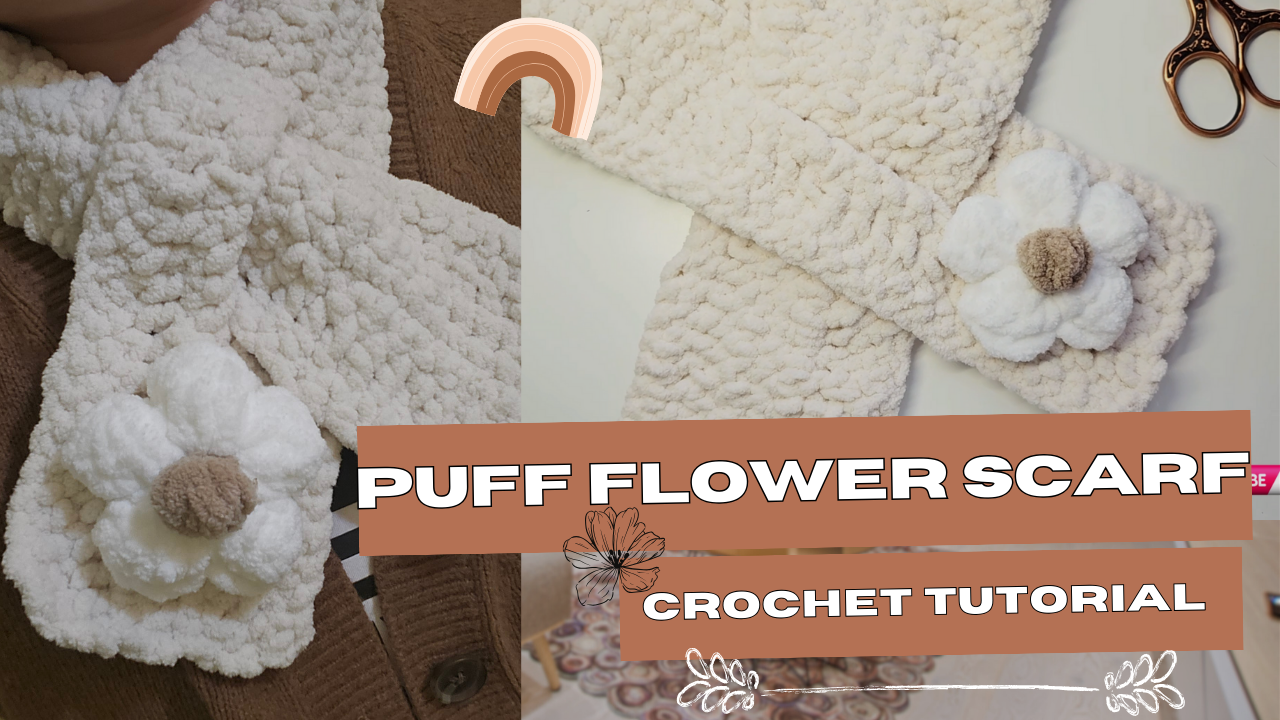
Crochet Puff Flower Keyhole Scarf: A Plush Scarf with a Practical Opening
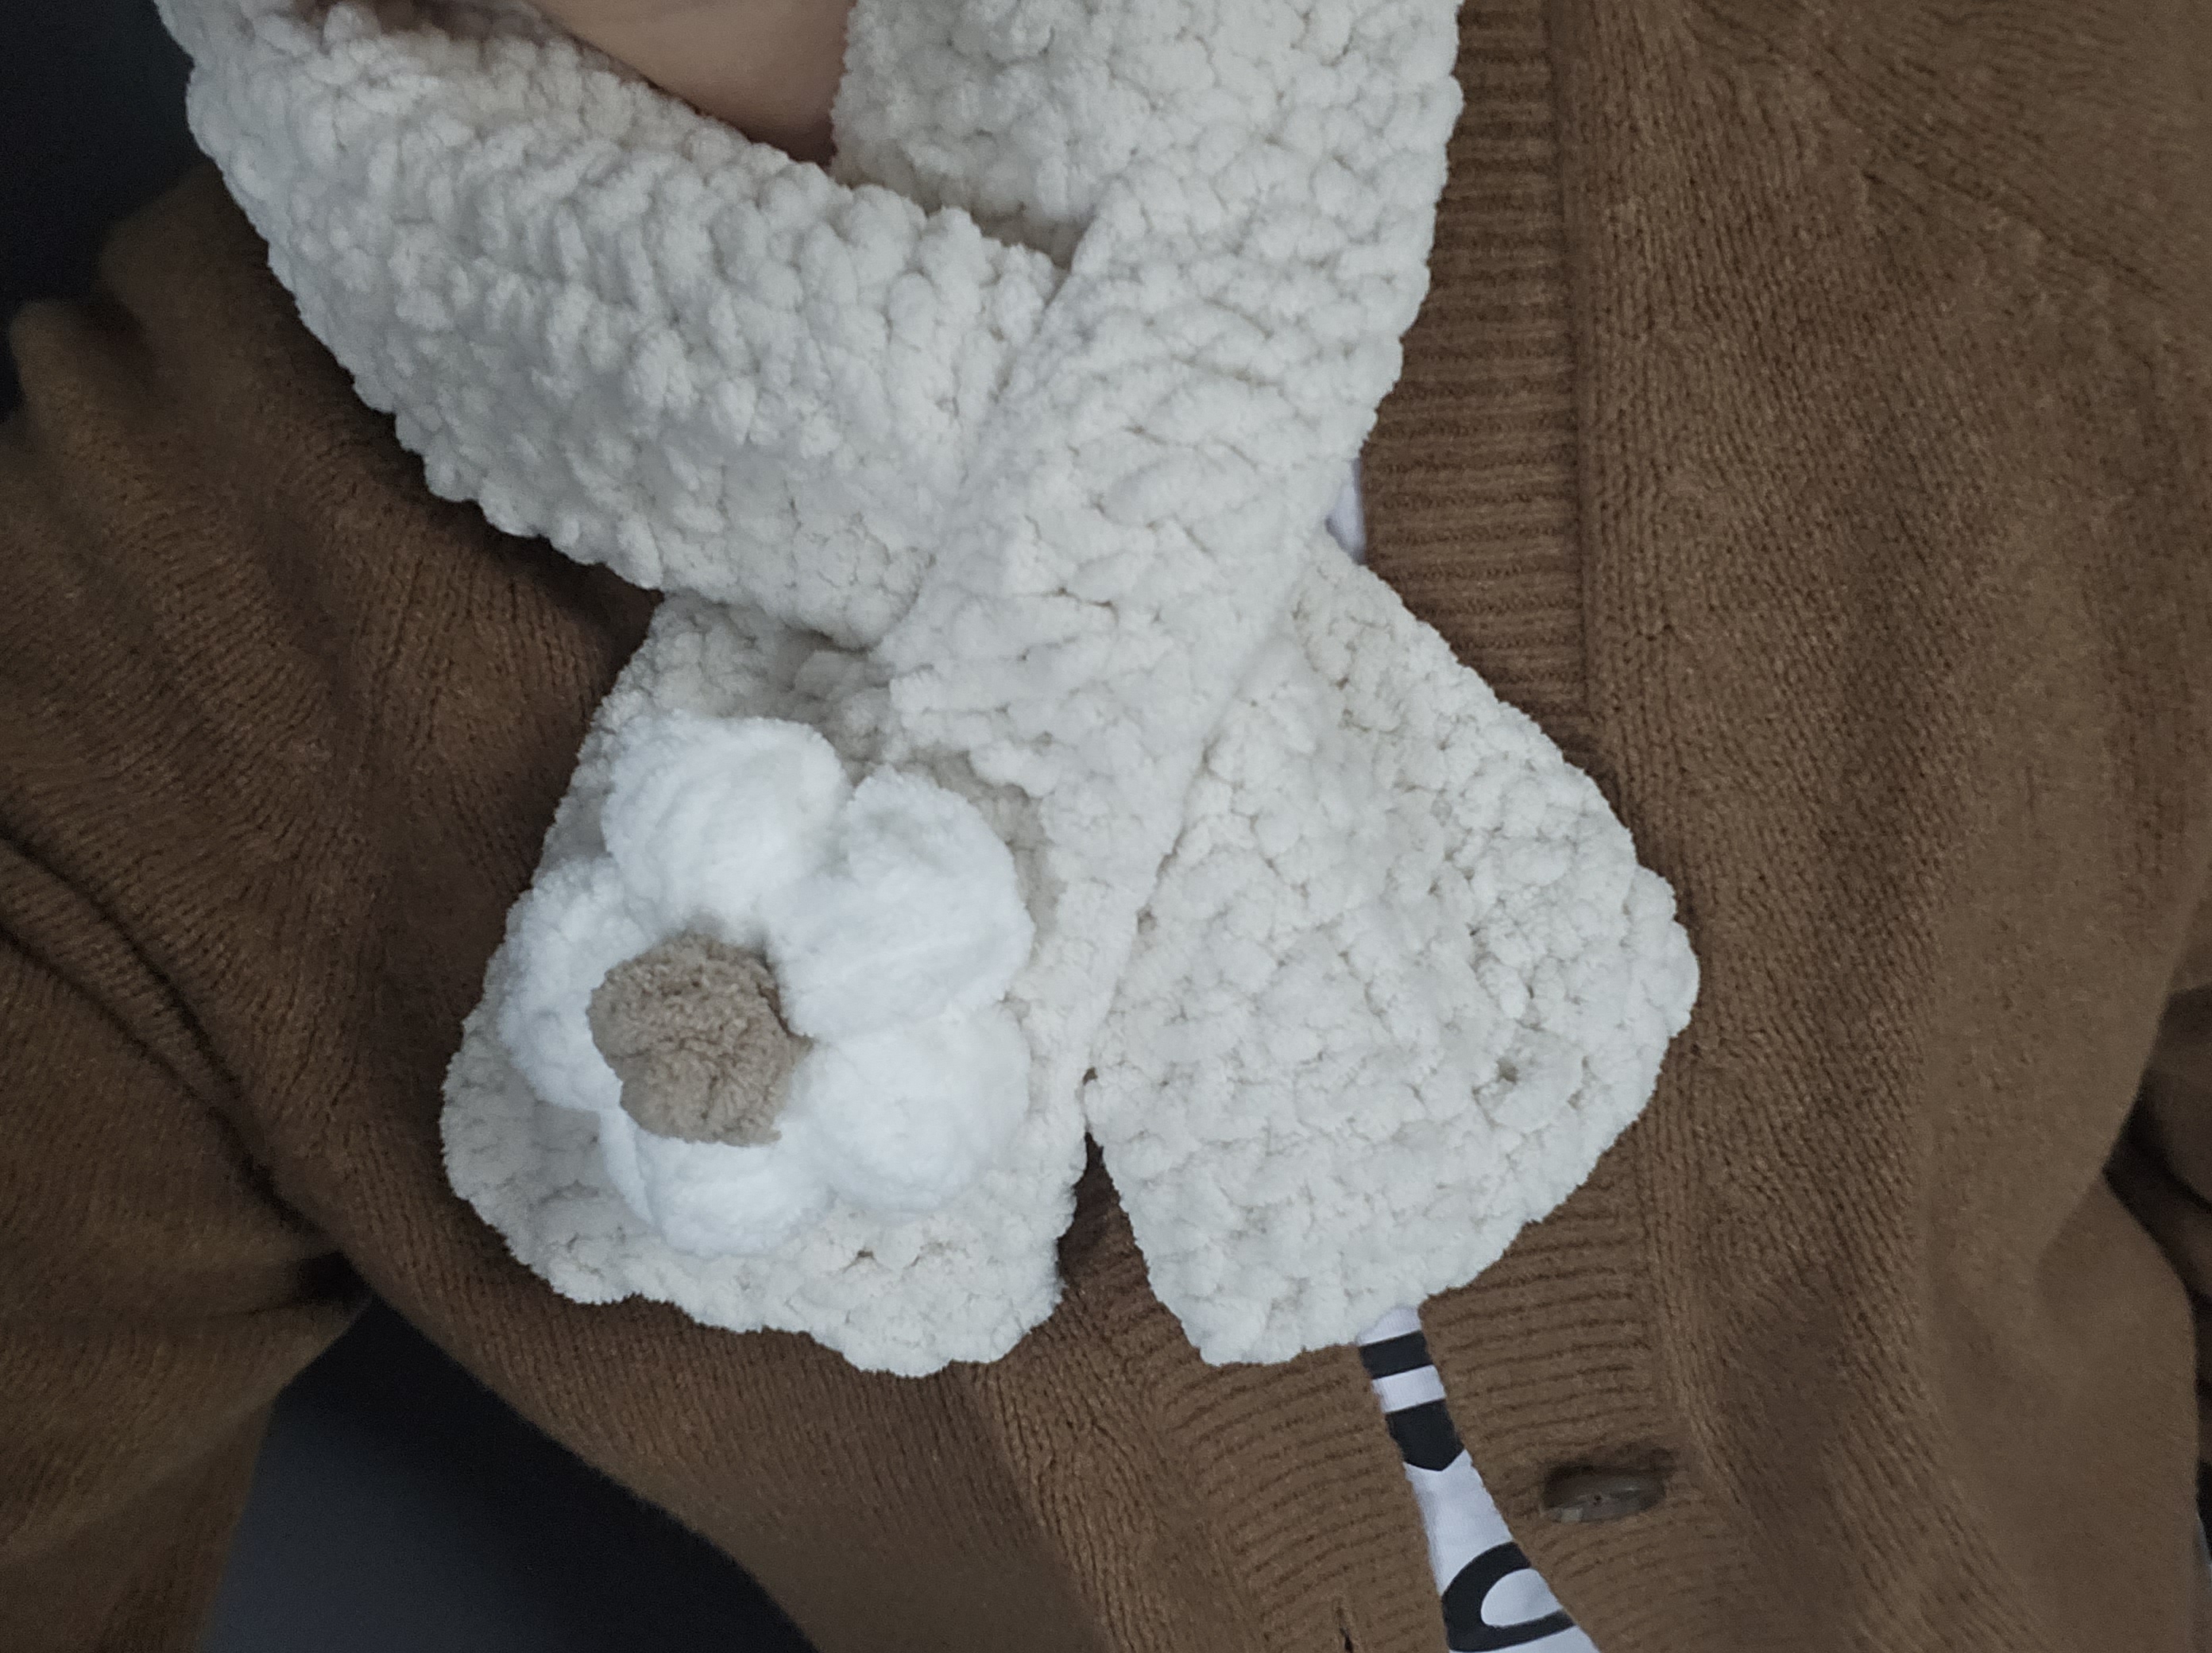
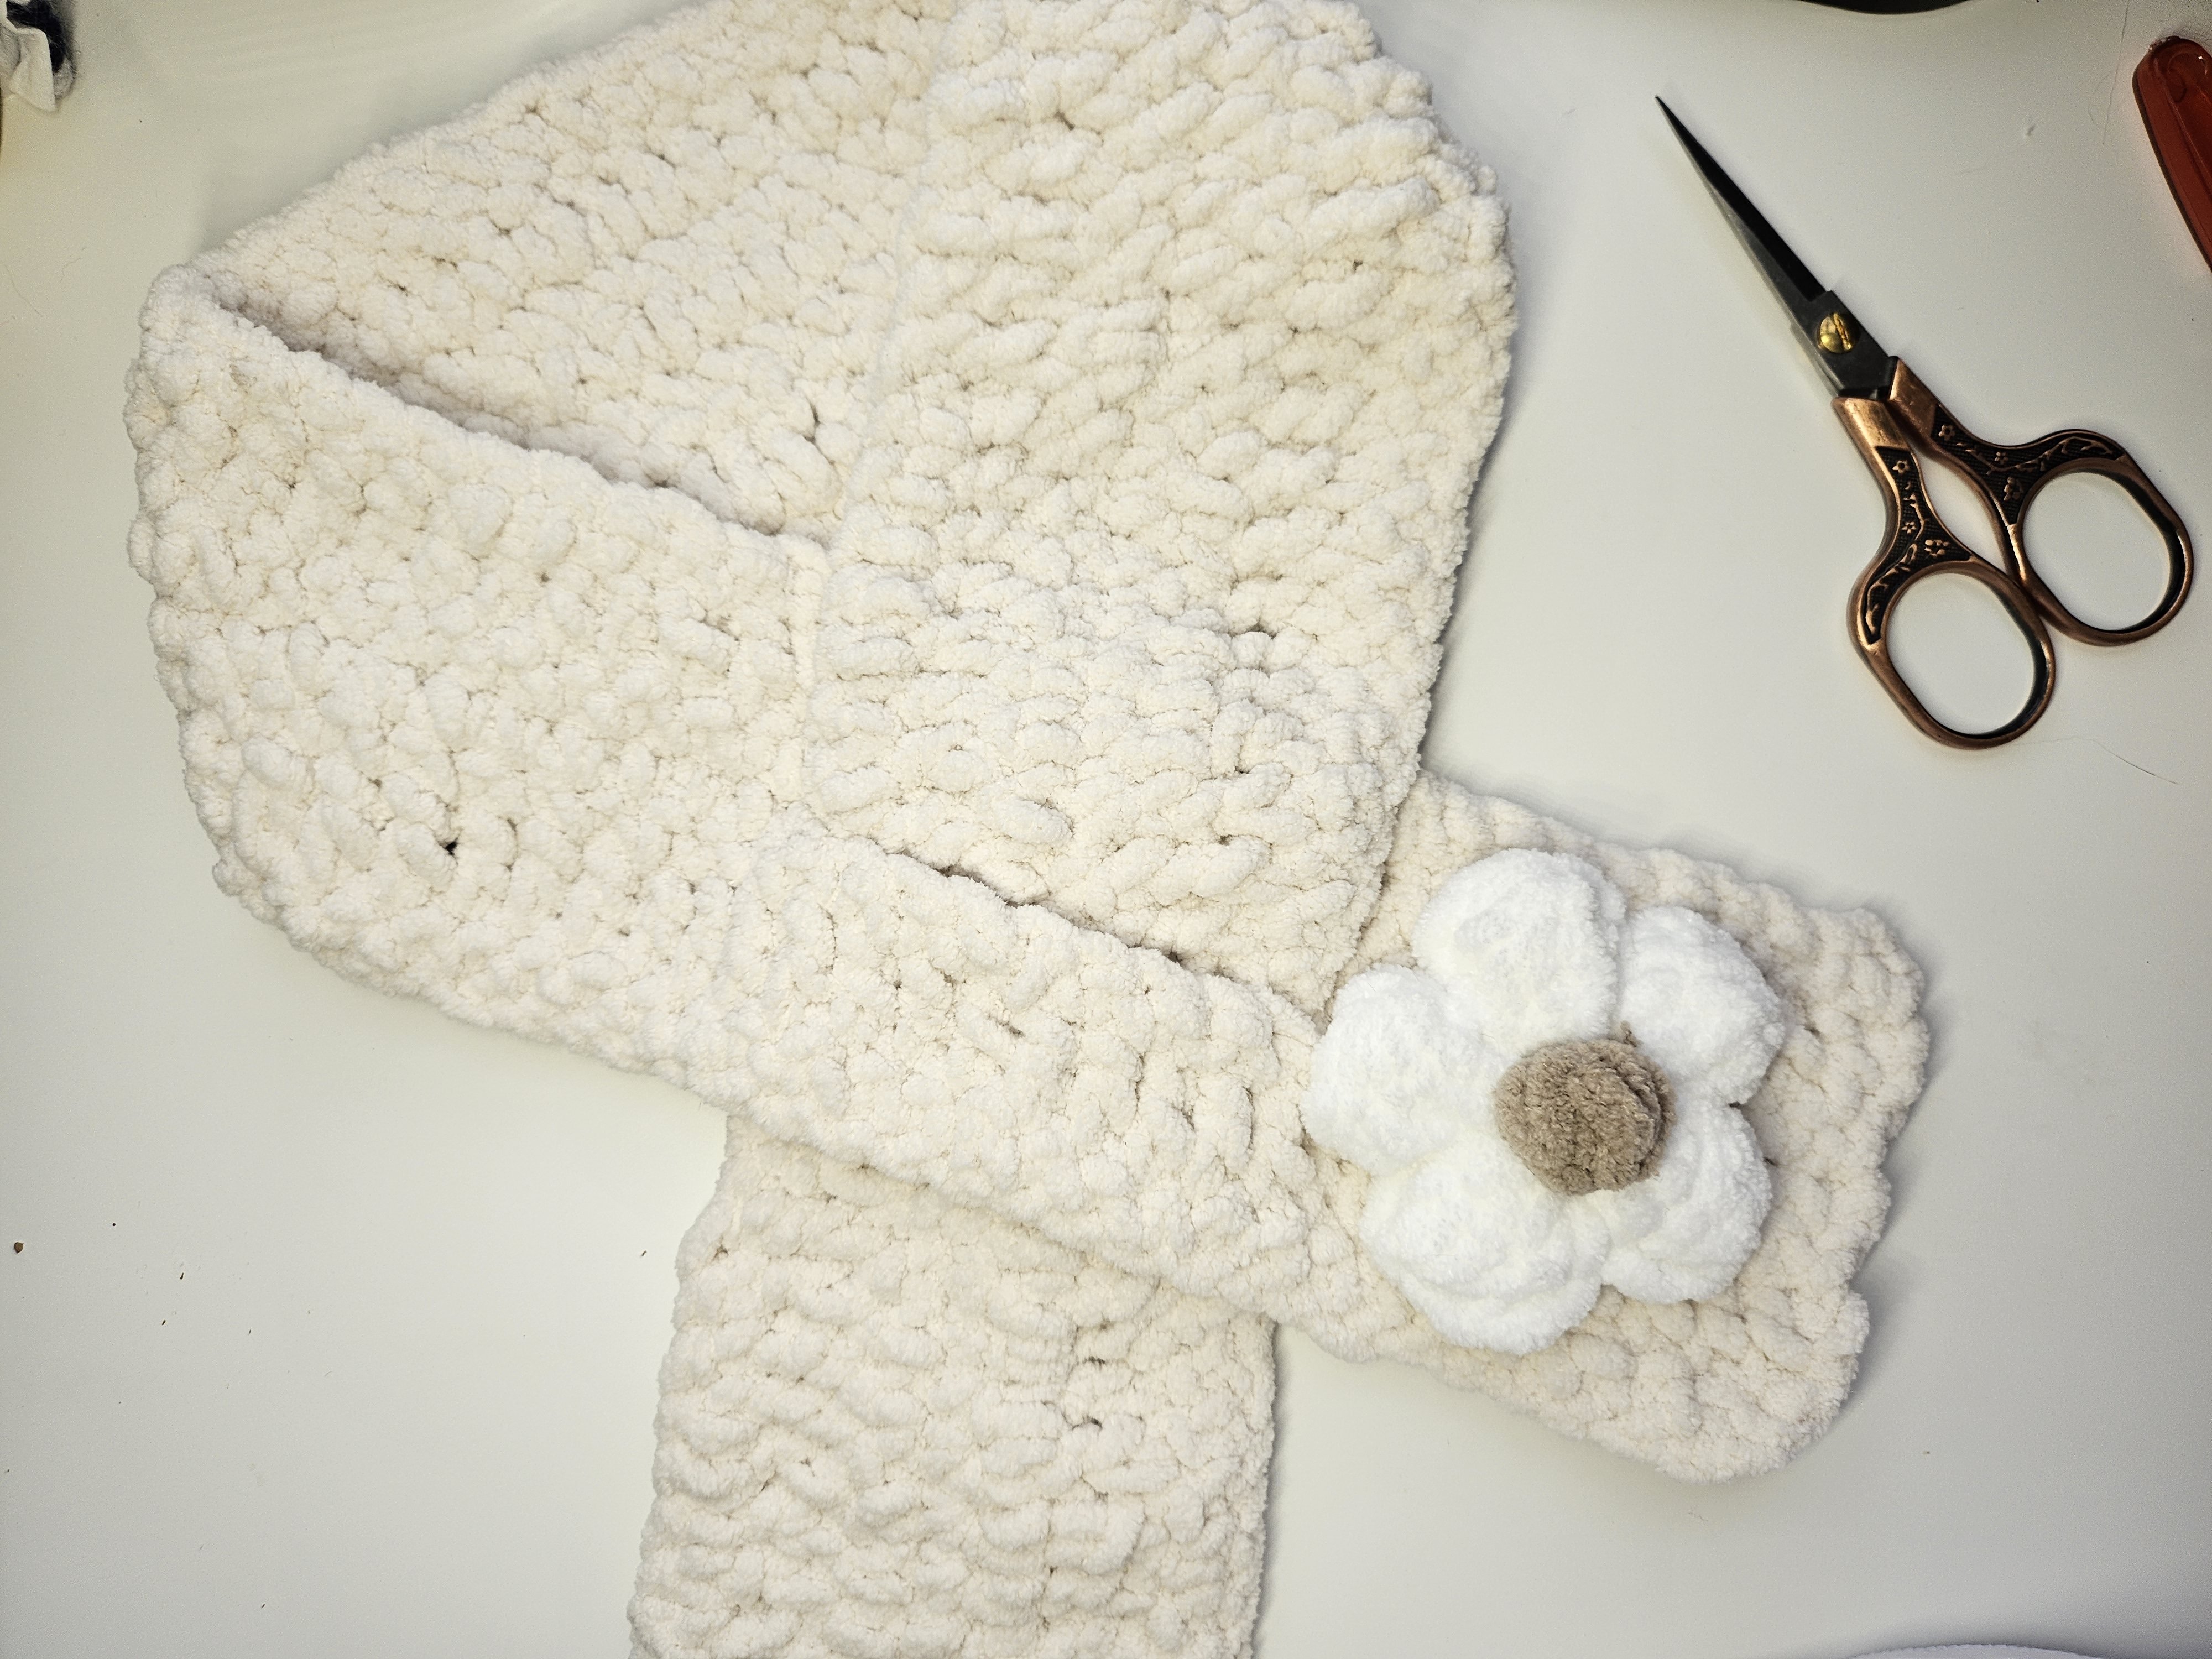
This cream scarf has more structure than its soft surface first suggests. An opening near one end allows the other end to pass through, keeping the front crossed without a bulky knot. A white flower with a taupe center decorates the outward-facing section.
The body is worked along a long starting chain, so the foundation establishes the scarf’s length. Additional rows build its width. The fabric combines short rows in height with two taller double-crochet rows, and the opening is built directly into the fourth row.
Below are the instructions displayed in the tutorial, followed by the flower and finishing steps. Calculations are identified separately from printed counts, and the abbreviated puff-stitch caption is explained without assigning it an unverified number of loops.
Supplies and Sizing
Prepare plush cream yarn for the scarf, white for the petals, and taupe or another contrasting color for the flower center. You will also need a suitable hook, stitch markers, scissors, a yarn needle, and a measuring tape.
The verified source captions do not establish a yarn quantity, numeric hook size, finished size, or gauge. The sample uses a thick plush yarn, so a thinner substitution will make a substantially different scarf even with the same 80-chain start.
Make a short sample before beginning the full length. Fold it as it would sit at your neck. The fabric should bend comfortably rather than feel rigid. Choose the hook and yarn together based on that fabric, then measure your actual foundation.
US Stitch Key
| Term | Meaning | | --- | --- | | ch | Chain | | sc | Single crochet | | dc | Double crochet | | ss | Slip stitch | | sk | Skip | | MR | Magic ring | | puff | The raised stitch demonstrated for the relevant component | | * | Continue the indicated stitch across the row |
The video uses “R” for the scarf rows as well as the flower rounds. The scarf is worked back and forth; turn at the row ends. Its displayed body instructions do not specify back-loop-only work, so these notes do not replace the plain stitches with ribbing.
1. Start Along the Length
Chain 80 in cream. The first-row caption reads **“R1: 80ch, sk1, sc*.”** Skip the chain nearest the hook and work one sc into each remaining chain.
That gives 79 worked single crochets, calculated from the 80-chain start and one skipped chain. Count the actual stitches rather than the spaces between the plush fibers. Mark both ends if they are hard to see.
Lay the chain and first row flat before continuing. The foundation should not be twisted, and the edge should not pull into a much shorter curve than the worked fabric.
2. Follow the Seven-Row Body
| Row | Displayed instruction | Purpose | | --- | --- | --- | | 1 | 80 ch, sk 1, sc across | Long foundation row | | 2 | 2 ch, dc across | First taller row | | 3 | Ch 1, sc across | Plain row | | 4 | 10 sc, 8 ch, sk 8, sc across | Keyhole opening | | 5 | Ch 1, sc across | Continue over the opening | | 6 | 2 ch, dc across | Second taller row | | 7 | Ch 1, sc across | Final plain row |
The turning chains are printed separately from the worked stitches. Keep the treatment shown in the video consistent at both ends. If using the turning chains only to gain height, the worked row count remains 79; do not accidentally add a new edge stitch every time you turn.
Rows 2 and 6 use double crochet, while Rows 3, 5, and 7 use single crochet. The taller rows are not an instruction to repeat double crochet for the entire scarf.
3. Make the Keyhole in Row 4
Work ten sc, then chain eight. Skip the next eight stitches of the previous row and resume sc in the following stitch. Continue to the row end.
For the calculated 79-stitch body, the layout is ten worked positions, eight chain positions, and 61 remaining worked positions. The chain bridge replaces the eight skipped stitches; it does not add eight more positions to the scarf’s length.
Count the eight skipped stitches before inserting the hook again. Mark the stitch where you resume if the plush texture makes the opening difficult to distinguish.
In Row 5, continue the demonstrated single-crochet row across the ordinary stitches and the chain bridge. Preserve eight positions over that bridge rather than adding an arbitrary dense group into the whole space. Watch the close-up for how the hook enters it.
After Row 5, check the opening before adding the final rows. It should remain open, with a secure bridge and an even edge on either side. Do not sew it closed when finishing the ends.
4. Make the Five-Petal Flower
The white flower begins with 5 sc in a magic ring, ss. Its second-round caption reads:
“R2: (3 ch, puff, 3 ch, ss) × 5.”
Each repeat makes one raised petal. Work the three-chain rise, the demonstrated puff, three chains back down, and the slip-stitch connection. Continue around the five-stitch foundation until the flower has five petals.
The caption names “puff” but does not print a numeric loop count for the white petals. Use the close-up for that stitch’s repeated actions and insertion point. Do not assume it has the same count as the separately described taupe center.
Keep the loops in each petal at a consistent height. Closing them too tightly can collapse the rounded shape; drawing them to different heights makes the petals look uneven even when the repeat count is correct.
Shape the completed flower gently and leave a joining tail. Check that all five petals are complete before fastening off.
5. Make the Contrasting Center
The taupe-center caption is more specific:
“3 ch, sk, puff (3 unfinished dc), ss.”
Make three chains, skip the indicated starting position as demonstrated, and work the center from three unfinished double crochets. For each partial dc, complete the first draw-through-two step while retaining the final loop. Close the three partial stitches together and finish with the shown slip stitch.
Use the demonstration for the exact chain insertion. The compact caption does not assign a written number to the skip. This small puff becomes the contrasting center, rather than a separately stuffed ball.
Position it over the white flower’s middle and secure it without pulling the petal bases inward. Keep bulky finishing knots away from the back of the decoration.
6. Position the Flower with the Scarf Crossed
Pass the free scarf end through the keyhole and arrange it as you intend to wear it. Place the flower on the outward-facing section, then mark that position before removing the scarf.
Check that the opening still works and the flower does not become trapped beneath a fold. A flower centered on the flat rectangle may not appear centered once the scarf is crossed.
Sew through the flower’s base and several corresponding scarf stitches. Keep the attachment firm but relaxed enough that the surrounding fabric can bend. Leave the petal edges free so their fullness remains visible.
The center should cover the flower join neatly. Inspect the reverse side for long exposed strands, and weave in the ends with a method suitable for your plush yarn.
Adjusting Your Version
These are fitting suggestions rather than additional sizes supplied by the video:
- Change the starting-chain length to adjust the scarf’s length, checking the actual measurement in your yarn.
- Reassess the opening’s location if the scarf length changes substantially. The original position follows ten sc in Row 4.
- Test whether the free end passes comfortably through the opening before completing all finishing.
- If changing the scarf’s width, consider the size of the keyhole as well. A much wider end may not pass through the original opening easily.
Keep your final chain count, row count, measurements, and opening position with the project notes. Those details will be more useful for repeating your version than the yarn’s appearance alone.
Troubleshooting
The scarf becomes longer at one edge. Recount the worked stitches and check whether the turning chain was accidentally treated differently between rows.
The opening is too tight. Check that the bridge has eight chains and spans eight skipped stitches. Then assess your yarn thickness and the width of the end that must pass through.
The plush stitches are hard to count. Mark the first and last stitch of every row and move the markers as you work. Count with your fingertips as well as your eyes.
The flower pulls the scarf into a dent. Loosen an overly tight join and spread the attachment across the base instead of pulling one long sewing stitch across it.
One petal is smaller. Compare its puff construction and loop height before attaching the flower. Do not stretch a single loop to disguise the difference.
Watch the Puff Flower Scarf Tutorial
The 19-minute-39-second video demonstrates the seven-row scarf, the keyhole, the white petals, the three-unfinished-dc center, and the attachment.
Finish for Comfortable Wear
Try the scarf crossed through its opening, check the flower’s position, and conceal any remaining ends. Follow the yarn’s care instructions, reshaping the flower gently after cleaning. For gifting, fold the scarf with the flower visible and include your care notes. The simple body and practical keyhole let the raised flower remain the main detail without requiring a bulky knot.
Watch every stitch up close
Pair these written notes with the complete video tutorial.
Made with yarn, shared with love. 🧶💗