
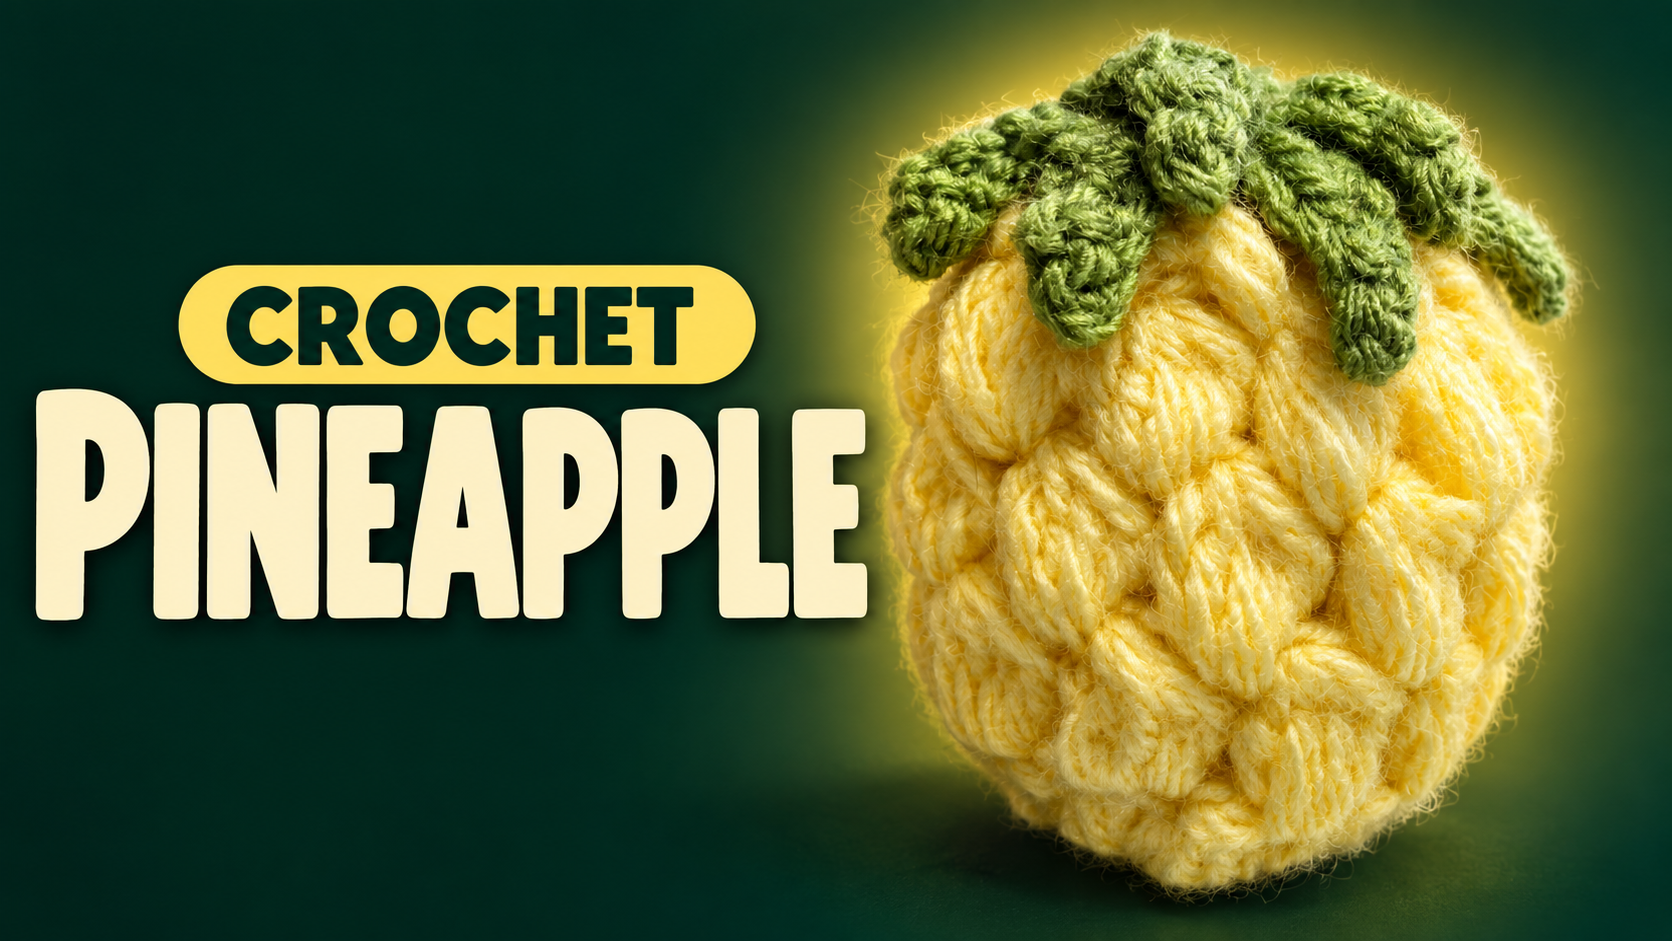
Crochet Mini Pineapple: A Textured Little Fruit Project
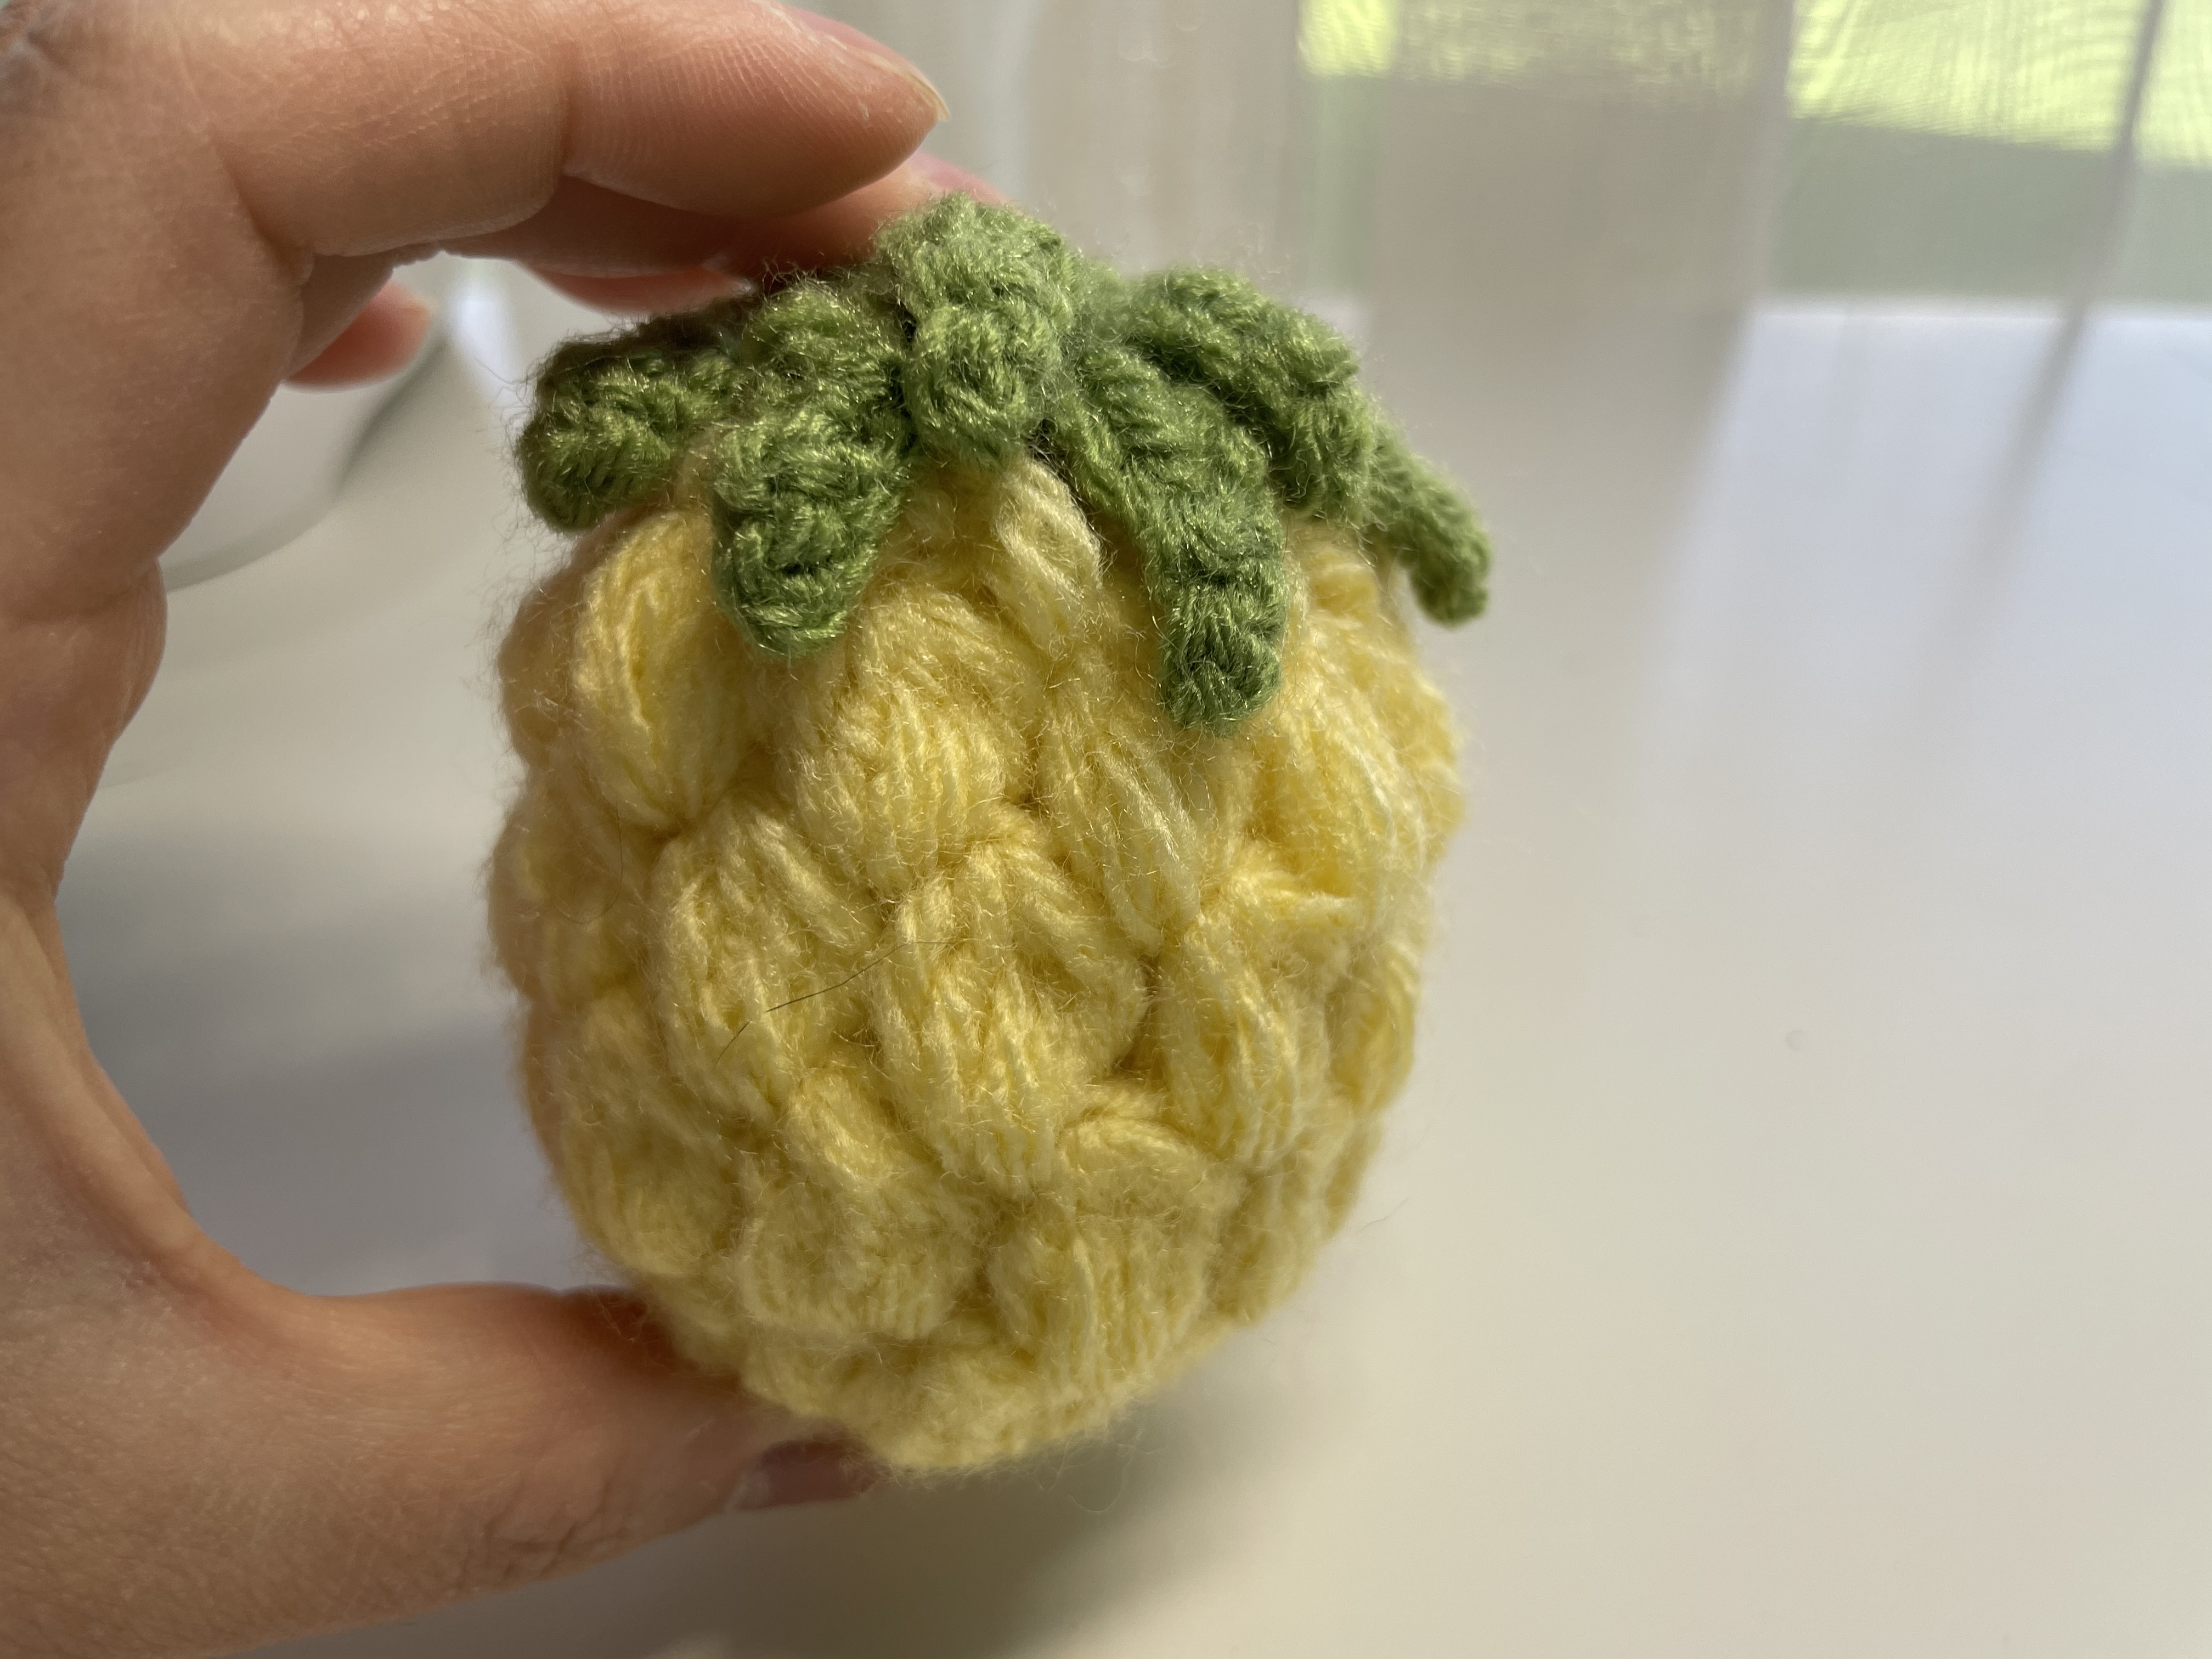
This mini crochet pineapple combines a softly rounded yellow body with a low, spreading green crown. Its raised stitch groups give the fruit a rich surface, while six pointed leaves create the recognizable pineapple outline.
The construction starts with two small rounds of single crochet. Four rounds of raised texture build the sides, followed by a yellow finishing round. After stuffing, the green crown is worked directly onto the top, so there are no individual leaves to sew into place.
The project is small, but the texture deserves a little patience. Keeping the unfinished stitches at a consistent height makes a noticeable difference to the finished shape.
Materials
Prepare:
- Yellow yarn for the fruit.
- Green yarn of similar thickness for the crown.
- A crochet hook suitable for your yarn.
- Toy stuffing.
- A removable stitch marker.
- A yarn needle and scissors.
Choose yarn that lets you see the stitches clearly. Very fuzzy yarn can hide the insertion points between the raised groups.
A fixed yarn weight, hook size, gauge, or finished measurement is not specified here. Use a hook that produces a close fabric without making the groups difficult to complete.
Abbreviations
These instructions use US terminology.
Abbreviation Meaning
ch Chain
sc Single crochet
hdc Half double crochet
dc Double crochet
inc Work 2 sc into one stitch
sl st Slip stitch
sk Skip
R Round
(…) × 6 Repeat the enclosed sequence six times
The video calls the raised body stitch “popcorn.” Its accompanying instruction specifies five unfinished double crochet stitches, which are then closed together. Follow that demonstrated method rather than substituting a popcorn made from completed double crochet stitches.
1. Crochet the Yellow Base
Using yellow yarn, begin with a magic ring.
Round 1
Work 6 sc into the ring, then join with a slip stitch.
Pull the starting tail gently to close the center.
Round 2
Chain 1. Work an increase in every stitch, then join.
Total: 12 sc.
Mark the first stitch. Keeping the beginning visible becomes especially helpful once the raised groups cover the sides.
The beginning chain and joining slip stitch are not included in the single crochet count.
2. Make the Raised Body Stitch
Each textured group is built from five unfinished double crochet stitches worked into the same indicated insertion point.
- Yarn over and insert the hook.
- Yarn over and pull up a loop.
- Yarn over and draw through two loops, leaving the double crochet unfinished.
- Repeat until you have made five unfinished double crochet stitches in that location.
- Yarn over and draw through the retained loops to close the group.
The demonstration then secures the top before moving to the next group. Watch that closing movement and the next insertion point closely when making your first repeat.
Keep the Groups Even
Draw the working loops to a similar height. If the first unfinished stitch is short and the others are stretched, the group can lean or look smaller than its neighbors.
Avoid pulling the final closure so tightly that the raised section becomes a hard knot. It should hold its shape while retaining a soft, rounded surface.
Count each completed group as one texture unit. The five component stitches are not five separate repeats.
3. Build the Textured Sides
Rounds 3–6
For each round:
Ch 1, work 12 textured groups, then join with a slip stitch.
Complete four texture rounds, with 12 groups in each round.
Follow the demonstrated insertion points as the texture builds. Keep the marker at the beginning and count the completed groups before joining.
These rounds establish the fruit’s height. Do not add another round simply because your yarn produces a smaller pineapple; that would change the proportions of the original design.
Check Before Continuing
Rotate the piece and inspect the whole surface.
Look for:
- Twelve groups around each round.
- Similar height and fullness between neighboring groups.
- No missed insertion points near the join.
- A body that develops evenly around the base.
Correct an uneven group while it is still accessible. Filling the body will support the fabric, but it will not replace a missing repeat.
4. Work the Yellow Finishing Round
The video gives this compact Round 7 instruction:
Ch 3, (2 dc, 2 dc, sl st) × 6, sl st, ch 1.
The accompanying demonstration places two double crochet stitches into a stitch and another pair into the next indicated stitch.
Use the close-up to check the slip-stitch placement and the connection between repeats. The compact caption does not fully explain those details, so it should not be treated as four double crochet stitches spread across four consecutive base stitches.
Complete the six repeats and the finishing join before changing color.
5. Stuff the Fruit
Add stuffing through the remaining opening before working the green crown.
Use small portions, first supporting the base and then the sides. Fill the middle gradually rather than pushing one large wad against the textured fabric.
Check the silhouette from several directions. Aim for a softly rounded body with enough support to show the raised groups.
Stop adding filling if the spaces between groups begin to stretch open. Redistribute the stuffing to remove dents before increasing the amount.
6. Begin the Green Crown
Change to green yarn at the top and chain 1 as demonstrated.
Green Round 1
Work 6 sc around the top, then join with a slip stitch.
These stitches are worked onto the yellow body. They do not begin as a separate magic-ring piece.
Follow the video for the six attachment positions around the yellow finishing round. Keep them distributed around the opening so the crown sits centrally.
7. Crochet the Six Leaves
The green Round 2 caption reads:
(Ch 7, sk 1, sl st, 2 sc, 2 hdc, dc, sl st) × 6.
For each leaf:
- Chain 7.
- Skip the chain nearest the hook.
- Work 1 sl st into the next chain.
- Work 1 sc into each of the next 2 chains.
- Work 1 hdc into each of the next 2 chains.
- Work 1 dc into the remaining chain.
- Slip stitch back to the green base at the next attachment point shown.
Repeat to make six leaves.
The return stitches use all six available chains after the skipped chain. The progression from slip stitch to double crochet produces a narrow tip and a wider base.
Keep the Crown Balanced
Let the leaves spread naturally as you work. Check that each new chain begins from the green base rather than from partway along the previous leaf.
Compare their lengths before fastening off. A tight foundation chain can make one leaf noticeably shorter even when its stitch sequence is correct.
8. Finish and Arrange the Leaves
Complete the final attachment and secure the yarn ends.
Inspect the crown center and tidy any remaining opening without pulling the leaf bases into a tight bundle.
Arrange the leaves around the top with your fingers. In the pictured version, they spread outward and curve slightly down toward the yellow body.
Keep enough space between the tips for the individual leaves to remain visible.
Troubleshooting
Problem What to check
Some texture groups look smaller Compare unfinished-stitch height and closing tension.
The join becomes bulky Check for extra groups or stitches near the beginning marker.
Stuffing shows through Reduce filling pressure and inspect fabric density.
One leaf is shorter Check its chain tension and return-stitch sequence.
The crown leans Compare the six green attachment positions.
The leaves hide most of the fruit Let them spread outward rather than pulling them tightly down the sides.
Finishing and Care
Check the base, yellow join, green attachments, and final yarn ends. Remove the stitch marker and any temporary placement guides.
Test the pineapple on your chosen display surface. Its rounded base may need a small dish or other support to rest upright.
Follow the yarn and stuffing care instructions when cleaning. Blot small marks gently, reshape the leaves afterward, and allow the fruit to dry completely before storing or gifting it.
Watch the Crochet Tutorial
Use the close-ups for the raised stitch closure, the yellow finishing round, and the six green attachment points. Pause after the first textured group and the first leaf to compare your work before repeating them.
A Little Fruit with Plenty of Texture
The repeated yellow groups give this pineapple its fullness, while the graduated leaf stitches create a compact crown without separate sewn pieces.
Consistent tension and gentle stuffing help those details remain clear. Once the ends are secured and the leaves arranged, the finished pineapple makes a cheerful addition to a desk, shelf, or small handmade fruit collection.
Watch every stitch up close
Pair these written notes with the complete video tutorial.
Made with yarn, shared with love. 🧶💗