
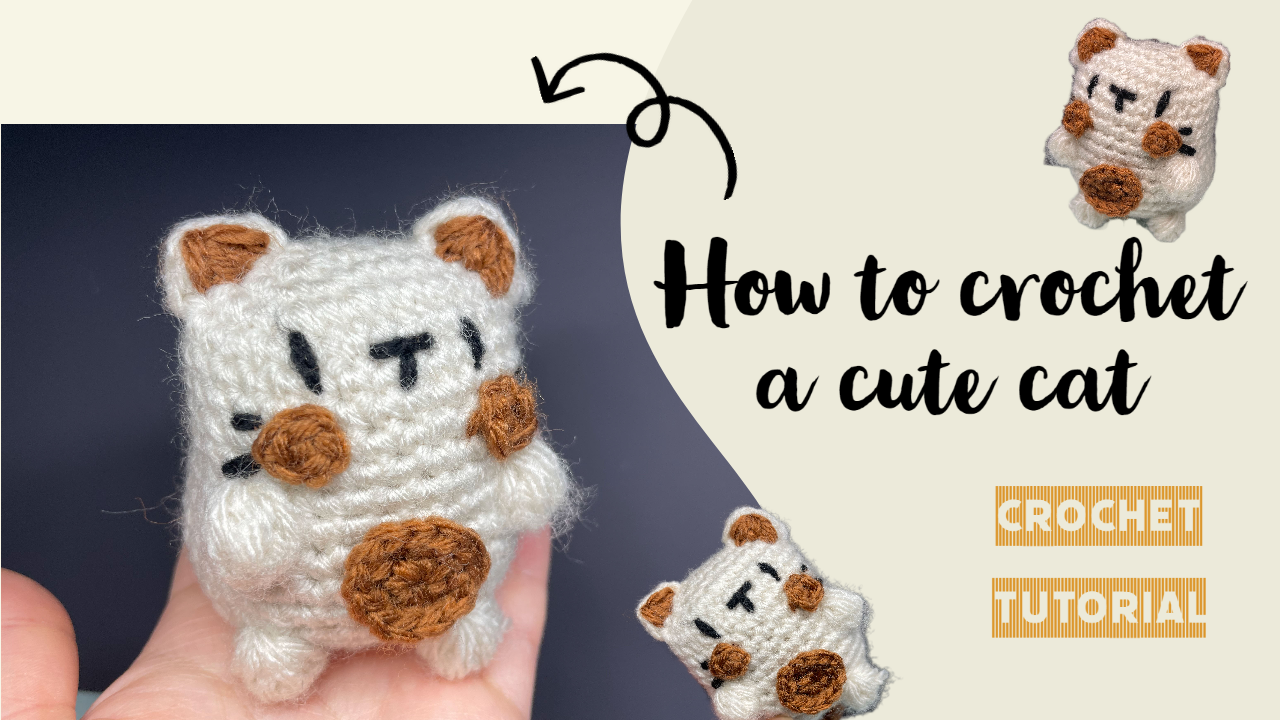
Crochet Mini Cat Amigurumi: A Little Cat with Big Personality
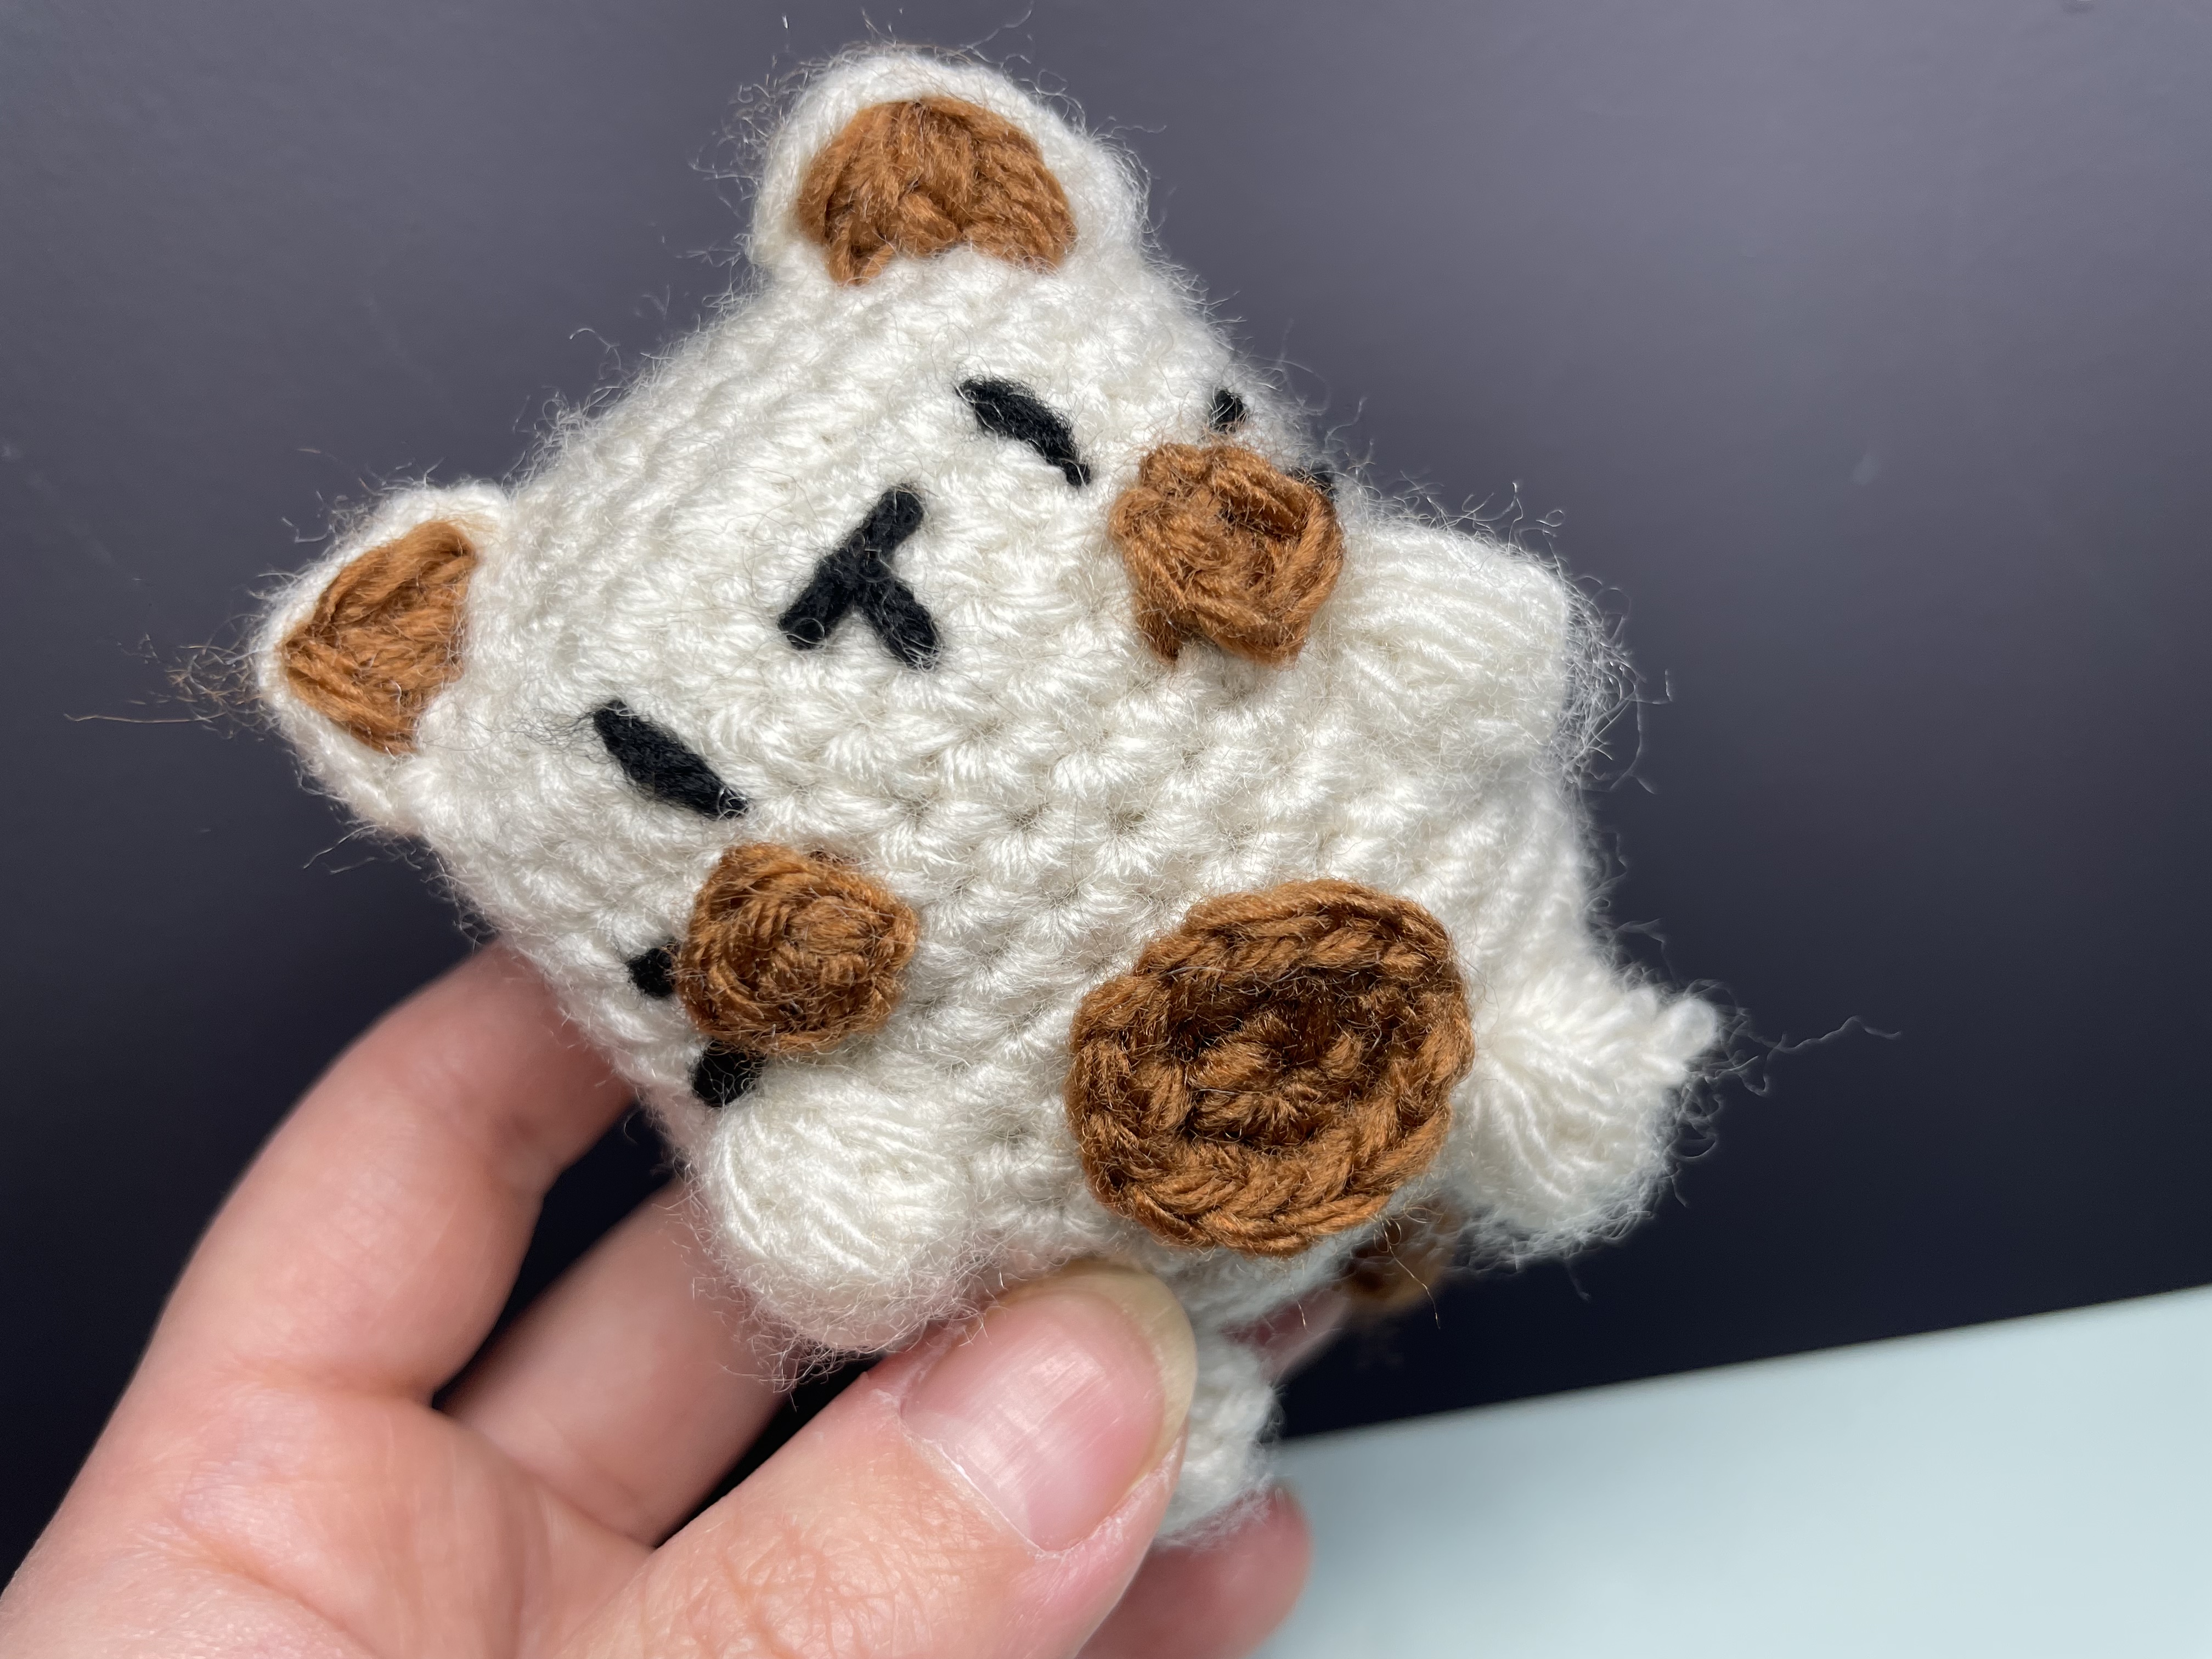
This little crochet cat gets its character from a few carefully placed details: pointed ears, round brown cheeks, a small embroidered expression, and four paws that project from its cream body. A brown belly patch and a two-color tail complete the design.
The body begins with an oval foundation and is worked in joined rounds. Its paws are formed directly in the fabric using groups of unfinished double crochet stitches, reducing the number of separate pieces to attach.
The written instructions below cover the body shaping and the small details visible in the tutorial. Two on-screen captions contain inconsistencies, which are explained where they occur. Keep the video available for the tail, surface placement of the ears, and final decoration.
Materials and Preparation
Prepare:
- Cream yarn for the body and outer ear details.
- Brown yarn for the contrasting pieces.
- Black yarn or embroidery thread for the face.
- A crochet hook suitable for your yarn.
- Toy stuffing.
- A yarn needle and scissors.
- A removable stitch marker.
- Scrap yarn or pins for planning the facial layout.
Use cream and brown yarns of similar thickness. This helps the ear details, cheeks, and tail remain in proportion to the body.
Work with enough tension to contain the stuffing while keeping the stitches comfortable to enter. No fixed yarn weight, hook size, or finished measurement is specified here.
Abbreviations
These instructions use US terminology.
Abbreviation Meaning
ch Chain
sc Single crochet
hdc Half double crochet
dc Double crochet
inc Work 2 sc into one stitch
dec Single crochet 2 stitches together
sl st Slip stitch
B Five unfinished double crochet stitches closed together
R Round
The video calls the paw stitch a “dc popcorn.” Its demonstration uses five unfinished double crochet stitches closed together. The abbreviation B below refers specifically to that demonstrated construction.
Begin each body round after Round 1 with ch 1, and finish with a slip-stitch join. Beginning chains and joining slip stitches are not included in the totals.
1. Begin the Oval Body
Using cream yarn, chain 7.
Round 1
Starting in the second chain from the hook:
- Work an inc.
- Work 4 sc along the chain.
- Work 4 sc into the final chain.
- Continue along the opposite side with 4 sc.
- Work an inc into the remaining side of the starting chain.
- Join with a slip stitch.
Total: 16 stitches.
The stitches at both ends curve around the foundation chain. Mark the first stitch so the joining slip stitch does not become an accidental extra stitch.
Round 2: Caption Correction to Check
The on-screen caption lists:
2 inc, 4 sc, 4 inc, 2 inc
As printed, that sequence does not use all 16 stitches from Round 1. It omits a straight section on the second side of the oval.
A symmetrical reconstruction is:
2 inc, 4 sc, 4 inc, 4 sc, 2 inc
This uses all 16 base stitches and produces 24 stitches, which also matches the number required by Round 3.
The second group of 4 sc is a calculated correction, not an instruction printed in the caption. Compare this section with the demonstration before continuing.
Round 3
Work:
(Sc, inc) × 2, 4 sc, (sc, inc) × 4, 4 sc, (sc, inc) × 2
Join.
Total: 32 stitches.
The straight sections remain between the curved ends. Count the completed round before building the sides.
Rounds 4–9
Work 32 sc in each round.
These six rounds establish the main body shape. Keep a record of completed rounds rather than estimating the height by eye.
2. Learn the Built-In Paw Stitch
Each paw is worked into one base stitch.
To make B:
- Yarn over, insert the hook into the indicated stitch, yarn over, and pull up a loop.
- Yarn over and draw through two loops, leaving the double crochet unfinished.
- Repeat that unfinished double crochet four more times in the same base stitch.
- Yarn over and draw through all remaining loops to close the group together.
Treat the completed group as one stitch when counting.
Keep the unfinished stitches at a similar height. After closing the group, gently encourage the raised section toward the outside of the body if it has folded inward.
3. Add the First Pair of Paws
Round 10
Work:
17 sc, inc, sc, B, 8 sc, B, sc, inc, sc
Join.
Total: 34 stitches.
The two increases add width, while the two bobbles create the first pair of projecting paws.
Count carefully around each bobble. Its individual double crochet components do not become separate stitches in the following round.
Rounds 11–14
Work 34 sc in each round.
Work one single crochet into the top of each completed bobble when you reach it. Check that both raised paws remain on the outside.
4. Add the Second Pair of Paws
Round 15
Work:
18 sc, dec, sc, B, 6 sc, B, sc, dec, 2 sc
Join.
Total: 32 stitches.
This round creates the second pair of paws and reduces the circumference by two stitches.
Before continuing, inspect the four raised groups together. Their placement should follow the round instructions; avoid moving a bobble simply because it appears slightly off-center while the piece is still unstuffed.
5. Shape the Remaining Opening
Round Instructions Total
16 (Sc, dec) × 2, 4 sc, (sc, dec) × 4, 4 sc, (sc, dec) × 2 24
17 2 dec, 4 sc, 4 dec, 4 sc, 2 dec 16
Join each round.
A later video subtitle calls the 16-stitch result “Row 16.” The displayed sequence leading to that result is labeled Round 17, so that numbering is used here.
Stuff and Close
Add stuffing in small portions, distributing it along the oval shape and into the sides. Support the body without stretching the spaces between stitches.
Check the front, back, and profile. If one side bulges, redistribute the filling before adding more.
Use the remaining yarn and a needle to close the opening as demonstrated. Secure the end without pulling the surrounding fabric into a hard knot.
6. Form the Cream Outer Ears
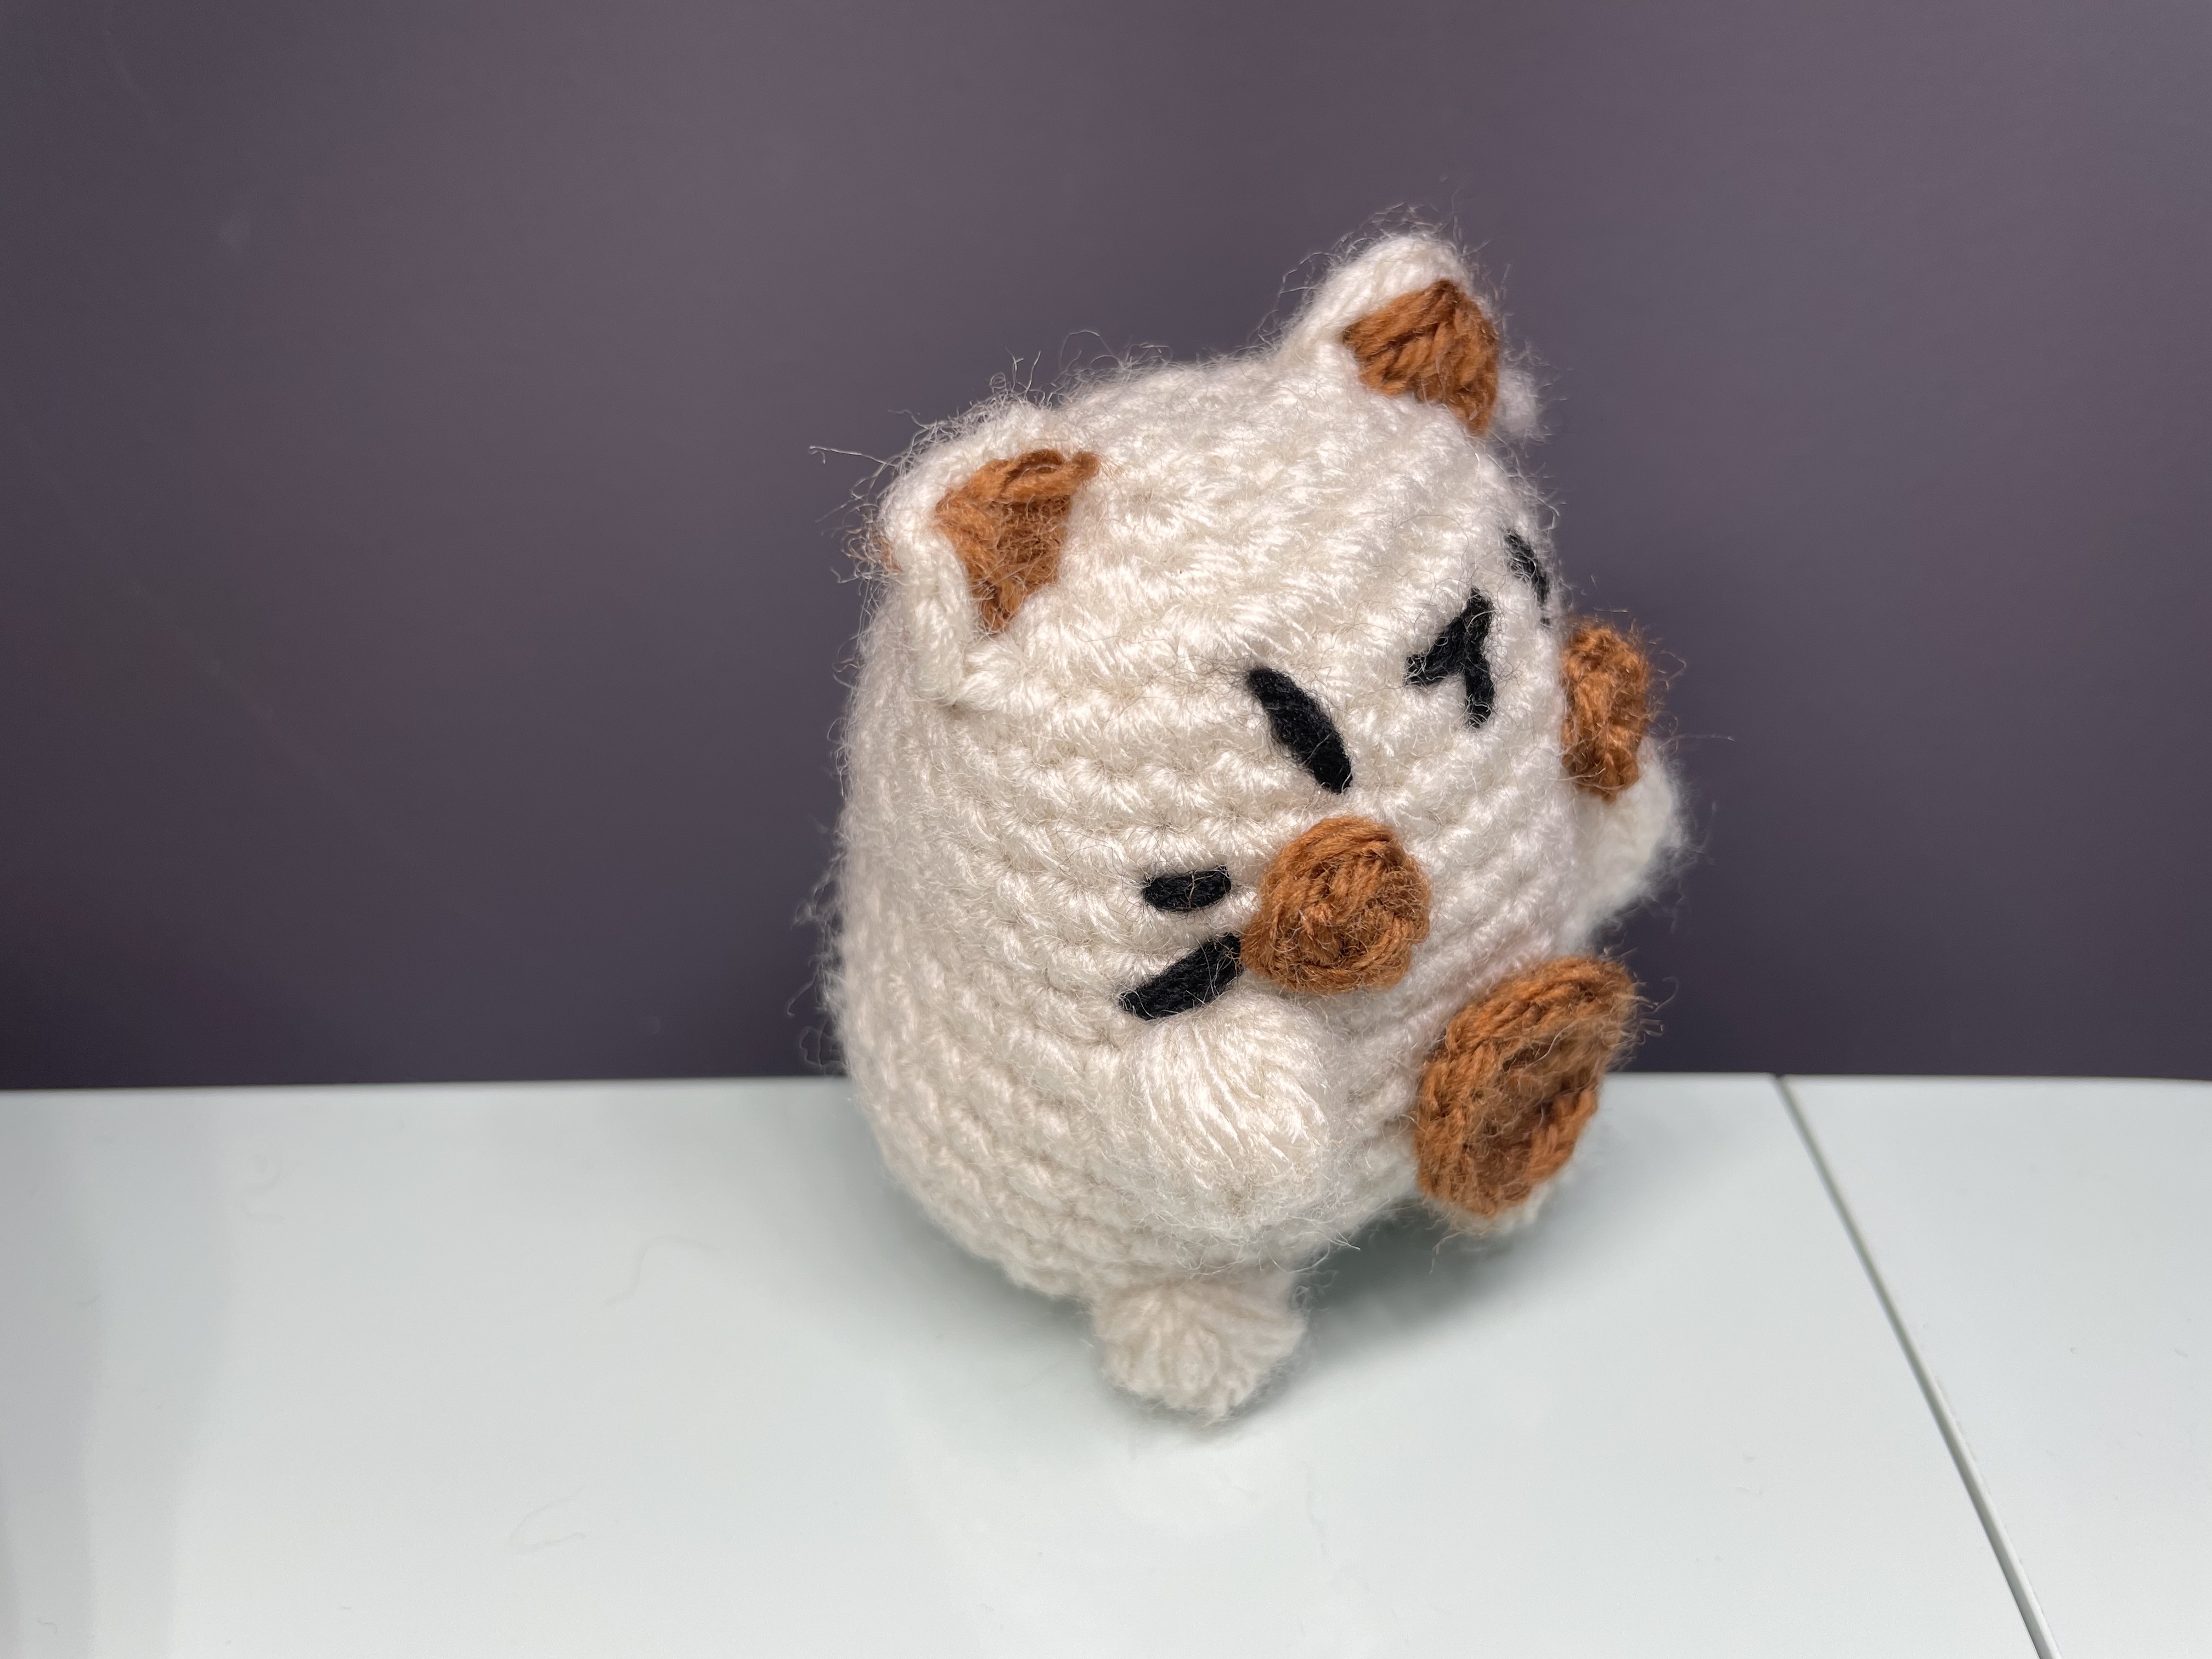
The outer ear details are worked onto the upper body surface. They are not separate stuffed cones.
The video gives this sequence:
Sc, (hdc, dc, hdc), sc
The taller stitches create the raised ear shape between the shorter stitches. Follow the close-up for the surface insertion points and the position of the grouped stitches.
Position both ears before hiding their ends. Compare their height, width, and angle from the front and from above.
Keep the cream outline visible when adding the brown inner pieces.
7. Make the Brown Details
Inner Ears — Make Two
The small brown inner-ear pieces use:
3 sc into a magic ring, then sl st to join.
Fasten off, leaving yarn for attachment. Close the center and shape each piece gently before placing it inside a cream ear.
Attach with small stitches so the brown section does not pull the cream ear inward.
Round Cheeks
The round brown detail demonstrated in the video begins with:
6 sc into a magic ring, then sl st to join.
Make matching pieces for the two cheeks, leaving attachment tails.
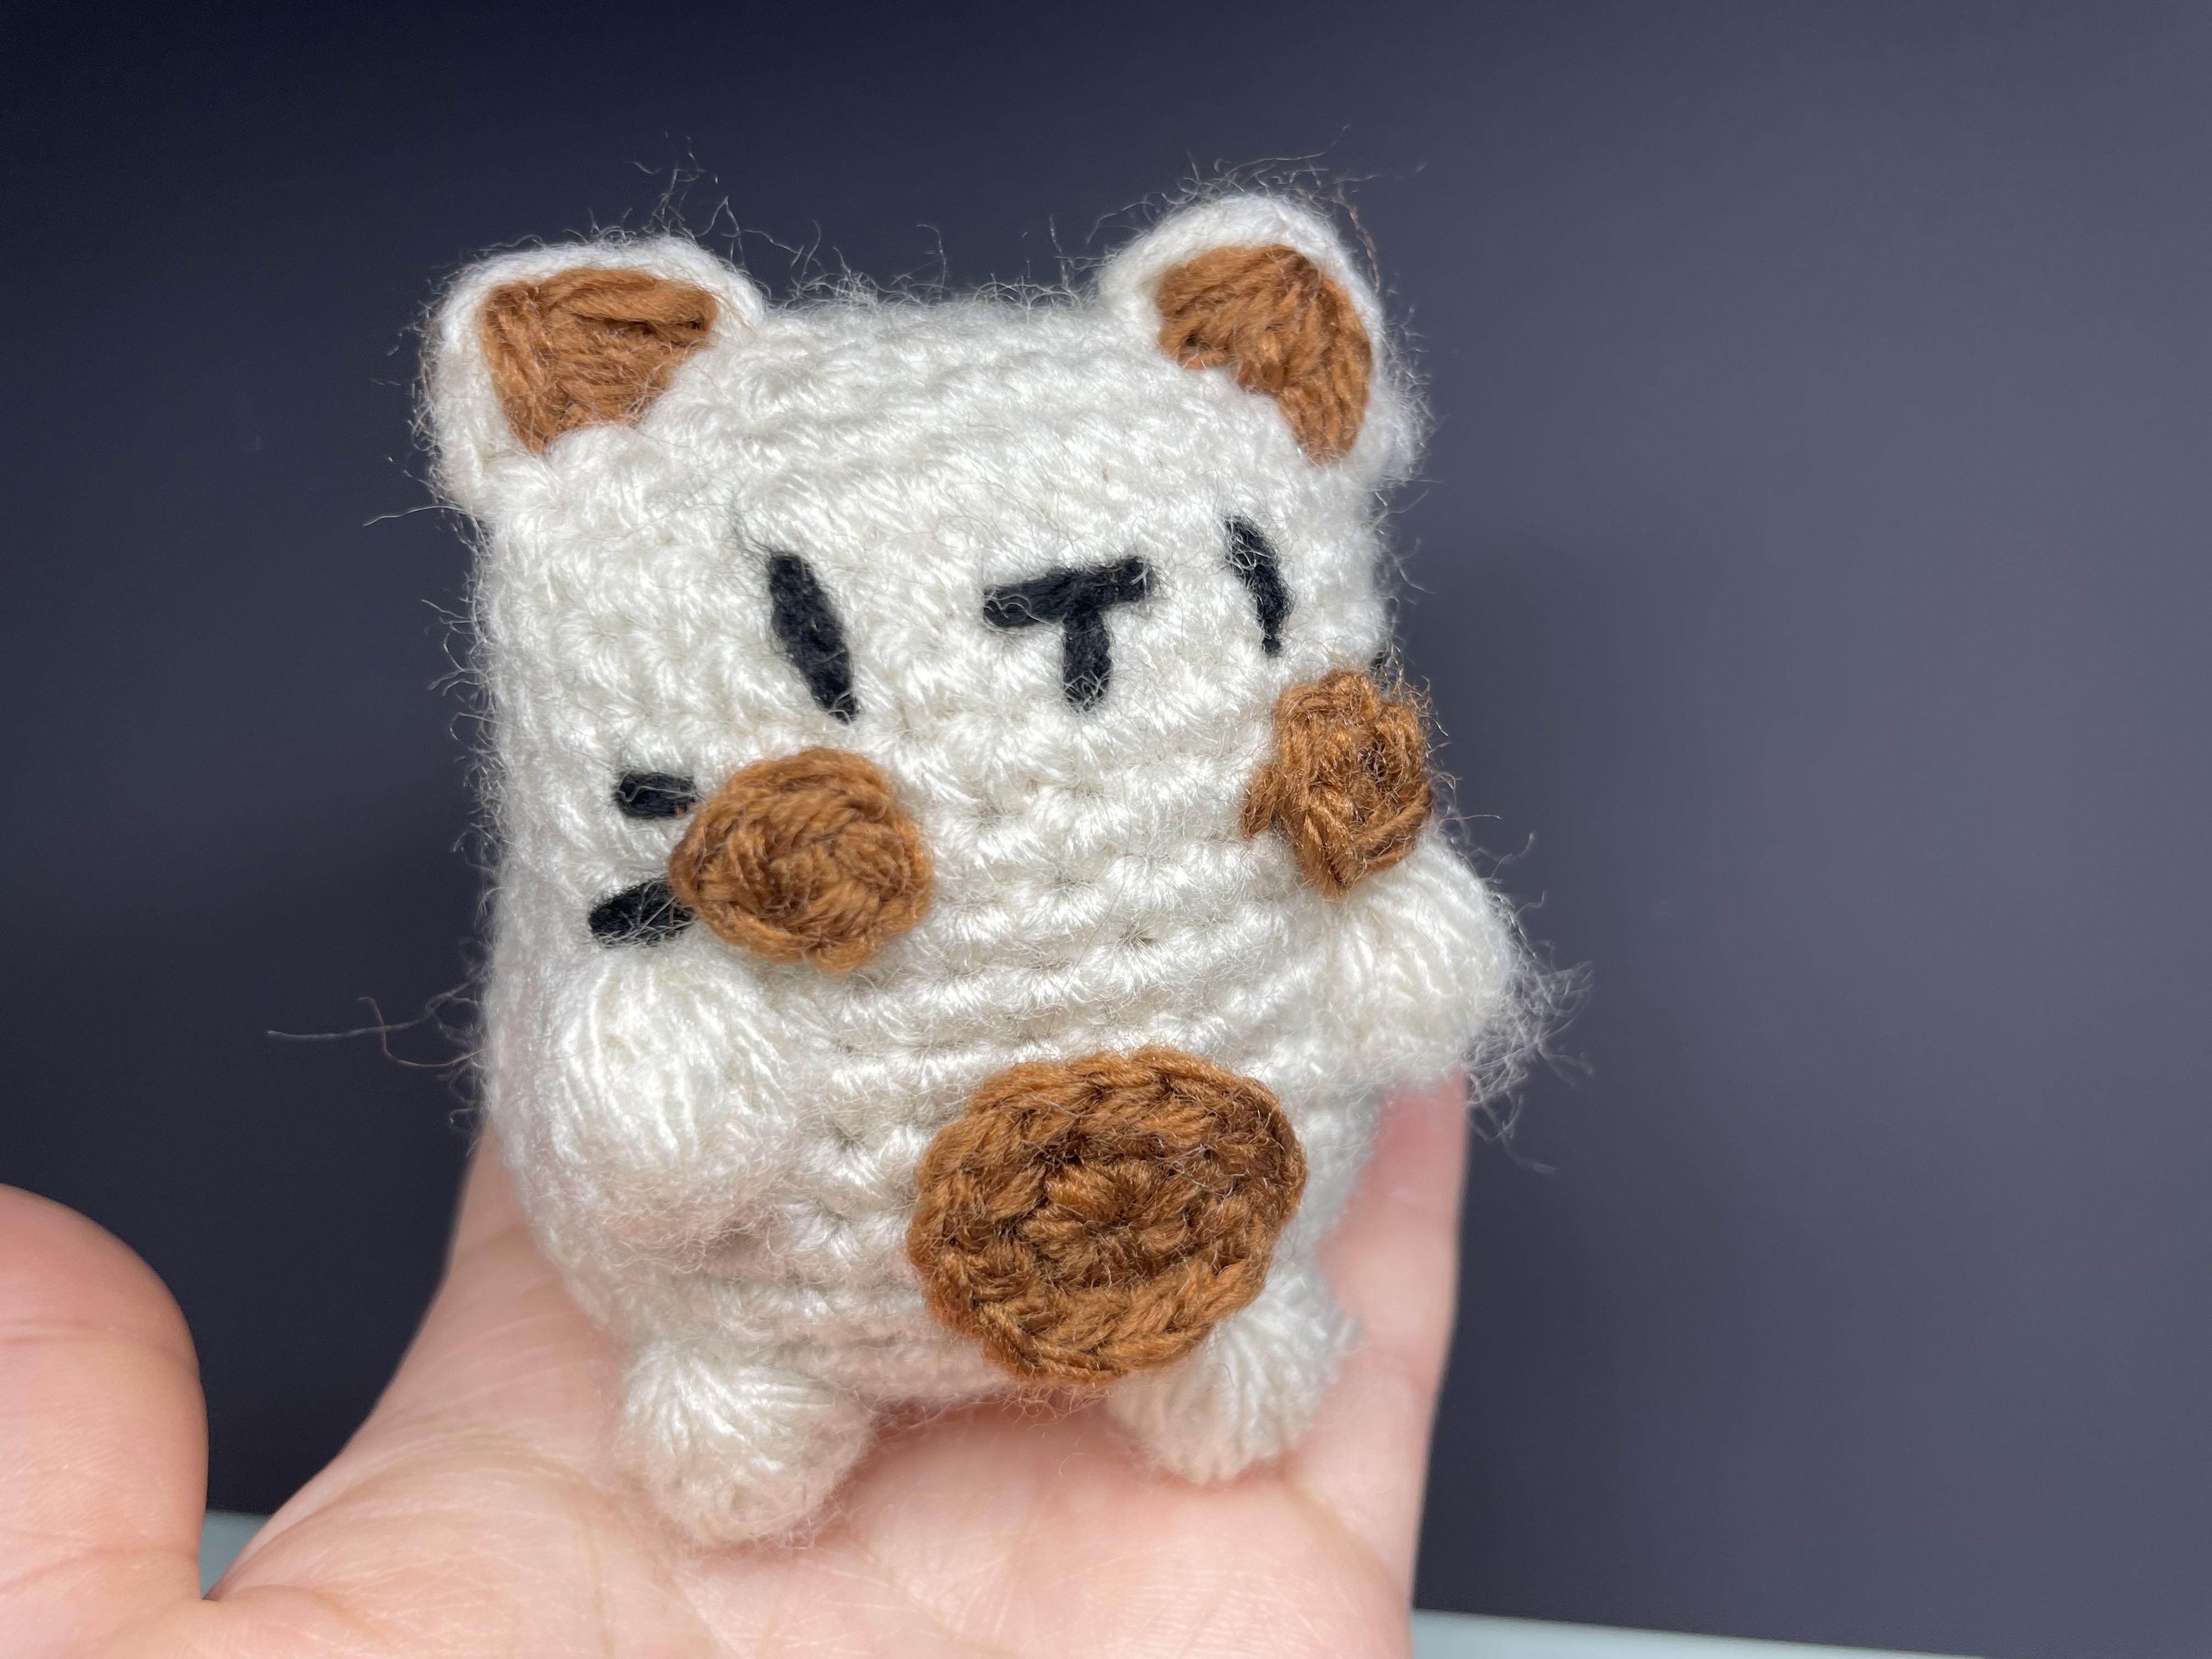
Place both cheeks temporarily before sewing either one. Compare their distance from the center of the face and leave room for the eyes, central embroidery, and whiskers.
Belly Patch
The finished cat has a larger oval brown patch on its lower front.
An exact stitch sequence for this patch is not established in the written transcription here. Use the tutorial’s visual reference for this detail rather than assuming that the small cheek-circle instructions produce the larger oval.
Center the patch beneath the facial features and sew with relaxed tension. Tight stitches around its edge can gather the cream fabric underneath.
8. Make and Attach the Tail
The tail begins in brown with:
6 sc into a magic ring, then sl st to join.
The following on-screen caption reads:
R2–8: ch 1, 6 sc inc, sl st
That caption needs clarification: repeated increases would widen the piece, while the demonstration shows a narrow tubular tail. It should therefore not be treated as a verified instruction to increase throughout Rounds 2–8.
Use the video demonstration for the continuation and the change to cream. An exact color-change round is not assigned here.
Attach the finished tail at the lower back. Check its angle with the cat upright so it sits naturally beside the body rather than twisting underneath it.
9. Plan the Face Before Embroidering
The expression comes from narrow black eyes, a compact central nose-and-mouth detail, and short whisker marks beside the cheeks.
Arrange these features together:
- Mark the face center with removable yarn.
- Mark both eyes.
- Temporarily position both brown cheeks.
- Check the space available for the central feature and whiskers.
- View the whole cat upright before stitching.
The direction of the crochet rounds can make a straight line appear tilted. Use the body’s overall shape and the two ears to judge the expression.
Keep Embroidery Tension Gentle
Use short stitches that rest against the surface.
If an eye pulls into the stuffing, ease the tension before securing the yarn. Adding more filling will not reliably remove a dent caused by tight embroidery.
Build the central black detail gradually. A few controlled stitches preserve the small expression better than a thick knot of overlapping yarn.
Add the whiskers after the cheeks are secured so their visible lengths can be balanced.
Assembly Order
A practical finishing order is:
- Shape, stuff, and close the cream body.
- Form and compare the outer ears.
- Attach the brown inner ears.
- Position the cheeks and belly patch.
- Mark and embroider the face.
- Attach the tail.
- Inspect every attachment before hiding the final ends.
Leave placement tails accessible until you are happy with the whole character. Small adjustments are much easier before the ends are buried.
Troubleshooting
What you notice What to check
Round 3 does not fit the previous round Revisit the missing straight section in the Round 2 caption.
Too many stitches follow a paw Count the completed bobble as one stitch.
A paw disappears inside the body Gently push the raised group outward before adding more stuffing.
One ear looks smaller Compare its angle and surface placement.
The cheeks look uneven Check attachment tension as well as the crochet pieces.
The belly patch puckers Ease the sewing tension and smooth the fabric underneath.
The tail widens unexpectedly Revisit the inconsistent “inc” caption before continuing.
The face looks dented Loosen the embroidery rather than packing in more filling.
Finishing and Care
Inspect the ear details, cheeks, belly patch, tail base, and closing stitches. Secure loose ends and remove all pins, markers, and temporary placement yarn.
Test how the cat rests on the surface where you intend to display it. The body shape and stuffing affect its balance, so do not assume that every version will stand independently.
Follow the yarn and stuffing care instructions when cleaning. Blot small marks gently, reshape the ears and paws afterward, and allow the piece to dry completely.
Watch the Crochet Tutorial
Use the video alongside the body instructions, especially for the oval foundation, five-double-crochet paw groups, surface-worked ears, tail, and final decoration. Review the caption notes above before following the affected sections.
A Tiny Cat with Its Own Expression
The built-in paws give this cat a lively outline, while the brown details make its face easy to recognize. Careful placement brings those elements together.
Take time over the eyes, cheeks, and ear angles before securing the last ends. Those small decisions give the finished cat its individual personality.
Watch every stitch up close
Pair these written notes with the complete video tutorial.
Made with yarn, shared with love. 🧶💗