
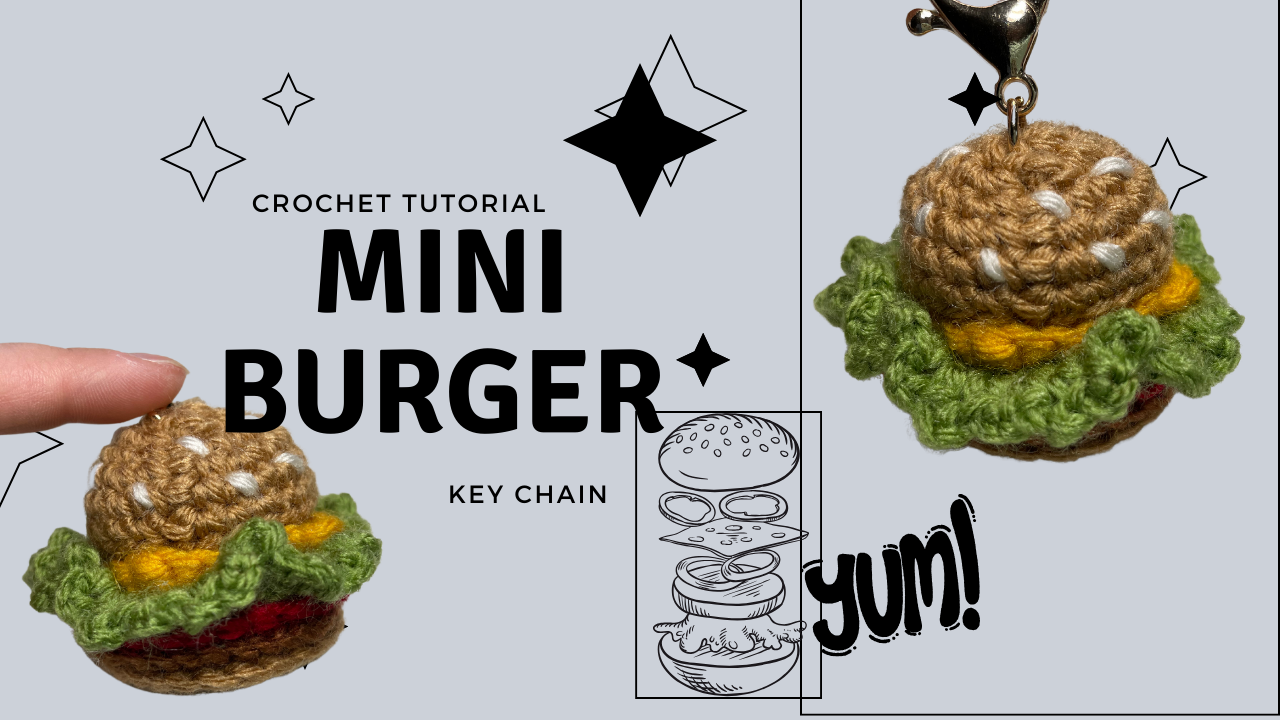
Crochet Mini Burger Keychain: Small Layers with Plenty of Character
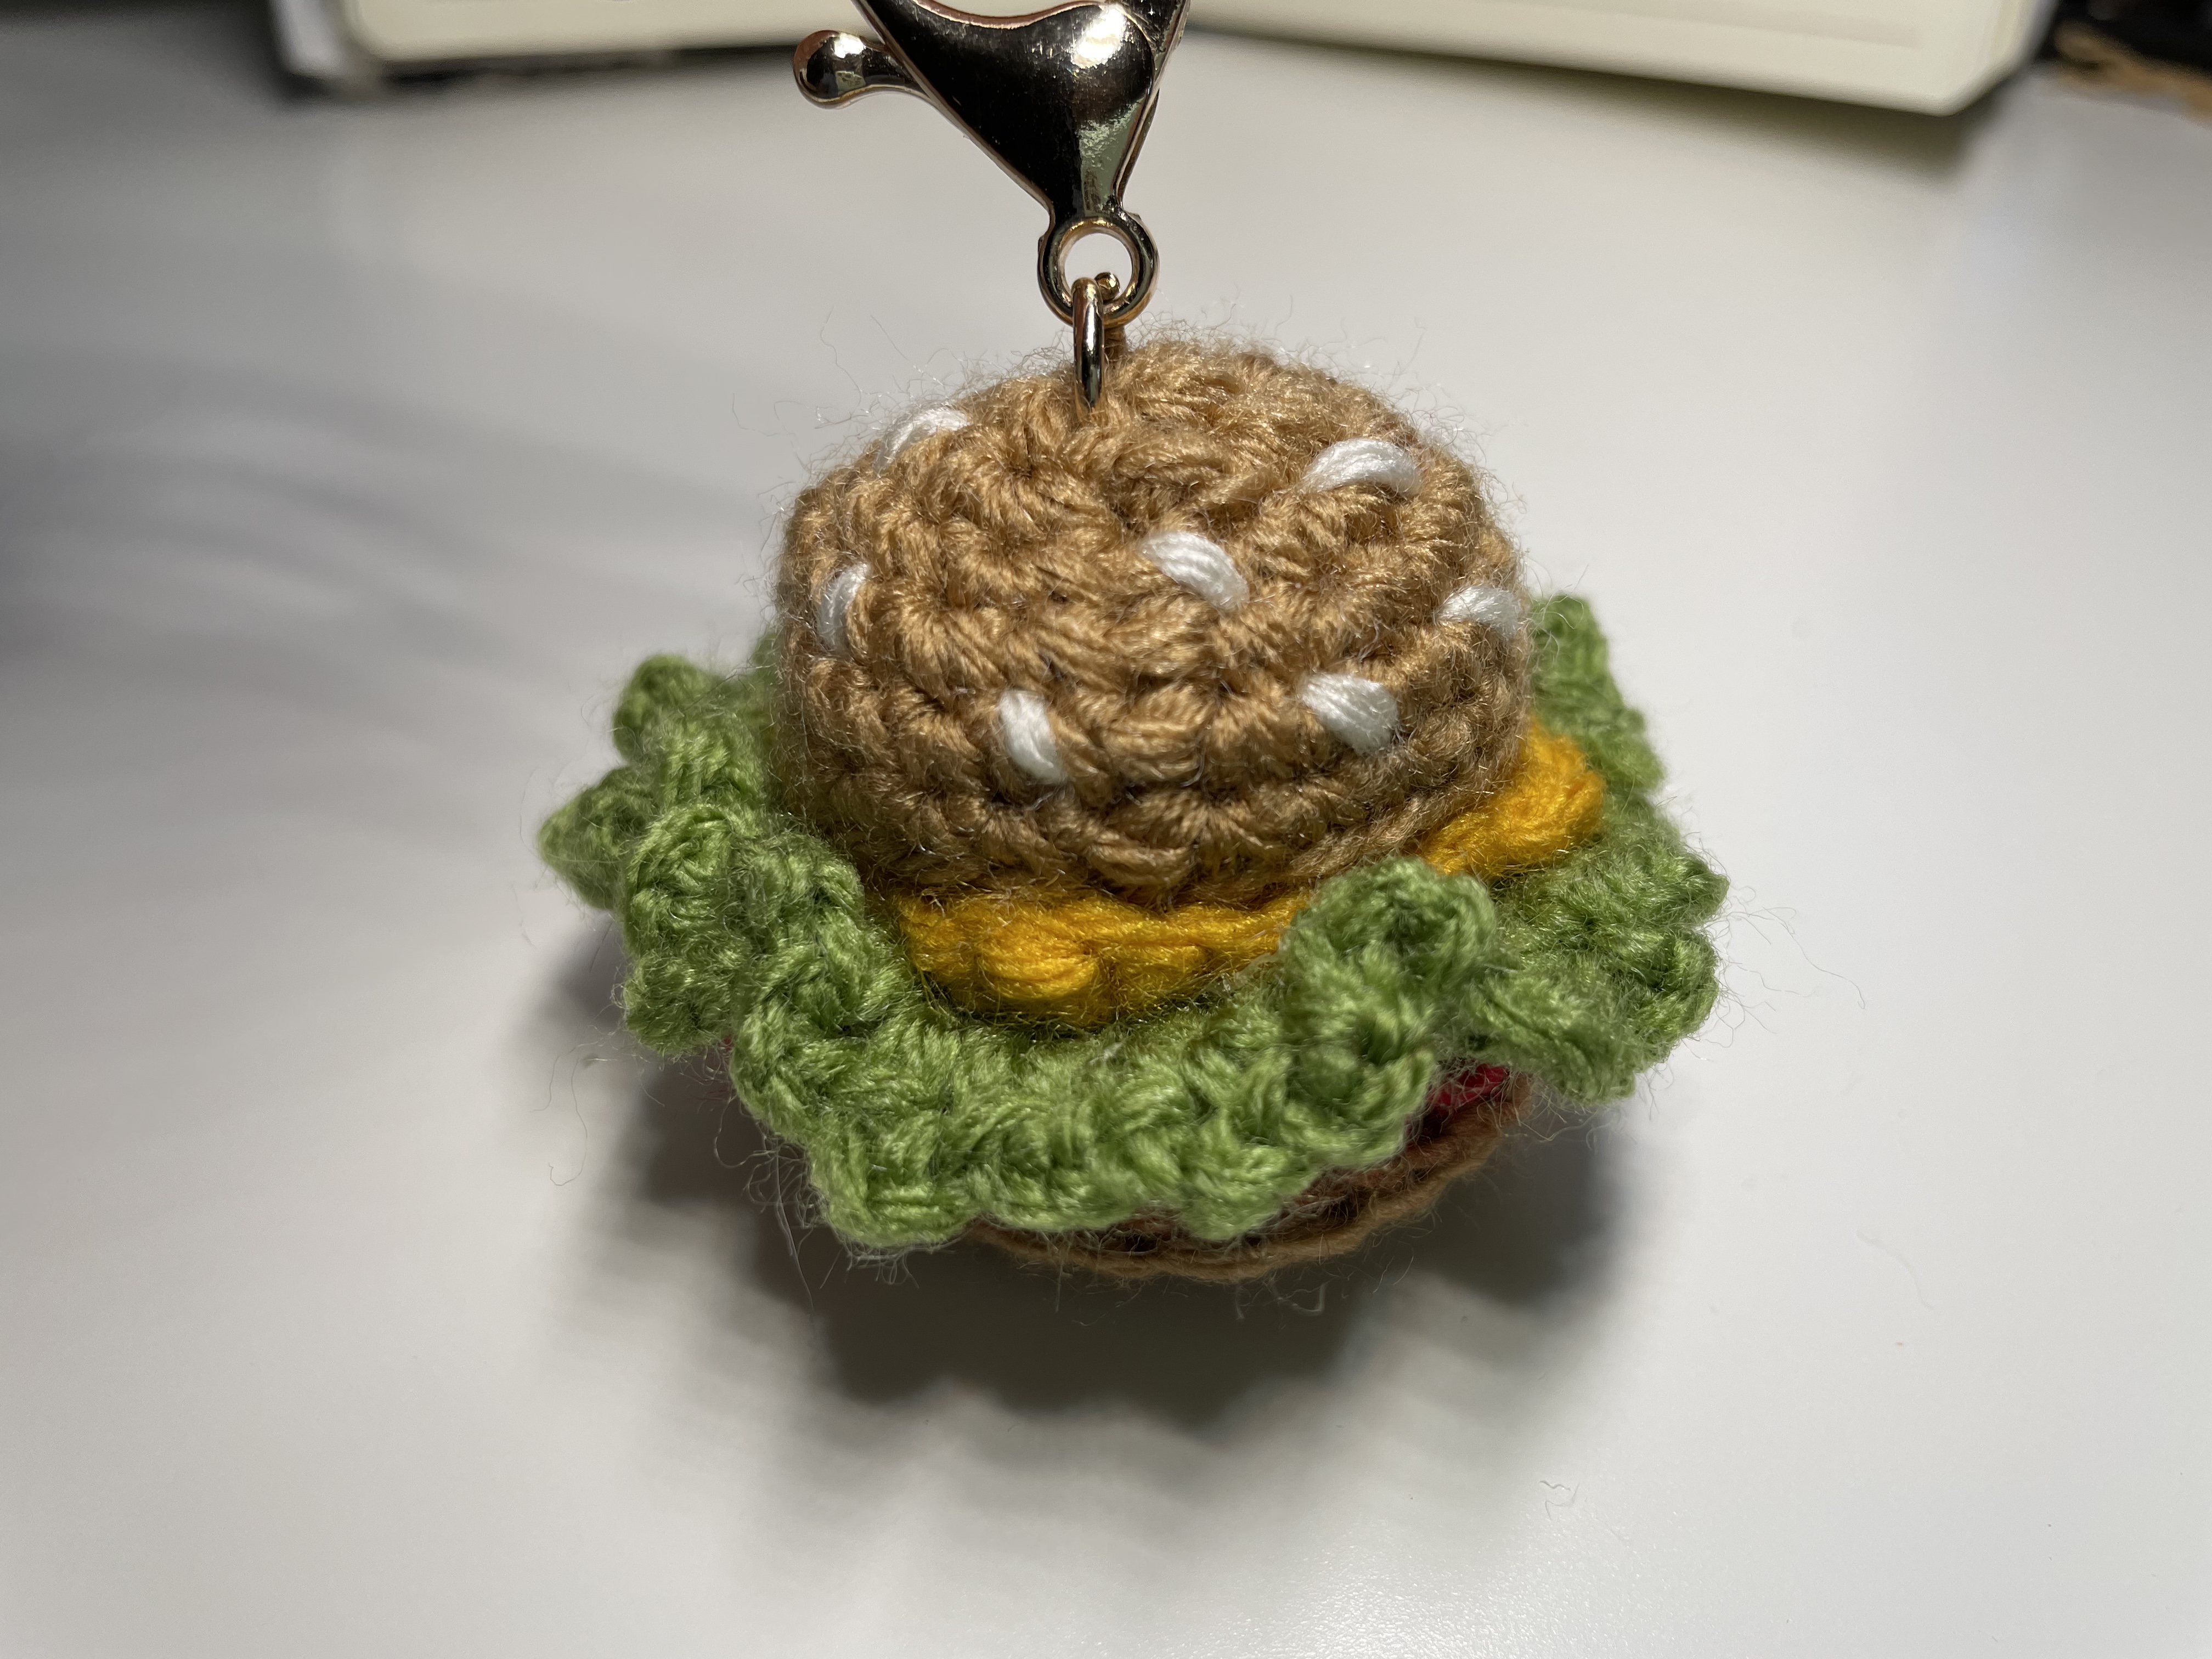
A few colored edges are enough to make this little burger recognizable. The golden bun has short white sesame stitches, the cheese brings a bright yellow corner, and the green lettuce extends beyond the stack. Together they create a compact food charm with a surprisingly varied set of crochet techniques.
Work each ingredient separately before assembling the burger. That lets you check the circles against one another, rotate the cheese to show its corners, and arrange the lettuce folds without fighting an already attached top bun. The video finishes the stack using a glue gun; the keychain hardware also needs a secure connection appropriate to the crochet fabric.
What to prepare
Gather golden-brown yarn for the buns, darker brown for the patty, yellow for cheese, red for tomato, green for lettuce, and a small length of white for sesame decoration. You will also need a compatible hook, scissors, a yarn needle, a stitch marker, and the clasp or key ring you intend to attach. Prepare filling for the rounded bun as required by your chosen finish.
Use yarns of similar thickness. The small ingredients share a common scale, and one much heavier yarn can make a filling dominate the burger. No fixed hook size, gauge, or finished dimensions are established in this guide, so compare the actual components as you work.
For the demonstrated assembly, have a suitable glue gun and a protected work surface ready. Dry-stack all the pieces first; the short assembly section is not a substitute for planning the layer positions.
Abbreviations and counting
These notes use US crochet terms. `Ch` means chain, `sc` single crochet, `hdc` half double crochet, `sl st` slip stitch, `inc` two stitches in one base stitch, `dec` one single-crochet decrease over two base stitches, and `BLO` back loop only. The video uses `SS` for the joining slip stitch.
The round joins do not add to the working count. Mark the first working stitch, as demonstrated, so it remains easy to find when joining. Move the marker to the new round rather than leaving it several rows below the working edge.
- Crochet the top bun
Begin in golden brown with a magic ring.
| Round | Captioned instruction | Count from the instruction | | --- | --- | ---: | | 1 | 6 sc; join. | 6 | | 2 | Inc in all 6 stitches; join. | 12 | | 3 | (Sc, inc) 6 times; join. | 18 | | 4 | (Sc, inc, sc) 6 times; join. | 24 | | 5–6 | Sc around; join each round. | 24 per round | | 7 | Work the round in BLO; join. | 24 if worked once in each stitch | | 8 | (2 sc, dec) 6 times; join. | 18 | | 9 | The caption reads “sc dec × 6”; join. | See count note below. |
The straight rounds add depth after the increasing circle. The back-loop round defines the turn toward the inside of the bun. Keep its stitches relaxed enough that you can work the following decreases without splitting the yarn.
Bun count note: Round 8 as written ends with 18 stitches. Six ordinary decreases alone would use only 12 of those stitches. The Round 9 caption therefore does not fully explain a complete pass around the 18-stitch opening. This guide preserves the displayed text instead of silently adding a missing single crochet or declaring a corrected count. Compare the close-up at that stage and resolve the remaining stitch placement before treating the bun as a fully verified standalone pattern.
Shape the bun gently and leave the interior accessible for the sesame tails and hanging attachment. Do not use hard packing to compensate for a missed increase or an uneven decrease section.
2. Sew the sesame details
Use white yarn to add short stitches across the outer surface of the top bun. The video shows these details being sewn with a yarn needle rather than crocheted as separate pieces.
Spread the stitches across the visible dome, allowing the brown fabric to remain between them. Keep each stitch short and avoid pulling it so tightly that it makes a dent. Secure the tails on the inside before that surface becomes hidden by the assembled ingredients.
Check the intended clasp position while placing the sesame stitches. A decorative strand should not become the only strand supporting the keychain.
3. Make the yellow cheese square
The cheese is worked back and forth in rows rather than built from an increasing circle.
- Chain 6.
- Row 1: Skip the first chain and work 5 sc across. Ch 1 and turn.
- Rows 2–5: Work 5 sc across each row, using the demonstrated turning chain between rows.
- Finish and secure the end.
You should have five working stitches in every row and five rows in total. Keep the first and last stitches visible; adding a stitch into the turning chain will gradually widen such a small square.
Place the cheese on the bun at an angle so its corners remain visible. There is no need to stretch it into a larger sheet.
4. Crochet the tomato and patty circles
The red tomato and darker brown patty use the small increasing-circle structure shown in the tutorial. Work the following four-round sequence in each color:
| Round | Instructions | Stitches | | --- | --- | ---: | | 1 | 6 sc in a magic ring; join. | 6 | | 2 | Inc 6 times; join. | 12 | | 3 | (Sc, inc) 6 times; join. | 18 | | 4 | (Sc, inc, sc) 6 times; join. | 24 |
These flat ingredients stop at the circle stage. Compare their diameter with the bun before attaching them. If one is much smaller despite the same stitch count, check the yarn thickness and tension rather than adding an unplanned round.
5. Add the green lettuce
The lettuce begins with taller stitches and a different starting count:
- Round 1: Work 15 hdc into a magic ring, tighten the center, and join.
- Round 2: The caption gives `ch 2, hdc inc, sl st`. Follow the demonstrated increase around the first round, working two hdc into each base stitch and joining at the end. Across 15 base stitches, that gives 30 hdc, excluding the lifting chain.
Let the green piece take its natural waved shape. The completed lettuce is shown with a broad, uneven edge rather than a tight, flat disk. Do not pull it flat when positioning it between the other ingredients.
6. Make the lower bun
The tutorial returns to golden brown for the lower bun and repeats the small increasing circle: 6 sc, then six increases, then `(sc, inc) × 6`, and finally `(sc, inc, sc) × 6`. Join the rounds as demonstrated, reaching 24 stitches at Round 4.
Keep this lower piece flatter than the upper dome. Check the finished stack from the side so the fillings remain the visual center rather than being swallowed by two large bun halves.
7. Arrange and attach the layers
Place the lower bun on the table and arrange the ingredients above it. Use the finished video view as your reference for which edges show: brown patty, red tomato, folded green lettuce, yellow cheese, and the sesame bun on top.
Rotate the yellow square before attaching it so at least one corner remains visible. Spread the lettuce folds around the edge rather than letting all the fullness collect on one side. Lift the stack and inspect it from several angles before committing to the attachment positions.
The final demonstration uses a glue gun. Apply the attachment in controlled areas that hold the stack together without covering every decorative edge. Avoid leaving thick glue ridges or exposed hardened strings. Let the adhesive set according to its instructions before testing the charm.
For the hanging hardware, make a secure connection through structurally sound crochet near the top, following the fitting method suitable for your clasp. A ring caught through one loose surface loop can stretch the bun. Check that the connector closes completely and that the finished burger hangs in the intended orientation.
Troubleshooting small components
The cheese becomes a triangle. Count five working stitches after every row. Look for a missed last stitch or an accidental stitch into the turning chain.
The red and brown circles cup. Check that each increasing round has six increases and that joining stitches were not counted as working stitches.
The lettuce disappears inside the burger. Check its position before enlarging it. Moving or folding the green edge outward may reveal it without changing the pattern.
The top bun hangs sideways. Check the hardware's position with the complete stack suspended. A connection that looks centered from above may sit off-center once the heavier fillings are attached.
A layer lifts at the edge. Inspect the actual attachment area. The visible corners and lettuce frills can remain flexible, but the central portions should hold together under gentle handling.
Watch the mini burger tutorial
Use the original close-ups for the bun's back-loop turn, the ambiguous final decrease caption, and the final glue assembly. This written version distinguishes the clear component counts from that unresolved bun instruction.
Finish with a clear silhouette
The appeal of this charm comes from the small details working together: sesame on the dome, a yellow corner, a red edge, and green folds. Keep those details visible while securing the center of the stack and the clasp. The result is a compact crochet burger whose ingredients remain easy to recognize when it hangs from a bag or key ring.
Watch every stitch up close
Pair these written notes with the complete video tutorial.
Made with yarn, shared with love. 🧶💗