
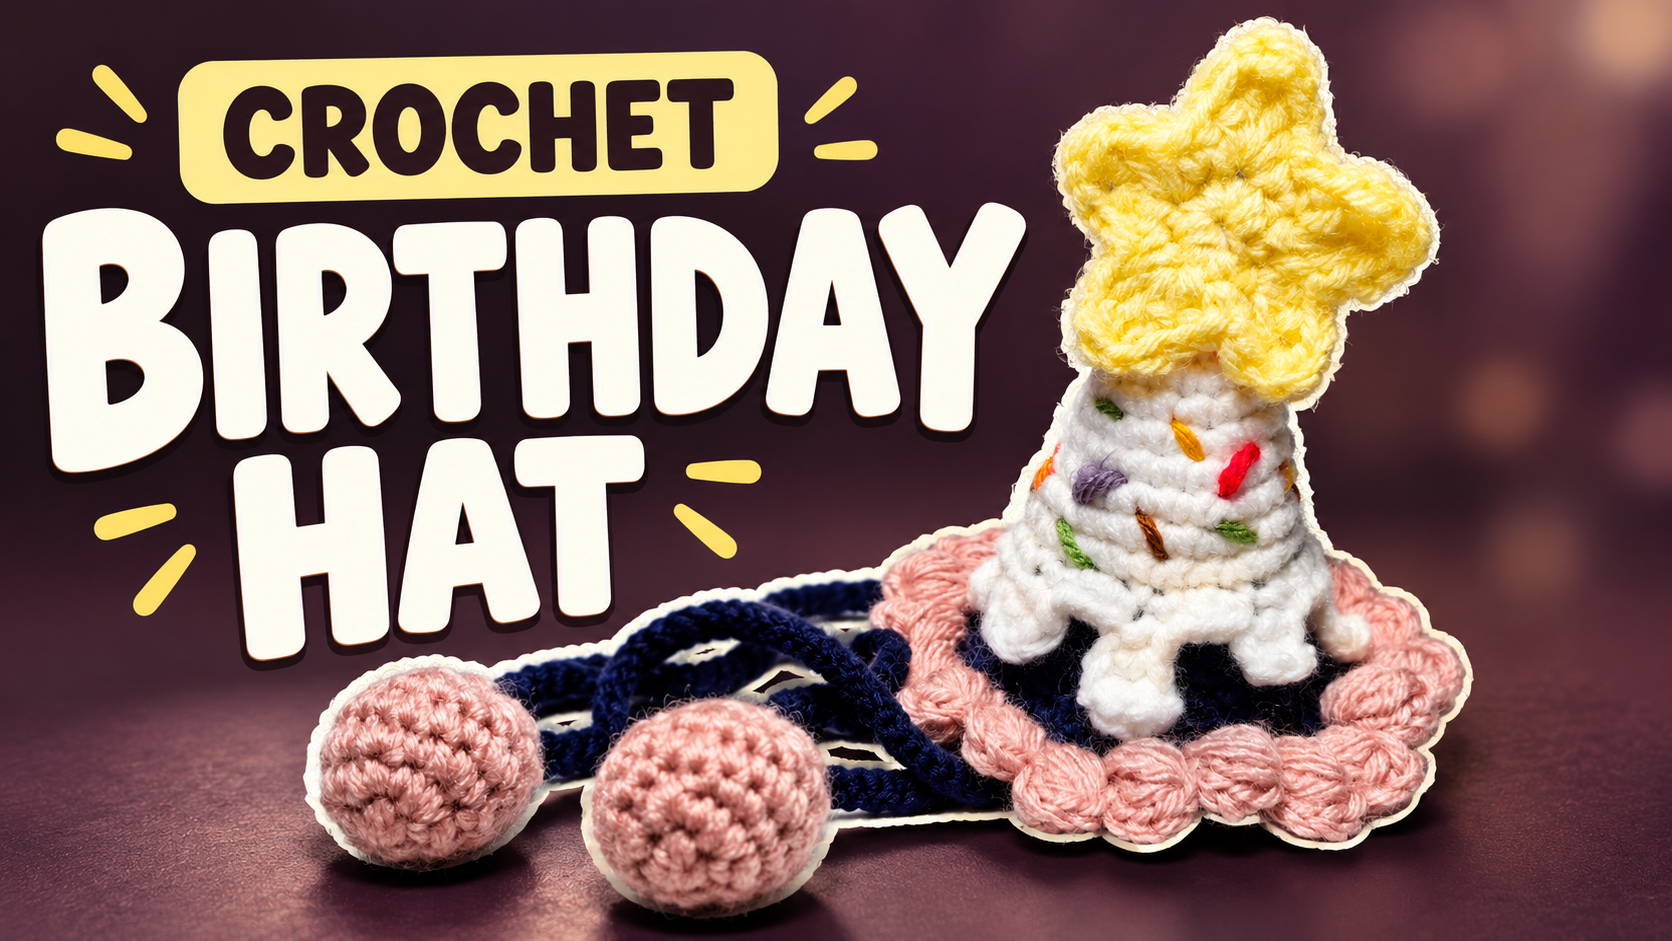
Crochet Mini Birthday Hat with a Star and Ice Cream Details
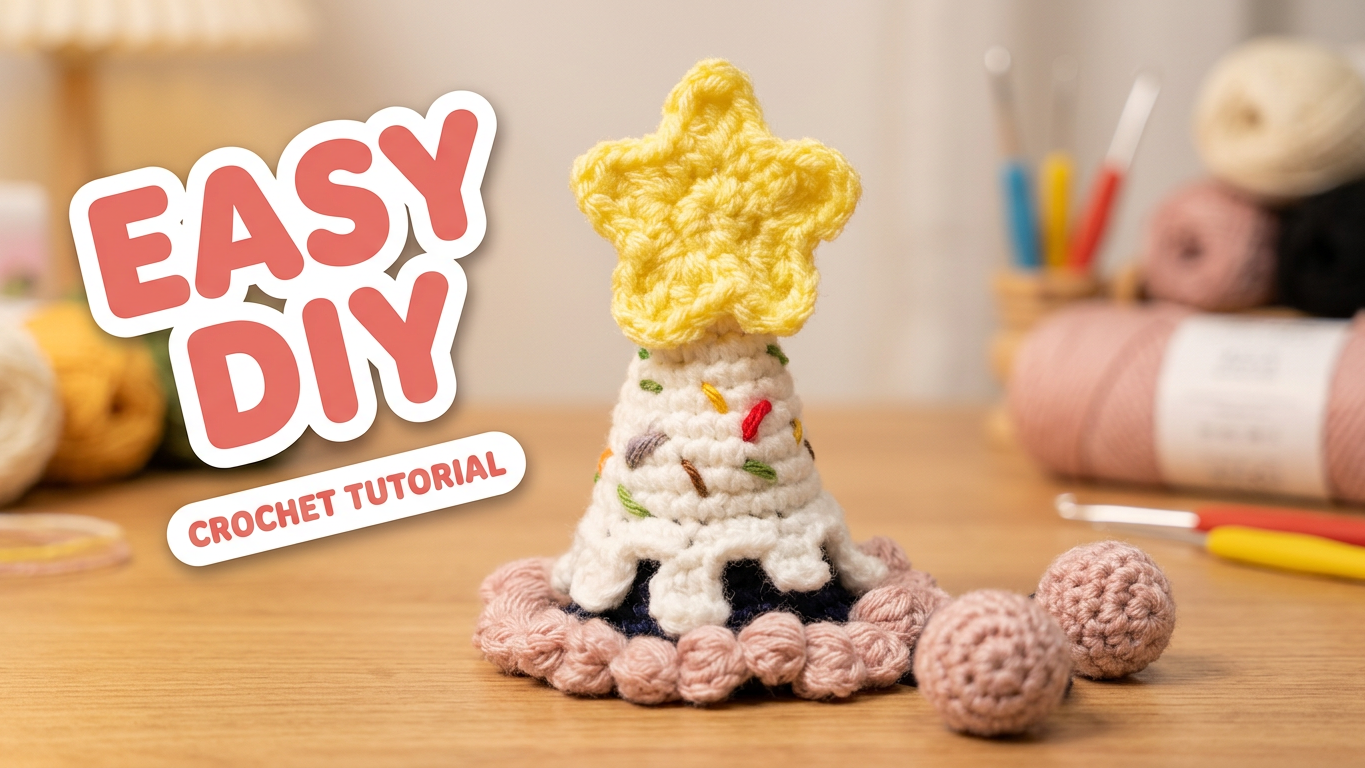
This little party hat borrows its shape from a birthday cone and its decoration from an ice cream sundae. A cream tip flows into uneven drips over a navy lower section. Pink raised stitches frame the bottom, and a yellow star finishes the top. A few embroidered sprinkles make the pale surface look especially playful.
The project combines several small techniques rather than one complicated stitch: gradual increases, front-loop decoration, back-loop continuation, raised clusters, a five-point star, and tiny stuffed balls. Separating those parts makes the construction easier to follow and gives you natural stopping points.
The tables below follow the text displayed in the tutorial. Calculated counts are included where the formulas support them. One caption-number jump is preserved and explained instead of being filled with invented rounds.
Supplies and Planning
Prepare cream yarn for the upper cone and drips, navy or another dark color for the lower cone and ties, pink for the brim and tie-end balls, yellow for the star, and short contrasting lengths for embroidered sprinkles. You will also need a suitable hook, stuffing for the small balls, a yarn needle, scissors, and stitch markers.
The verified instructions do not establish a hook size, yarn quantity, finished measurement, or gauge. Choose compatible yarn thicknesses and make the star in a yarn that will not overwhelm the small cone.
Decide whether the finished piece will sit on a doll, be displayed on a party table, or serve as a decorative headpiece. Its small base is not intended to fit like a full beanie. Check its actual dimensions before making permanent ties.
US Stitch Key
| Term | Meaning | | --- | --- | | MR | Magic ring | | ch | Chain | | sc | Single crochet | | hdc | Half double crochet | | dc | Double crochet | | tr | Treble crochet | | inc | Two single crochets in one stitch, unless otherwise stated | | dec | Single crochet decrease across two stitches | | ss | Slip stitch | | FLO / BLO | Front loop only / back loop only | | sk | Skip |
Join the rounds with a slip stitch where the captions specify ss. Keep the joining stitch separate from the actual round count. For instructions such as “5 sc,” work into five successive stitches; an increase puts two stitches into one base stitch.
- Crochet the Cream Upper Cone
Begin with six single crochets in a magic ring and join. Continue with the displayed shaping sequence.
| Round | Instruction, followed by ss | Calculated stitches | | --- | --- | --- | | 1 | 6 sc in MR | 6 | | 2 | Sc, inc, 2 sc, inc, sc | 8 | | 3 | 3 sc, inc, 3 sc, inc | 10 | | 4 | 2 sc, inc, 4 sc, inc, 2 sc | 12 | | 5 | 5 sc, inc, 5 sc, inc | 14 | | 6 | 3 sc, inc, 6 sc, inc, 3 sc | 16 | | 7 | 7 sc, inc, 7 sc, inc | 18 | | 8 | 4 sc, inc, 8 sc, inc, 4 sc | 20 | | 9 | 9 sc, inc, 9 sc, inc | 22 | | 10 | 5 sc, inc, 10 sc, inc, 5 sc | 24 | | 11 | 24 sc | 24 |
The increases shift position between rounds. Follow their placement instead of putting both increases directly above the previous pair every time.
Count at the end of each round. The first ten rounds increase by two stitches per round after the initial six. Round 11 keeps the count at 24. If your result differs, correct it before adding the drip edge; the next stages use those same loops.
2. Work the Cream Drips in Front Loops
The video labels the decorative edge R12 (FLO) and displays this alternating sequence:
([4 ch, sk 2, dc, hdc], sc, hdc, sc), ([6 ch, sk 2, 2 dc, hdc, dc], sc, hdc, sc), repeat.
The opening close-up explains that the “skip two” is worked backward along the newly made chain. These are return-chain steps that form the projecting drips; they are not instructions to skip two stitches around the cone.
For the shorter projection, make four chains, return past the first two chains, and work the dc and hdc as shown. Then continue the sc, hdc, sc sequence along the cone edge. Alternate it with the longer six-chain projection and its displayed return stitches.
Keep the rounded projections on the outside. The remaining back loops will support the navy section, so do not work through both loops during this cream decoration.
3. Continue the Navy Cone Behind the Drips
Attach the dark yarn to the retained back loops. The source also labels this continuation R12; it is worked behind the decorative front-loop edge rather than into the tips of the cream drips.
| Source round | Instruction, followed by ss | Calculated stitches | | --- | --- | --- | | 12, BLO | 7 sc, inc, 11 sc, inc, 4 sc | 26 | | 13 | 26 sc | 26 | | 14 | 12 sc, inc, 12 sc, inc | 28 | | 15 | 28 sc | 28 | | 16 | 3 sc, inc, 13 sc, inc, 10 sc | 30 | | 17 | 11 sc, inc, 14 sc, inc, 3 sc | 32 | | 18 | 7 sc, inc, 4 sc, inc, 10 sc, inc, 4 sc, inc, 3 sc | 36 | | 19 | 36 sc | 36 |
Round 18 contains four increases. Its ordinary sc groups total 28 stitches; the four increases consume the other four base stitches and produce eight stitches. The result is 36.
Caption numbering note: the verified dark-cone caption reads R19: 36 sc, ss; the later pink edging is labeled R22. A separate formula for R20 and R21 was not established from the displayed text. Do not assume that two extra plain rounds are required solely because the next caption says R22. Compare the transition in the video before starting the pink edging.
The cream drips should remain free in front of the navy fabric. Check their position before weaving in the cream end.
4. Add the Pink Raised Brim
The pink caption reads “R22: (puff rep (5 unfinished dc), ss) rep.” Although it uses the word puff, it explicitly identifies the stitch as five unfinished double crochets.
Make the raised group by working five partial double crochets into the demonstrated insertion point, leaving the final loop of each on the hook. Yarn over and draw through the retained loops to close the group. Complete the slip-stitch connection shown, then continue around the brim.
Use the video for the exact placement and spacing of each raised group; the compact caption does not print a separate base-stitch distribution. Keep the loops similar in height so the border has consistent fullness.
The pink texture should frame the lower cone. If the navy edge is pulled inward sharply, inspect the slip-stitch tension rather than forcing the hat into shape.
5. Crochet the Yellow Star
The star has a clear two-round sequence.
| Round | Instruction | | --- | --- | | 1 | 10 sc in MR, ss | | 2 | Repeat five times: sc in the next stitch; in the following stitch work (hdc, dc, ch 1, tr, ch 1, dc, hdc) |
Each repeat uses two stitches of the ten-stitch center. The taller group forms one point, while the single crochet creates the valley between points.
The subtitle confirms that all the stitches within the bracketed point are worked into the same stitch. Do not distribute them across seven separate base stitches.
Arrange the five points gently and leave a tail for sewing. Position the star with one point upward and secure its base to the cone tip without pulling the tip sideways.
6. Make Two Pink Tie-End Balls
The balls use the following displayed rounds. Join each with ss.
| Round | Instruction | Stitches | | --- | --- | --- | | 1 | 6 sc in MR | 6 | | 2 | 6 increases | 12 | | 3 | (Sc, inc) × 6 | 18 | | 4 | 18 sc | 18 | | 5 | (Sc, dec) × 6 | 12 | | 6 | 6 decreases | 6 |
Use a small amount of stuffing while the opening is accessible. Shape the ball without stretching the stitches, close the remaining opening, and secure the end. Make a matching second ball.
The video later demonstrates connecting the tie to the hat with a single crochet. Follow that attachment and the shown tie construction. A verified numeric chain length for the ties is not supplied here, so choose the length for your intended doll or display rather than treating an invented number as part of the original pattern.
Attach the balls firmly to the tie ends. Compare both sides before concealing the last tails.
7. Add Sprinkles and Finish the Assembly
Embroider short contrasting dashes across the pale cone, varying their direction and leaving visible cream space between them. Keep the yarn relaxed so each dash sits on the surface instead of making a dent.
Plan the colors before stitching. A small selection of pink, green, yellow, or another party palette can create the sprinkle effect without hiding the crochet texture.
Check the star from the front and side, smooth the drips over the navy section, and arrange the pink brim. Inspect the underside for long exposed yarn floats and bulky joins.
For a doll or tabletop display, arrange the ties so they are part of the presentation. Keep long cords and small removable decorations away from young children.
Troubleshooting
The cone has a bulge. Recheck the increase positions and totals. In particular, Round 18 adds four stitches, while the earlier increase rounds add two.
The navy section covers the cream drips. Confirm that it begins in the retained back loops behind the front-loop decoration.
The star has too few points. Round 2 needs five two-stitch repeats. Count all ten center stitches before beginning.
The tie balls are different sizes. Compare the increase rounds, the single 18-stitch middle round, and stuffing amounts before sewing them on.
The pink edge looks uneven. Count the five unfinished double crochets in each group and keep their loop height consistent.
Watch the Birthday Hat Tutorial
The 44-minute-49-second video demonstrates the cream drip returns, retained-loop color transition, pink edging placement, star, balls, and final attachments. Refer to the close-ups where the caption notation is abbreviated.
Ready for a Little Celebration
Give the finished hat a final turn in your hands. The star should sit securely, the drips should remain distinct, and the brim should retain its rounded texture. A shallow gift box or open display keeps those details visible without crushing the cone. Save your yarn and size notes so a second hat can match the first or use a new party palette.
Watch every stitch up close
Pair these written notes with the complete video tutorial.
Made with yarn, shared with love. 🧶💗