
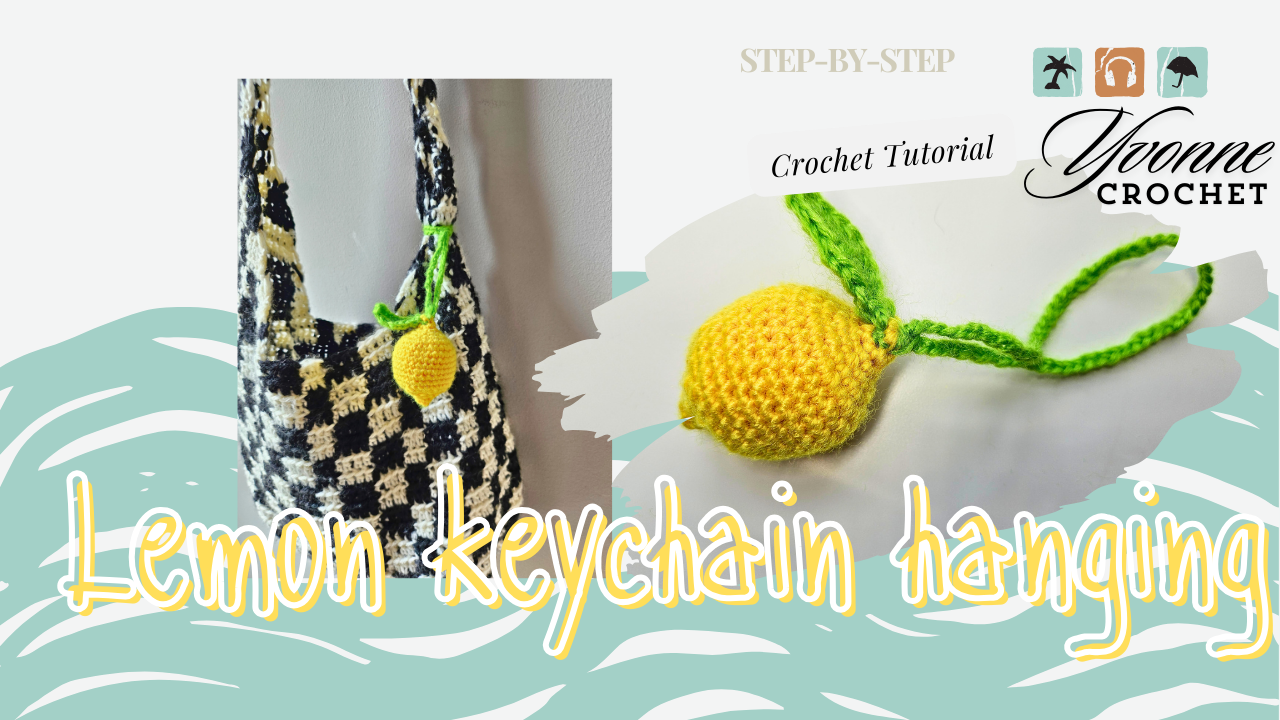
Crochet Lemon Keychain: A Little Summer Project to Take Everywhere
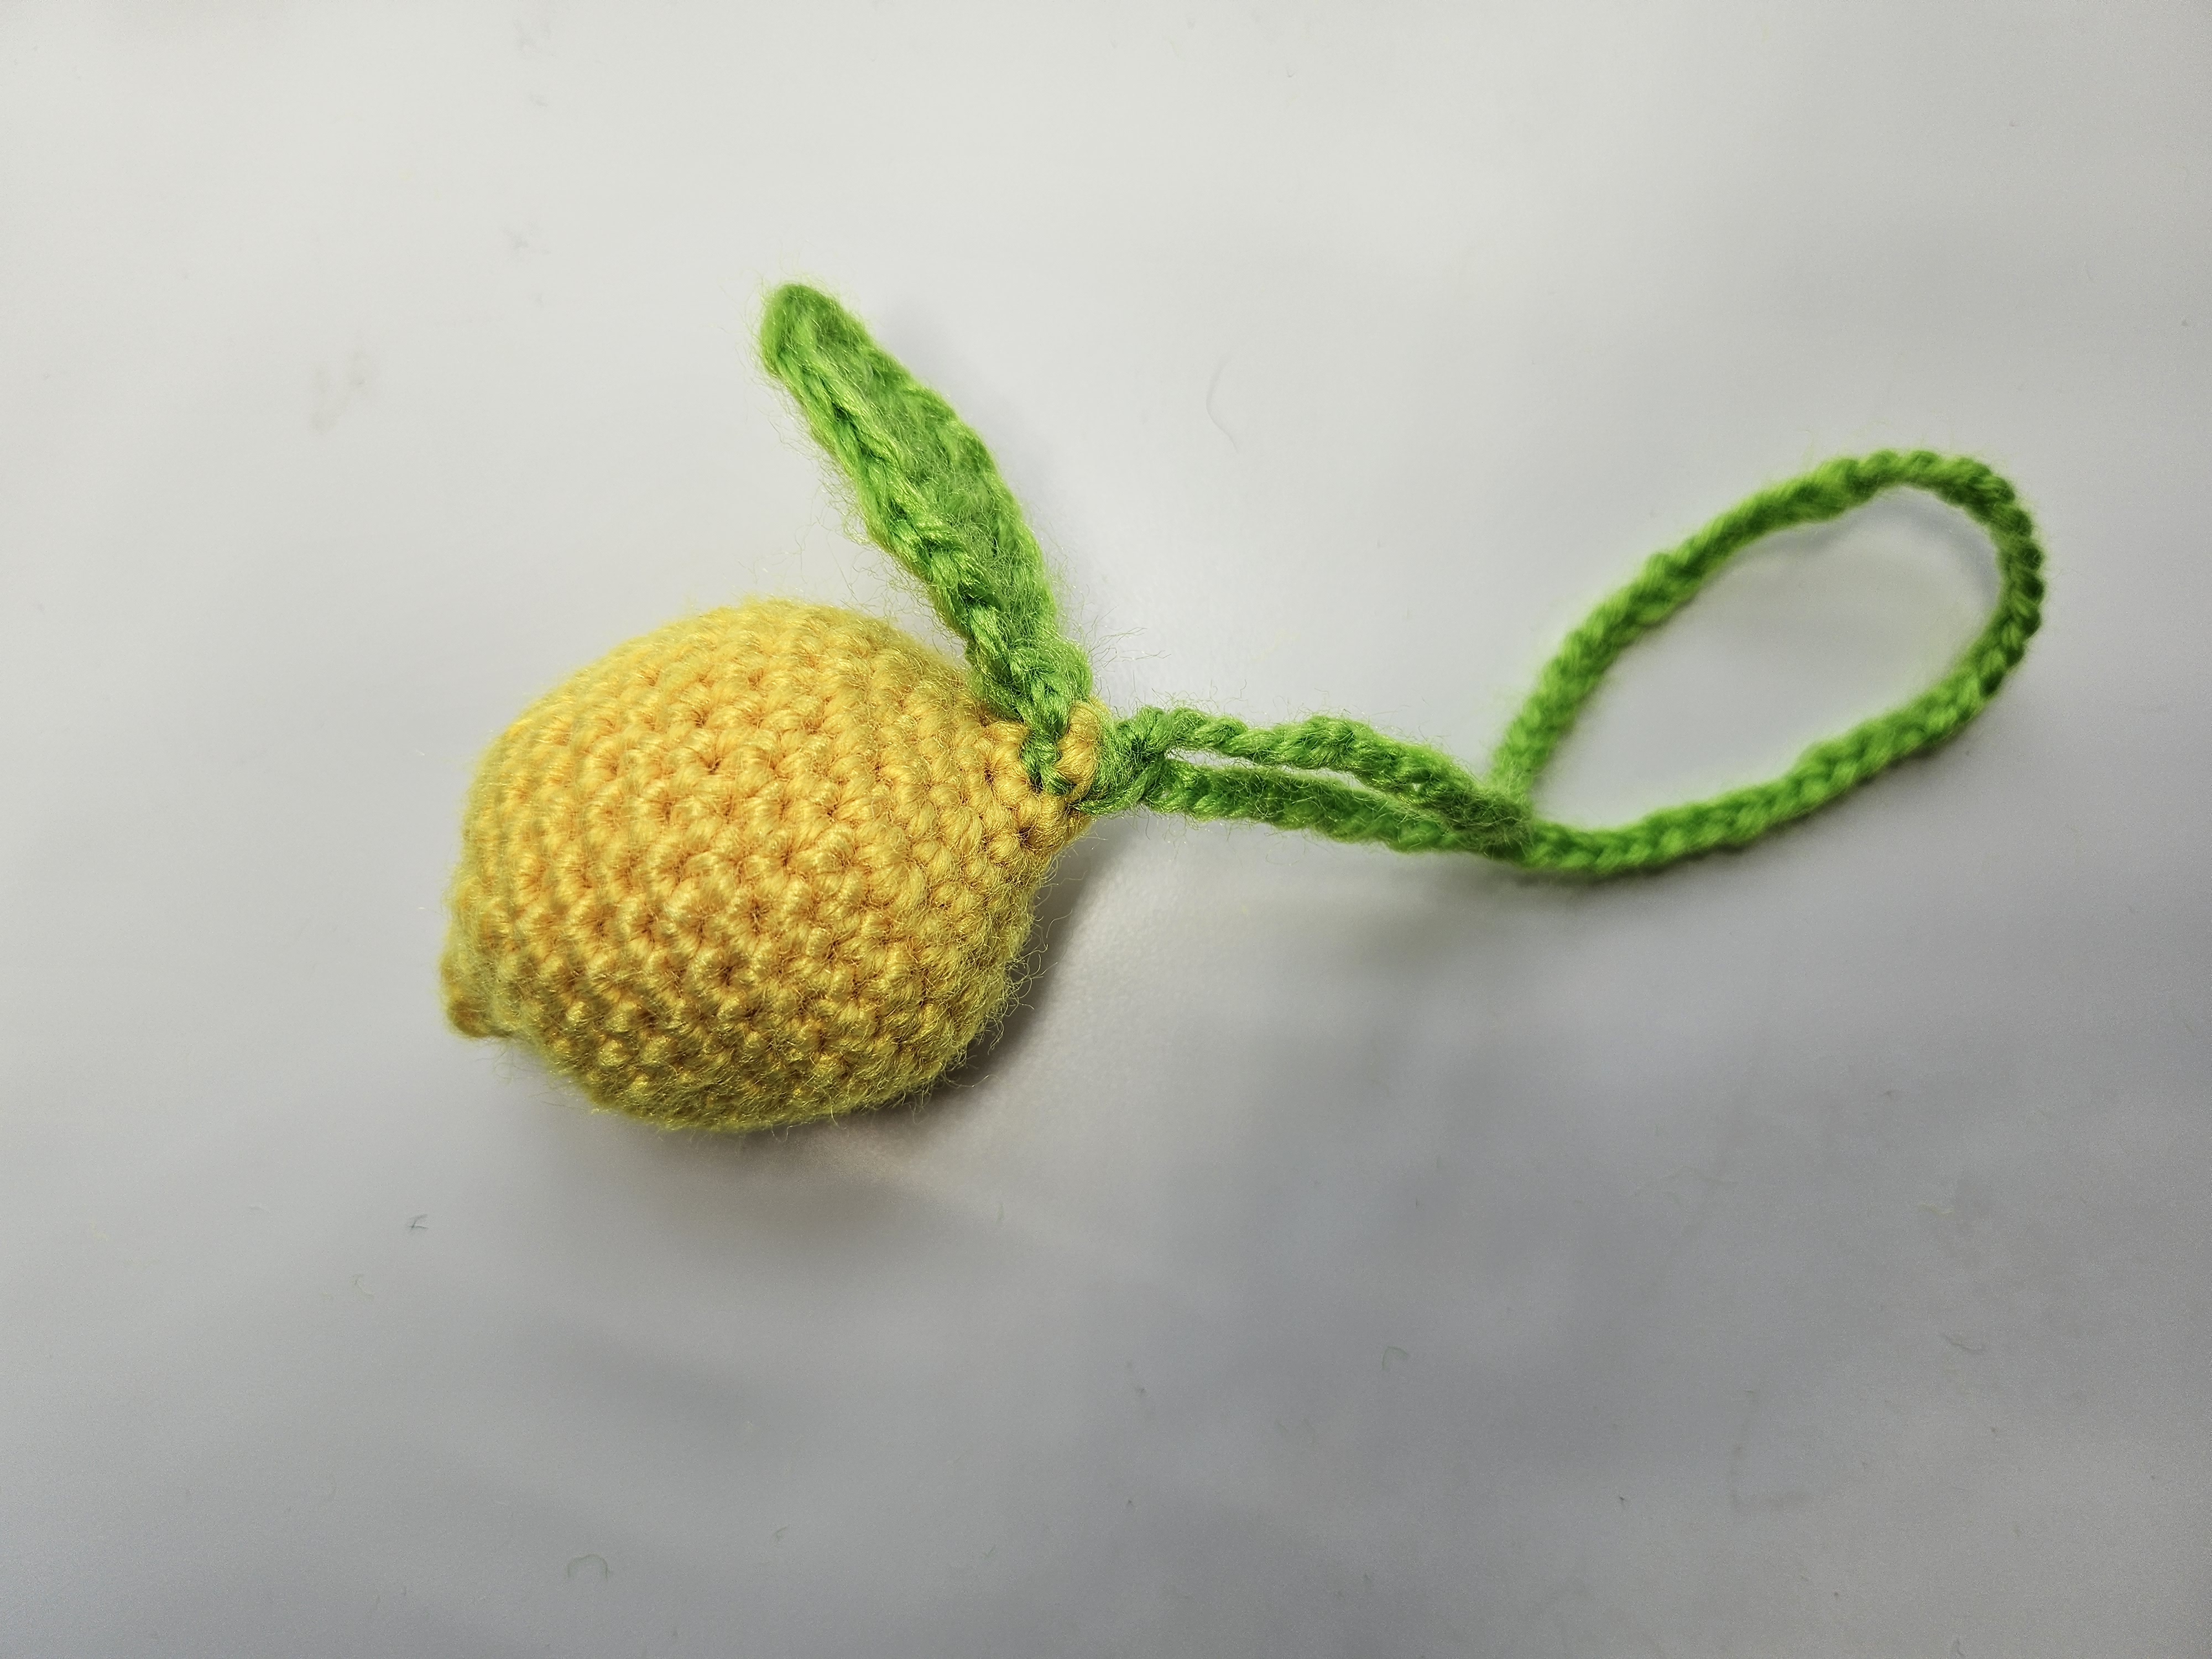
A crochet lemon gets its character from its outline. A full middle and two gently narrowed ends are enough to suggest the fruit, while a green leaf gives the yellow shape a useful contrast. There is no face to position, so the shaping and finishing become the main details to concentrate on.
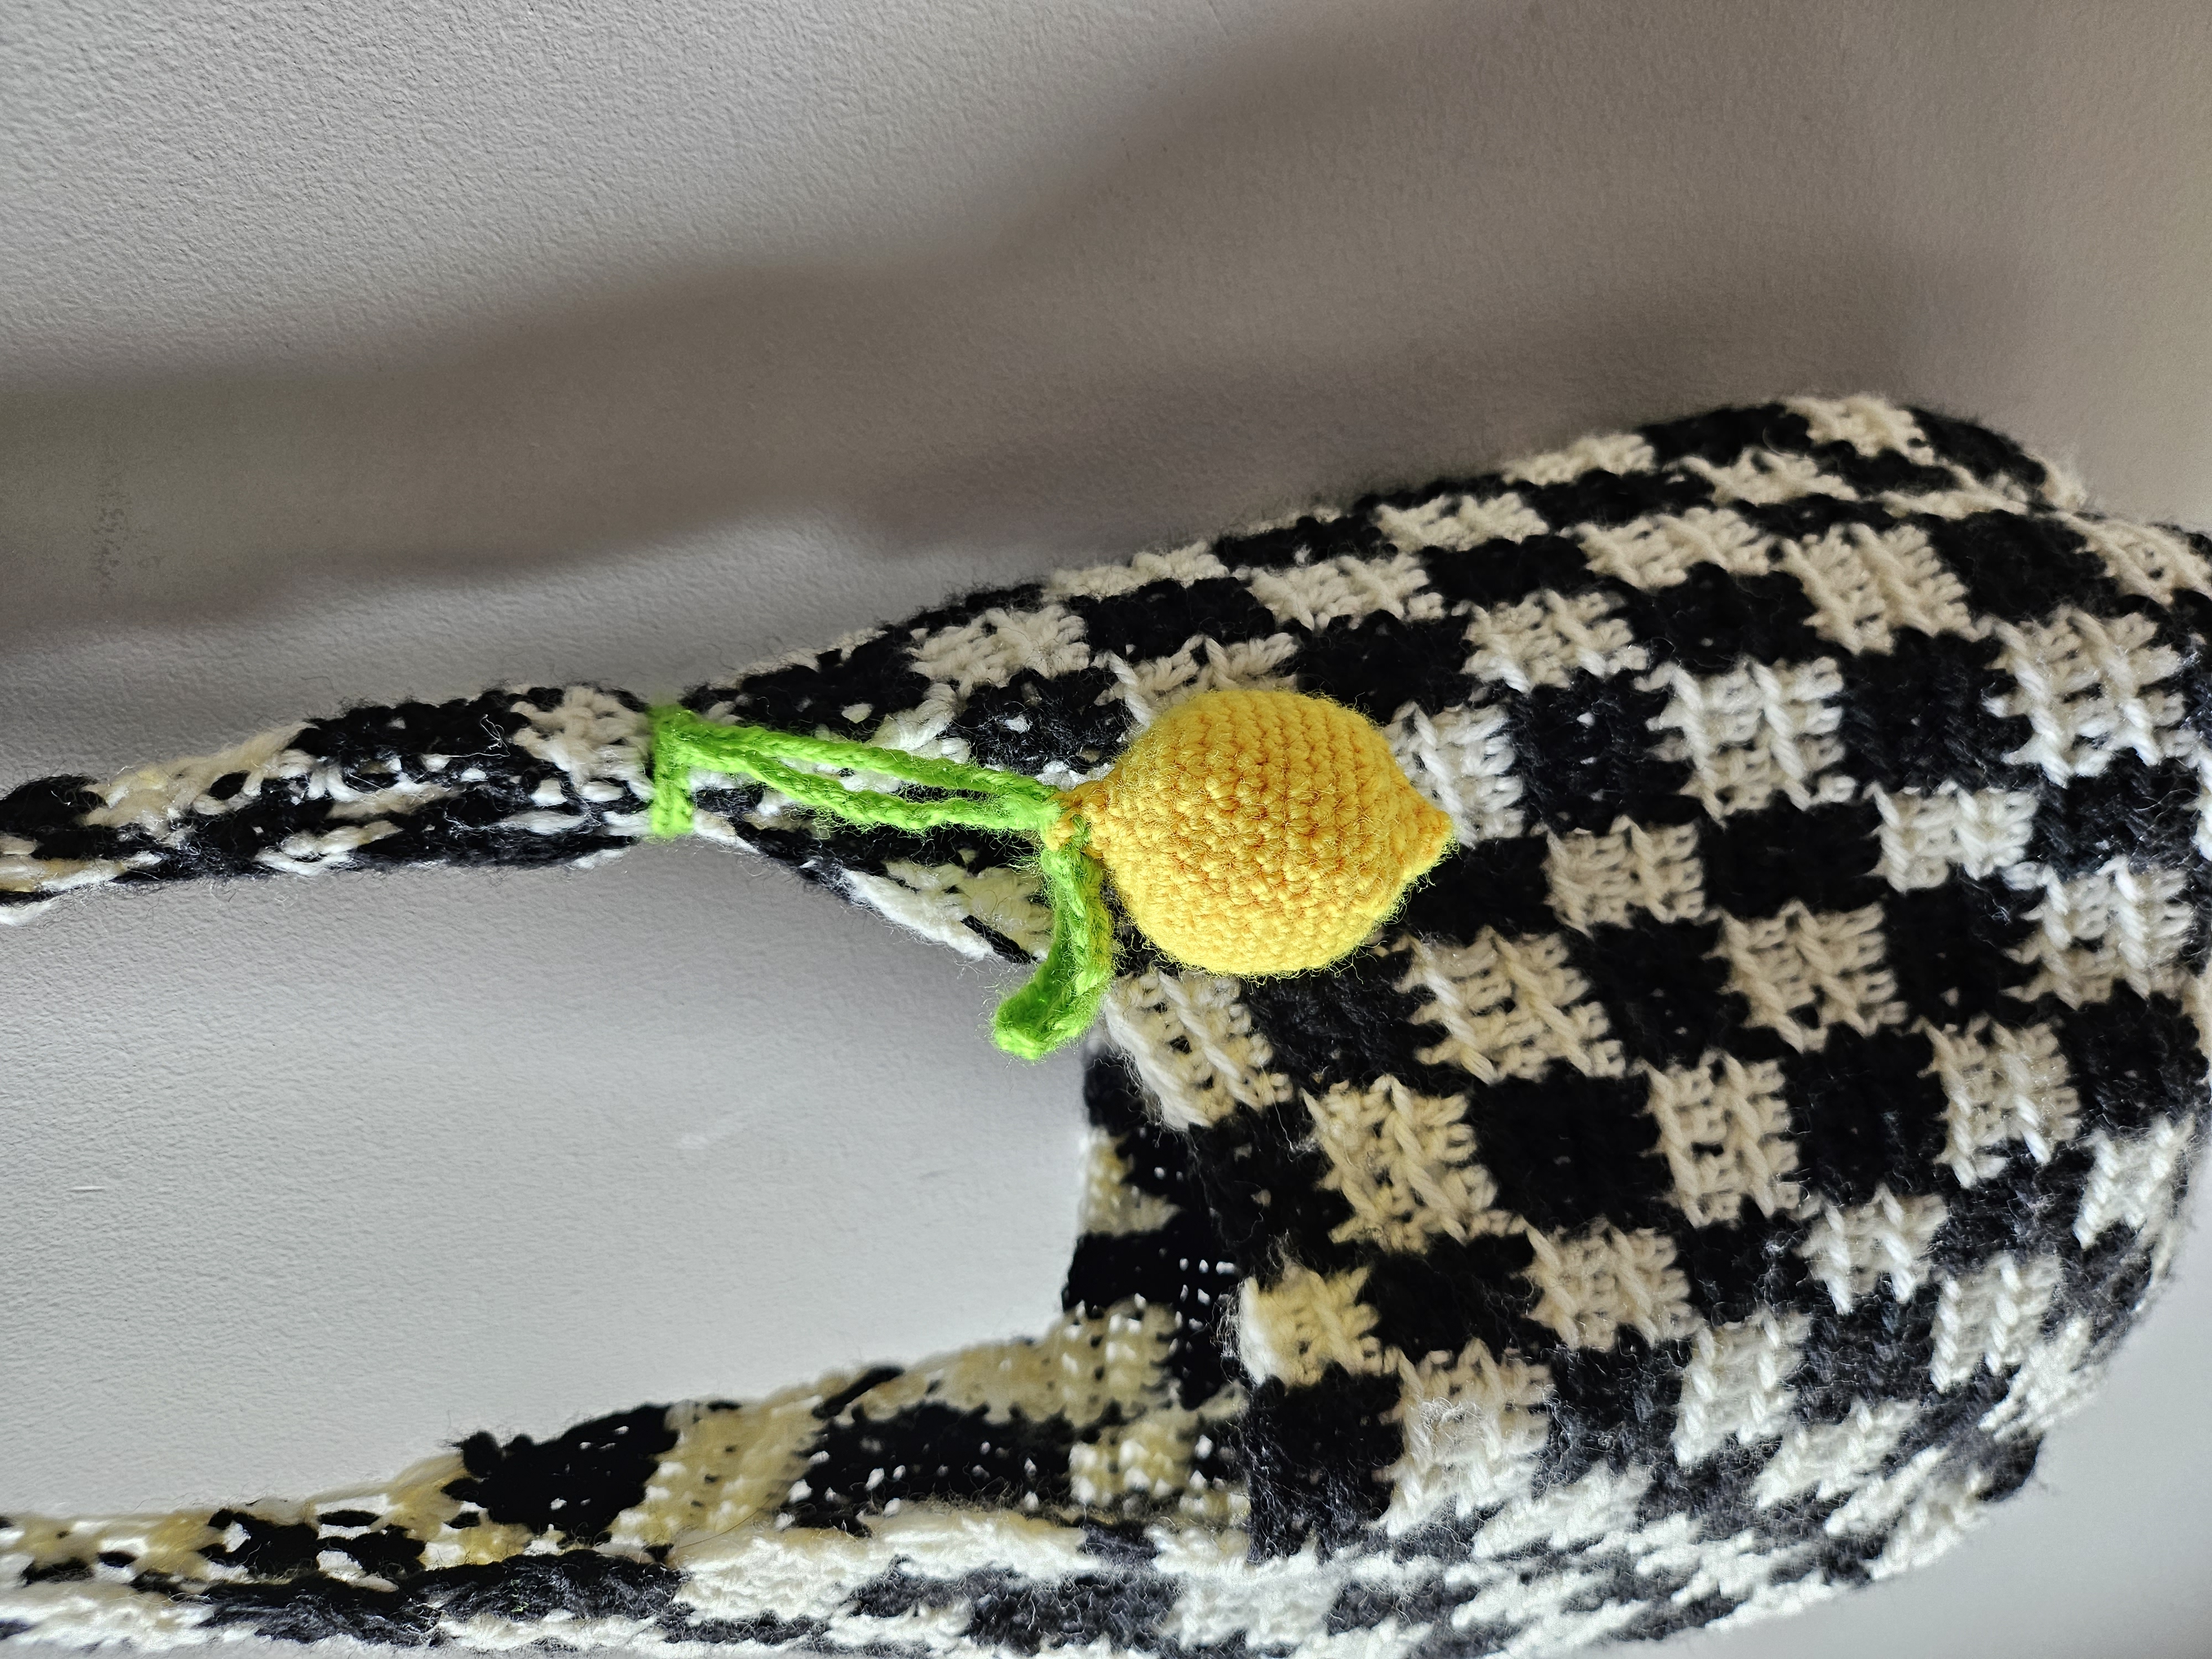
The sample hangs from a bag on a green yarn loop. The leaf sits beside that connection, making the attachment part of the design instead of an afterthought. You can keep the soft loop for a bag charm or plan a shorter connection for a key ring.
This guide follows the construction visible in the Crochetnotes video. It explains the sequence and the important shaping techniques; use the demonstration for the complete round-by-round numbers and leaf stitch sequence. Unconfirmed counts have not been filled in with a generic lemon pattern.
Materials and fabric
Gather yellow yarn for the fruit, green yarn for the leaf and loop, a suitable hook, stuffing, scissors, a yarn needle, and a stitch marker. Add a key ring or clasp only if it suits your intended finish.
Use yellow and green yarns with compatible thicknesses. The leaf should be substantial enough to keep its outline but light enough to sit comfortably beside the fruit.
A smooth yarn makes the small decreases easier to see. If you choose a very fluffy yarn, expect the tapered ends to look softer and use extra markers where stitch tops are difficult to distinguish.
No exact hook size, yarn quantity, or finished measurement is assigned in this guide. Choose a hook that produces a close fabric with your yarn, then record the combination after completing your first sample.
Learn the decrease before reaching it
The project uses single crochet shaping, including a three-single-crochet decrease, written `3sctog` in the source material.
| Instruction | Meaning in US terminology | Change in stitch count | | --- | --- | --- | | sc | Single crochet | One stitch worked | | sc inc | 2 sc in the same base stitch | Adds one stitch | | sc2tog | Single crochet decrease over 2 stitches | Reduces two base stitches to one | | sc3tog / 3sctog | Single crochet decrease over 3 stitches | Reduces three base stitches to one | | ss | Slip stitch | Used for the demonstrated connection or join |
For a conventional sc3tog, insert the hook into the first indicated stitch and draw up a loop. Repeat in each of the next two stitches. With the gathered loops on the hook, yarn over and draw through them together to complete one stitch.
That operation reduces the count by two, not one. Use it only where the source calls for it. Replacing a two-stitch decrease with a three-stitch decrease elsewhere changes both the count and the taper.
1. Begin the yellow fruit
The video starts the body with a magic ring. Keep the first working stitch marked and retain access to the beginning tail until the ring has been closed and secured.
Follow the opening rounds in the demonstration. The narrow beginning is part of the lemon’s silhouette, so do not replace it with the opening rounds of a plain sphere simply because the middle eventually becomes rounded.
Check the actual stitches separately from any starting chain or slip-stitch join. Adding the join to your count can create a small but persistent error that becomes visible when the decreases begin.
2. Expand into the fuller middle
Continue the source’s increase sequence to build the broad part of the fruit. Move the marker after identifying the first actual stitch of each round, and count before entering the next shaping stage.
The intermediate body begins as a small cup and becomes fuller as the yellow rounds develop. Compare the outline from the side as well as from above. A sudden ridge or a sharply narrowing section deserves a count check before more fabric is added.
Keep your tension steady. An increase can look larger than its neighbors because two stitches share a base, but pulling those stitches unusually tight does not improve the shape.
3. Work the upper shaping in the demonstrated order
As the opening narrows, follow the source’s decreases and their spacing. The three-stitch decrease is a specific shaping tool, not a general instruction to gather the entire opening.
Count the base stitches used by a decrease before moving on. If three base stitches are gathered into one, the next stitch begins after those three; accidentally returning to the third base stitch adds an extra stitch.
If the top begins to spiral noticeably to one side, revisit the decrease placements and marker position. Correcting the placement while the opening is accessible is easier than trying to reshape a firmly closed lemon.
4. Fill the body without losing its ends
Add stuffing in small pieces while you can still reach the interior. Support the fuller middle first, then move small amounts toward the narrow ends.
The fruit should be evenly filled rather than hard. Overfilling pushes the ends outward and makes the lemon look more spherical; leaving a hollow area beside a decrease can create a dent.
Turn the lemon in your hands and compare both sides. If one side feels hard and the other collapses, redistribute the filling instead of simply adding more at the opening.
Keep the stuffing below the working stitches while finishing the remaining rounds. Fibers caught around the hook can make the last few decreases harder to read and leave fuzz on the yellow surface.
5. Close and shape the yellow tip
Complete the source’s closing sequence. Pull the final yarn gradually and check that the tip remains aligned with the opposite end.
Secure the end through the intended stitches and hide it inside the fruit. Do not rely on a loose closing tail as the hanging connection unless it is deliberately incorporated into the attachment method.
Gently shape the finished body with your fingers. A lemon should have a smooth progression from the broader middle toward each end, rather than a hard stuffed ball with a tightly pinched opening.
6. Make the green leaf
The leaf is worked separately from the yellow body. The demonstration uses a green foundation and shaped stitches to produce a long, narrow piece with a pointed end.
Keep the foundation from twisting while working into it. Follow the changing stitch heights and turning placement in the video; replacing all the stitches with single crochet would produce a different outline.
Compare both edges before fastening off. A small amount of natural curve can be arranged during assembly, but a sharply twisted leaf may indicate a missed turning position or a foundation worked too tightly.
Leave enough yarn at the base to secure the leaf. Its tip remains free; the attachment should not run through the full length of the leaf or pull the point against the fruit.
7. Prepare the loop and attach the green details
Arrange the leaf beside the intended hanging point before securing either green component. Check how it looks while the lemon is suspended rather than only when the fruit is lying on the table.
Make the hanging loop to the length shown in the demonstration or adapt it to your actual bag handle. A loop for passing around a broad handle needs a different length from a small loop that simply connects to a key ring.
Secure the loop ends into a supported area of yellow crochet. Then attach the leaf at its base, keeping the load on the loop rather than on the leaf tip.
Use several small anchoring stitches. Check the inside or surrounding fabric as you work so the attachment does not gather the yellow tip into a deep dent.
Video navigation checkpoints
These are approximate stages, not a numbered round chart:
| Around | What is visible | | --- | --- | | 1 minute | Magic-ring beginning | | 5–7 minutes | Early body expansion and developing cup shape | | 10–12 minutes | Fuller yellow middle and upper body | | 14–15 minutes | Narrowing top section | | 18–20 minutes | Separate green detail being worked | | 22 minutes | Leaf and hanging-loop assembly |
Pause at the beginning of each new instruction and record its full count before crocheting the repeat. The written checkpoints locate the stages; they do not replace the source’s complete counts.
Fit the charm to its use
For a bag, test the loop with the handle lifted and the bag carrying its normal contents. The charm should hang clear of the zipper and avoid becoming trapped underneath the handle.
For keys, consider a shorter connection and compact hardware. Check that metal edges do not catch the green yarn or pinch the leaf.
If making several lemons, finish the first one completely before starting the rest. Record its yarn, hook, finished size, stuffing firmness, and loop length. Those practical details make a matching set easier to reproduce.
Troubleshooting
The lemon looks round. Check the source’s tapered sections and redistribute excess filling away from the ends.
The final count drops too quickly. Confirm whether the instruction is a two-stitch or three-stitch decrease. They remove different numbers of stitches.
The leaf twists tightly. Check the foundation tension and turning placement before trying to flatten it by pulling harder.
The loop distorts the tip. Spread its anchoring stitches through a supported area and keep the leaf attachment separate from the load-bearing connection.
Watch the lemon tutorial
Follow the full demonstration for every body-round count, the placement of the three-stitch decrease, the leaf sequence, and the green attachment finish.
Finish with a clean silhouette
A full middle, gently shaped ends, and one visible green leaf give this project its character. Check those proportions before attaching it to a bag, then secure the remaining yarn ends. The simple yellow fruit can brighten an everyday accessory without needing extra decoration.
Watch every stitch up close
Pair these written notes with the complete video tutorial.
Made with yarn, shared with love. 🧶💗