
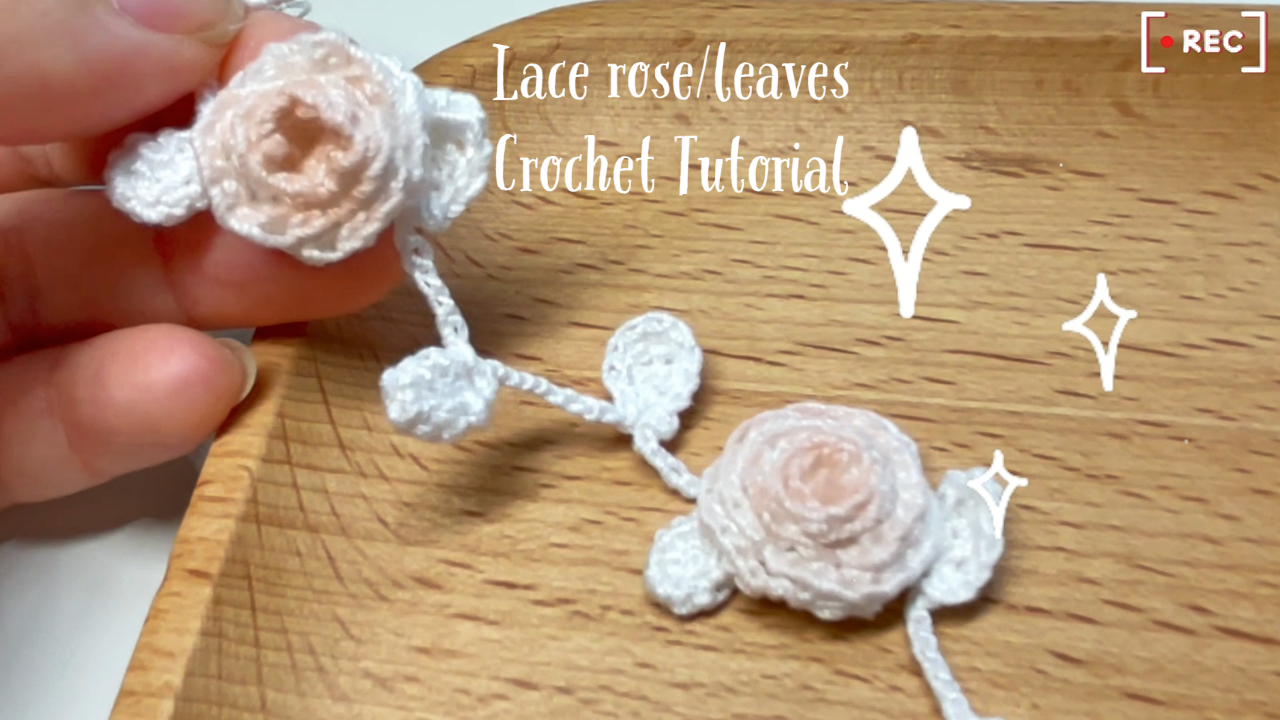
Crochet Lace Rose Bracelet with Leaves
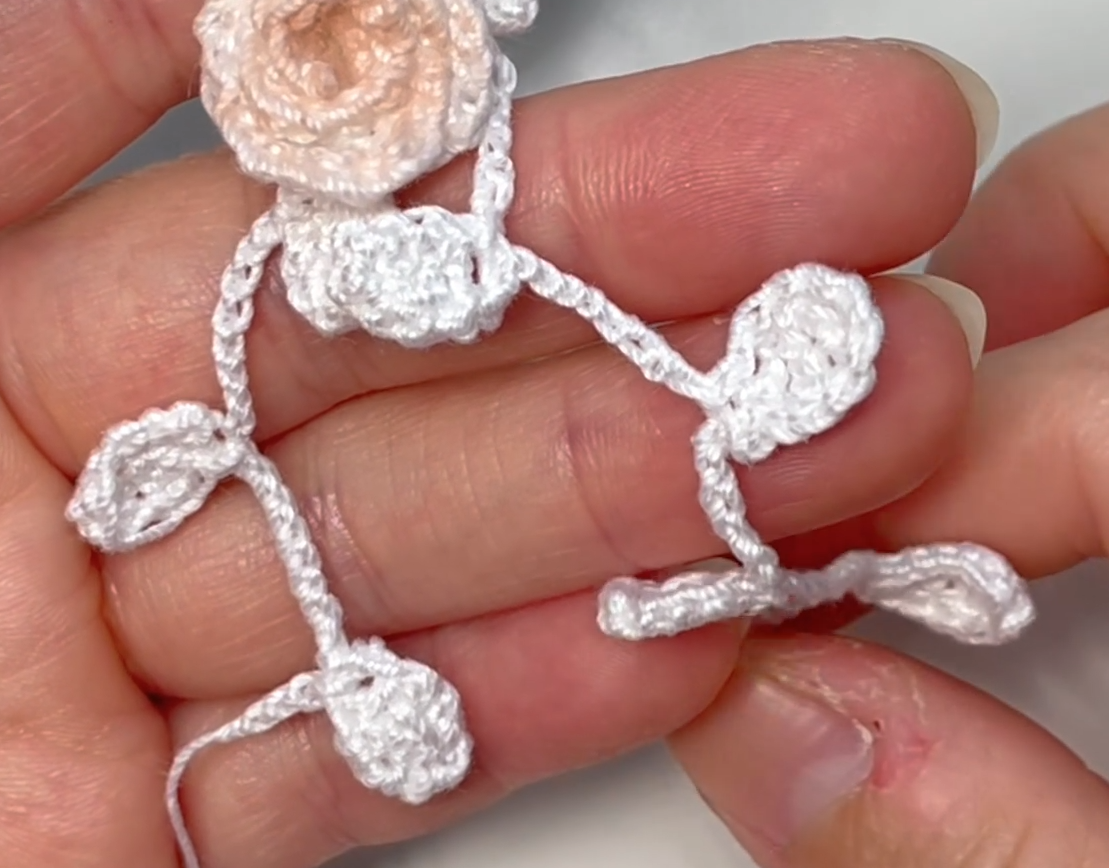
A lace bracelet needs to work in two different positions: lying open so its flowers and leaves can be seen, and curved around a wrist where those details need to stay comfortable. This design combines small rolled roses with a slender vine of white leaves. The pale colors keep the arrangement light while the raised flowers provide depth.
The tutorial demonstrates the leaf vine first, followed by a separate rose strip that is curled into a flower and fixed at its base. The flowers are then arranged on the vine. Making the parts separately gives you a chance to assess their scale and placement before completing the bracelet.
Materials and Scale
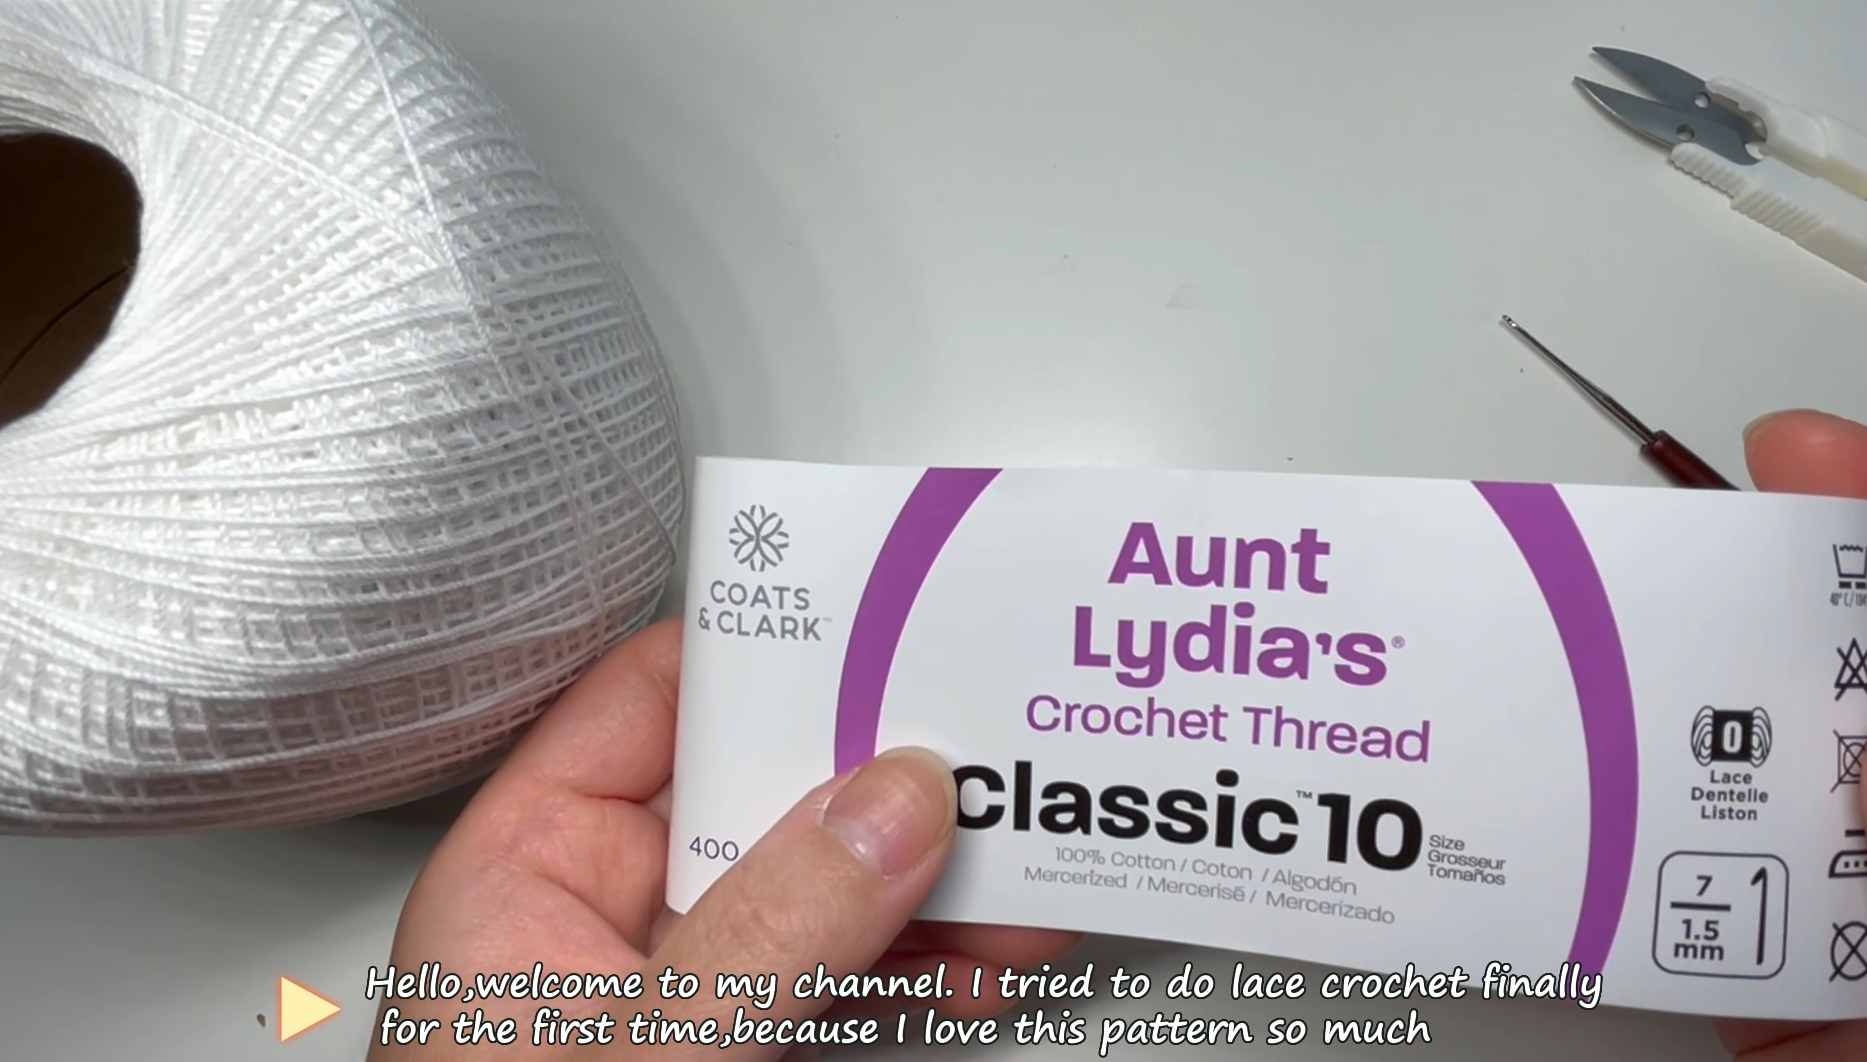
Prepare fine crochet thread for the vine and roses, a small compatible hook, scissors, a fine needle, and a flexible measuring tape. The hook visible during the demonstration is marked 0.8 mm. The video also shows glue being used to fix the rolled rose; choose an adhesive suitable for the thread and let it cure according to its instructions before wearing the piece.
The finished example uses pale roses against white leaves. Keep the material fine enough that the flowers do not become bulky against the wrist. A thicker yarn can reproduce a floral motif but will change the bracelet's proportions substantially.
Make one leaf section and one rose before committing to the whole bracelet. Check them together on the wrist rather than judging them only on a table. The tutorial does not supply a universal finished wrist size or a fixed thread allowance.
Read the Caption Notation Carefully
The notes below use US terms: ch is chain, sl st is slip stitch, sc is single crochet, hdc is half double crochet, and dc is double crochet. An hdc increase means two half double crochets in one indicated base position.
The video's captions are abbreviated. They identify stitch sequences but do not fully annotate every connection, shared attachment, or turn. Keep the close-up alongside these notes when making the first samples.
There is also a specific count issue in the rose strip: the foundation is captioned ch 23, followed by ch 2, skip 2, hdc inc x 22, while the accompanying text describes starting farther back along the chain. These captions do not fully agree about the first working position. The petal-row caption is also too compressed to establish a reliable independent stitch-count chart. The sequences below preserve the source wording; they should not be treated as a separately tested written pattern.
- Make the Leaf Vine
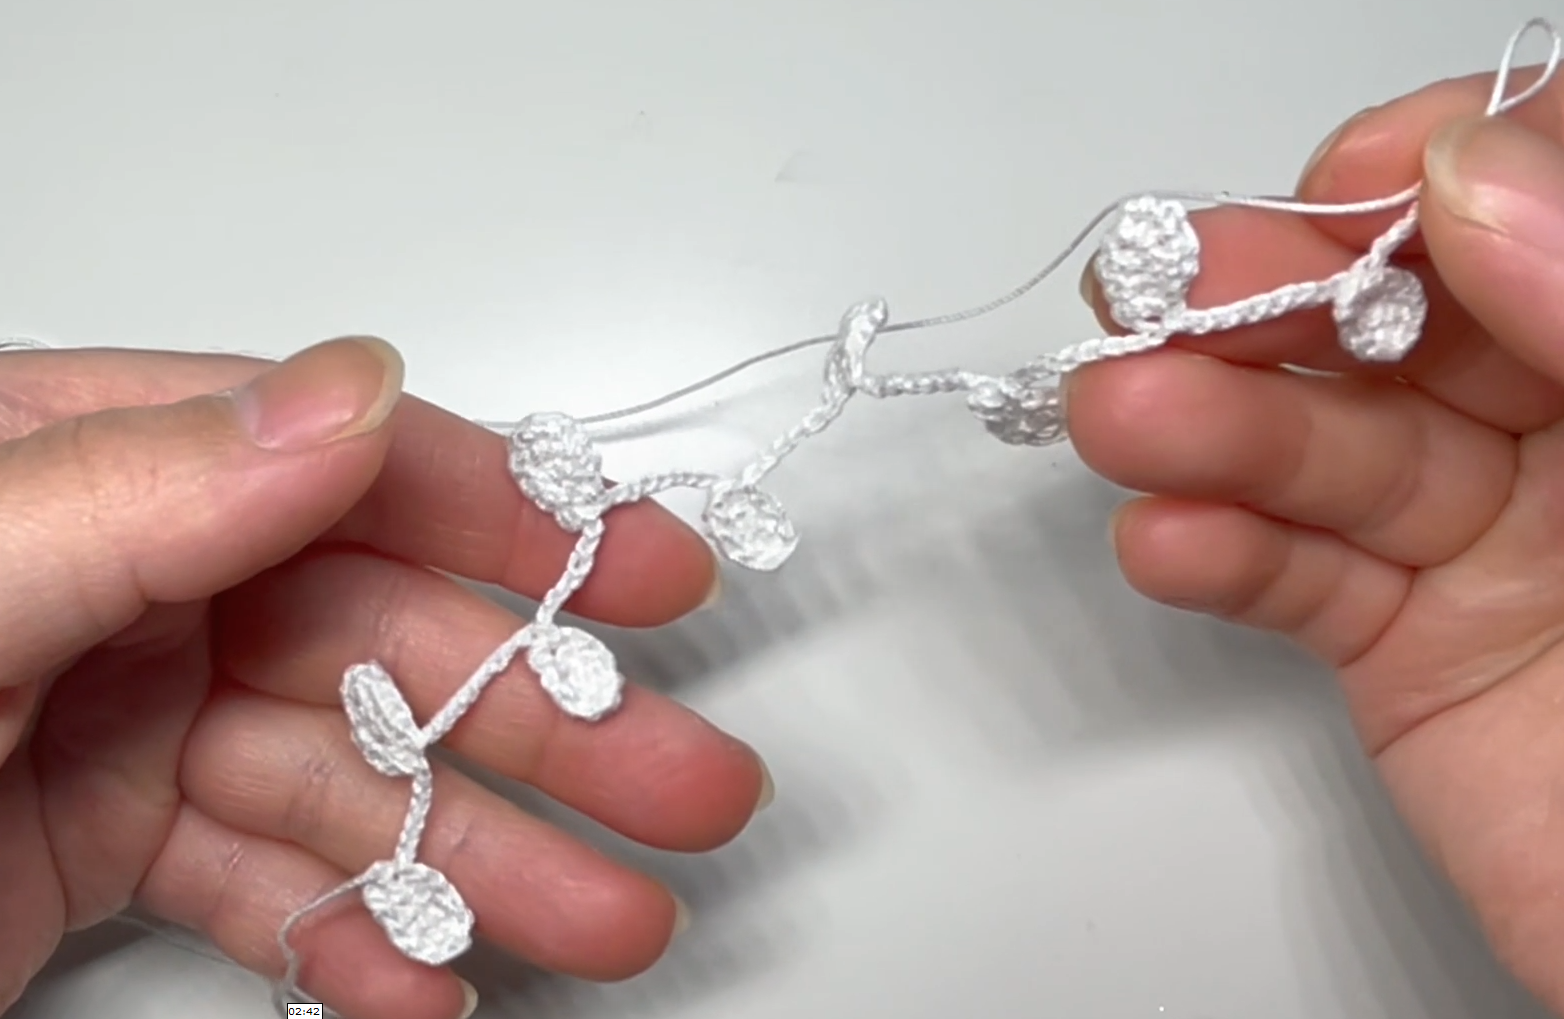
The leaf-and-connection caption gives:
Ch 15, skip 2, hdc, dc, hdc, sc, sl st; turn, sl st, 8 sc, 2 sl st.
The changing stitch heights create the small leaf shape. The turn and subsequent stitches form the return and connecting section shown in the close-up. Follow the demonstrated placement around the developing leaf and chain rather than interpreting every comma as an instruction to advance one ordinary base stitch.
Work one module slowly, keeping the unworked chain visible. Compare the shape before continuing to the next leaf section. The vine should retain slender connections between leaves instead of becoming a solid strip of fabric.
Repeat the demonstrated leaf-and-chain construction to build the vine. Periodically hold it in a curve resembling a wrist: a connection that looks relaxed when flat can twist a leaf when bent. Keep the thread tension consistent across the modules.
2. Crochet the Rose Foundation
Start the separate flower strip with the captioned 23 chains. The next caption reads:
Ch 2, skip 2, hdc inc x 22.
Use the actual insertion point shown in the video when beginning the working row. Because the caption and accompanying starting-position wording differ, do not add or discard a stitch silently to make an assumed total fit.
The increased row creates fullness for the flower strip. Keep the foundation relaxed enough to work into; a very tight starting chain can make curling the finished strip difficult. Check the completed working edge against the demonstration before proceeding to the petals.
3. Work the Graduated Petal Row
The displayed petal sequence is:
Ch 1; (sc, hdc inc x 3, sc, sl st, sc) x 5; (sc, hdc inc x 2, sc, sl st, sc) x 3; sl st.
The formula describes five broader petal units and three smaller units. That change in scale helps the rolled flower develop a tighter inner portion and a fuller outside.
Follow the close-up for the anchoring stitches between units. The caption does not make clear every shared or repeated attachment, so a stitch count calculated solely by adding the printed groups is not a dependable correction to the foundation.
Before fastening off, compare the completed strip with the video. Look for the change between the broader and narrower petal sections and check that their connecting edge remains flexible enough to roll.
4. Roll and Fix the Flower
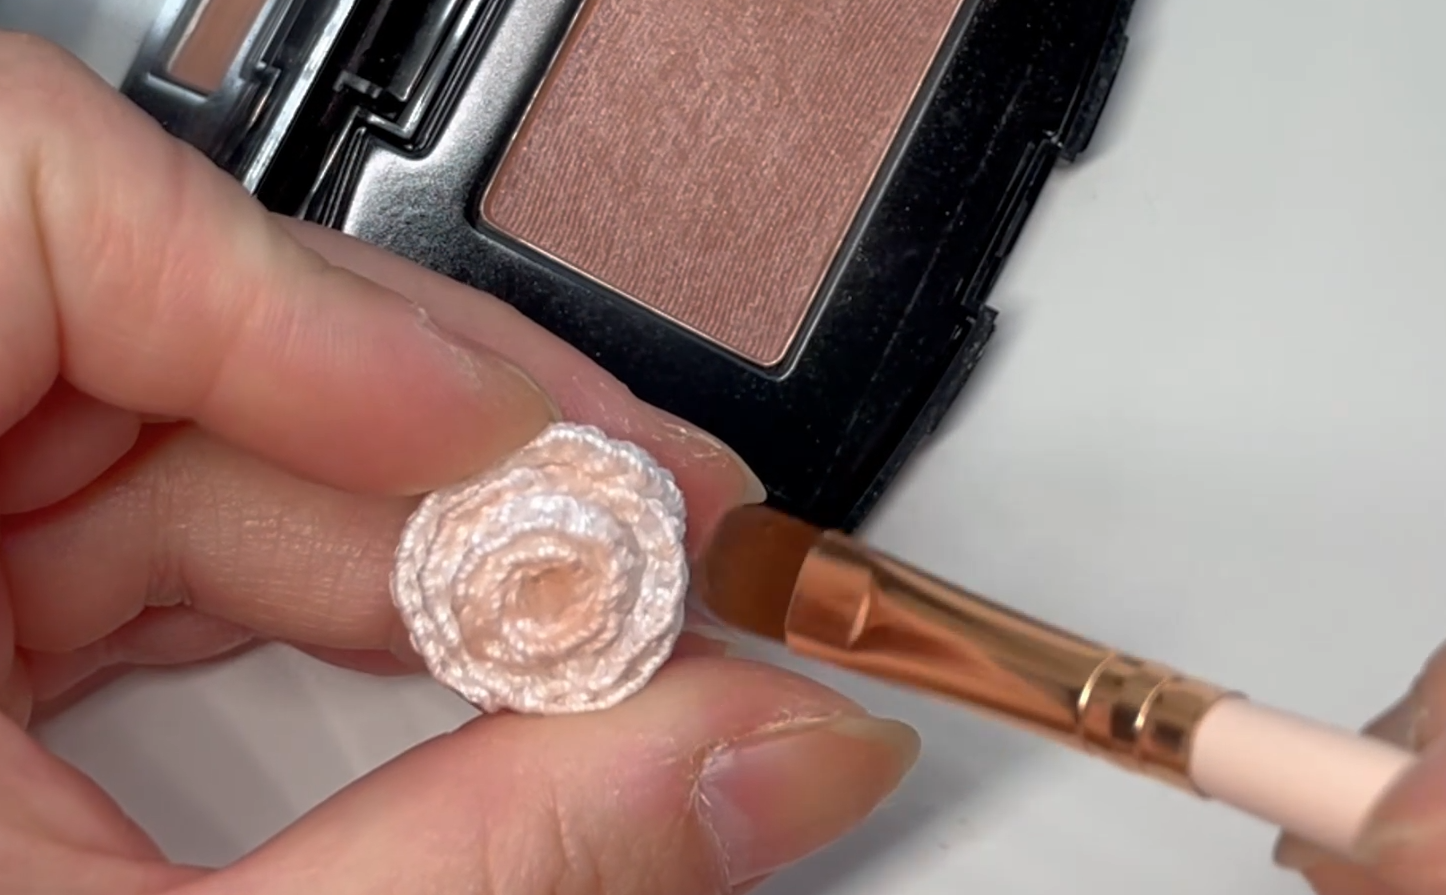
Curl the strip using the direction and overlap shown in the demonstration. Keep the smaller-looking inner section gathered while allowing the wider outer petals to remain visible. Check the flower from above before fixing the base.
The video shows glue being used to hold the rolled shape. Apply only enough suitable adhesive to secure the base; avoid soaking the visible petals or creating a hard lump against the wrist. Let the flower retain its curved edges rather than pressing it flat while it sets.
If you prefer sewn construction, securing the base with matching fine thread is a separate finishing adaptation. Test that method on your sample instead of assuming it will produce exactly the same result as the demonstrated adhesive finish.
Fit and Fastening
Measure the actual wrist and assess the full arrangement after the thread has relaxed. The fastening contributes to the total circumference, so include it in the final fit check.
A specific, fully counted clasp or tie pattern is not established by the captions transcribed here. If you adapt the piece with ties, a loop-and-button closure, or jewelry findings, plan that as an additional construction step and test the finished opening on the wearer. The bracelet should stay in place without needing to be stretched over the hand unless that is an intentional part of its closure design.
Troubleshooting and Care
A rose tips forward: check the attachment at its base and the support of the vine beneath it. Tightening an unrelated connecting chain may simply twist the neighboring leaves.
The flowers feel bulky: compare the thread and sample size before making more. Fine-thread proportions are central to this design; a larger hook and yarn combination can create a different type of accessory.
A leaf curls strongly: review the stitch sequence and the tension at its connection. Stretching the tip repeatedly can distort it without fixing a tight base.
Conceal loose ends on the underside and check that the adhesive is fully cured before wearing. Care must suit both the thread and the finishing materials. Store the bracelet loosely with the flowers supported so the petals are not compressed beneath other jewelry.
Watch the Lace Rose Bracelet Tutorial
The approximately ten-minute video demonstrates the leaf vine, flower-strip shaping, rolling, and floral arrangement. Use its close-ups with the caption notes, particularly where the printed counts are abbreviated or inconsistent.
The delicate effect depends on the relationship between the parts: compact roses, distinct leaves, and enough space between them for the bracelet to bend. Make the sample first, settle the fit, and complete the final attachments only when the arrangement sits comfortably around the wrist.
Watch every stitch up close
Pair these written notes with the complete video tutorial.
Made with yarn, shared with love. 🧶💗