
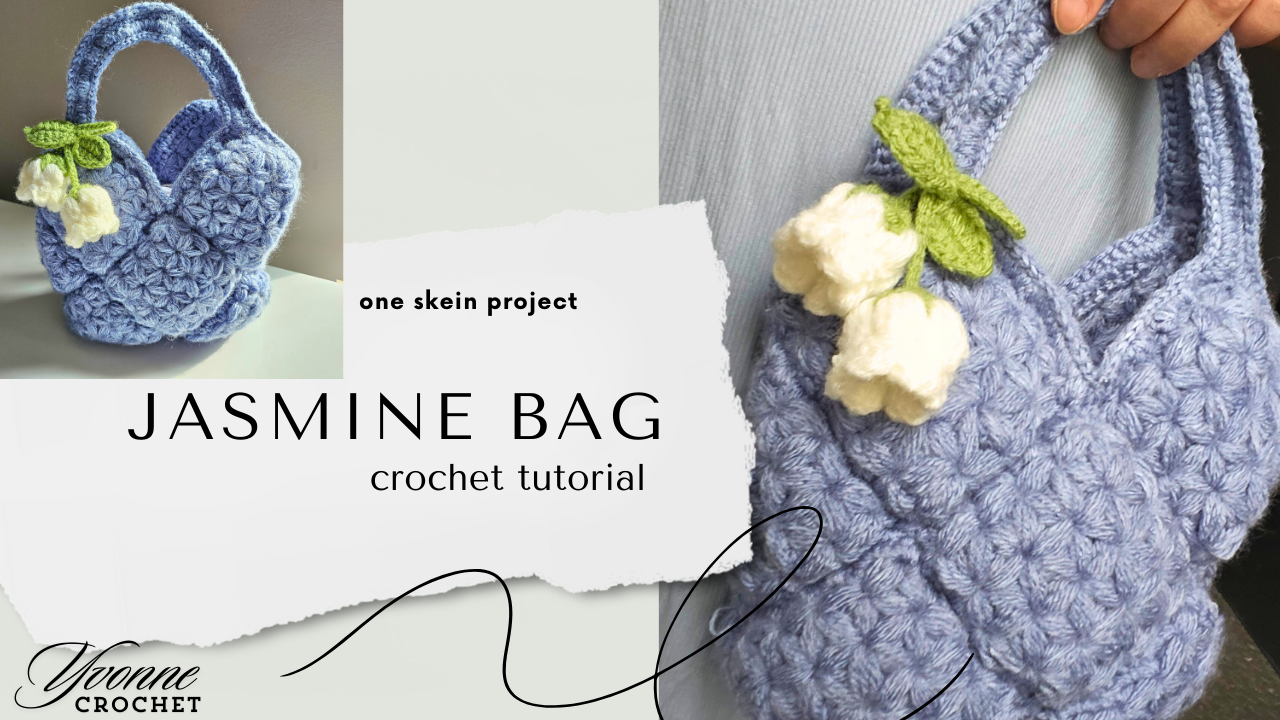
Crochet Jasmine Bag Tutorial: A Beautiful One-Skein Project
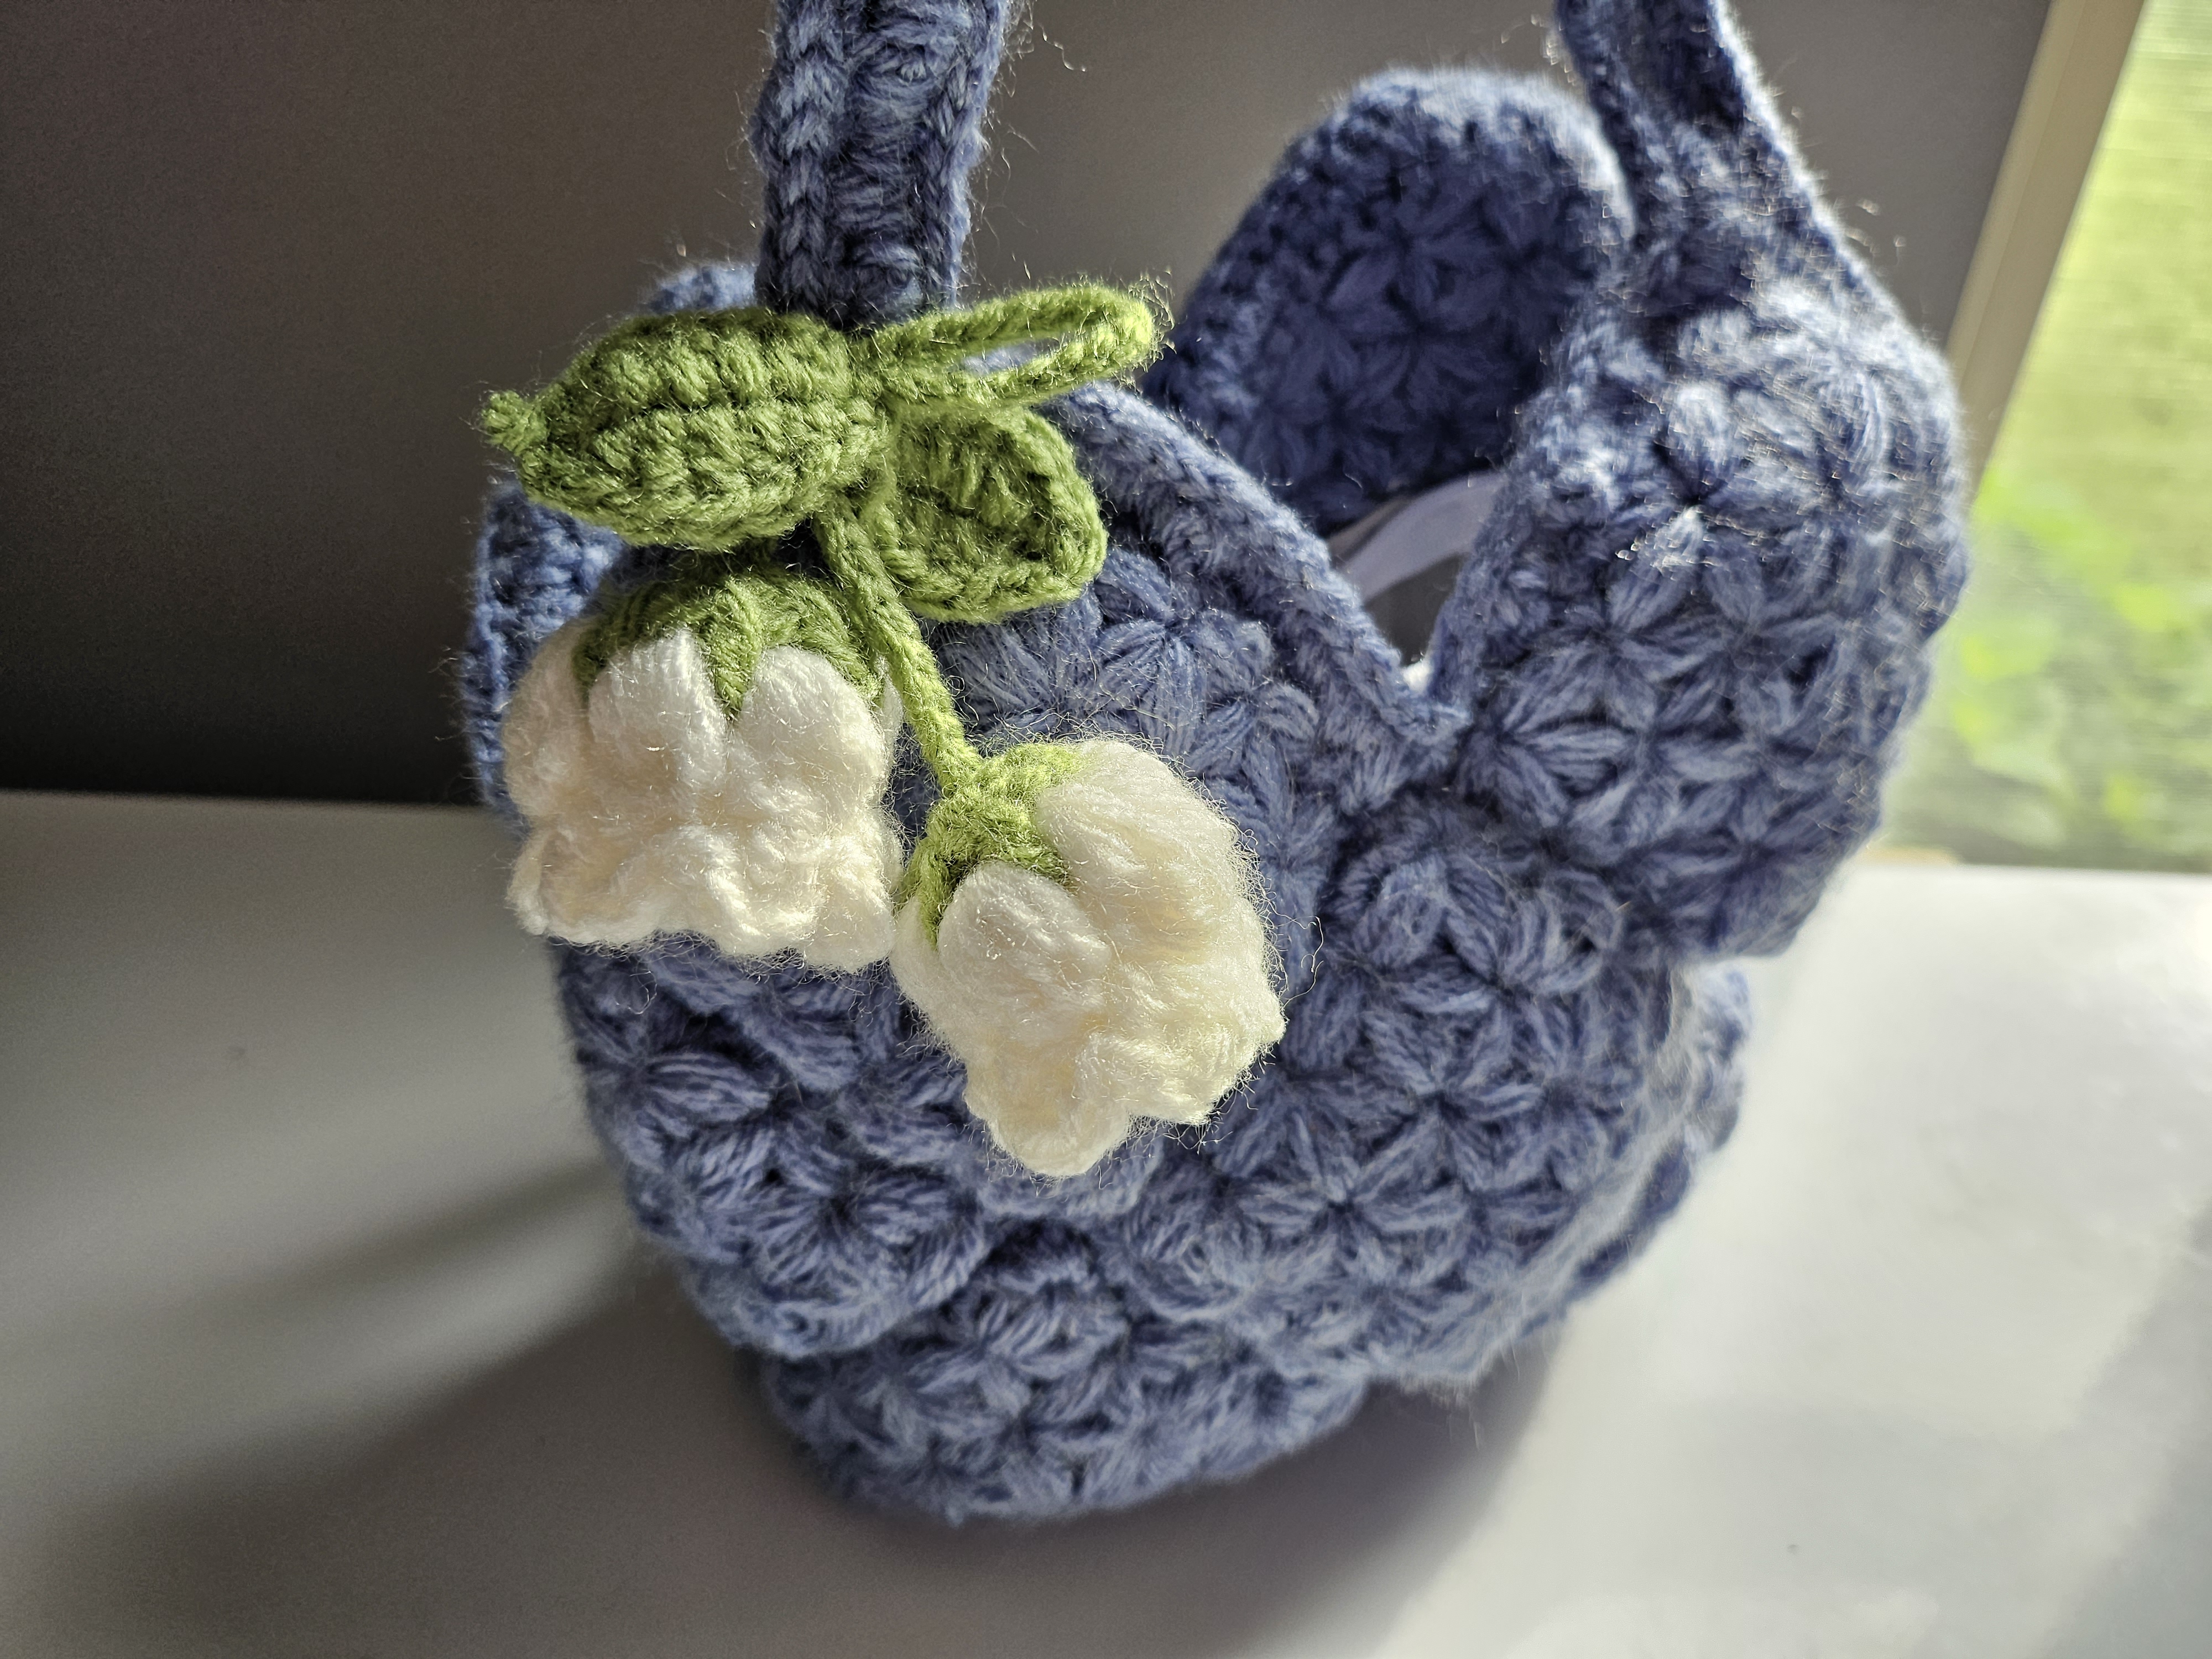
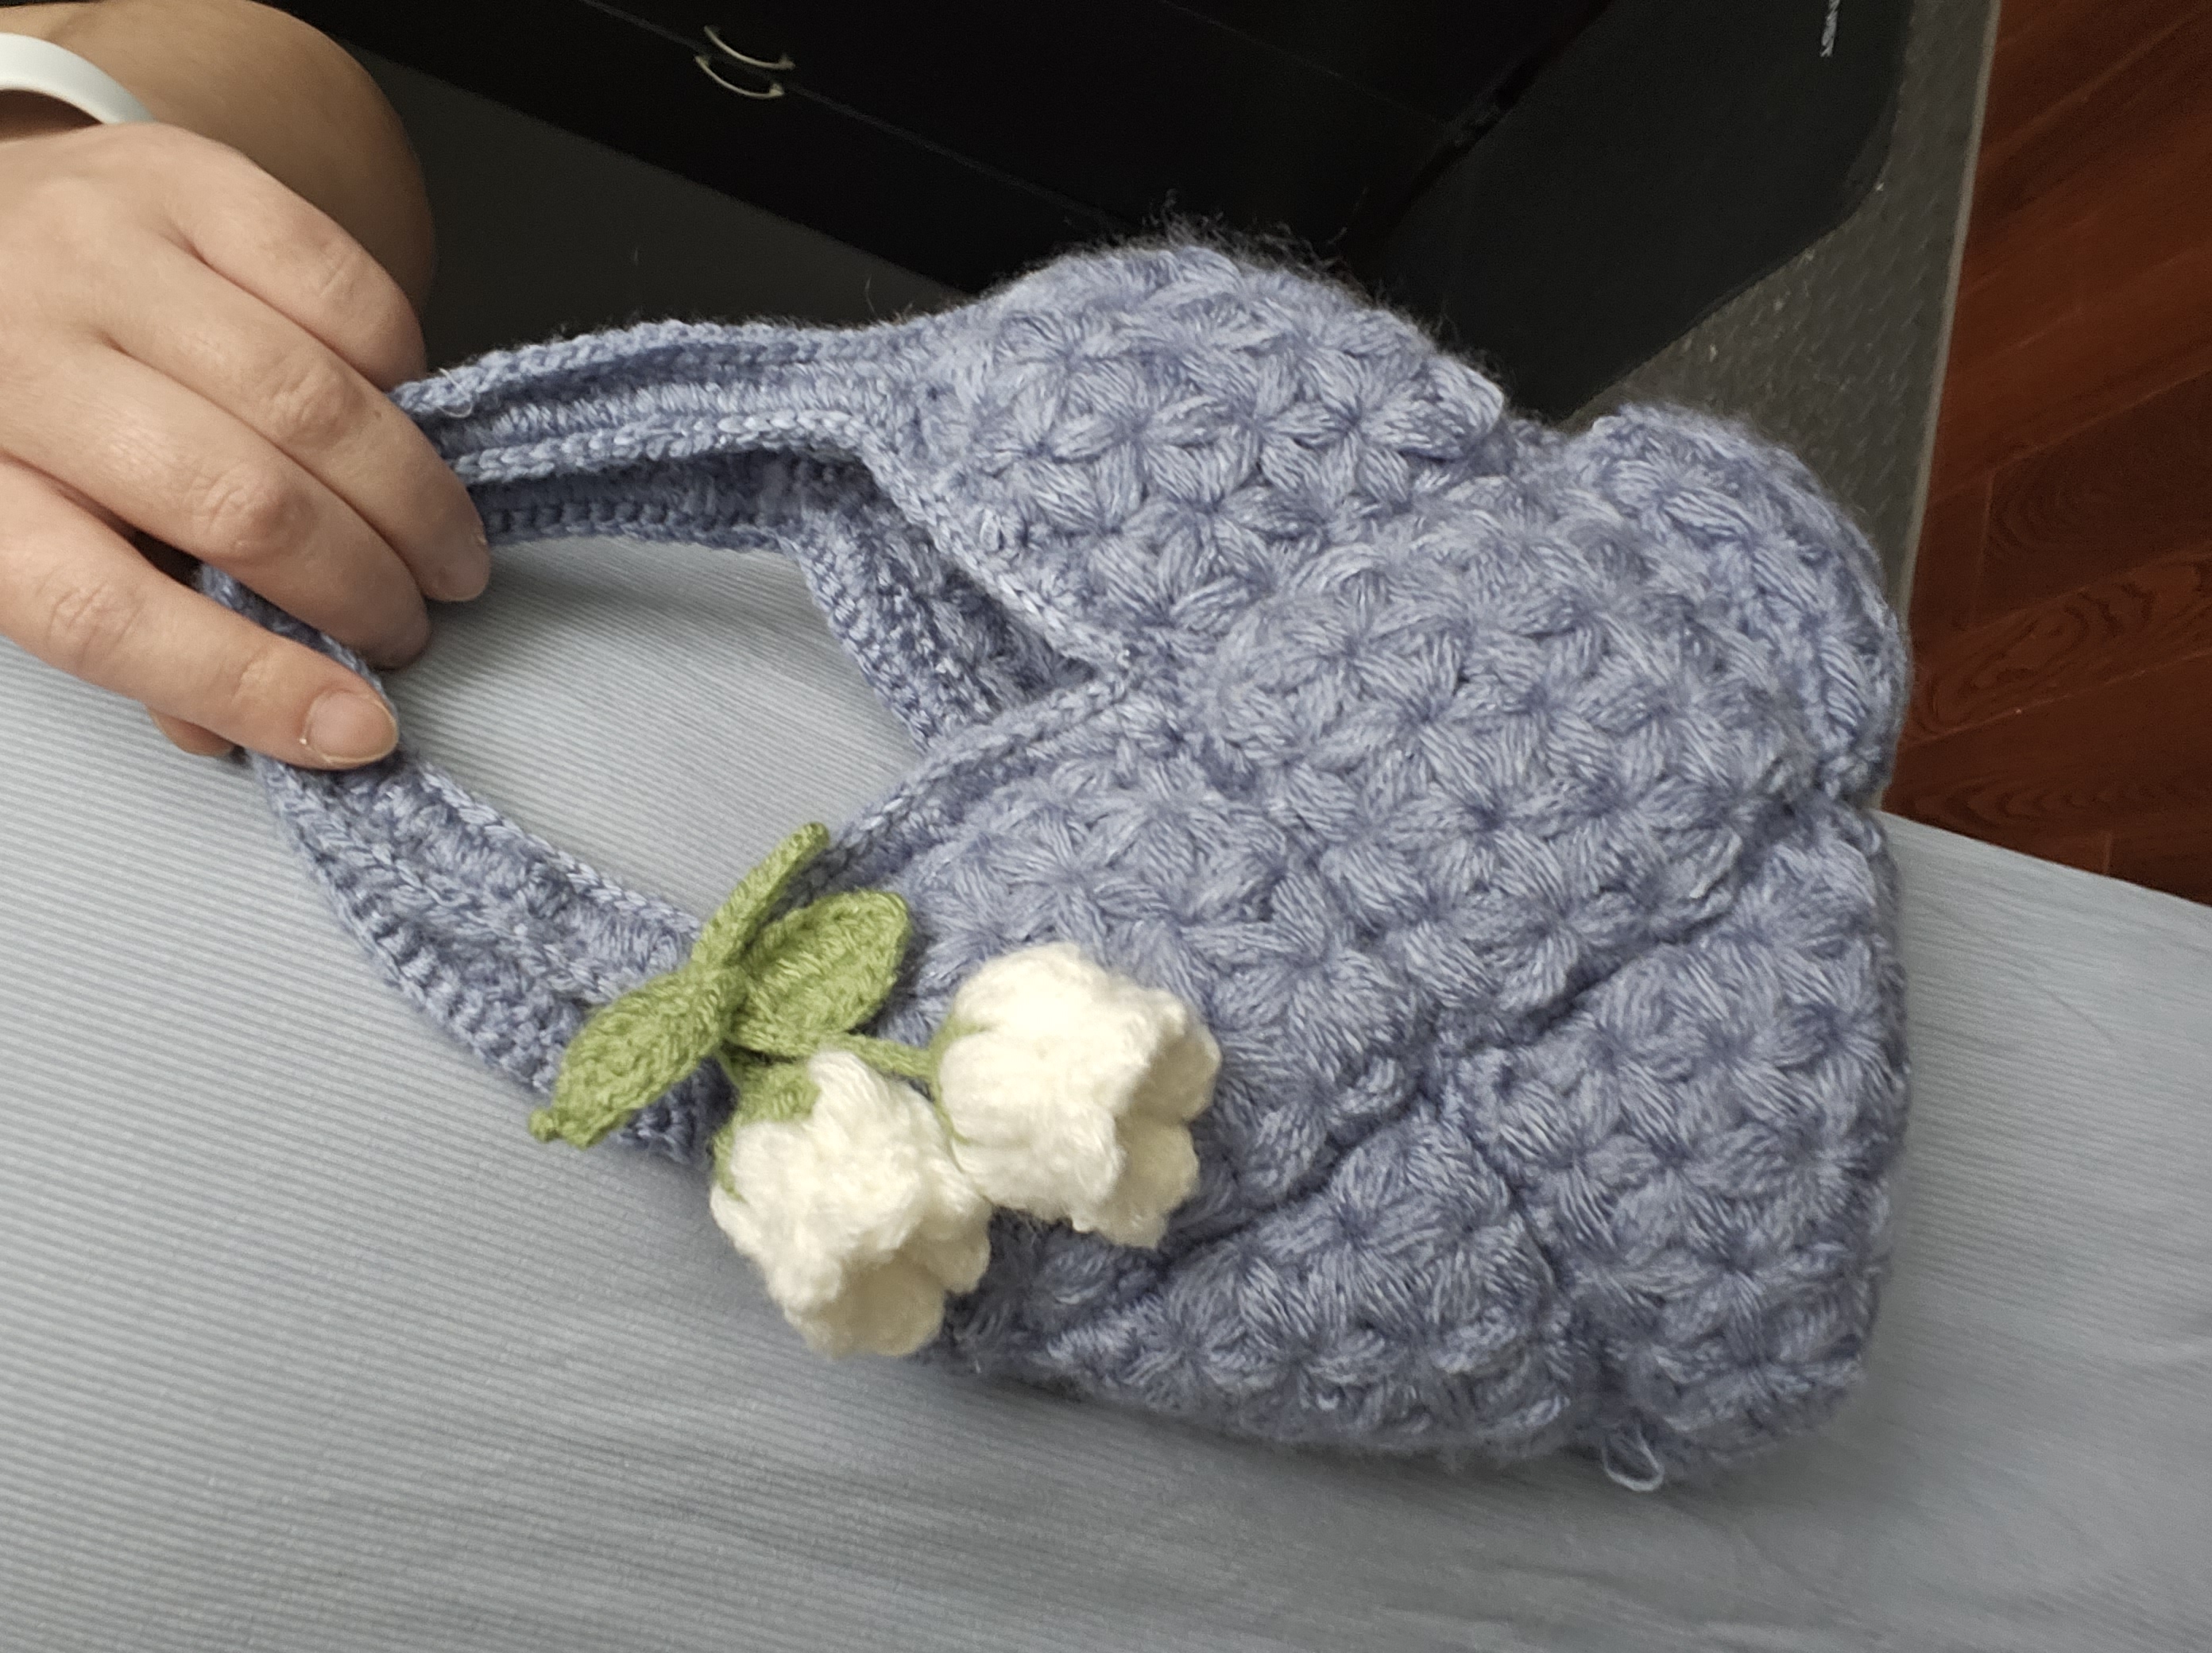
The appeal of this bag is its surface: long, softly rounded clusters meet in small flower shapes, giving a plain color plenty of depth. Five matching squares become a compact bag, while crocheted handles continue the same yarn around the opening. The lavender sample keeps the construction visible without needing color changes.
There are three distinct jobs in the project: learning the jasmine cluster, making consistent squares, and joining those squares into a useful shape. Taking them separately makes the work easier to manage. A neat join cannot fully disguise squares made at different tensions, so it pays to compare the pieces before assembling them.
This article is a companion to the demonstrated construction, rather than a fully independent stitch-by-stitch pattern. The source's cluster labels are abbreviated, and the precise loop placements and handle route need the video close-ups. The verified chart labels are preserved below; unspecified row counts and corner counts have not been filled in by guesswork.
Yarn and tools
The yarn label shown in the tutorial lists 380 yards / 6 ounces, or 347 meters / 170 grams, with a medium-weight 4 symbol. Its label recommends a 5 mm hook. That recommendation belongs to the yarn label; it is not a separately verified measurement of the blue-handled hook used in the demonstration.
You will also need scissors, a yarn needle, and several locking stitch markers. Extra markers are useful for holding corresponding corners together before joining.
The “one-skein” description refers to the substantial skein shown in this project. A small 50-gram ball is not an equivalent supply. Jasmine clusters use generous loops, and your loop height affects both the fabric size and the amount of yarn consumed. If substituting yarn, compare the available length as well as the weight category.
Choose a smooth yarn with enough definition to show the shared cluster centers. Very fluffy yarn can make it difficult to identify the small openings needed for the next row.
Understand the jasmine structure first
The video labels the stitch “3 dc cluster” and “3 dc cluster tog.” In this construction, the hook carries elongated loops across the demonstrated anchor points before the grouped closure. Do not replace that movement with a row of ordinary, individually finished bobbles: the shared closures are what connect the petals into the jasmine fabric.
US abbreviations used below are ch for chain, sc for single crochet, dc for double crochet, ss for slip stitch, and tog for together. A “3 sc dec” at the opening is a three-stitch single-crochet decrease, combining three stitches into one.
Before making a bag square, practice the foundation and one return row. Concentrate on three things: equal loop height, keeping the working yarn available for the closure, and recognizing the next shared anchor. If one loop is much shorter than its neighbors, it can tighten an entire petal group.
Source chart: the square motif
| Stage | Verified on-screen label | How to use it | | --- | --- | --- | | Foundation | 2 ch, 3 dc cluster × 5 | Build the five linked foundation clusters with the demonstrated anchors and closures. | | Working pass | 1 ch, 3 dc cluster tog × 4 | Work four grouped cluster positions across the foundation. | | Return pass | turn, 1 ch, 3 dc cluster tog × 4 | Turn and maintain four grouped positions across. | | Square border | 1 ch, sc* | Work the demonstrated single-crochet border around all four sides. |
The asterisk in the border label indicates continuing the edging; it does not provide a fixed stitch total. Likewise, “× 4” describes the repeated cluster groups across a pass, not a complete specification of the number of rows in the square.
Build a consistent foundation
Follow the five-cluster foundation slowly. Keep the linked clusters similar in size and avoid tightening the small connection between them until the next stitch is established. Mark the indicated foundation point as shown in the tutorial, so it remains identifiable when the work turns.
Lay the foundation down before starting the next pass. A chain of clusters that already twists or contracts sharply will be harder to keep square later.
Work the grouped rows
The next passes use four grouped positions across. Watch where the hook returns to a previous center and where it enters a fresh anchor. Those placements complete the flower shapes as adjacent rows meet.
After each pass, compare the ends. A missing edge group makes the piece narrower; an accidental additional group makes it flare. Keep the turning area distinct from the four working repeats.
Continue to the square proportions demonstrated in the video. The abbreviated labels do not supply a complete written row total, so use the full motif demonstration to establish the sample before repeating it. Once your first square is complete, record your own row count and keep it beside the remaining pieces.
Border the square
Chain 1 and work single crochet around all four sides, following the source's side and corner placements. The border provides a clearer joining edge than the clusters alone.
Keep the edging relaxed enough for the square to lie flat. If a side draws inward, check whether you missed an edge opening or tightened the single crochets. If it ruffles, check for unnecessary extra stitches. Do not add an arbitrary corner formula merely because it is familiar from a different granny-square pattern.
Make five matching pieces
The joining demonstration lays out five bordered squares. Complete all five before permanently assembling the bag.
Stack them and compare the corresponding corners, side lengths, and border stitches. Small tension differences can sometimes be eased gently during finishing, but a noticeably different repeat count should be corrected first. Match the fabric without stretching one square to force it onto another.
Weave in ends that will become difficult to reach after assembly. Keep any tail intended for a join accessible.
Plan the joins before crocheting them
Use the video layout as the assembly map. Put the five squares on a table with the desired outer faces consistently oriented, then mark the pairs of edges that meet. Fold the layout into a bag temporarily and check the opening before starting the permanent joins.
The full layout matters here: joining five squares into a flat strip does not automatically create the demonstrated bag. The video shows the edge pairings and folding sequence during the section after the square borders.
Match corner to corner and work through the corresponding border loops using the demonstrated joining movement. Keep the join tension comparable to the square edging. Check the inside and outside after each seam, and leave the intended upper edges open.
Shape the opening and make the handles
The handle chart includes 45-chain spans, sections labeled 12 sc, and 3 sc decreases at the changes in direction. Those decreases help shape the recessed parts of the opening. The complete path should be followed on the assembled bag in the video: the compact on-screen line is not a substitute for identifying the correct starting corner and attachment points.
Mark the corresponding points on both sides before chaining. Make the chain spans at an even, relaxed tension and check that neither is twisted before attaching it. If one handle looks shorter, compare its chain count and tension before working the reinforcement.
The following edging is labeled **“sc*, 3 sc dec, sc*, 3 sc dec.”** Work the demonstrated single-crochet route and the decreases at the two recessed areas. This adds substance to the chain handles and makes the opening look more continuous.
Avoid pulling the decreases excessively tight. They should shape the valley without drawing the neighboring square corners together into a hard knot.
Finishing and practical use
Weave tails back through several secure stitches and inspect each join. Place a few lightweight belongings inside and lift the bag by both handles. Check that the seams carry the load evenly and that the handle bases do not pull open.
A lining is an optional adaptation for keeping small objects away from the textured openings. If you add one, make it fit the bag's relaxed interior and attach it without stretching the crochet. A lining does not replace secure joins or reinforced handles.
Follow the yarn label for washing. Reshape gently and support the bag while drying; hanging a wet bag by its handles can stretch them.
Troubleshooting
| Problem | Check | | --- | --- | | Petals look uneven | Compare elongated loop height before closing each group. | | A square narrows | Check that every pass retains four working group positions and its proper edge treatment. | | Squares do not align | Compare row counts, border placement, and tension before joining. | | A seam puckers | Loosen the joining tension and check the paired border stitches. | | Handles differ | Compare both 45-chain spans before reinforcing them. | | Opening gathers sharply | Check the position and tension of the three-stitch decreases. |
Video tutorial
Use the opening section for the linked foundation and grouped closures, the middle section for the five-square layout and joins, and the later section for the handle route. Keep the close-ups visible when learning the shared cluster anchors.
Let the texture carry the design
This bag rewards consistent work more than elaborate finishing. Even petals, five matching squares, and balanced handles give the simple color its character. Learning one square carefully also leaves you with a useful reference for later jasmine-stitch projects.
Watch every stitch up close
Pair these written notes with the complete video tutorial.
Made with yarn, shared with love. 🧶💗