
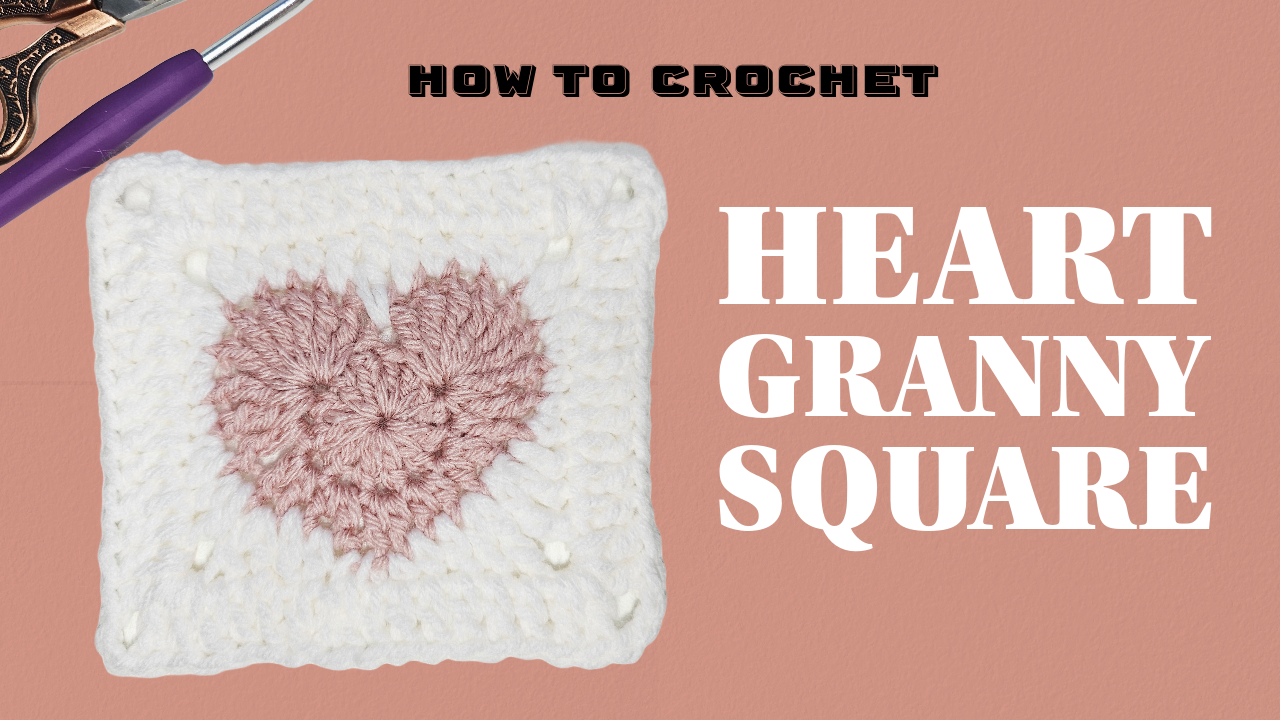
Crochet Heart Granny Square: From a Curved Heart to a Square Motif
A heart and a square ask different things of the fabric. The heart needs rounded upper lobes, a clear dip, and a lower point. The surrounding cream stitches then need to fill the spaces around those curves while making four usable corners. This motif combines both shapes through changes in stitch height.
The sample pairs dusty pink with cream, giving the heart enough contrast to remain visible without a very sharp color change. It can become part of a larger panel, but start by completing one motif. A sample lets you check the heart, the background, and the finished edge before repeating the work.
This guide follows the visible captions in the approximately 14-minute tutorial. The heart rounds and background rounds have separate numbering in the video; they are kept separate below. Some background placement is demonstrated visually rather than fully charted in the caption, so the close-up remains necessary at that stage.
Materials and preparation
Prepare two compatible yarns, a suitable hook, scissors, a yarn needle, and removable stitch markers. Use similar thicknesses for the heart and frame so one section does not overwhelm or tighten the other. The video does not establish a yarn weight, hook diameter, gauge, or finished measurement in this guide.
Choose the yarn according to the intended project. A bag panel, blanket, and cushion cover have different needs for drape and firmness. Finish and measure the square before deciding how many to make.
Use a marker for the lower point and separate markers for the four background corner spaces. This makes it easier to keep a directional motif upright as its outer shape changes.
Stitch terms and caption conventions
US terms are used: `ch` chain, `sc` single crochet, `hdc` half double crochet, `dc` double crochet, `tr` treble crochet, and `sl st` slip stitch. The video writes slip stitch as `SS` and a skipped stitch as `K1`.
Square brackets indicate a group sharing an insertion point in the demonstrated sequence. A run such as `2 hdc` refers to two stitches in sequence; compare the close-up wherever the supporting positions change. A group of eight trebles forms a lobe and must not be confused with eight ordinary trebles distributed around the circle.
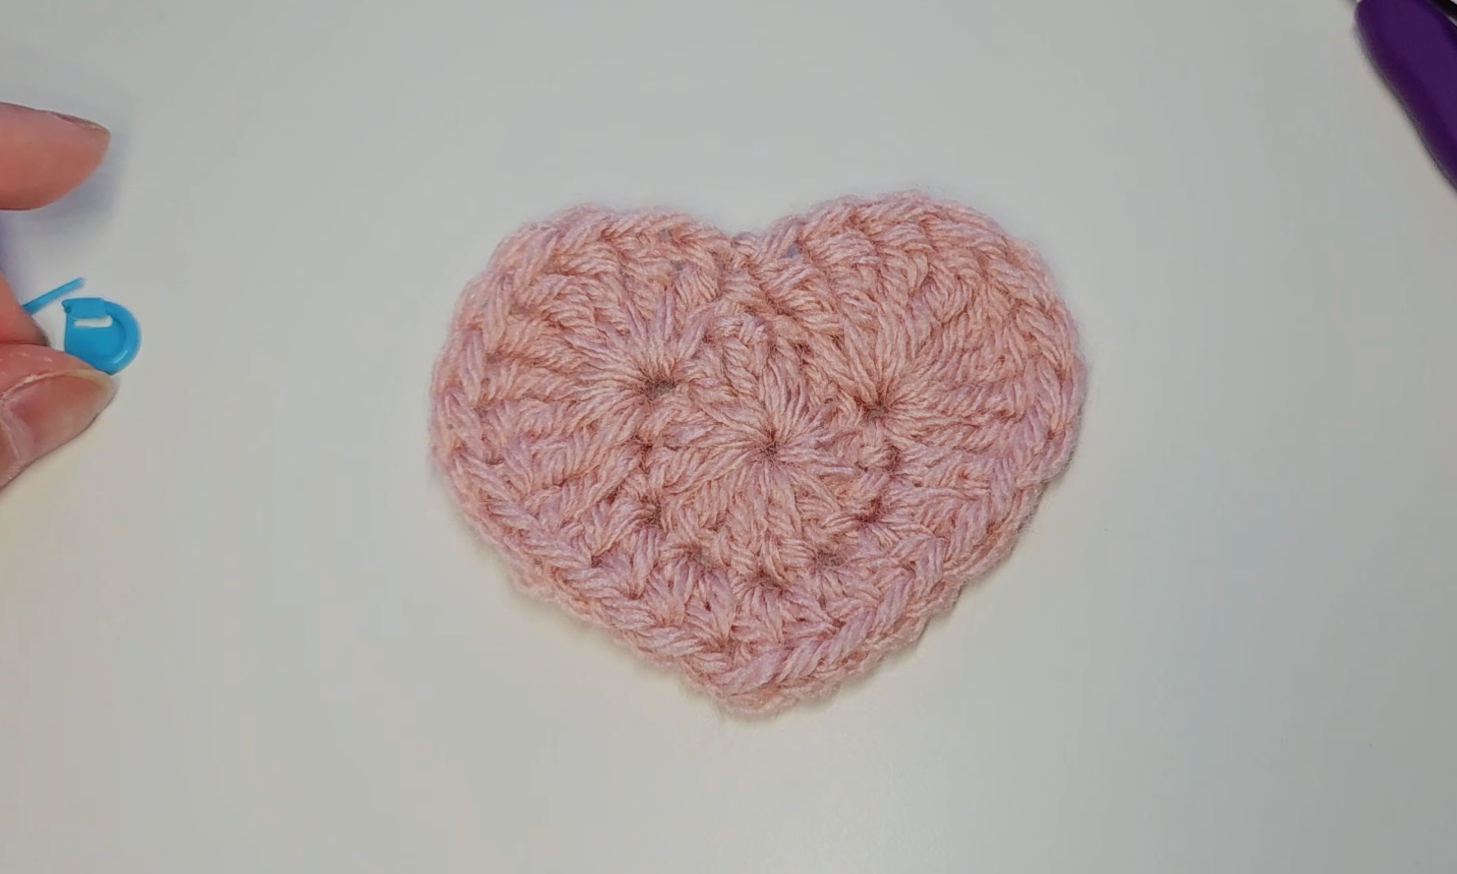
- Make the circular heart center
Begin with the starting ring shown. The first caption reads:
`R1: ch 3, 12 dc, sl st.`
Work the 12 double crochets into the ring and join using the demonstrated lifting-chain treatment. The caption lists the three chains separately from the twelve dc. Keep a note of how the join is made rather than changing the treatment of the starting chain midway through the motif.
Close the center neatly without pulling the surrounding stitches into an uneven knot. Lay the circle down and locate the next working position before starting the shaped round.
2. Shape the heart outline
The second-round caption gives this sequence:
`Skip 1, 8 tr, dc, [dc, hdc], 2 hdc, ch 1, [dc, hdc], 2 hdc, [hdc, dc], dc, 8 tr, skip 1, sl st.`
Read it in sections rather than as one uninterrupted string:
| Section | Captioned sequence | What to check | | --- | --- | --- | | First upper lobe | Skip 1, 8 tr | Follow the shared lobe insertion shown | | First sloping side | Dc, [dc, hdc], 2 hdc | Keep the grouped stitches distinct from the plain run | | Lower transition | Ch 1, [dc, hdc] | Compare the placement that defines the lower point | | Opposite side | 2 hdc, [hdc, dc], dc | Preserve the changing stitch heights | | Second upper lobe and dip | 8 tr, skip 1, sl st | Match the lobe fullness without tightening away the dip |
The two eight-treble groups create the upper curves. The shorter stitches bring the sides toward the point, and the skipped and joining positions help define the top indentation.
The displayed formula includes `[dc, hdc]` after the chain-one transition. It is retained here as shown rather than silently rewritten into a more symmetrical-looking formula. Check that position in the close-up before carrying on.
Fasten off as demonstrated and leave a tail that can be woven in securely. Before adding cream, compare both lobes and find the top dip and lower point. If the point leans strongly, inspect the insertion positions now; the background will make that error harder to reach.
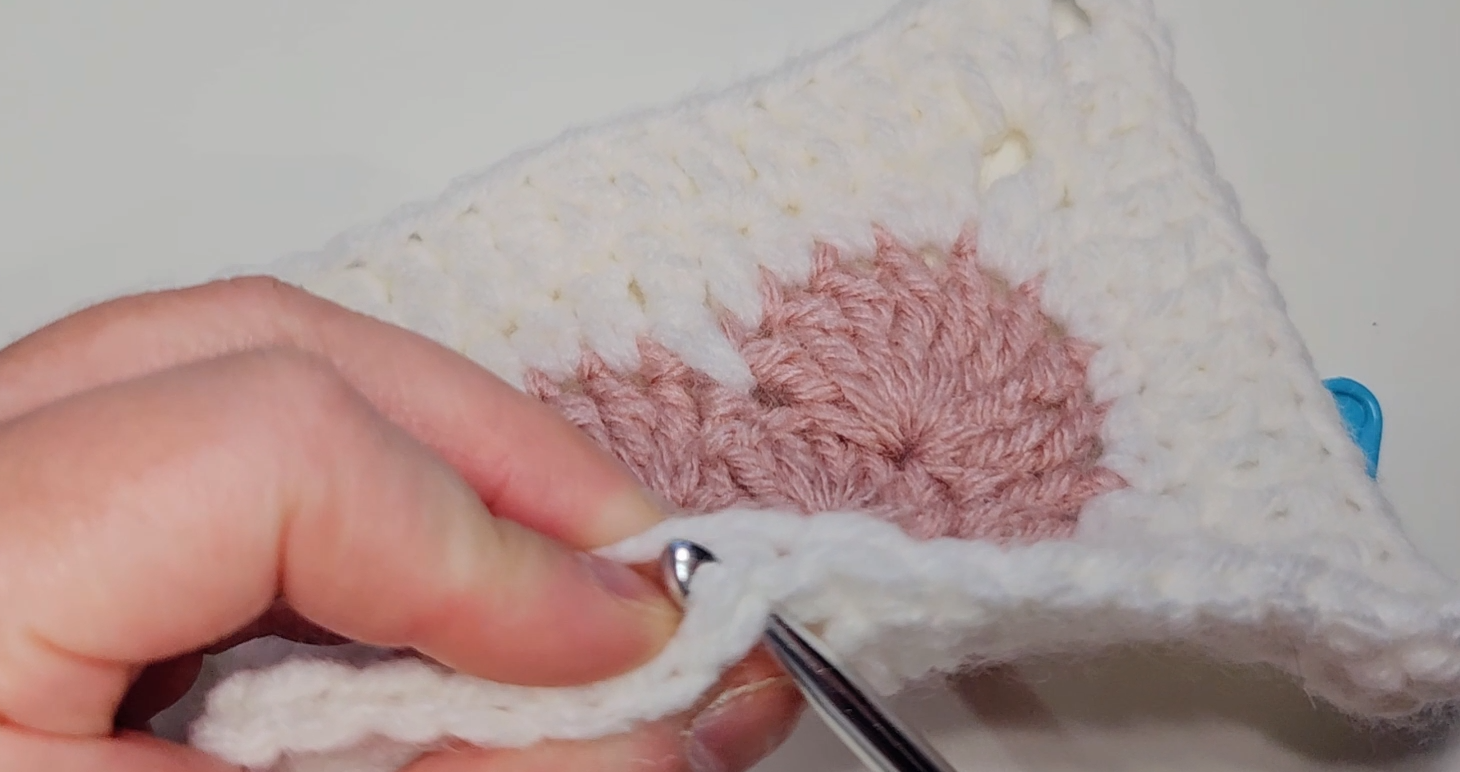
3. Build the first cream background round
Join the background yarn in the position demonstrated. The source resets the label to R1 for this section. Its displayed sequence is:
`Ch 1, sl st, sc, hdc, dc, [dc, tr], ch 3, [tr, dc], dc, [hdc, sc], sc, 2 sc, [hdc, dc], ch 3, [dc, hdc], hdc, hdc, dc, tr.`
This caption contains two chain-three corner sections; it is not a complete four-corner chart by itself. The video demonstrates the continuing route around the heart and shows the completed square before the next round. Follow that visual continuation for the remaining side rather than repeating the text mechanically from an arbitrary point.
Three features make the background work:
- Shorter stitches sit beside the fuller parts of the heart.
- Taller stitches fill deeper spaces, including the top indentation.
- Chain-three spaces establish the square's corners.
The deep stitch at the indentation needs the placement shown in the close-up. Inserting it into a convenient nearby top loop changes the depth of the cream section and can obscure the heart's dip.
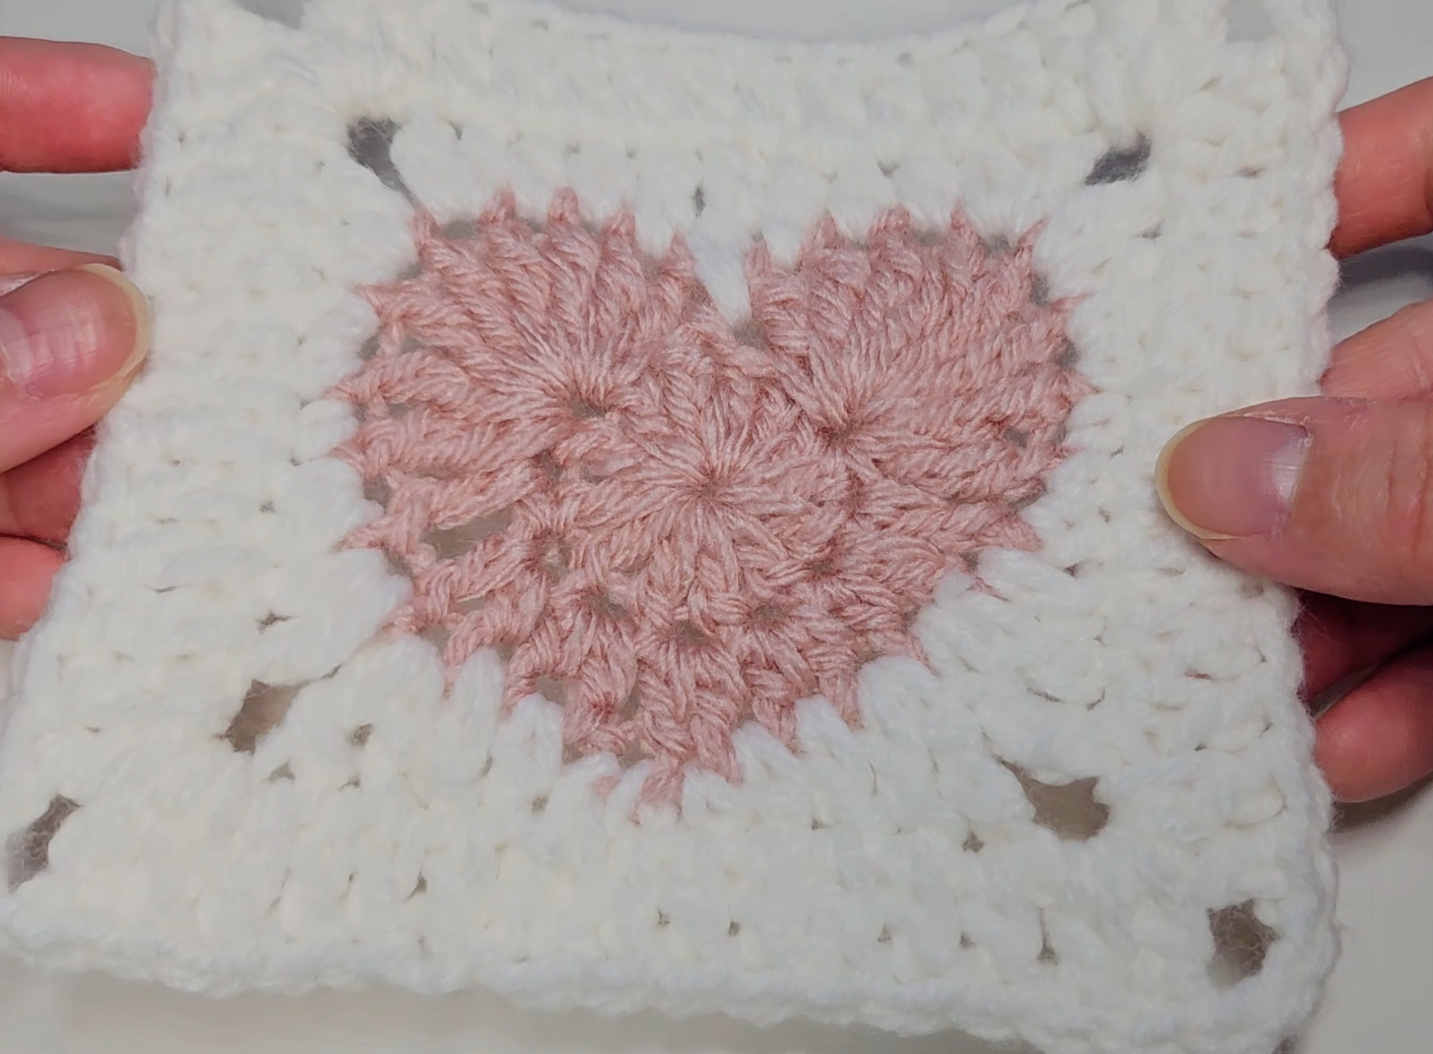
Mark all four corner spaces once the background is complete. Lay the motif down and inspect the frame. Do not continue to the regular outer round until the heart remains recognizable and the four corners are in their intended positions.
4. Work the regular outer frame
The next caption is more straightforward:
`Ch 2; dc in each stitch except the four large corner spaces. At each corner: 2 dc, ch 3, 2 dc.`
Work one double crochet into each ordinary stitch along a side. When you reach a marked chain-three corner space, put the full corner group into that space, then continue along the next side. Follow the demonstrated join to complete the round.
Keep the four corner spaces separate from the ordinary stitch tops. Do not put one dc into every corner chain and then add the corner group as well; that adds unintended fabric.
Compare all four sides before fastening off. The outer frame should support the heart without pulling its lobes outward or crowding the point. A directional motif does not need equal visual spacing at every part of the heart, but the completed square should lie comfortably flat.
5. Finish the motif before making a batch
Weave the pink tails through pink stitches and cream tails through cream where possible. Check the front while doing this, especially near the top dip: a tail drawn too tightly can change the outline after the crocheting itself is complete.
If blocking suits the yarn, dampen or wash the motif according to the label, shape it gently, and allow it to dry fully. Measure the settled width and height, then record the hook, yarns, and edge stitch counts. Keep this square as your comparison sample.
Blocking can settle small variations. It does not reliably fix a corner group in the wrong position, an omitted background section, or a lobe worked into the wrong anchor.
Use the square in a larger project
| Project | Planning detail that matters | | --- | --- | | Blanket | Lay out all hearts upright before joining; plain squares can give the motifs more visual space | | Cushion | Compare the finished panel with the insert, allowing for seams, borders, and the back closure | | Bag | Plan front and back orientation separately, plus side depth, lining, handles, and attachment strength | | Small decorative panel | Finish the outer edge and hanging method to suit the intended display |
The motif tutorial does not provide complete construction patterns for all these projects. Choose the project after measuring the finished square, then work out the panel arrangement from that actual dimension.
For a rough layout estimate, multiply the settled square width by the number of squares across, then account for the chosen joins and border. Seam styles can change the result, so join a small sample if the final size matters.
Troubleshooting the heart and frame
One upper lobe is larger
Check the eight-treble groups and their shared insertion positions before changing your tension. Eight trebles distributed over several base stitches do not produce the same shape as the demonstrated lobe group.
The top indentation disappears
Inspect the joining tension and the deep background stitch at the dip. Its placement matters as much as its height. Also check that a woven-in pink tail has not gathered the center.
The background cups or waves
Check the transition between short and tall stitches and the positions of all four corner spaces. In the outer round, verify that each corner receives only the specified corner treatment.
Squares made on different days do not match
Compare both stitch counts and washed dimensions. Changes in tension can be difficult to see in a small center yet become obvious after the frame is added. Return to the original sample before completing many more motifs.
Hearts turn sideways after joining
A square can rotate without affecting its edges, but the heart remains directional. Lay out the entire panel and mark its top before making permanent seams.
Watch the heart-square tutorial
Follow the close-ups for the lobe anchors, lower-point transition, and visual continuation of the first background round. The captioned outer frame then provides a regular route around the four corners.
Finish one clear heart before planning the whole panel
The strongest part of this motif is the relationship between the recognizable pink heart and its calm cream frame. Establish the lobes and point first, take care with the graduated background, and measure a completed sample. Repeating a well-understood square will make the eventual joining and finishing much more predictable.
Watch every stitch up close
Pair these written notes with the complete video tutorial.
Made with yarn, shared with love. 🧶💗