
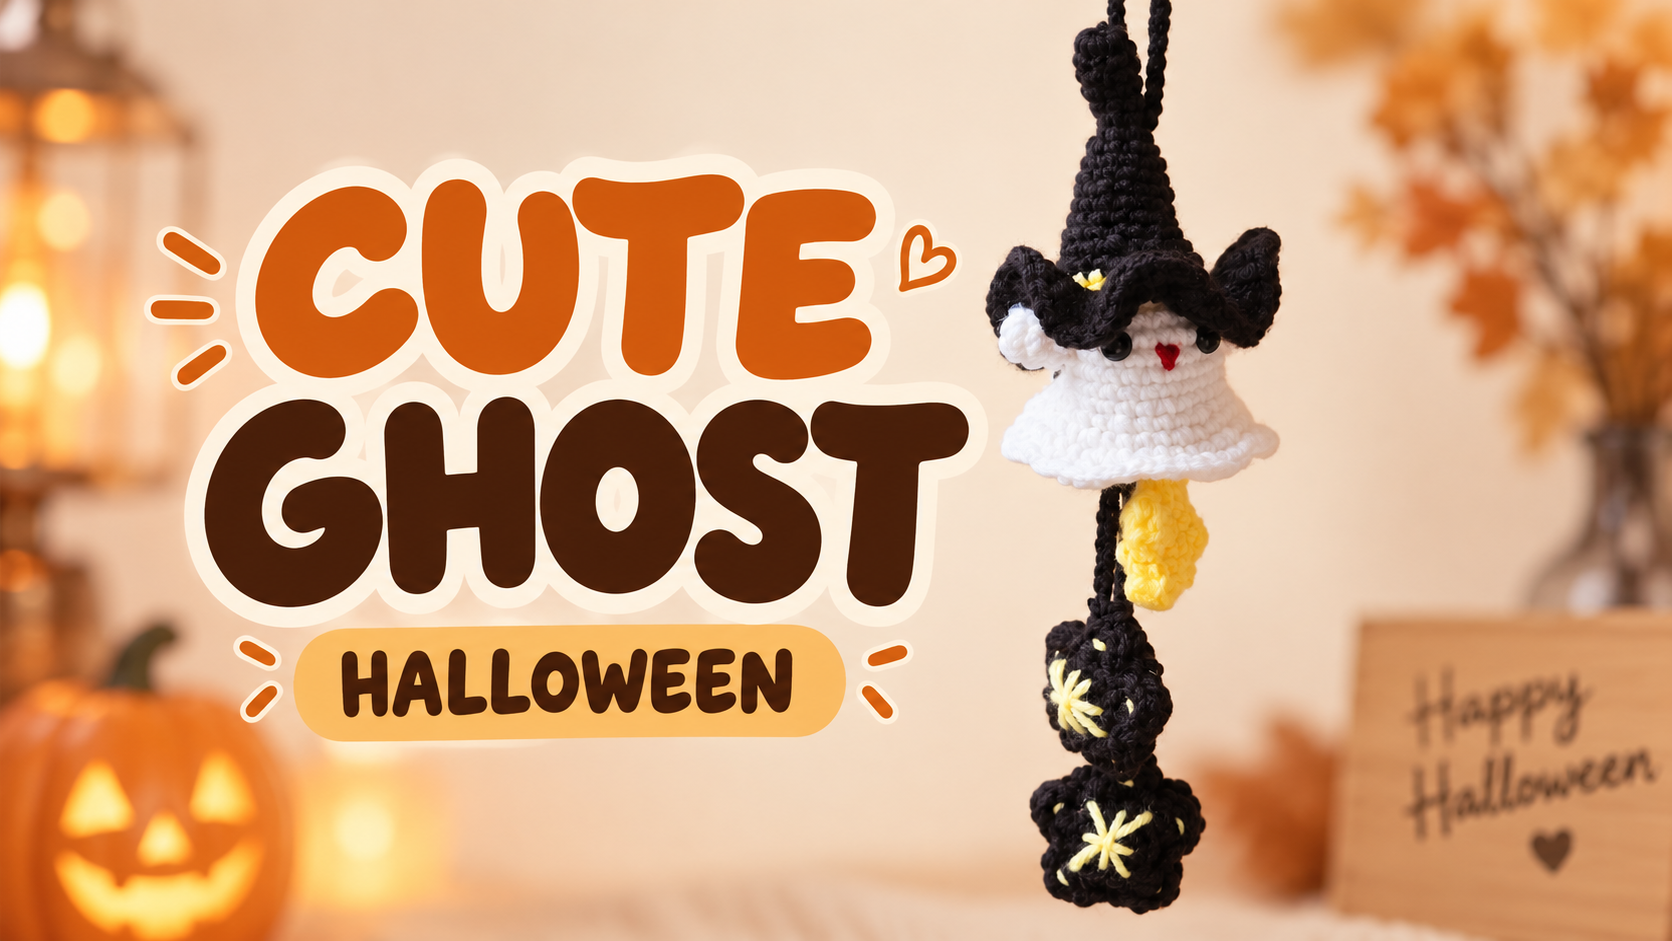
A Little Ghost Beneath a Curled Witch Hat
This hanging decoration combines a white ghost with an oversized black witch hat. The ghost’s lower edge flares outward, while the hat’s brim curls up at the sides.
A small red mouth adds a bright detail beneath the dark brim. Below the ghost, black cords carry a yellow accent and black star-shaped pieces decorated with yellow stitching.
Those hanging pieces give the decoration its long silhouette. Their spacing and weight affect how the whole project hangs, so assembly is worth checking while the connections are still adjustable.
Follow the video near the end for the crochet sequence and construction. These notes focus on preserving the ghost’s outline, positioning the hat, and arranging the lower decorations.
Plan the Colors and Supplies
White, black, yellow, and red create the pictured Halloween palette. The strong contrast keeps the individual parts visible even when the decoration is viewed from a distance.
Prepare:
- White yarn for the ghost and small hands.
- Black yarn for the hat, cords, and dark star details.
- Yellow yarn for the contrasting accents.
- Red yarn for the mouth detail.
- A crochet hook suitable for your yarn.
- Scissors, a yarn needle, and stitch markers.
- Any filling or additional assembly materials specified in the tutorial.
Check the video for the demonstration materials. The finished photograph does not establish an exact hook size, yarn quantity, or which pieces contain filling.
Choose yarns of compatible thickness. A much heavier yarn for the lower decorations can change the balance and pull on the ghost above them.
Make Dark Stitches Easier to Follow
Work the black sections in good light, with a pale surface behind the crochet when checking stitch placement.
Use markers to track the round starts and shaping changes. The hat and small star pieces can be harder to count once the dark stitches blend together.
Preserve the Ghost’s Flared Lower Edge
Follow the tutorial’s shaping closely where the body widens toward the bottom.
The lower edge should spread naturally rather than gather tightly inward. If it curls unexpectedly, review the stitch count and tension before continuing.
Avoid adding filling indiscriminately to change the shape. Follow the construction shown in the video so the ghost retains its intended draped outline.
Position the small hands before securing them. Check their height and angle from the front, allowing them to remain visible beside the hat and body.
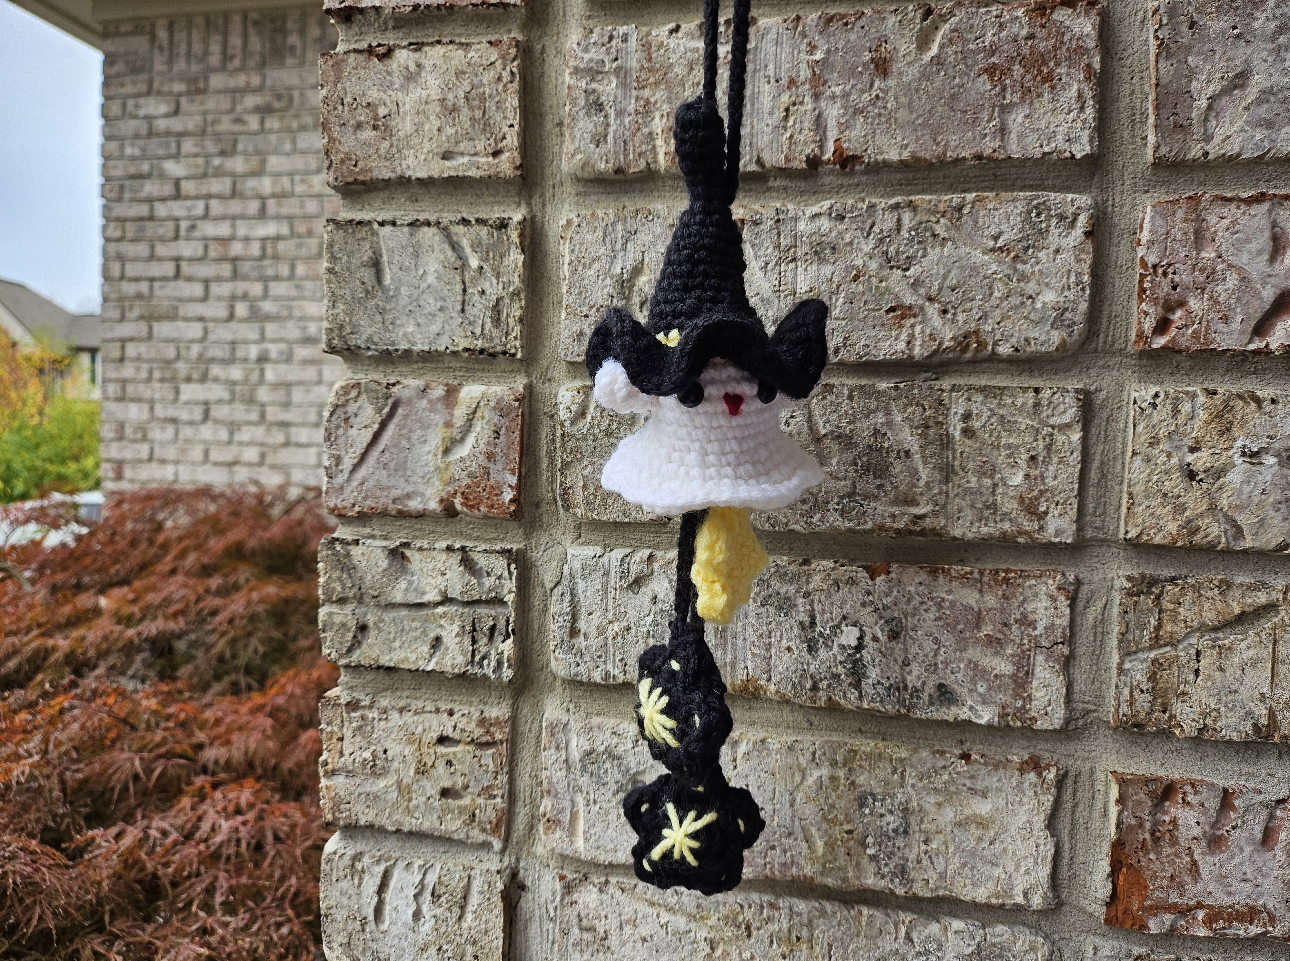
Fit the Hat Before Completing the Attachment
The tall pointed hat provides the main Halloween feature. Its curled brim frames the ghost and partly shades the face.
Follow the hat instructions, then test its position on the ghost before securing it. Check the front and side views.
Keep enough of the face visible for the red mouth and other details to be seen. A brim pulled too low can hide the expression, while an uneven attachment can tilt the whole decoration.
Arrange the Brim Gently
Shape the brim according to the tutorial. Support it near the base while adjusting the curled edges rather than pulling sharply on the tips.
The curls do not need to be perfectly identical, but they should look balanced around the ghost.
Secure the hat through the intended attachment area without compressing the white body. Keep the top hanging connection clear of decorative stitches.
Add the Small Accent Stitches
The pictured hat has a yellow accent, and the dark lower stars carry contrasting yellow stitches.
Follow the video for their placement and construction. Keep the stitches visible without pulling so tightly that they dent or gather the crochet beneath them.
Hide the ends within the relevant pieces, and inspect both sides for loose strands.
The red mouth is another small detail with a strong visual effect. Check its position with the hat in place before completing the facial finish.
Arrange the Lower Decorations While Hanging
Lay out the cords and star pieces first, then suspend the arrangement temporarily.
Check that each piece has room to be seen. If two accents overlap heavily, adjust their spacing before securing the final connections.
Look at the decoration from the front and side. A layout that appears balanced on a table may rotate or lean when suspended.
Secure Each Connection Separately
Follow the tutorial’s cord and attachment method. Spread the load across the intended crochet stitches rather than relying on one loose strand.
Check the connections between the ghost, cords, and individual accents. The lower pieces move independently, so each joining point needs to be secure.
Keep the cords free of unintended knots or trapped yarn ends before completing the assembly.
Choose a Display Spot with Enough Space
A wall hook or seasonal display branch can give the hanging pieces room to move. Allow space beneath the ghost so the stars do not rest against a shelf or become tangled in nearby decorations.
The sample is photographed outdoors, but outdoor durability depends on the actual yarn and construction. For a longer display, a sheltered indoor position will help preserve the shape and colors.
Lift the finished decoration by supporting the main piece while handling the loop. Avoid pulling on a lower star to move the whole arrangement.
Watch the Ghost with Witch Hat Tutorial
The full video demonstrates the ghost, hands, witch hat, star details, and assembly.
Pause during the hanging arrangement to check the spacing and balance of your own pieces before hiding the final ends.
Finish the Hanging Decoration
Inspect the hat connection, hands, face, cords, and star attachments. Secure the remaining ends and check that the decoration hangs comfortably.
For storage, lay the cords separately and leave room around the curled brim. Avoid compressing the hat beneath heavier items.
A clear white silhouette, expressive dark hat, and well-spaced hanging accents give this little ghost its playful Halloween character.
Watch every stitch up close
Pair these written notes with the complete video tutorial.
Made with yarn, shared with love. 🧶💗