
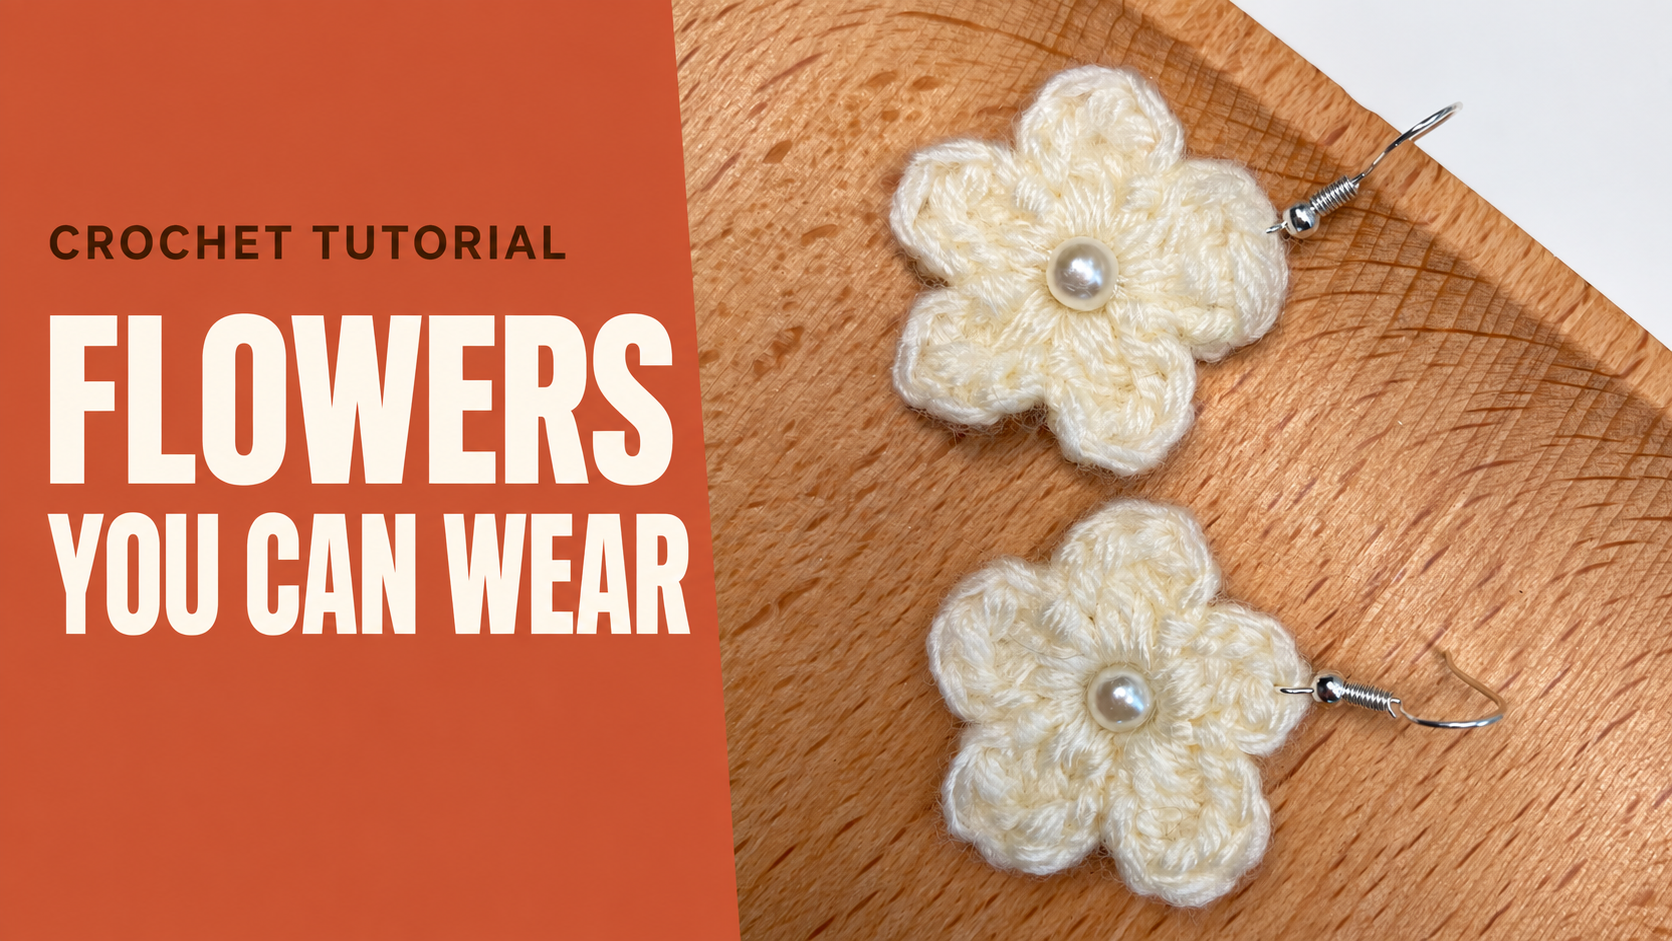
Crochet Flower Earrings with Pearl Centers
A small flower can become an effective piece of jewelry without extra fringe or complicated decoration. These earrings use five rounded crochet petals around a pearl-style center, with a simple hook above each motif. The smooth center contrasts with the stitched surface while leaving the flower outline easy to see.
The crochet itself is short. Making two flowers that hang well together takes a little more attention: their centers, petal fullness, and hook positions all affect the finished pair. Complete both flowers before fitting the beads and findings so you can compare the motifs while adjustments are still easy.
Materials and Proportions
Gather fine yarn or crochet thread, a compatible hook, two matching pearl-style beads, two earring hooks, scissors, a needle and suitable thread for the beads, and jewelry pliers for the findings.
The tutorial specifies a 4 mm pearl for the center. Treat this as the demonstrated bead size rather than a rule for every yarn substitution. If your flower comes out larger or smaller, check the bead against the finished motif before sewing it in place.
Use the same yarn and hook for both earrings. Smooth, light-colored material makes small stitch tops easier to identify. A heavier yarn changes the flower's width, thickness, and weight, even though the stitch sequence stays the same.
The pattern below uses US terms. Ch means chain, dc means double crochet, and sl st means slip stitch. The adjustable starting loop is a magic ring.
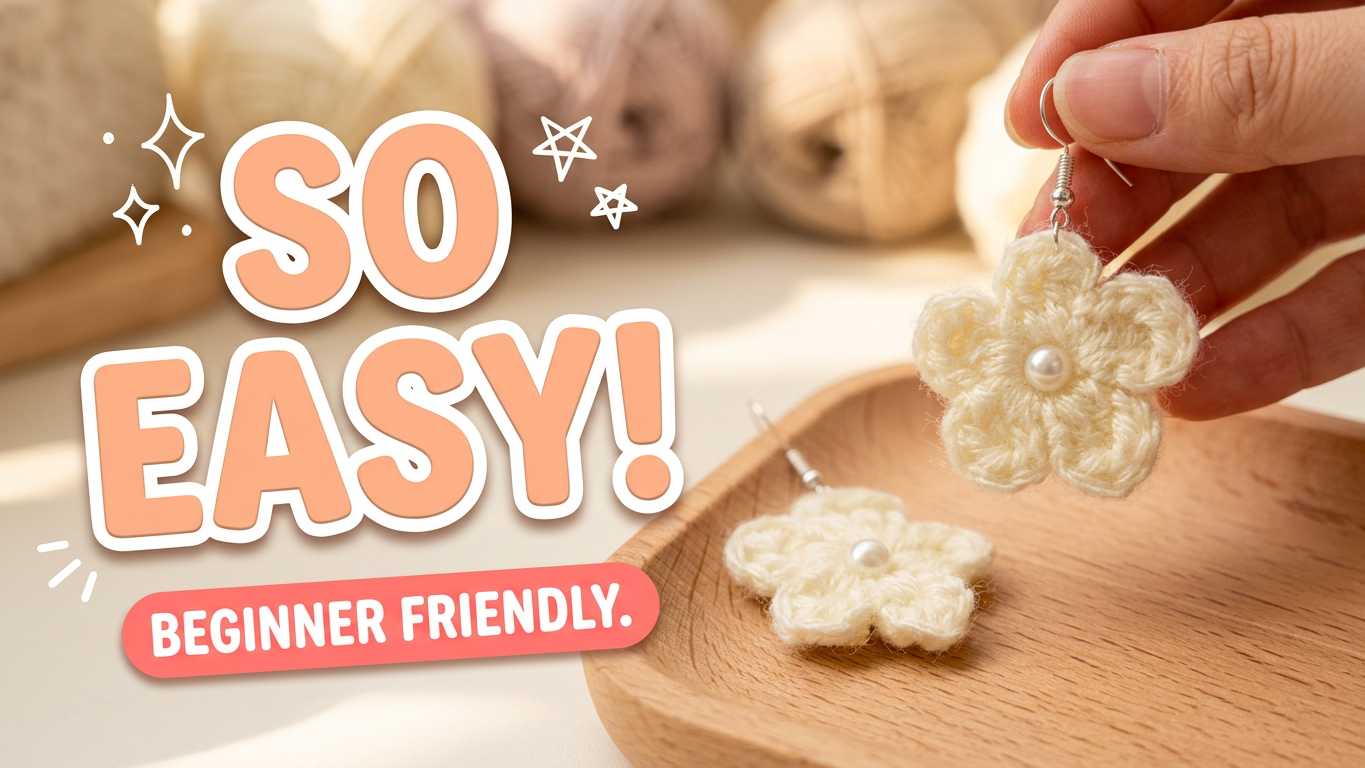
- Crochet One Five-Petal Flower
Make a magic ring, leaving a tail you can secure neatly afterward. Work the entire following repeat into that ring:
(Ch 2, 2 dc, ch 2, sl st) five times.
Each repeat makes one petal. The first two chains rise from the center, the two double crochets give the petal its fullness, and the next two chains return toward the ring. The slip stitch anchors the petal before the following repeat begins.
Work each petal into the central ring rather than along the chains of the previous petal. Keep the slip stitches small enough to define the divisions without pulling so tightly that the next petal is difficult to start.
After five repeats, count five petals and ten completed double crochets. The chain sections are part of each petal's outline, not additional double crochets. This provides a simple check before closing the center.
Draw the magic ring closed carefully and arrange the petals with your fingers. Fasten off and secure the tails on the back, preserving the flower's shape. The video uses this compact flower repeat; an additional outline round is not needed to reproduce it.
2. Make and Compare the Second Flower
Repeat the same construction for the second earring while the first flower is nearby. Lay the two motifs side by side, then rotate them into the same orientation before comparing their width and petal shape.
A petal at the top of one flower and a gap at the top of the other can make matching motifs look different. Compare like with like before deciding your tension has changed.
If one petal is noticeably smaller, check its two double crochets and both chain sections. If the whole second flower is smaller, its ring or working tension may be tighter. Correct that difference before beads and hardware make the pieces harder to handle.
3. Sew the Pearl-Style Centers
Place a 4 mm bead over the center of each flower and look at the pair from the front. Both centers should sit in corresponding positions, leaving the inner portion of the petals visible.
Use a needle and securing thread that pass comfortably through the bead hole. Sew through firm stitches around the center rather than relying on a single loose strand. Tighten enough to hold the bead in place, stopping before the petals pucker inward.
Check the front after the first securing passes. A bead can look centered from the back while leaning to one side on the visible face. Finish the thread securely and conceal its end where it will not show between petals.
Do not use the bead simply to hide an unsecured magic ring. The crochet center should already be closed and stable before the bead is attached.
4. Attach the Hooks in Matching Positions
Choose the same attachment point on both flowers, using the hook connection shown near the end of the tutorial. Support the finding with pliers as needed and close its loop completely so a fine crochet strand cannot slip through a gap.
Check the direction of each hook before finishing the connection. Hold both earrings by their hooks and let the flowers hang freely. The pearl faces should point forward in corresponding orientations, with similar distances between the hooks and the flower centers.
If a motif twists away, inspect the finding and its attachment point before pulling on the crochet. A different connection point can change how a flower hangs even when the two motifs are identical.
Final Checks and Care
Examine the pair at a normal viewing distance as well as close up. Check for five distinct petals, secure centers, closed finding loops, and neatly concealed tails on the backs. Earrings move during wear, so the reverse should look finished too.
If one bead pulls the center downward, check whether its attachment is loose or whether it is too heavy for your chosen thread. If the flowers feel bulky, thinner material is a more useful adjustment for a future pair than forcing the existing stitches tighter.
Store the earrings with space around the flowers rather than beneath heavy jewelry. Follow the care instructions for the thread, beads, and metal components. If shaping is needed after handling, arrange the petals gently with your fingers instead of tugging at an individual loop.
Watch the Flower Earring Tutorial
The video demonstrates the five-petal repeat, sewing the 4 mm centers, and connecting the earring hooks.
The finished pair depends on consistency more than elaborate decoration. Five balanced petals, centered beads, and matching hook positions let this small crochet motif stand on its own as a wearable floral accessory.
Watch every stitch up close
Pair these written notes with the complete video tutorial.
Made with yarn, shared with love. 🧶💗