
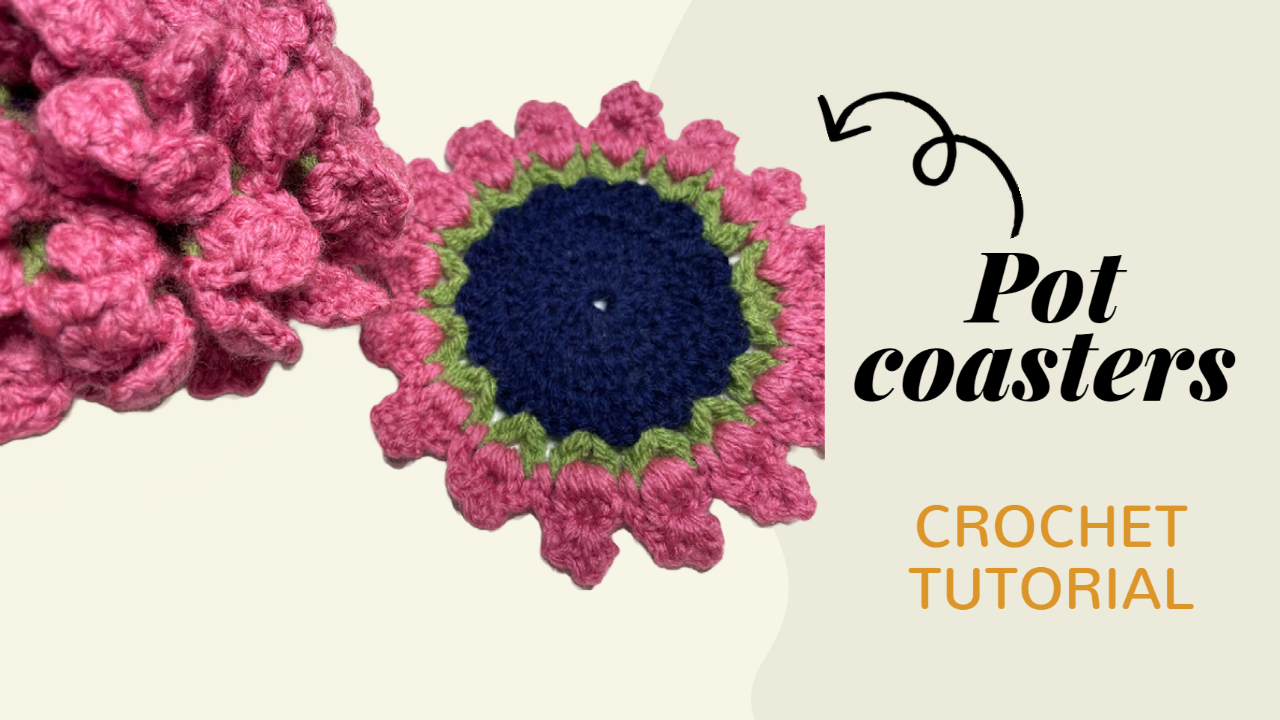
Crochet Flower Coaster with Raised Pink Petals
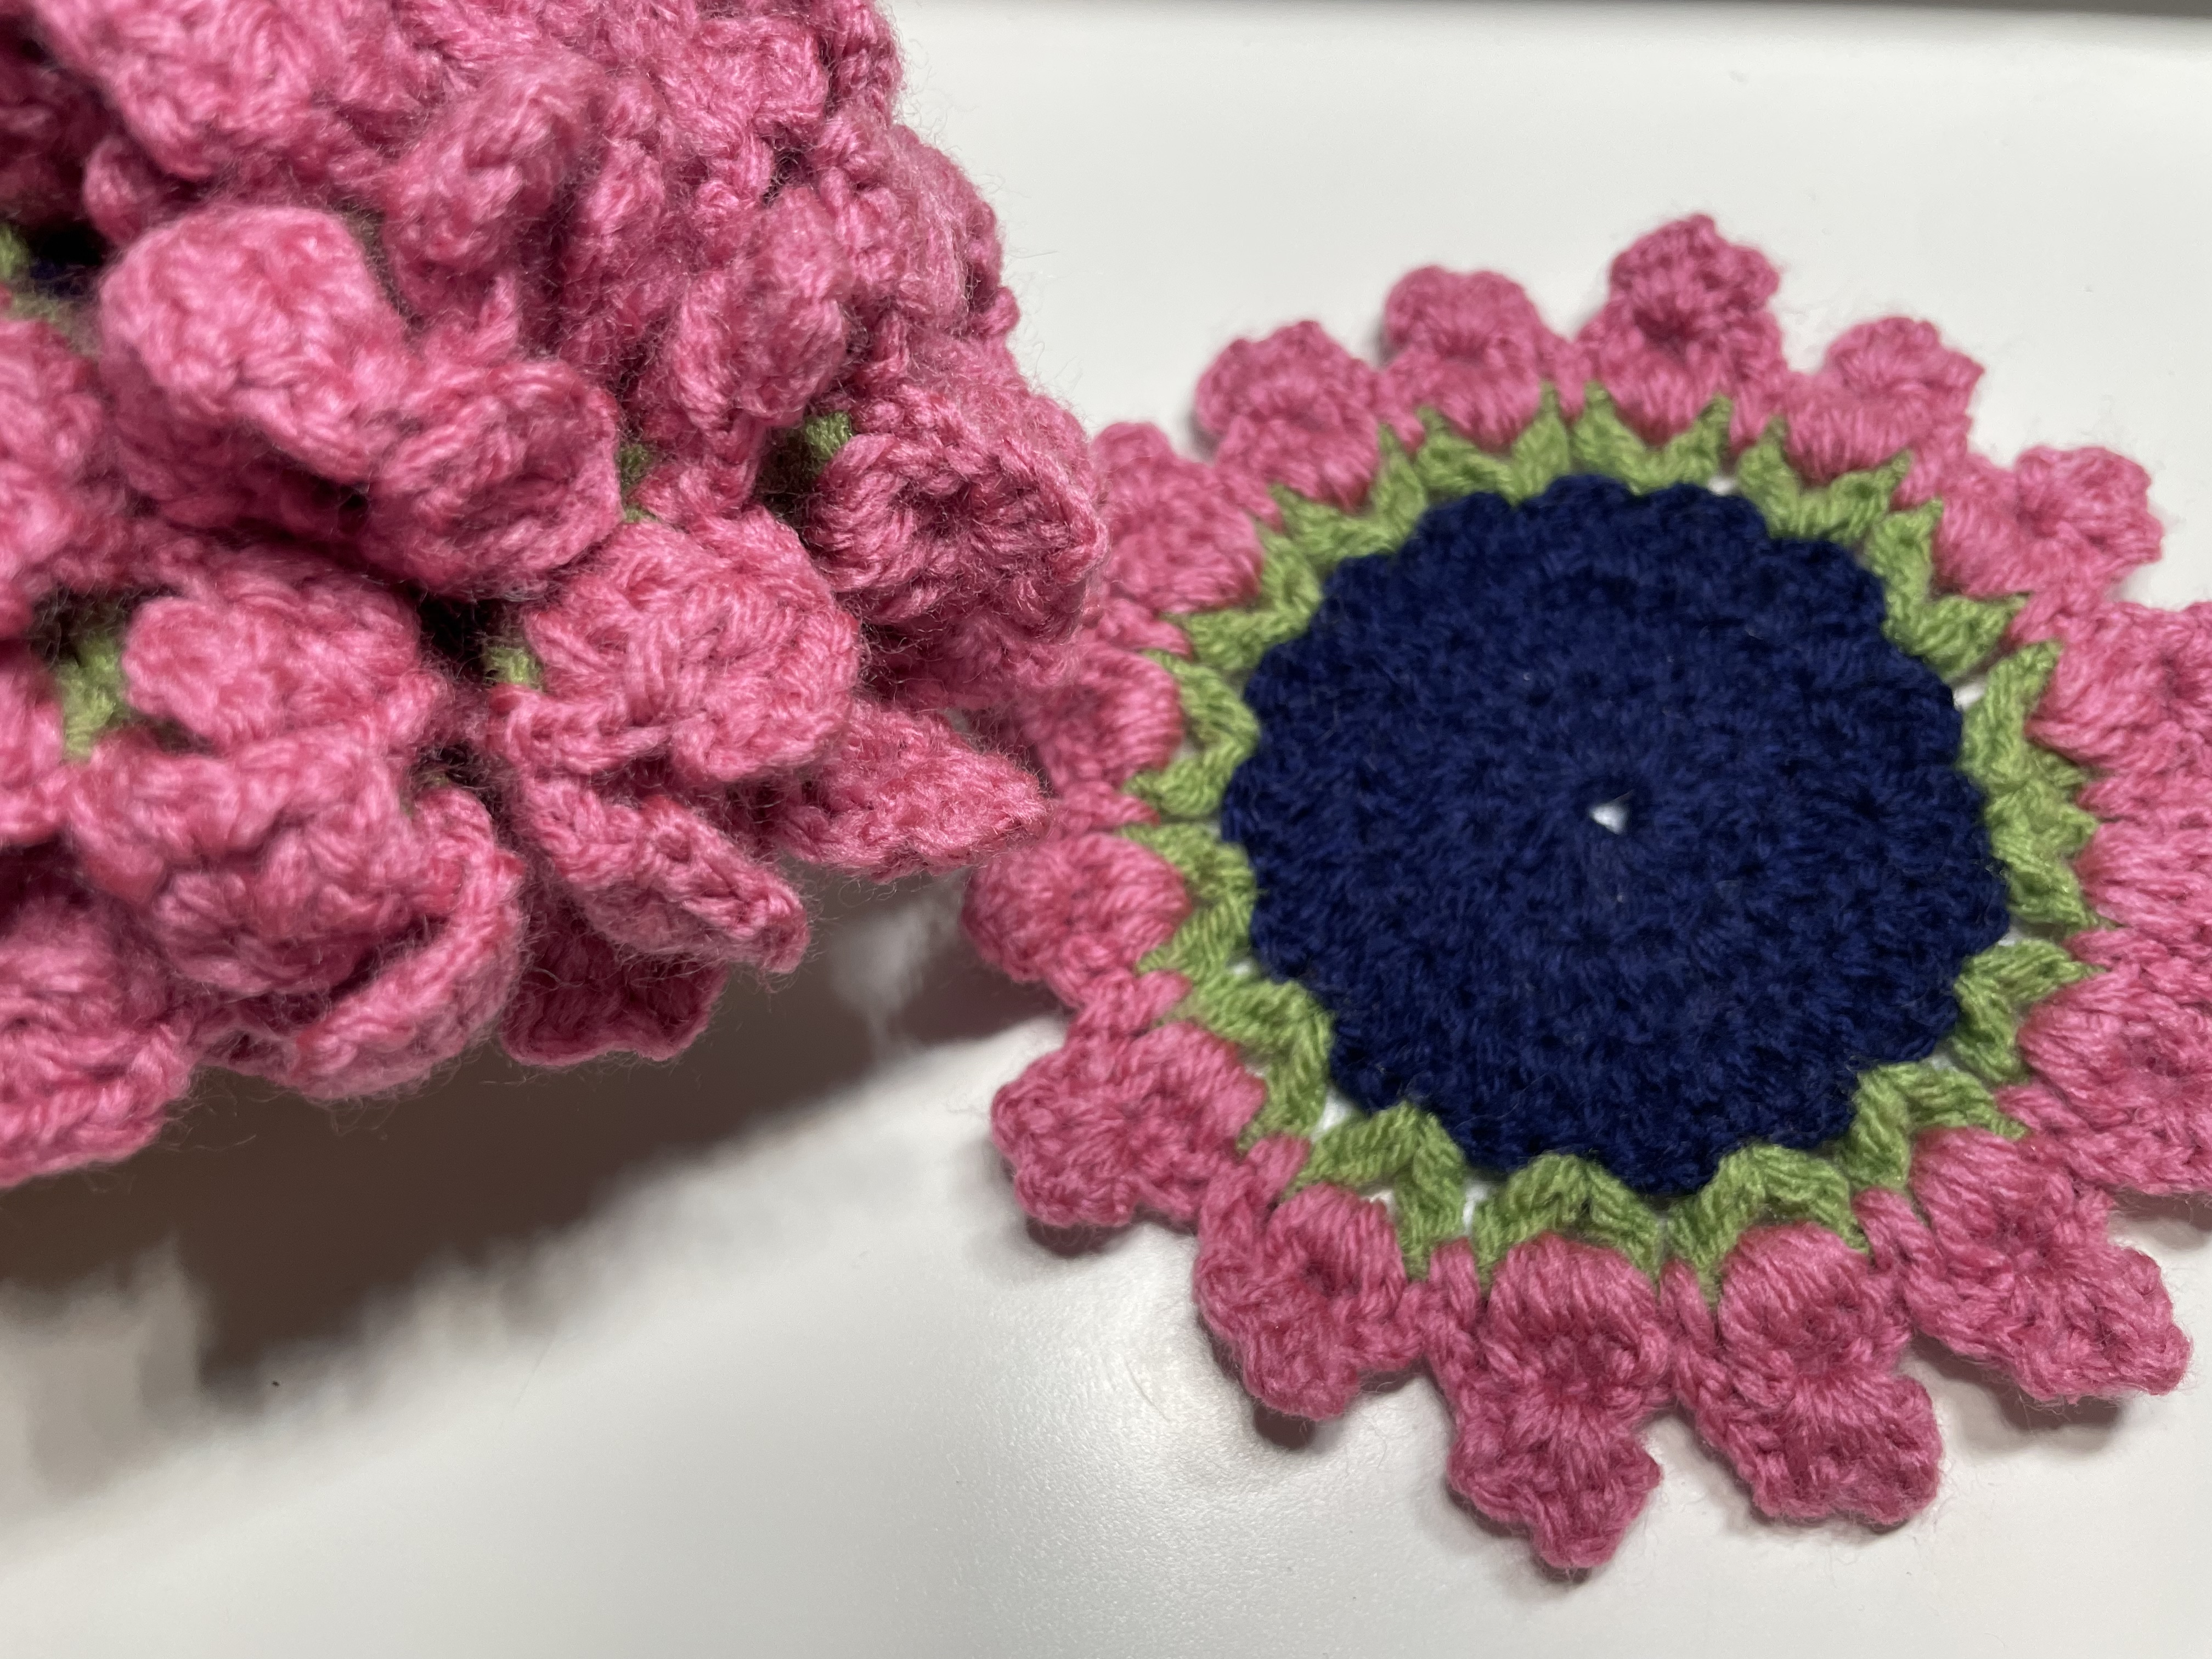
A ring of little pink blossoms turns this crochet coaster into a miniature flower garden. The navy center gives the design depth, while the green connecting round creates a leafy frame beneath the raised flowers.
The construction moves through three distinct stages: a circular double crochet center, an open green round, and a pink decorative edge. The flowers are worked onto that edge, so there are no separate petals to sew around the finished coaster.
This guide explains the center rounds, the flower construction, and the finishing details that help the coaster sit comfortably beneath a cup. The green and pink rounds use compact on-screen instructions; those instructions are preserved below, with notes explaining where the video is especially useful for checking placement.
Materials and Color Planning
Prepare:
- Yarn in navy, green, and pink, or three colors of your choice.
- A crochet hook suitable for your yarn.
- Scissors.
- A yarn needle.
- A removable stitch marker.
Choose yarns of similar thickness so the center and decorative edge remain balanced. Smooth cotton is a practical option for a drinks coaster, although your finished size and texture will depend on the yarn and hook you select.
The colors have different jobs in this design. Navy forms the resting surface for the cup, green outlines the base of the flowers, and pink creates the raised detail. If you change the palette, keep enough contrast between the green round and the blossoms for their shapes to remain visible.
No fixed finished measurement is given here. Before making a set, complete one coaster and compare its usable center with the base of the cup you intend to use.
Stitch Abbreviations
The instructions below use US crochet terminology.
Abbreviation Meaning
ch Chain
sl st Slip stitch
sc Single crochet
dc Double crochet
dc inc Work 2 double crochet stitches into one stitch
sk Skip
R Round
In the video, SL means slip stitch and 2SK means skip two stitches.
The center is worked in joined rounds. Mark the beginning of each round if the dark yarn makes the first stitch difficult to identify.
1. Crochet the Navy Center
Begin with an adjustable ring.
Round 1
Work 16 dc into the ring, then join with a slip stitch.
Pull the starting tail to close the center opening. Tighten it gradually so the stitches gather neatly without twisting.
Round 2
Chain 2. Work a dc increase in each of the 16 stitches, then join with a slip stitch.
Count: 32 dc.
The on-screen instruction is:
R2: 2CH, 16DC INC, SL
Here, “16DC INC” means sixteen double crochet increases, each consisting of two double crochet stitches in the same stitch.
Round 3
Chain 2. Repeat (dc inc, dc) around, then join with a slip stitch.
Count: 48 dc.
The on-screen instruction is:
R3: 2CH, (DC INC, DC) REPEAT, SL
Each repeat uses two stitches from the previous round and produces three double crochet stitches. Sixteen repeats take the center from 32 to 48 stitches.
The totals above count the worked double crochet stitches. Keep the beginning chains distinct when checking your count, and take care not to add a stitch into the joining slip stitch.
Check the Center Before Continuing
Place the navy circle on a table and let it rest naturally.
If it forms a bowl, check for missed increases or stitches worked too tightly. If it develops pronounced waves, count the stitches again and look for accidental increases near the join.
Correct a counting error before attaching the green yarn. Once the decorative rounds are in place, returning to the center becomes much more work.
2. Add the Green Connecting Round
The green round creates the open framework beneath the pink flowers. Its spaces are part of the design, so avoid tightening the chains until the edge draws inward.
The video gives this compact instruction:
R4: 4CH, [DC, 2SK, DC, 2CH], SL
This identifies a chain-four beginning and a sequence involving double crochet, skipped base stitches, and chain-two sections, followed by a slip-stitch join.
Use the video to check the exact insertion points and how neighboring repeats connect. The short caption does not fully spell out those placements, so it should not be expanded into an assumed same-stitch repeat.
Before moving on, inspect the green framework around the whole circle. Look for consistent spacing and a balanced outline. A misplaced attachment here can affect the position of the flowers in the next round.
3. Work the Raised Pink Flowers
The pink edge has two visible features: a rounded body made from four double crochet stitches, and small chain details at the top.
The video’s compact Round 5 caption reads:
R5: 2CH, [4DC, SL, 2CH, (SC, 2CH) × 3, 2CH], [SC, 2CH], SL
Use this as a sequence reference alongside the close-up demonstration. In particular, check which opening receives each group and where the connecting single crochet is placed.
Form the Rounded Flower Body
Work the four double crochet stitches for the flower group in the location demonstrated.
The video then directs the hook back to the first double crochet position and uses a slip stitch to bring the group together. This gathers the stitches into a raised shape.
These are completed double crochet stitches gathered afterward. Keep that distinction in mind when following the demonstration; leaving all four stitches unfinished would create a different structure.
Make the double crochet stitches with similar height and tension. If one is much shorter than the others, the gathered flower can lean to one side.
Add the Top Detail
After the gathered section, the caption includes chain 2 and (sc, ch 2) repeated three times. The accompanying text identifies the working location as the large loop at the flower top.
These small chain sections add the uneven, petal-like outline visible on the finished pink blossoms. Keep them loose enough to remain distinct without becoming oversized loops.
Connect to the Next Flower
The caption also includes a single crochet and chain-two connection between flower sections. Check the green opening used in the demonstration before beginning the next repeat.
After completing the first flower, pause and examine it from the front and side. You should be able to distinguish the gathered body, its top detail, and its connection to the green framework.
Use that first flower as a reference for the remaining edge. Consistency in the chain lengths and gathering tension will make the finished border look more even.
4. Finish and Shape the Coaster
Complete the final join, fasten off, and leave enough yarn for secure weaving.
Weave the ends through the backs of their matching color sections where possible. Avoid collecting several tails at one point beneath the navy center, where they could create a lump under the cup.
Gently arrange the pink flowers so their raised sides face outward. Smooth the center without pulling the decorative edge into a larger circle.
If shaping is needed, follow a blocking method suitable for your yarn. Arrange the coaster while damp and let it dry fully. Keep the blossoms raised rather than pressing them beneath a heavy object.
Troubleshooting
What you notice What to check
The navy center cups upward Recount the increases and check for unusually tight stitches.
The center develops waves Look for extra increases or an additional stitch near a join.
The green edge pulls inward Check chain tension and compare attachment points with the video.
A pink flower looks flat Revisit the step that gathers the four double crochet stitches.
Flowers vary in size Compare double crochet height, chain length, and gathering tension.
The cup rocks Inspect the underside for bulky woven ends and check whether the cup touches the raised edge.
Make a Coordinated Set
The video suggests making four matching coasters. Finish and test the first one before repeating the project.
Record your yarn, hook, and finished center diameter. Compare later pieces with that first coaster after the navy round, then again after the decorative edge.
You can keep all four coasters identical or change the blossom colors while retaining the same center and green framework. Using the same yarn type throughout makes it easier to maintain a consistent size.
Using and Caring for Your Coaster
Place an empty cup on the finished coaster first. Its base should rest on the level center without leaning against the pink flowers.
Follow the yarn label when washing. Reshape the center and arrange the flowers after cleaning, then allow the coaster to dry completely before use.
Use it for drinks and decoration; its appearance alone does not establish protection beneath hot cookware.
Watch the Video Tutorial
Watch the close-ups for the green attachment points, the four-double-crochet gathering step, and the small loops at each flower top. The pink flower coaster is demonstrated in the first section of the video; a different project follows later.
A Little Flower Garden for the Table
The appeal of this coaster comes from the contrast between its simple circular center and its lively raised edge. Taking time over the green connections and the first pink flower makes the remaining repeats easier to follow.
Once the ends are secure and the center rests evenly, the finished piece adds a small touch of color and texture to a coffee table, desk, or handmade gift set.
Watch every stitch up close
Pair these written notes with the complete video tutorial.
Made with yarn, shared with love. 🧶💗