
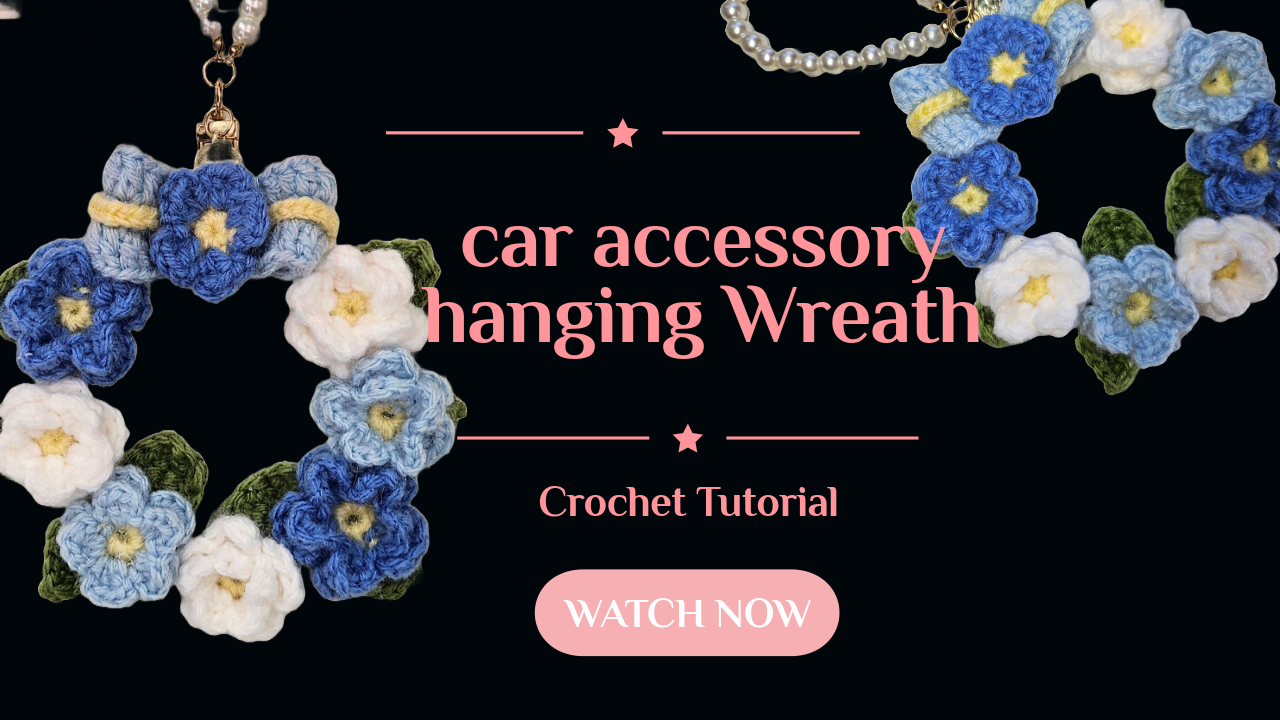
Crochet Flower Hanging Wreath: A Little Garden in Blue and White
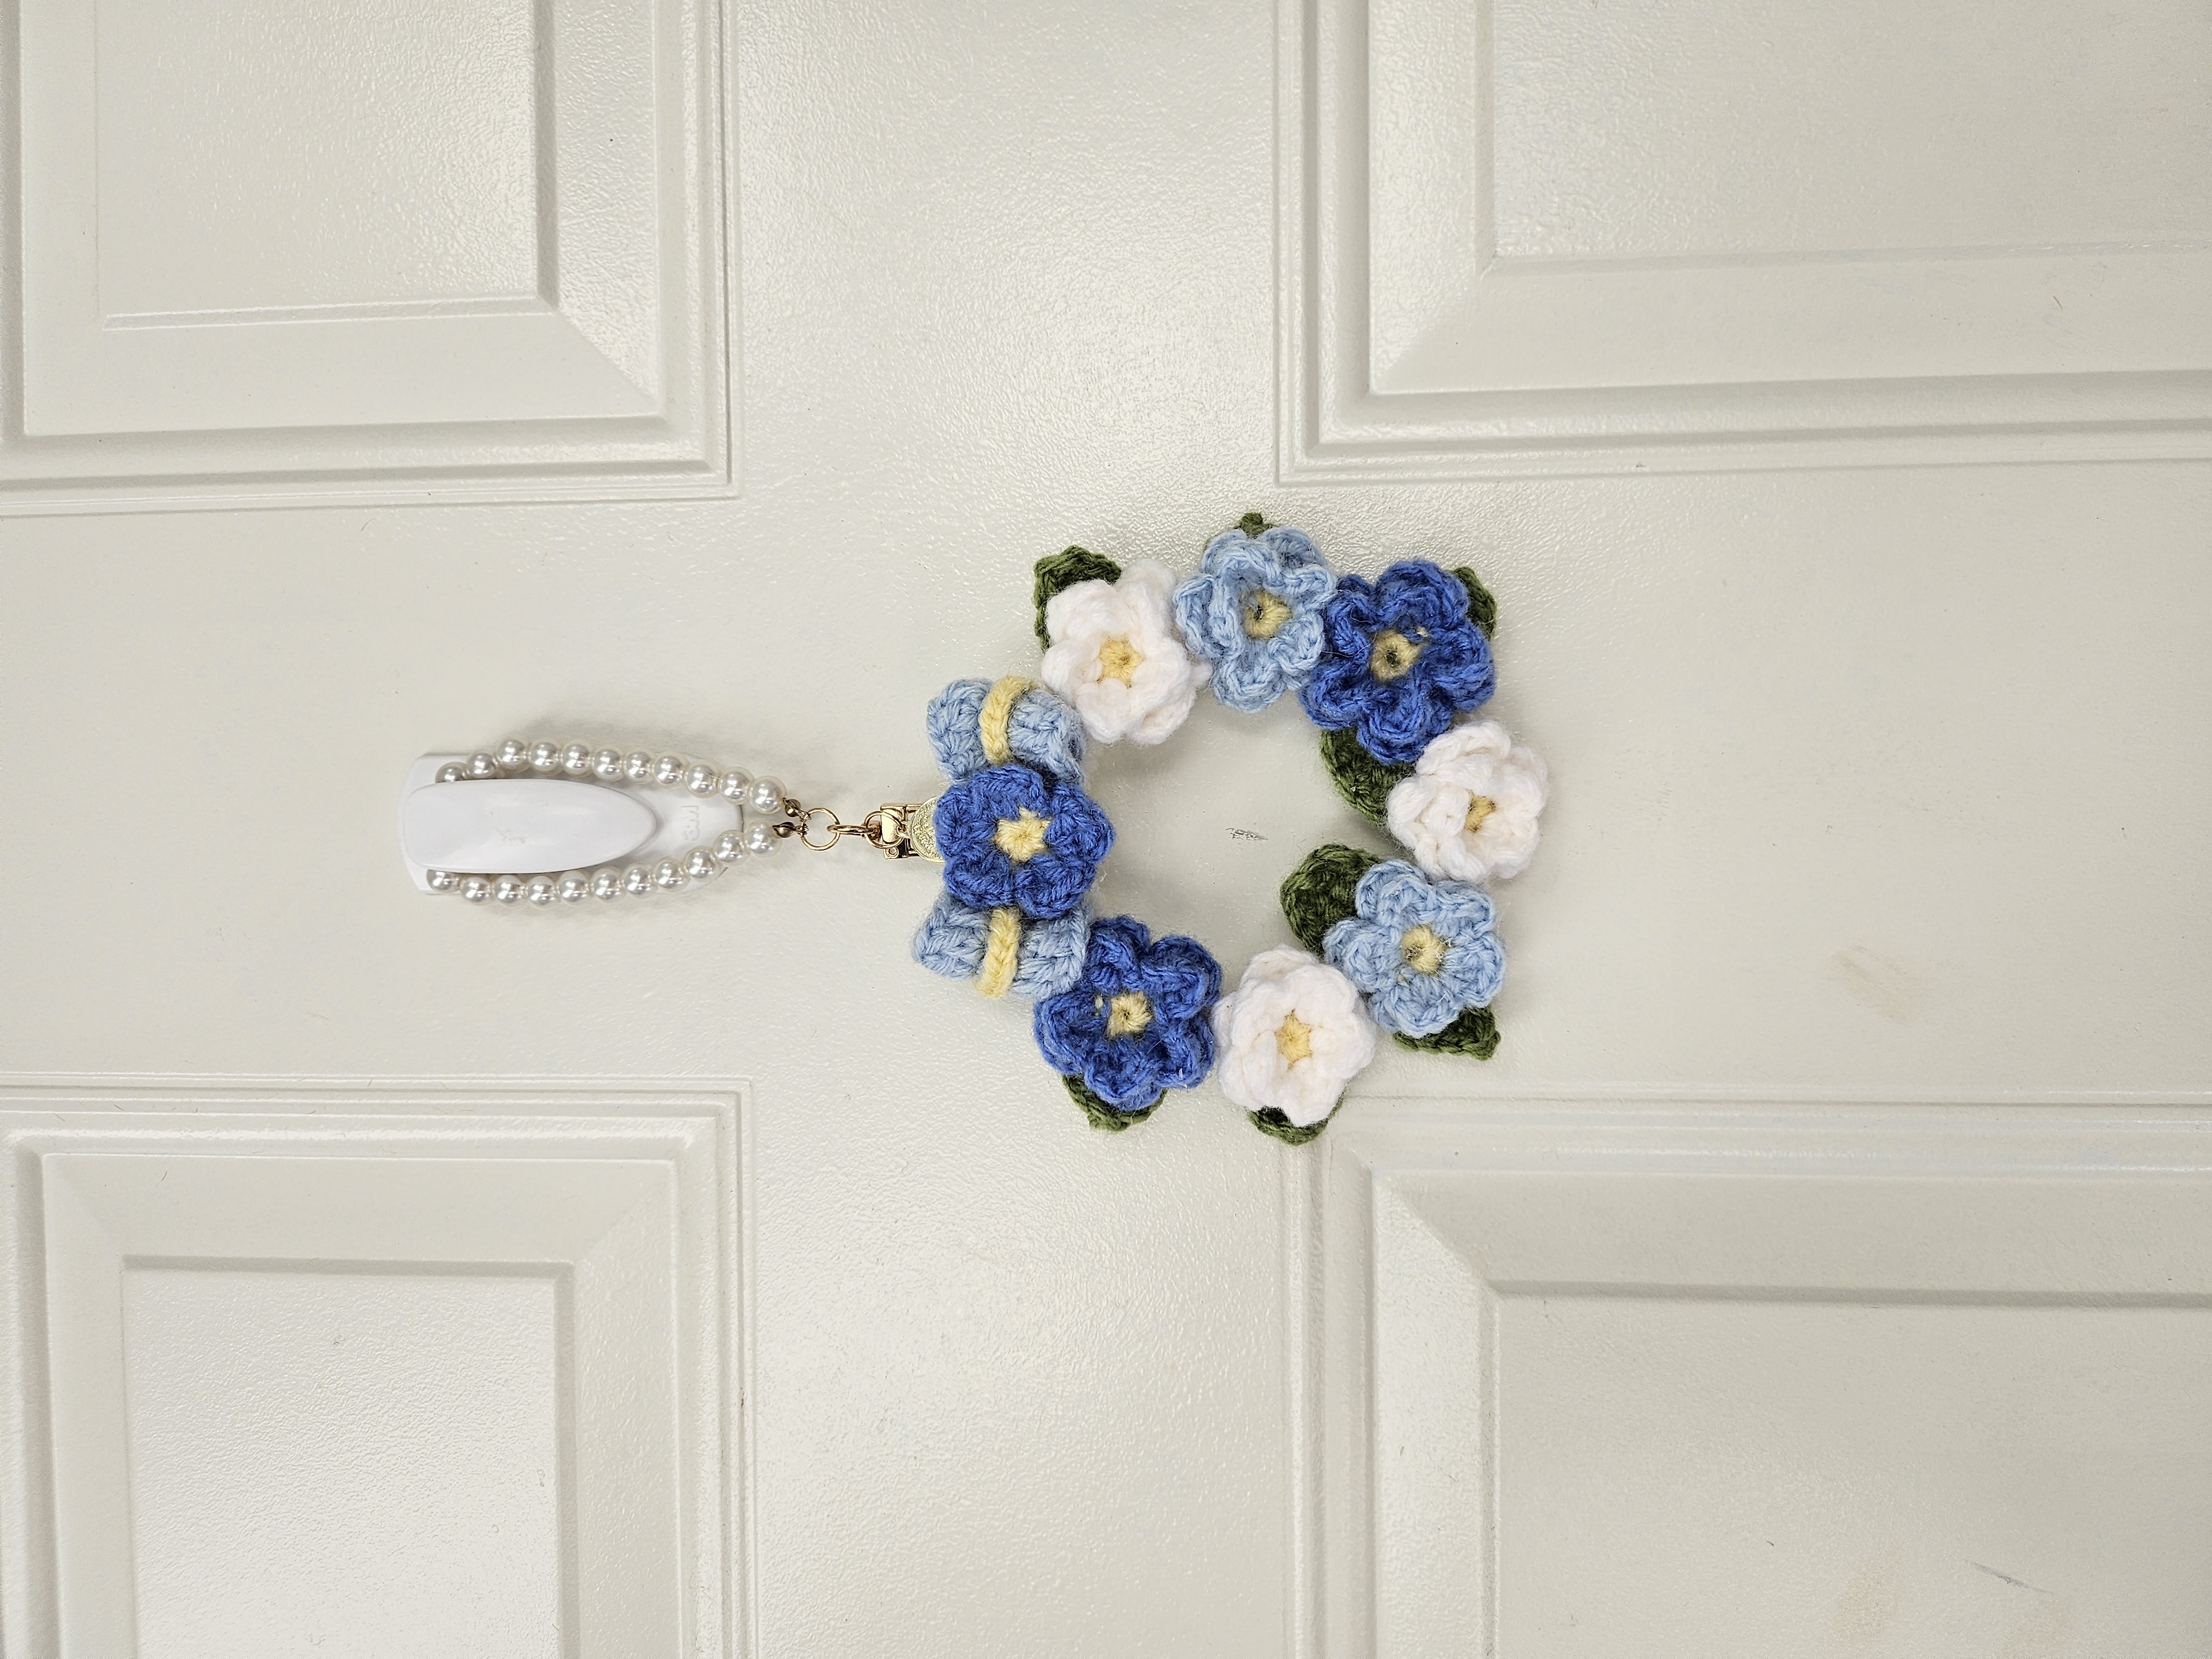
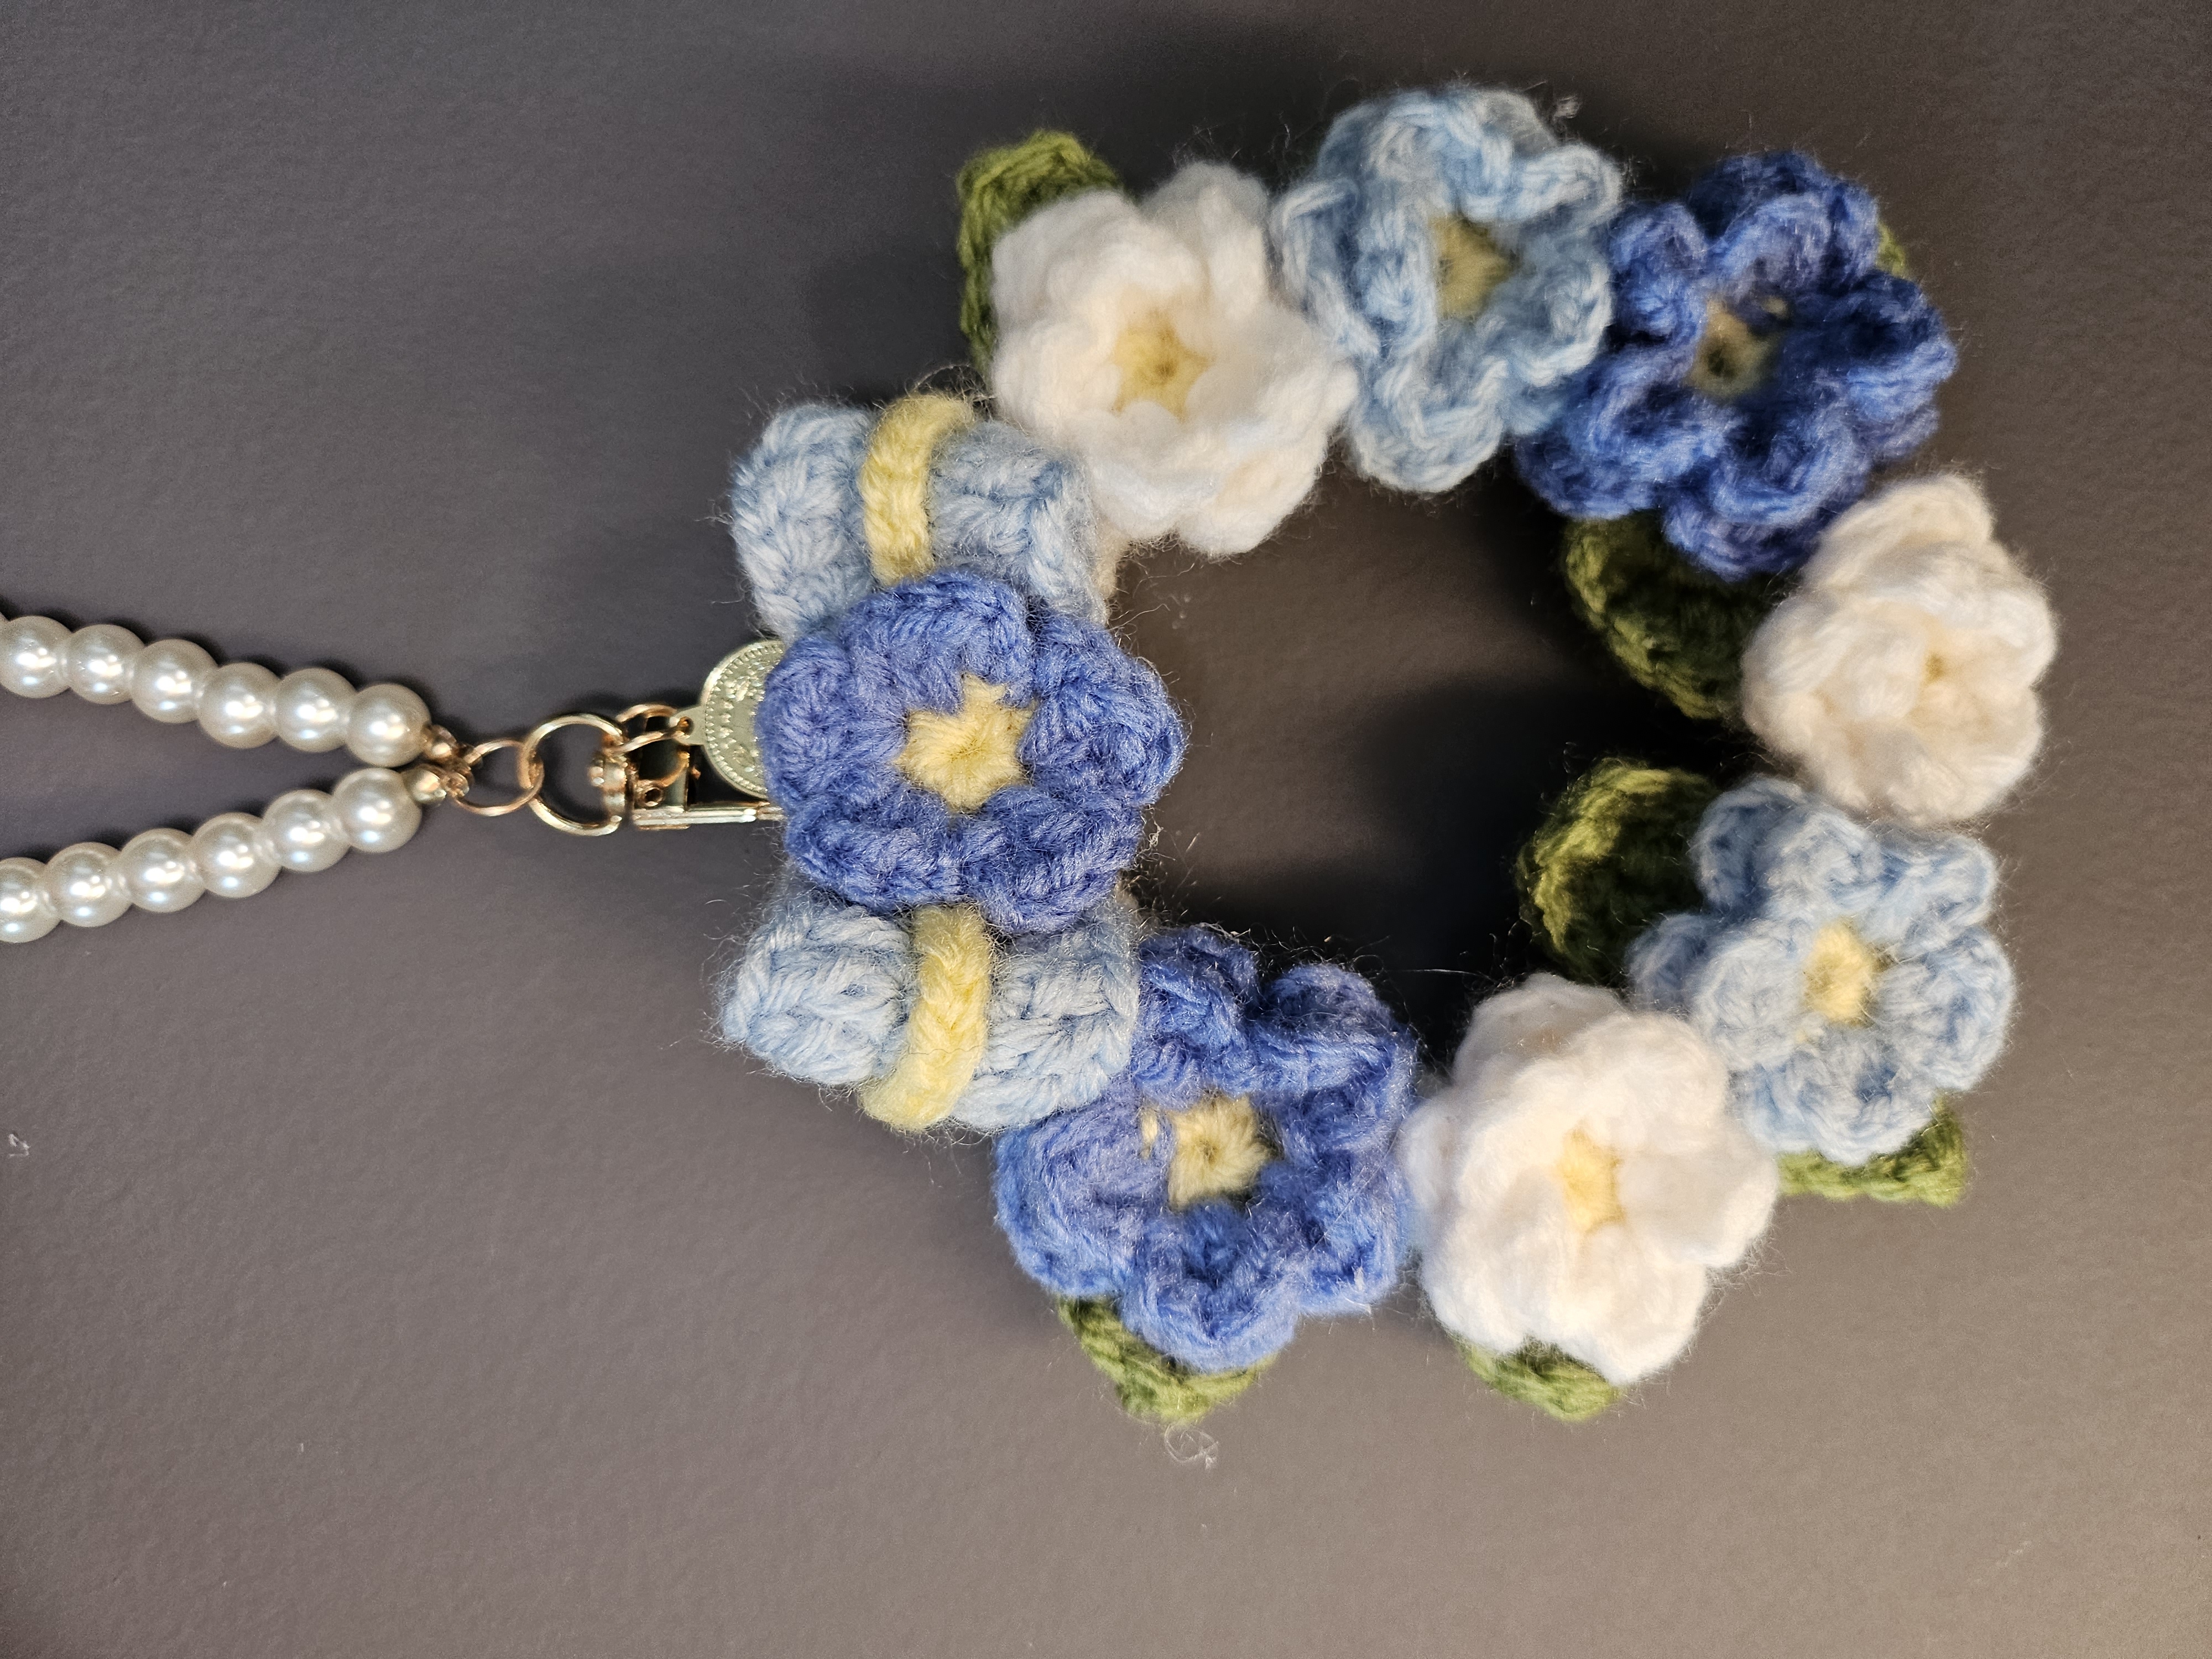
A small wreath is a lovely way to bring several crochet flowers into one finished project. This version combines pale blue, deep blue, and white blooms with yellow centers. Green leaves break up the outline, and a pale blue bow establishes the top of the arrangement.
The open center gives the decoration its wreath shape. Instead of covering every available space, the flowers frame that opening and let the background remain visible. A smaller blue flower sits over the bow, connecting the top decoration with the larger blooms around the ring.
The video shows four main components: a yarn-covered rigid hoop, larger flowers, leaves, and a shaped bow with a smaller flower. This article records their displayed stitch sequences, identifies two notation issues, and adds an assembly plan you can use when arranging your own pieces.
Gather the Materials
Prepare yarn in white or cream for the hoop covering; pale blue, deep blue, and white for the flowers; yellow for the centers and bow accents; and green for the leaves. Also gather a suitable hook, a rigid wreath hoop, scissors, a yarn needle, and removable markers or clips for arranging the pieces.
The sample uses a pearl-style hanging loop and a clasp. If making a similar finish, choose components appropriate for the weight of the completed wreath. The hanger should connect to the support structure rather than relying on one flower petal.
A verified hoop diameter, yarn weight, hook size, and yarn quantity are not supplied here. Make one flower before deciding how many to crochet. Its actual size against your chosen hoop is more useful than assuming that a fixed flower count will fit every version.
Stitch Key
| Term | US meaning | | --- | --- | | MR | Magic ring | | ch | Chain | | sc | Single crochet | | hdc | Half double crochet | | dc | Double crochet | | inc | Two single crochets into one stitch | | ss | Slip stitch | | FLO | Front loop only | | sk | Skip |
Bracketed groups belong together. A number before a stitch, such as 8 dc, means that many stitches in sequence unless the video specifies a shared insertion point.
1. Cover the Rigid Hoop
The opening of the tutorial shows a solid white hoop. The covering caption is **“hdc*”**: repeat half double crochet around the support.
Hold the working yarn behind the hoop and follow the demonstration for drawing the loops around it. The stitches wrap the hoop itself; this is not a long flat strip later sewn into a circle.
Continue until the support is covered. Slide the stitches together gently as needed so gaps do not expose the hoop, while keeping enough room to form each stitch normally. Join and conceal the ends as demonstrated.
There is no fixed covering count printed in the verified caption. The number depends on hoop circumference, hoop thickness, and yarn. Use complete coverage and an even finish as your checkpoints rather than inventing a universal total.
Before making the flowers, decide which side will face outward and where the top attachment will sit. A discreet marker at the top helps preserve that orientation during arrangement.
2. Make the Larger Flowers
Yellow Center
Start with a magic ring. The subtitle at approximately 2:38 says “do 5 single crochet.” Work five sc into the ring and close the center, following the demonstrated joining and color-change method.
Leave the yellow center visible when adding the petal color. Drawing the center tight should close the hole without distorting the five surrounding insertion positions.
Petal Row and Caption Difference
The video displays two versions of the large-flower formula:
| Video position | Displayed petal repeat | | --- | --- | | About 4:57 | ([2 ch, 2 dc FLO, 2 ch], ss) × 5 | | About 6:21–8:01 | ([2 ch, 3 dc FLO, 2 ch], ss) × 5 |
Both specify five repeats and front-loop work, but the number of double crochets changes from two to three. The later caption is transcribed below as the later version shown; this does not erase the earlier difference.
For each petal in that version, work the two-chain rise, three double crochets into the indicated front loop, then two chains and the demonstrated slip-stitch connection. Repeat around the five-stitch center to form five petals.
Use the close-up for the exact anchoring loop of each slip stitch. The short caption does not spell out every connection. Make one complete sample flower and compare its appearance before producing the whole set.
Keep one formula consistent within a flower. Alternating two-dc and three-dc petals unintentionally makes their fullness differ. Record which version you choose so the other large flowers match.
Shape the petals lightly with your fingers. Keep their bases secure while allowing the edges to lift away from the yellow center. Make additional flowers in your chosen colors and compare their size against the first sample.
3. Crochet the Green Leaves
The leaf caption reads:
“8 ch, sk, sc, hdc, 3 dc, 2 sc, 3 dc, hdc, sc, ss.”
Begin with eight chains and skip the indicated chain nearest the hook. Work the sc, hdc, and three dc along the chain, then the two sc at the tip section as demonstrated. The video explicitly says to turn to the other side of the chain before continuing with the second group of three dc, hdc, sc, and the finishing ss.
The leaf is worked around the foundation chain. It is not a flat row containing all of the listed stitches worked straight across eight chains.
Watch the tip closely to match the demonstrated distribution of the two sc. The formula lists their order but does not fully describe their shared or separate insertion positions. Avoid substituting a decrease merely because two stitches appear beside each other in the caption.
Leave a tail suitable for attachment. Compare the first few leaves for length and width, and keep the pointed ends free when they are later positioned behind the flowers.
4. Crochet the Pale Blue Bow
The bow begins as an elongated piece worked around a chain, then gains its outline through changes in stitch height.
Bow Round 1: Preserve the Caption’s Wording
The displayed formula is:
“30 ch, sk, sc inc, 27 sc, 3 sc tog, 28 sc, ss.”
Start with 30 chains and follow the close-up around the chain. The caption’s “3 sc tog” needs care: in standard US notation, sc3tog usually means a decrease, while this part of the demonstration is forming an end turn around the foundation. The wording alone should not be used to substitute a three-stitch decrease.
Check the end-turn action in the video before continuing. If the end group is worked as three sc into one end chain, the displayed stitch groups add up to 60 stitches: 2 + 27 + 3 + 28. That is a conditional arithmetic check, not a reason to silently rewrite the original caption.
Bow Round 2
The long second-round caption can be separated into these consecutive sections. This grouping is only for readability; work them in order around the same piece.
| Section | Displayed sequence | | --- | --- | | A | Sc, inc, sc, hdc, 8 dc, hdc, sc, 3 ss | | B | Sc, hdc, 8 dc, hdc, sc, inc, sc, inc | | C | Sc, hdc, 8 dc, hdc, sc, 3 ss | | D | Sc, hdc, 8 dc, hdc, sc, inc, sc, ss to finish |
The four eight-dc sections create the fuller areas, while the groups of three slip stitches form lower sections. Mark the first stitch before starting so the end of this long sequence is easy to identify.
If Round 1 contains 60 stitches under the end-turn interpretation above, these sections consume 60 base stitches and add four increases. Count the stitches before the final joining ss separately. If the actual first-round count differs, return to the end-turn demonstration rather than forcing this round to fit.
Arrange the completed pale blue piece into the bow shape shown. The tutorial adds yellow chain accents around the sides and uses a small flower over the middle. A verified numeric length for those yellow chains is not provided here; make them to fit the bow without compressing its fuller sections.
5. Make the Smaller Flower for the Bow
The small top flower has its own formula and uses half double crochet petals:
| Round | Instruction | | --- | --- | | 1 | 5 sc in MR, ss | | 2 | ([2 ch, 2 hdc, 2 ch], ss) × 5 |
Use yellow for the center and the chosen accent color for the petals. Follow the close-up for the shared petal insertion and slip-stitch anchoring. The smaller hdc flower should remain distinct from the larger dc flowers around the ring.
Center it over the bow after arranging the pale blue sides and yellow accents. Check that both sides of the bow remain visible before securing the center.
6. Plan the Arrangement Before Attaching
The video asks for multiple flowers and leaves rather than specifying a universal number. Lay the covered hoop flat and place the bow at the marked top. Arrange the larger flowers around the circle, then tuck leaves behind them.
Spread the deepest blue flowers around the ring so one side does not look much heavier than the other. Use white and pale blue to separate the stronger dark patches. Keep the yellow centers visible.
Leave the central opening clear. Petals can overlap slightly, but a flower pushed too far inward can make the wreath look like a solid cluster. Take a quick photo of the layout before lifting any pieces for attachment.
7. Secure and Test the Hanging Piece
The following is a practical assembly plan to supplement the component demonstrations, rather than a claim that every join is specified in the video:
- Secure the bow and main flower bases to the covered support, preserving their planned positions.
- Attach the leaves at their bases, letting the tips project naturally behind the blooms.
- Anchor each larger flower through its base with more than one attachment point if needed to stop it rotating. Leave the decorative petals free.
- Conceal the tails within matching-color crochet and inspect the back for loose loops.
- Connect the hanger to the hoop structure and lift the wreath by that actual hanging point.
If sewing the pieces, pass through secure fabric at their bases without pulling the hoop covering out of position. Do not use a single thin petal as the load-bearing attachment for the wreath.
Check the arrangement while suspended. If it tilts, inspect the hanger position and the distribution of the attached pieces before adding more decoration. Make sure the central opening and top bow remain recognizable from a normal viewing distance.
Troubleshooting
The hoop shows between covering stitches. Redistribute the hdc covering gently and add coverage where needed before attaching the flowers.
The flowers vary in fullness. Check whether you mixed the two-dc and three-dc captions, and compare yarn thickness and tension.
The leaf looks like a narrow strip. Confirm that you worked back along the other side of the foundation chain.
The bow’s second round does not fit. Revisit the first-round end turn and the meaning of “3 sc tog” in the demonstration. Count the actual base stitches before proceeding.
The wreath rotates when hung. Inspect the hanger’s connection to the hoop and whether flower bases can turn around a single attachment stitch.
Display and Care
An indoor hook, craft corner, or gift display lets the open floral shape remain visible. If considering a vehicle location, avoid any placement where the decoration could interfere with visibility or movement of controls; an indoor display is an easy alternative.
Follow the yarn’s care instructions while also accounting for the hoop and hanging hardware. Clean the assembled piece in a way compatible with all of those materials, and let it dry fully before storing. A shallow box protects the raised petals and bow better than tightly wrapping the whole ring.
Watch the Flower Wreath Tutorial
The 24-minute-49-second video shows the covered hoop, large flowers, leaves, shaped bow, smaller top flower, and finished arrangement. Refer to the close-ups for the flower-caption difference and bow end-turn notation.
A Garden You Can Rearrange
Before finishing the final ends, step back and look at the whole circle. A balanced mix of light and dark flowers, a clear opening, and a centered bow give the small pieces a shared structure. Keep a note of your hoop size, chosen flower formula, and component count so a matching wreath or a new seasonal palette will be easier to plan.
Watch every stitch up close
Pair these written notes with the complete video tutorial.
Made with yarn, shared with love. 🧶💗