
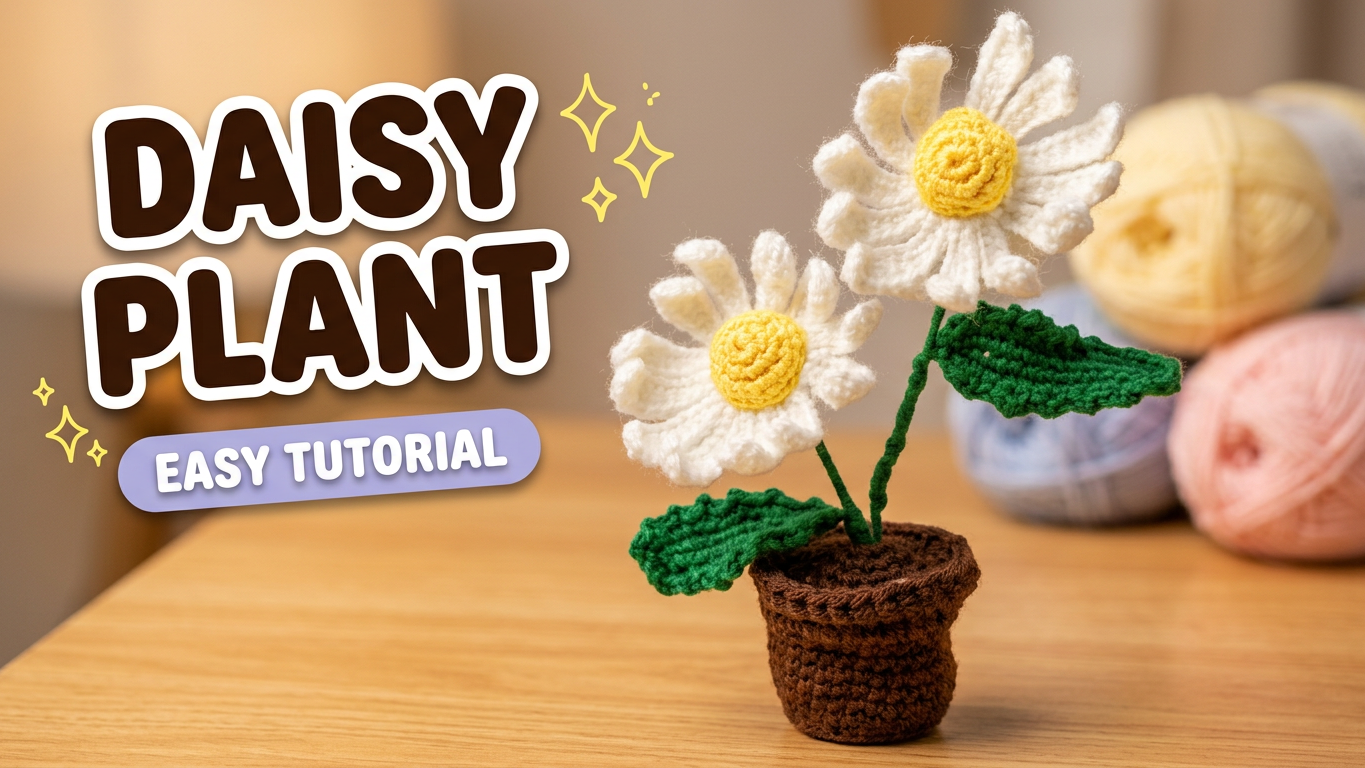
Crochet Daisy Potted Plant: Flowers That Stay in Bloom
Two daisies at different heights make a small arrangement feel lively without needing many flowers. The bright yellow centers sit above long white petals, while green leaves fill the space between the blooms and the little brown pot.
This project is made in parts: a white flower layer, a yellow center, a green backing, leaves, a pot, and a separate round cover for its opening. You can work through those pieces in short sessions, then bring everything together at the end.
The crochet supplies the color and texture; the stem supports and the final arrangement supply the structure. Make one complete flower before repeating it so you can check its proportions against your pot.
Gather the materials
Prepare white, yellow, green, and brown yarn, suitable crochet hooks, a yarn needle, scissors, stitch markers, and filling. The video also shows thin wire incorporated into the leaves and green-covered supports for the upright arrangement. Use appropriate wire cutters or pliers for those supports.
Use similar yarn thicknesses for the flower colors so the yellow center sits comfortably against the white petals. The pot can use a different color from the demonstration, but any substitution still needs a fabric firm enough to hold its shape.
The chart does not establish a single finished measurement or a reliable yarn quantity for the entire arrangement. Do not buy supplies on the assumption that every yarn sold under a broad weight label will produce the same size.
This is a decorative wired plant. Cover and secure the wire ends within the construction, and handle the finished piece by the pot rather than pulling it up by a flower.
Abbreviations and construction notes
These instructions use US terms.
| Abbreviation | Meaning | | --- | --- | | ch | Chain | | sc | Single crochet | | hdc | Half double crochet | | dc | Double crochet | | inc | Two single crochets in one stitch | | sl st | Slip stitch; shown as `ss` in the video | | BLO | Back loop only | | MR | Magic ring |
Round totals count actual stitches, excluding joining slip stitches. Keep the lifting chains and joins separate from the first real stitch so an accidental extra stitch does not accumulate over several rounds.
The petal and leaf charts are compact. Their sequences are preserved below, with the demonstrated attachment and turning points explained separately rather than replaced by a different flower pattern.
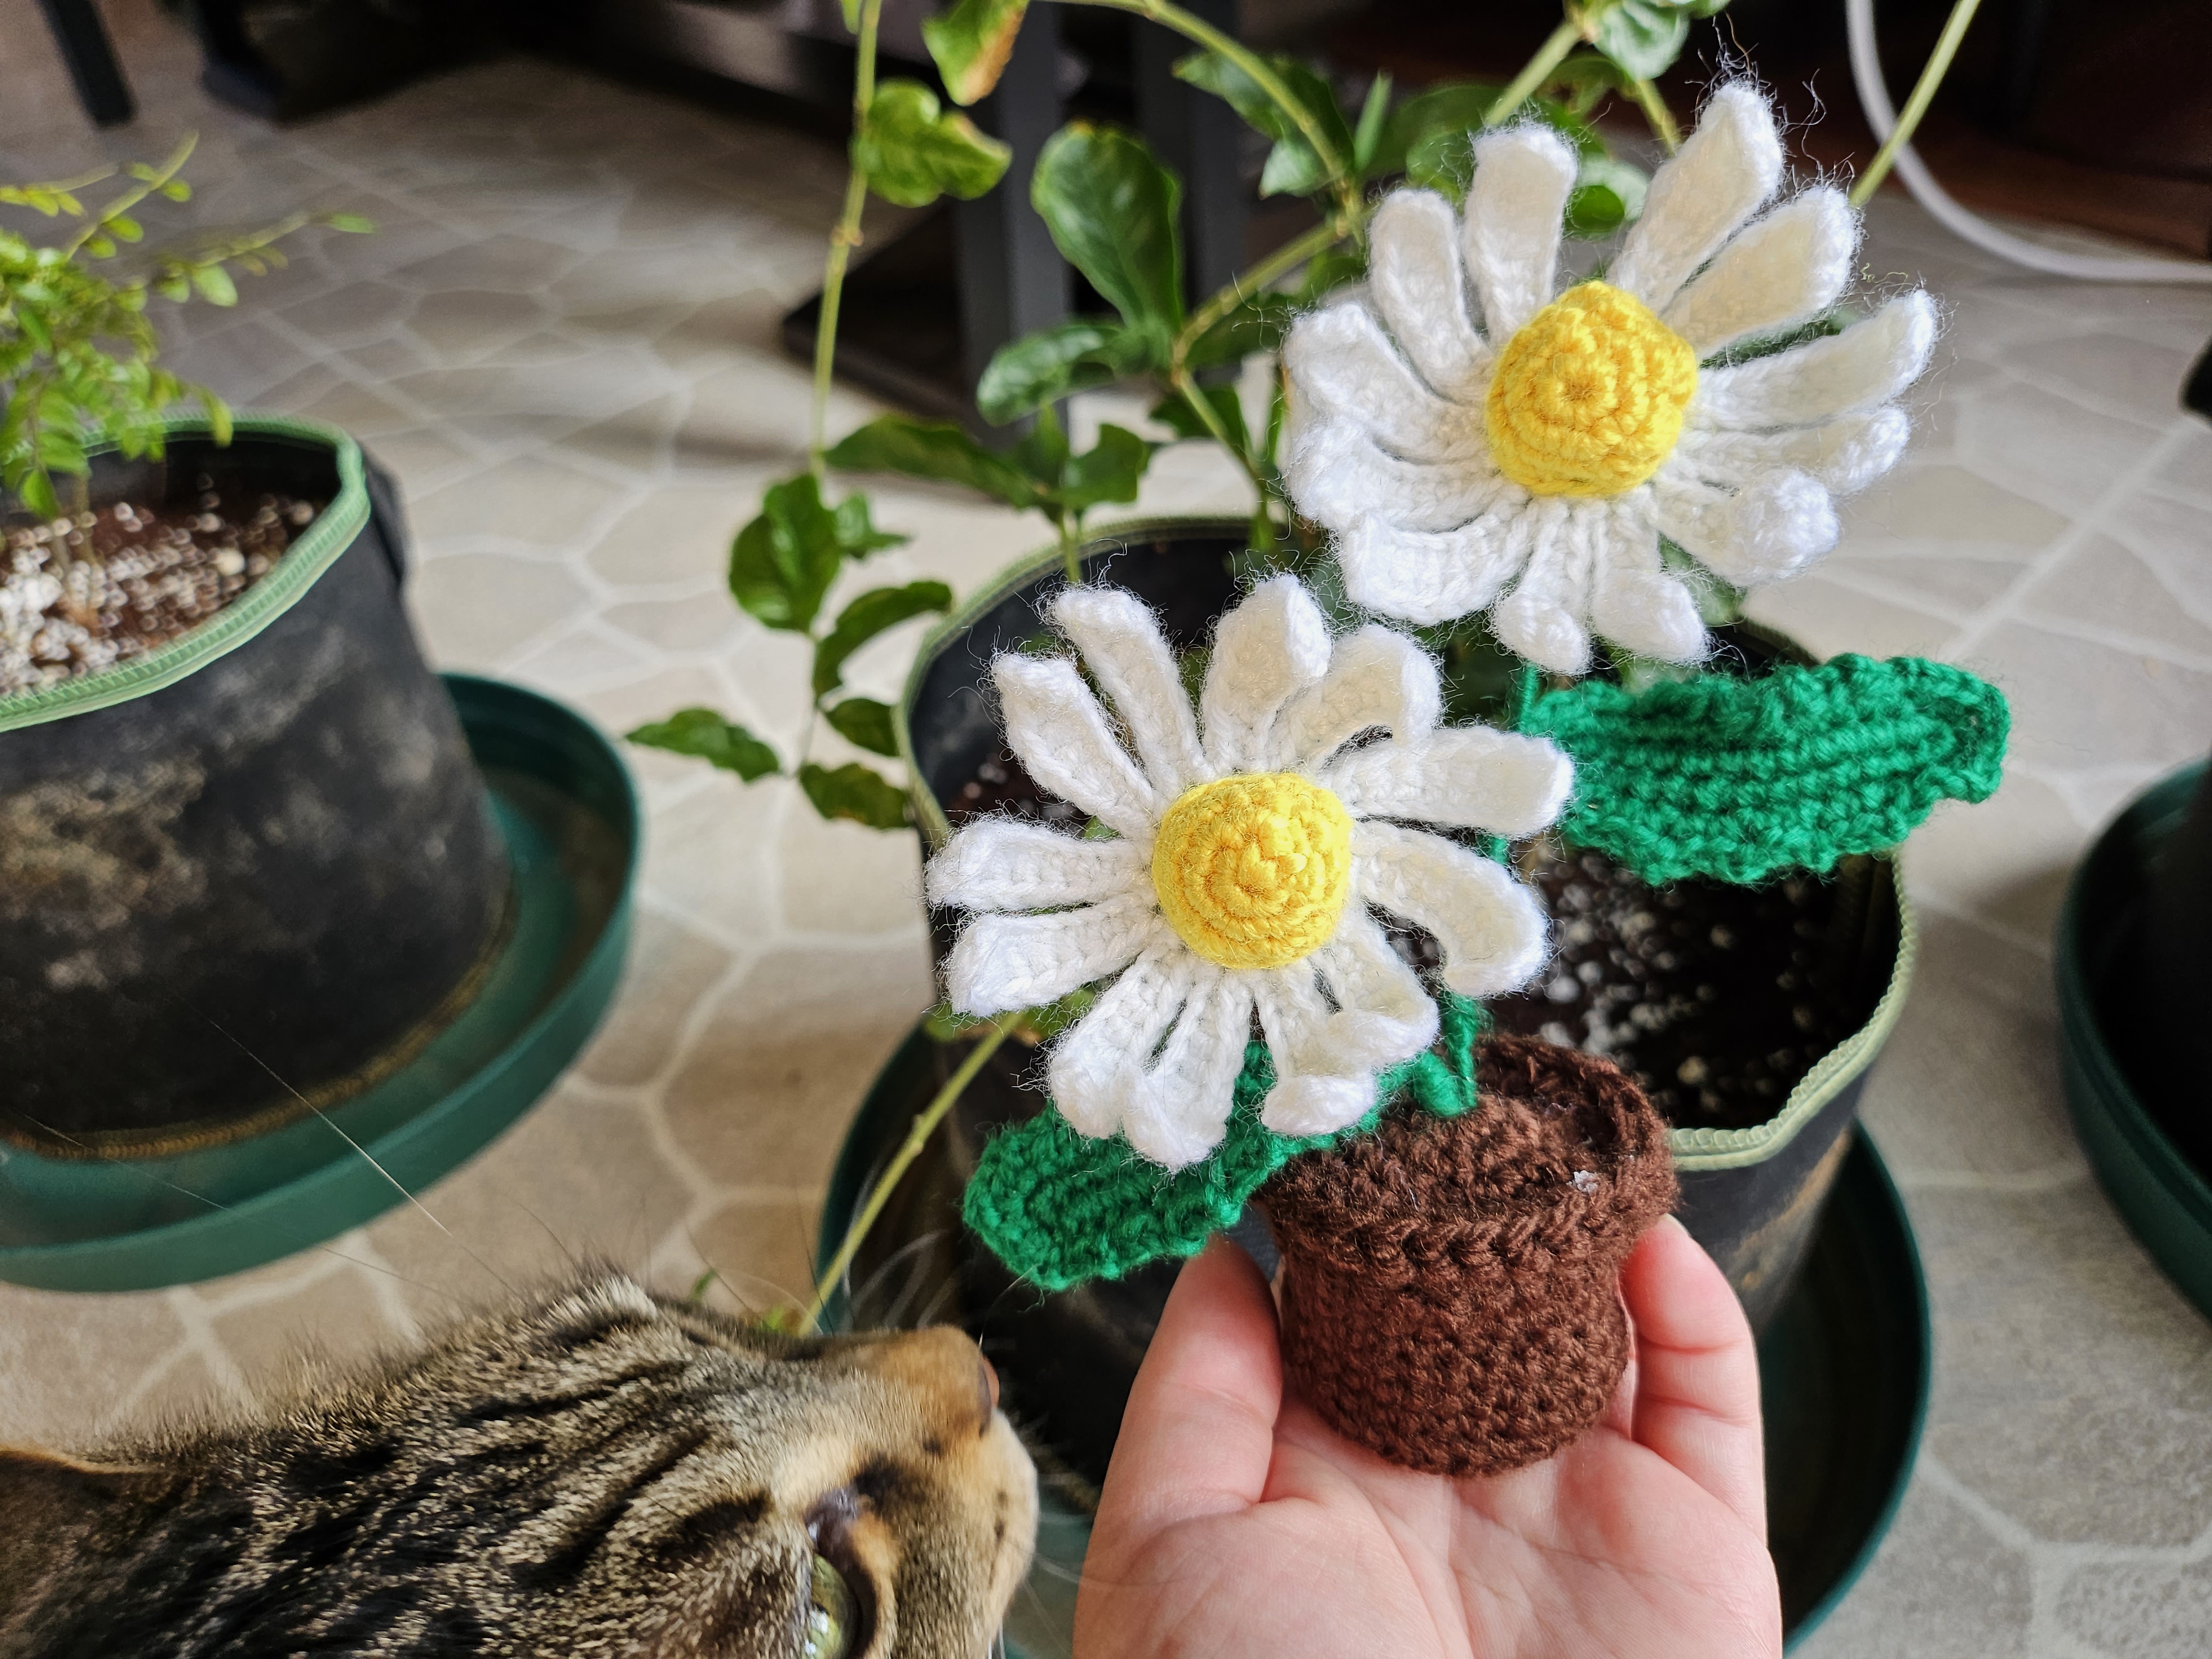
1. Crochet the white flower layer
Begin with white yarn and a magic ring.
| Round | Instruction | Stitches | | --- | --- | --- | | 1 | 6 sc in MR; sl st | 6 | | 2 | Inc in each of the six stitches; sl st | 12 |
These first two rounds form the small central foundation. The long petals are then worked outward from that base and attached back to it.
Petal round
The displayed Round 3 sequence is:
Ch 12, skip 3, 4 dc, 2 hdc, 2 sc, ch 1, sl st.
Make the chain, work back along it in the order shown, then use the final chain and slip stitch to return and attach at the flower base. Follow the close-up for the exact base attachment, and repeat around the foundation to form the petal ring.
The four double crochets give the petal its wider outer section. The two half double crochets and two single crochets reduce the height toward its base. Replacing that mixed sequence with a row of double crochet would give a different shape.
Keep the starting chains relaxed enough to work into comfortably. Compare the length of each completed petal before beginning the next. If one is short, count the chain and return stitches rather than stretching the finished tip.
The overlay is an abbreviated out-and-back construction, not a claim that every chain receives an ordinary stitch. Retain its final ch-1 and anchoring step instead of inserting an extra stitch merely to make a straight-line chain calculation look complete.
When the petal ring is finished, spread the petals gently with your fingers. Leave the central area accessible for attaching the raised yellow piece.
2. Make the raised yellow center
Start a yellow magic ring.
| Round | Instruction | Stitches | | --- | --- | --- | | 1 | 6 sc in MR; sl st | 6 | | 2 | Inc × 6; sl st | 12 | | 3 | (Sc, inc) × 6; sl st | 18 | | 4 | 18 sc; sl st | 18 |
Leave an attachment tail. The straight final round gives the center depth rather than continuing to expand it as a flat circle.
Add the small amount of filling needed for a rounded surface during assembly. Avoid packing it until the stitches separate. Position the center over the white foundation and secure it evenly around the attachment area.
The center’s 18-stitch opening and the white foundation’s 12 stitches are different counts. They are assembled as shaped pieces, not joined by assuming an unexplained one-for-one stitch match. Follow the sewing placement shown in the video and distribute the seam evenly.
3. Crochet the green backing
The small green piece sits behind the flower and helps tidy its connection to the stem. Start with a green magic ring.
| Round | Instruction | Stitches | | --- | --- | --- | | 1 | 6 sc in MR; sl st | 6 | | 2 | (Sc, inc) × 3; sl st | 9 | | 3 | (2 sc, inc) × 3; sl st | 12 |
Leave enough yarn for attachment. Keep this backing small and neat; it should support the rear of the flower rather than cover the white petal outlines.
Make the flower components again for the second bloom. Compare both finished heads before installing them. Small handmade differences are welcome, but a much larger center or much shorter petal ring is worth checking while the pieces are still separate.
4. Make the green leaves
The leaf begins as a chain worked along both sides. Its thin wire support is incorporated during the construction shown in the video.
Row 1, as printed: ch 14, skip 1, 12 sc, `3sc tog`, 12 sc, sl st.
Work down one side of the chain, make the three-stitch turning group at the far end, then return along the opposite side. The overlay labels that tip group `3sc tog`; use the demonstrated placement at the chain end rather than automatically treating the abbreviation as a three-stitch decrease across three separate foundation stitches.
Hold the wire along the leaf as shown so it is enclosed by the crochet. Keep its position steady without tightening the stitches around it so much that the whole leaf curls into a narrow tube.
Row 2, as printed: repeat 2 sc, ch 2 around the leaf edge, completing the join as demonstrated.
The short chain sections give the outer edge a textured outline. Keep the spaces similar in size and take particular care around the tip and the final join. The compact chart does not specify a whole-row total for this edging, so no extra edge count is assigned here.
Finish the yarn ends neatly and enclose the wire ends. Shape each leaf gently by supporting its base and bending the wire gradually. Avoid repeated sharp bends at the same point.
5. Crochet the brown pot
Begin with a brown magic ring. The base expands in groups of seven before the wall turns upward.
| Round | Instruction | Stitches | | --- | --- | --- | | 1 | 7 sc in MR; sl st | 7 | | 2 | Inc × 7; sl st | 14 | | 3 | (Sc, inc) × 7; sl st | 21 | | 4 | (Sc, inc, sc) × 7; sl st | 28 | | 5 | 28 sc BLO; sl st | 28 | | 6–10 | 28 sc each round; sl st | 28 | | 11 | 28 dc; sl st | 28 |
Round 5 creates the transition from base to wall. Work through the back loops at that stage, then follow the ordinary stitch insertion shown for the later side rounds.
The last double crochet round provides the taller upper edge. Keep the join tidy and finish the rim following the demonstration rather than adding another increase round.
Set the pot on the table before adding the flowers. The base should rest evenly. If it rocks or forms a pronounced dome, review the early increases and the filling plan rather than trying to flatten it with the flower stems.
6. Make the separate brown cover
The pot opening is covered with another brown circle. Work the same four expansion rounds used at the beginning of the pot, then stop.
| Round | Instruction | Stitches | | --- | --- | --- | | 1 | 7 sc in MR; sl st | 7 | | 2 | Inc × 7; sl st | 14 | | 3 | (Sc, inc) × 7; sl st | 21 | | 4 | (Sc, inc, sc) × 7; sl st | 28 |
Leave a long sewing tail. This piece stays a flat cover; do not continue with the pot-wall rounds.
Compare it with the opening before final assembly. Both have a 28-stitch perimeter, but their physical fit also depends on your tension and the different stitch heights at the rim.
Assemble the flowers and stems
Attach the yellow centers to the white flower layers, then position the green backing pieces behind them. Use the rear-view demonstration to keep the flower attachment and stem connection tidy.
Prepare the green-covered stem supports and attach the leaves at the heights shown. Check that no bare sharp end projects through a flower, leaf, or pot surface.
Before fastening the arrangement into the pot, hold the two flowers at different heights. Set the taller bloom slightly behind the lower one so both yellow centers remain visible. Let the leaves extend into the spaces beside and below the blooms.
Turn the arrangement to check its side view. Flowers that look balanced from the front can still lean far outside the footprint of the pot. Adjust near the stem connections, supporting the flower heads rather than pulling their petal tips.
Fill and close the pot
Arrange the filling and stem ends inside the pot following the assembly close-up. Position the brown cover around the stems and sew it to the pot, checking the balance before the seam is fully closed.
Distribute filling evenly without rounding the bottom. Check that the stems remain fixed when the plant is gently moved and that the rim is not pulled into a deep crease by an overly tight seam.
Hide the final yarn ends, set the plant on a flat surface, and gently separate any petals crowded during sewing. Give each leaf enough room to show its shape.
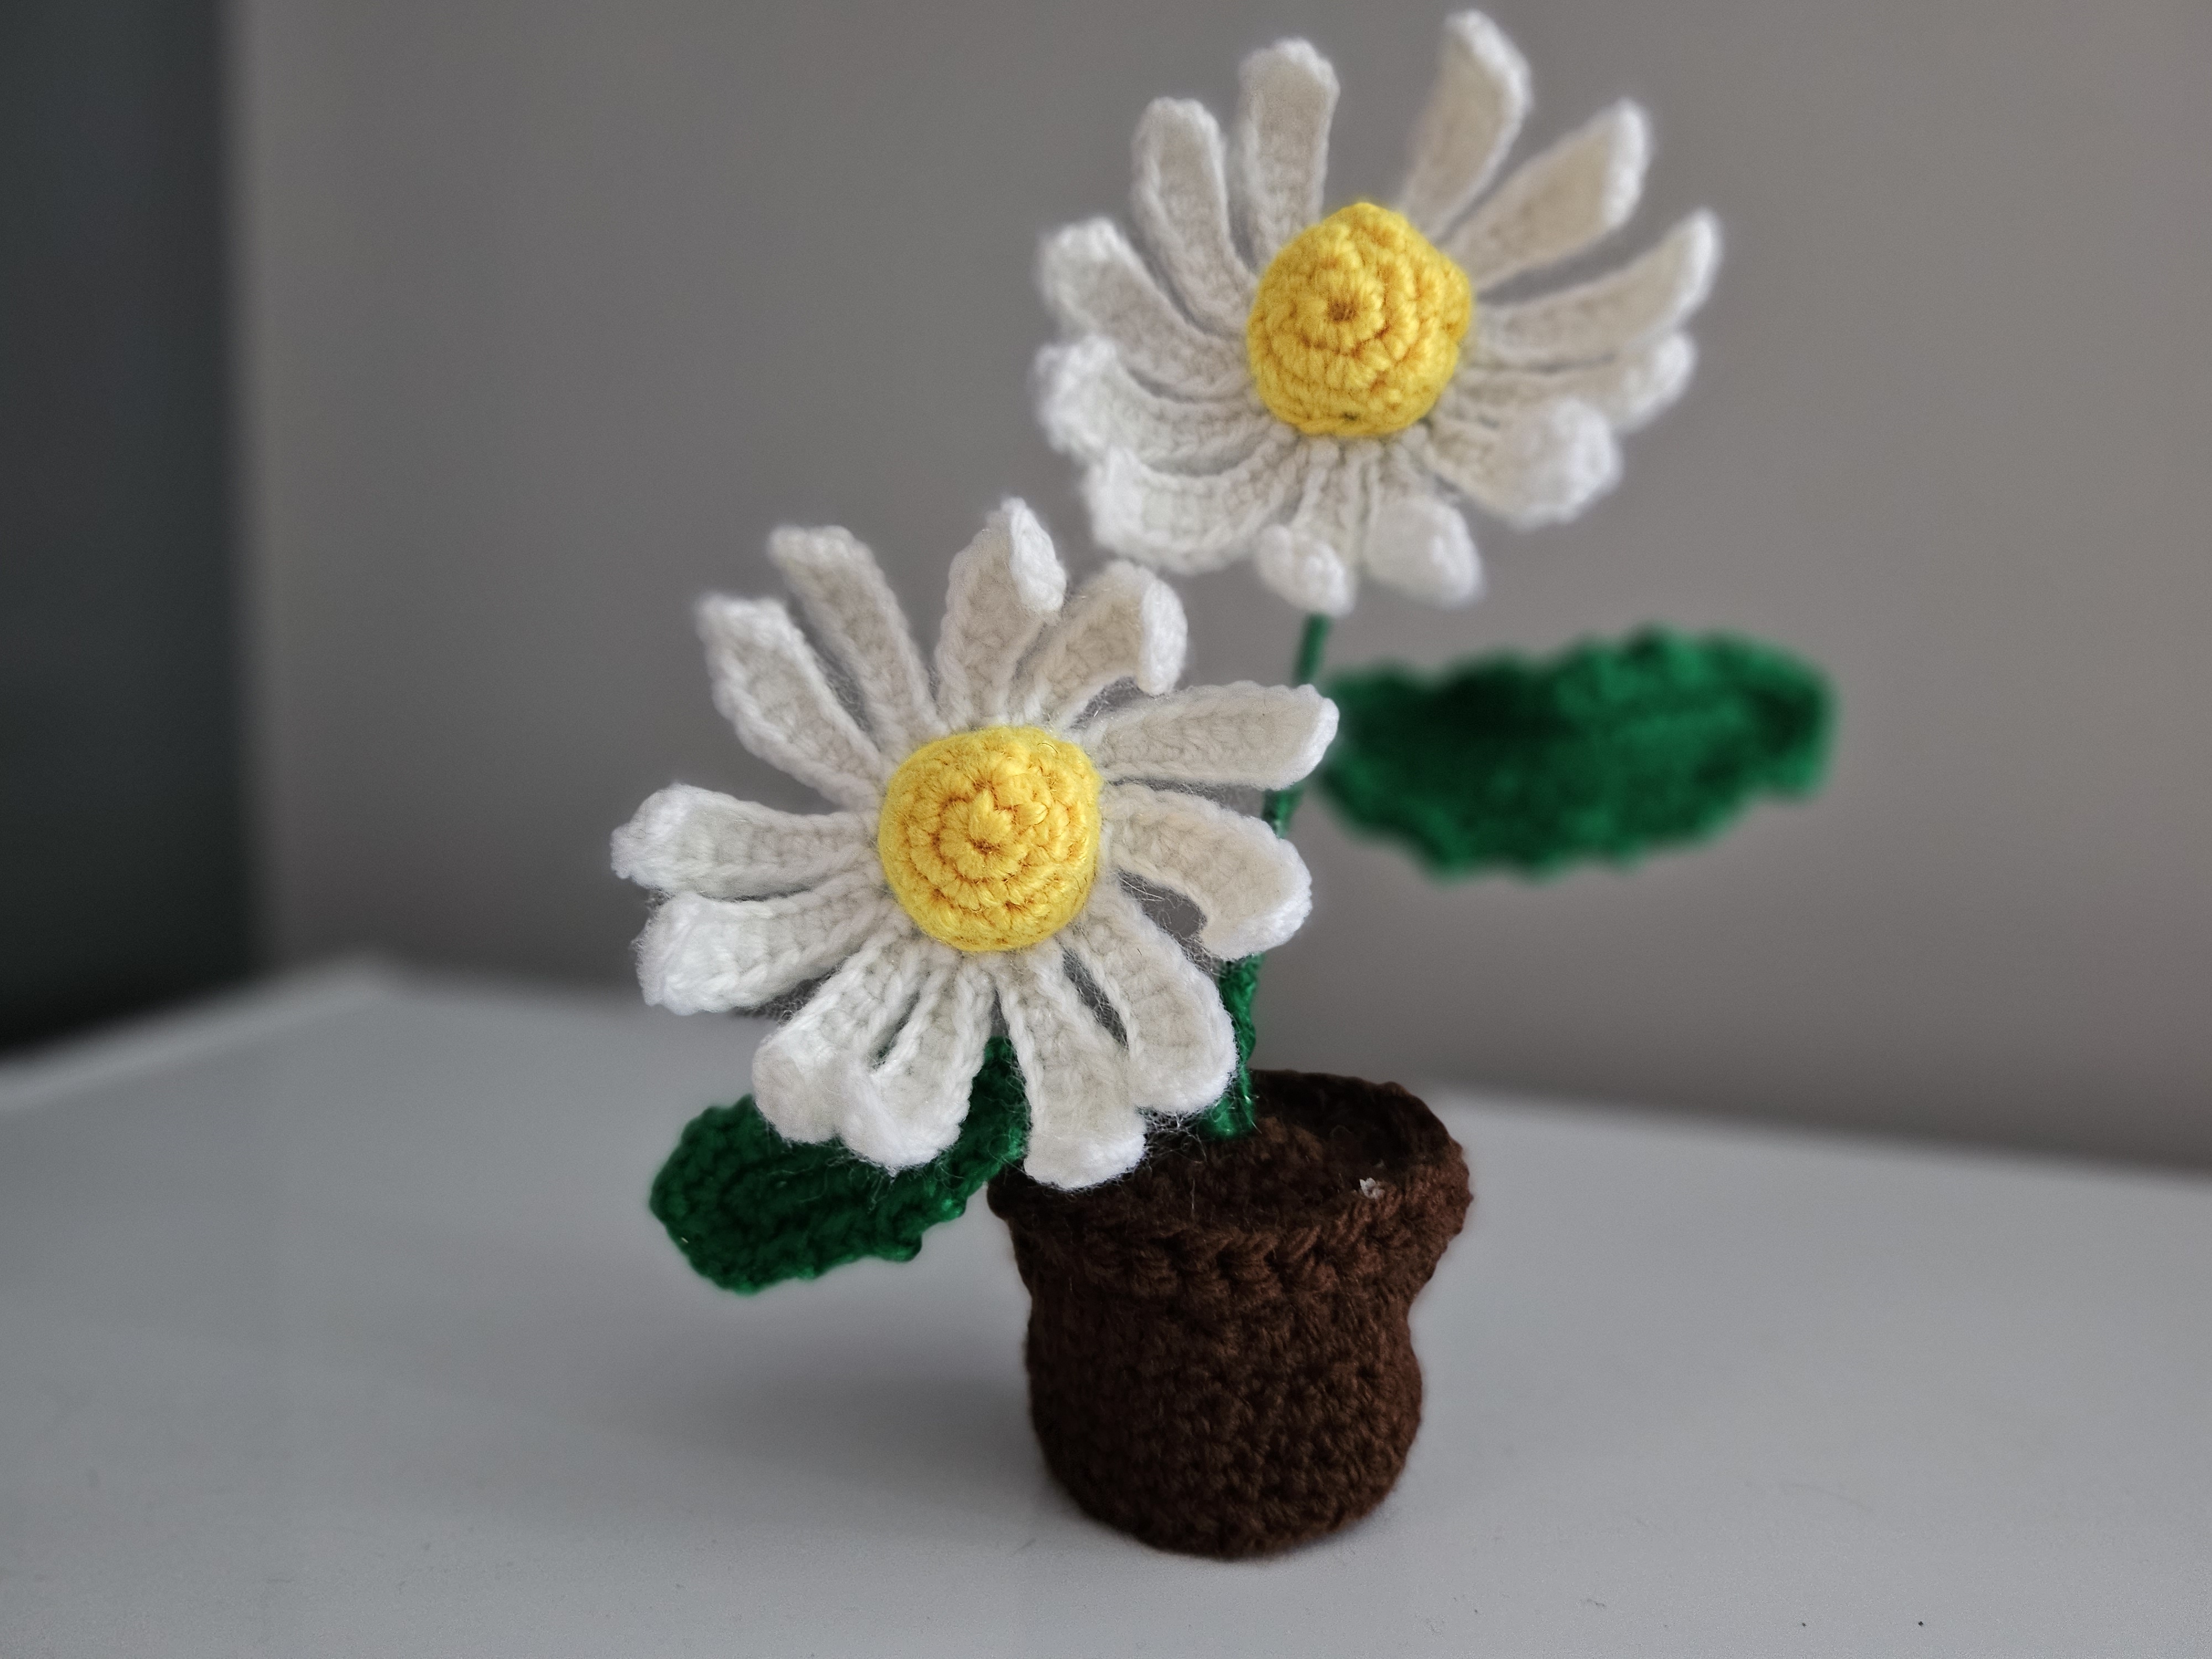
Troubleshooting and finishing
| What happens | Check first | | --- | --- | | A petal is short or narrow | The 12-chain start and the dc–hdc–sc return sequence | | The yellow center looks flat | Its straight fourth round and the distribution of filling | | The leaf twists tightly | Wire placement and stitches pulled too tightly around it | | The pot flares unexpectedly | Added stitches at joins or missed BLO placement | | Flowers lean after assembly | Stem anchoring and how far the heads sit outside the base |
For a gift, support the pot inside a box and leave space around the blooms. Tight wrapping can flatten the petals and bend the leaves.
Dust gently and check the materials before wet cleaning. The care requirements include the yarn, wire supports, filling, and any attachment materials used in your own version.
Watch the daisy plant tutorial
Use the video for the out-and-back petal attachment, wired leaf construction, flower backing, and the final stem-to-pot assembly.
A few repeated parts make the plant, but their arrangement gives it life. When the two flower centers are visible, the leaves have room to spread, and the pot rests firmly, your little daisies are ready for a desk, shelf, or handmade gift.
Watch every stitch up close
Pair these written notes with the complete video tutorial.
Made with yarn, shared with love. 🧶💗