
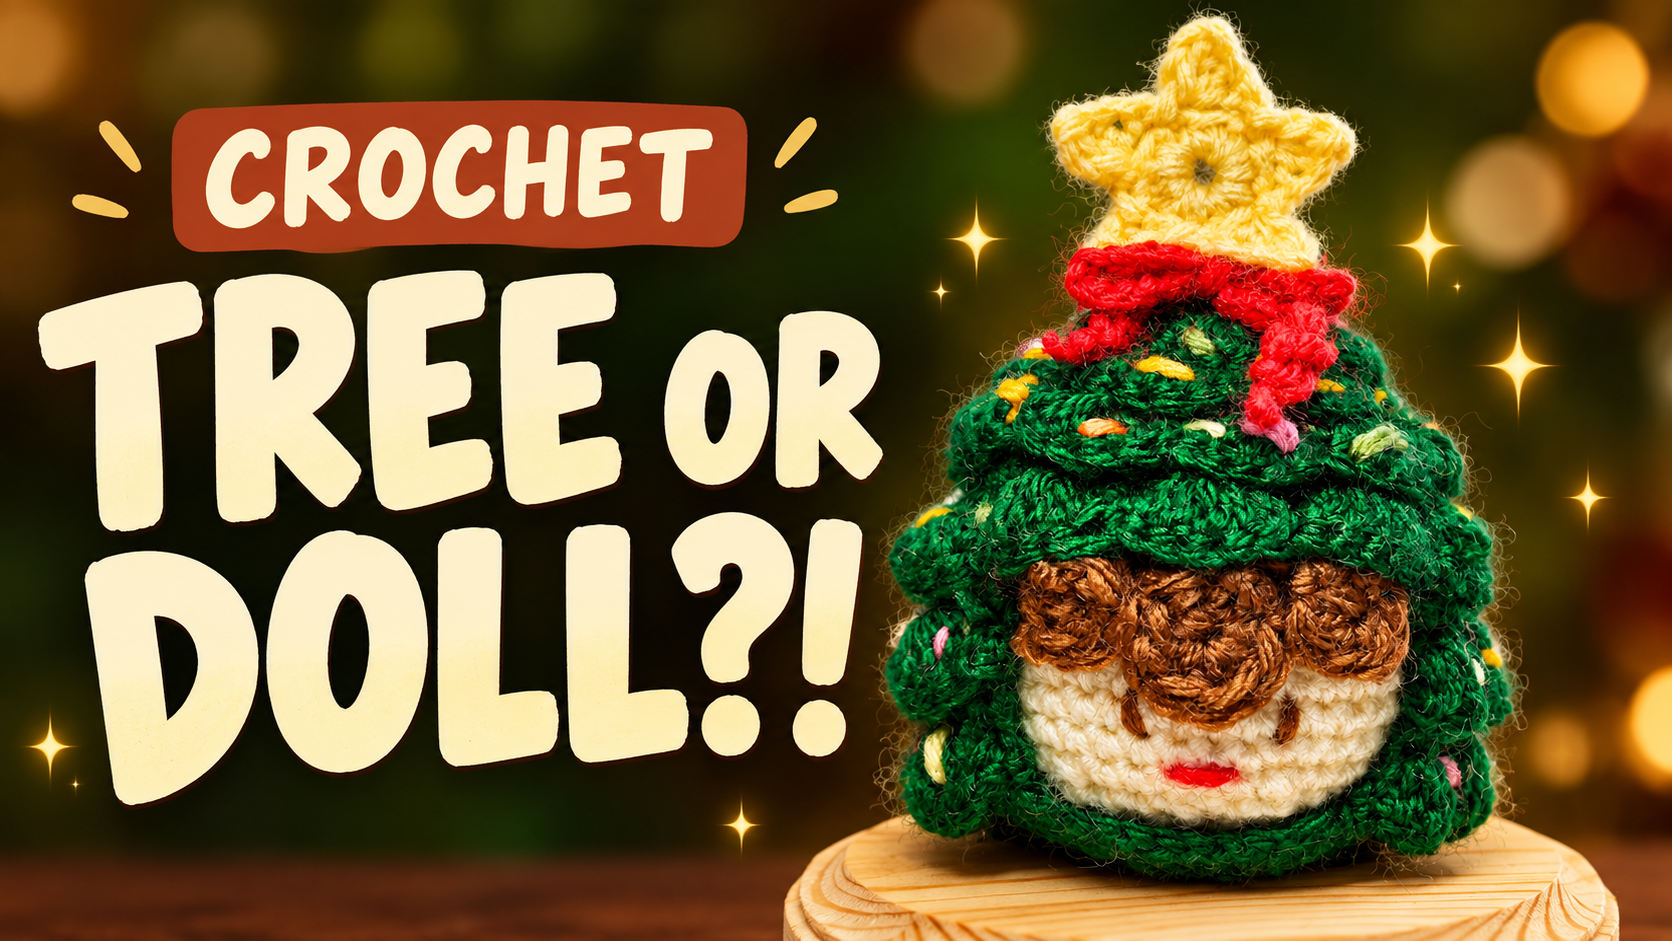
# Crochet Christmas Tree Tuanzi: A Star-Topped Holiday Character
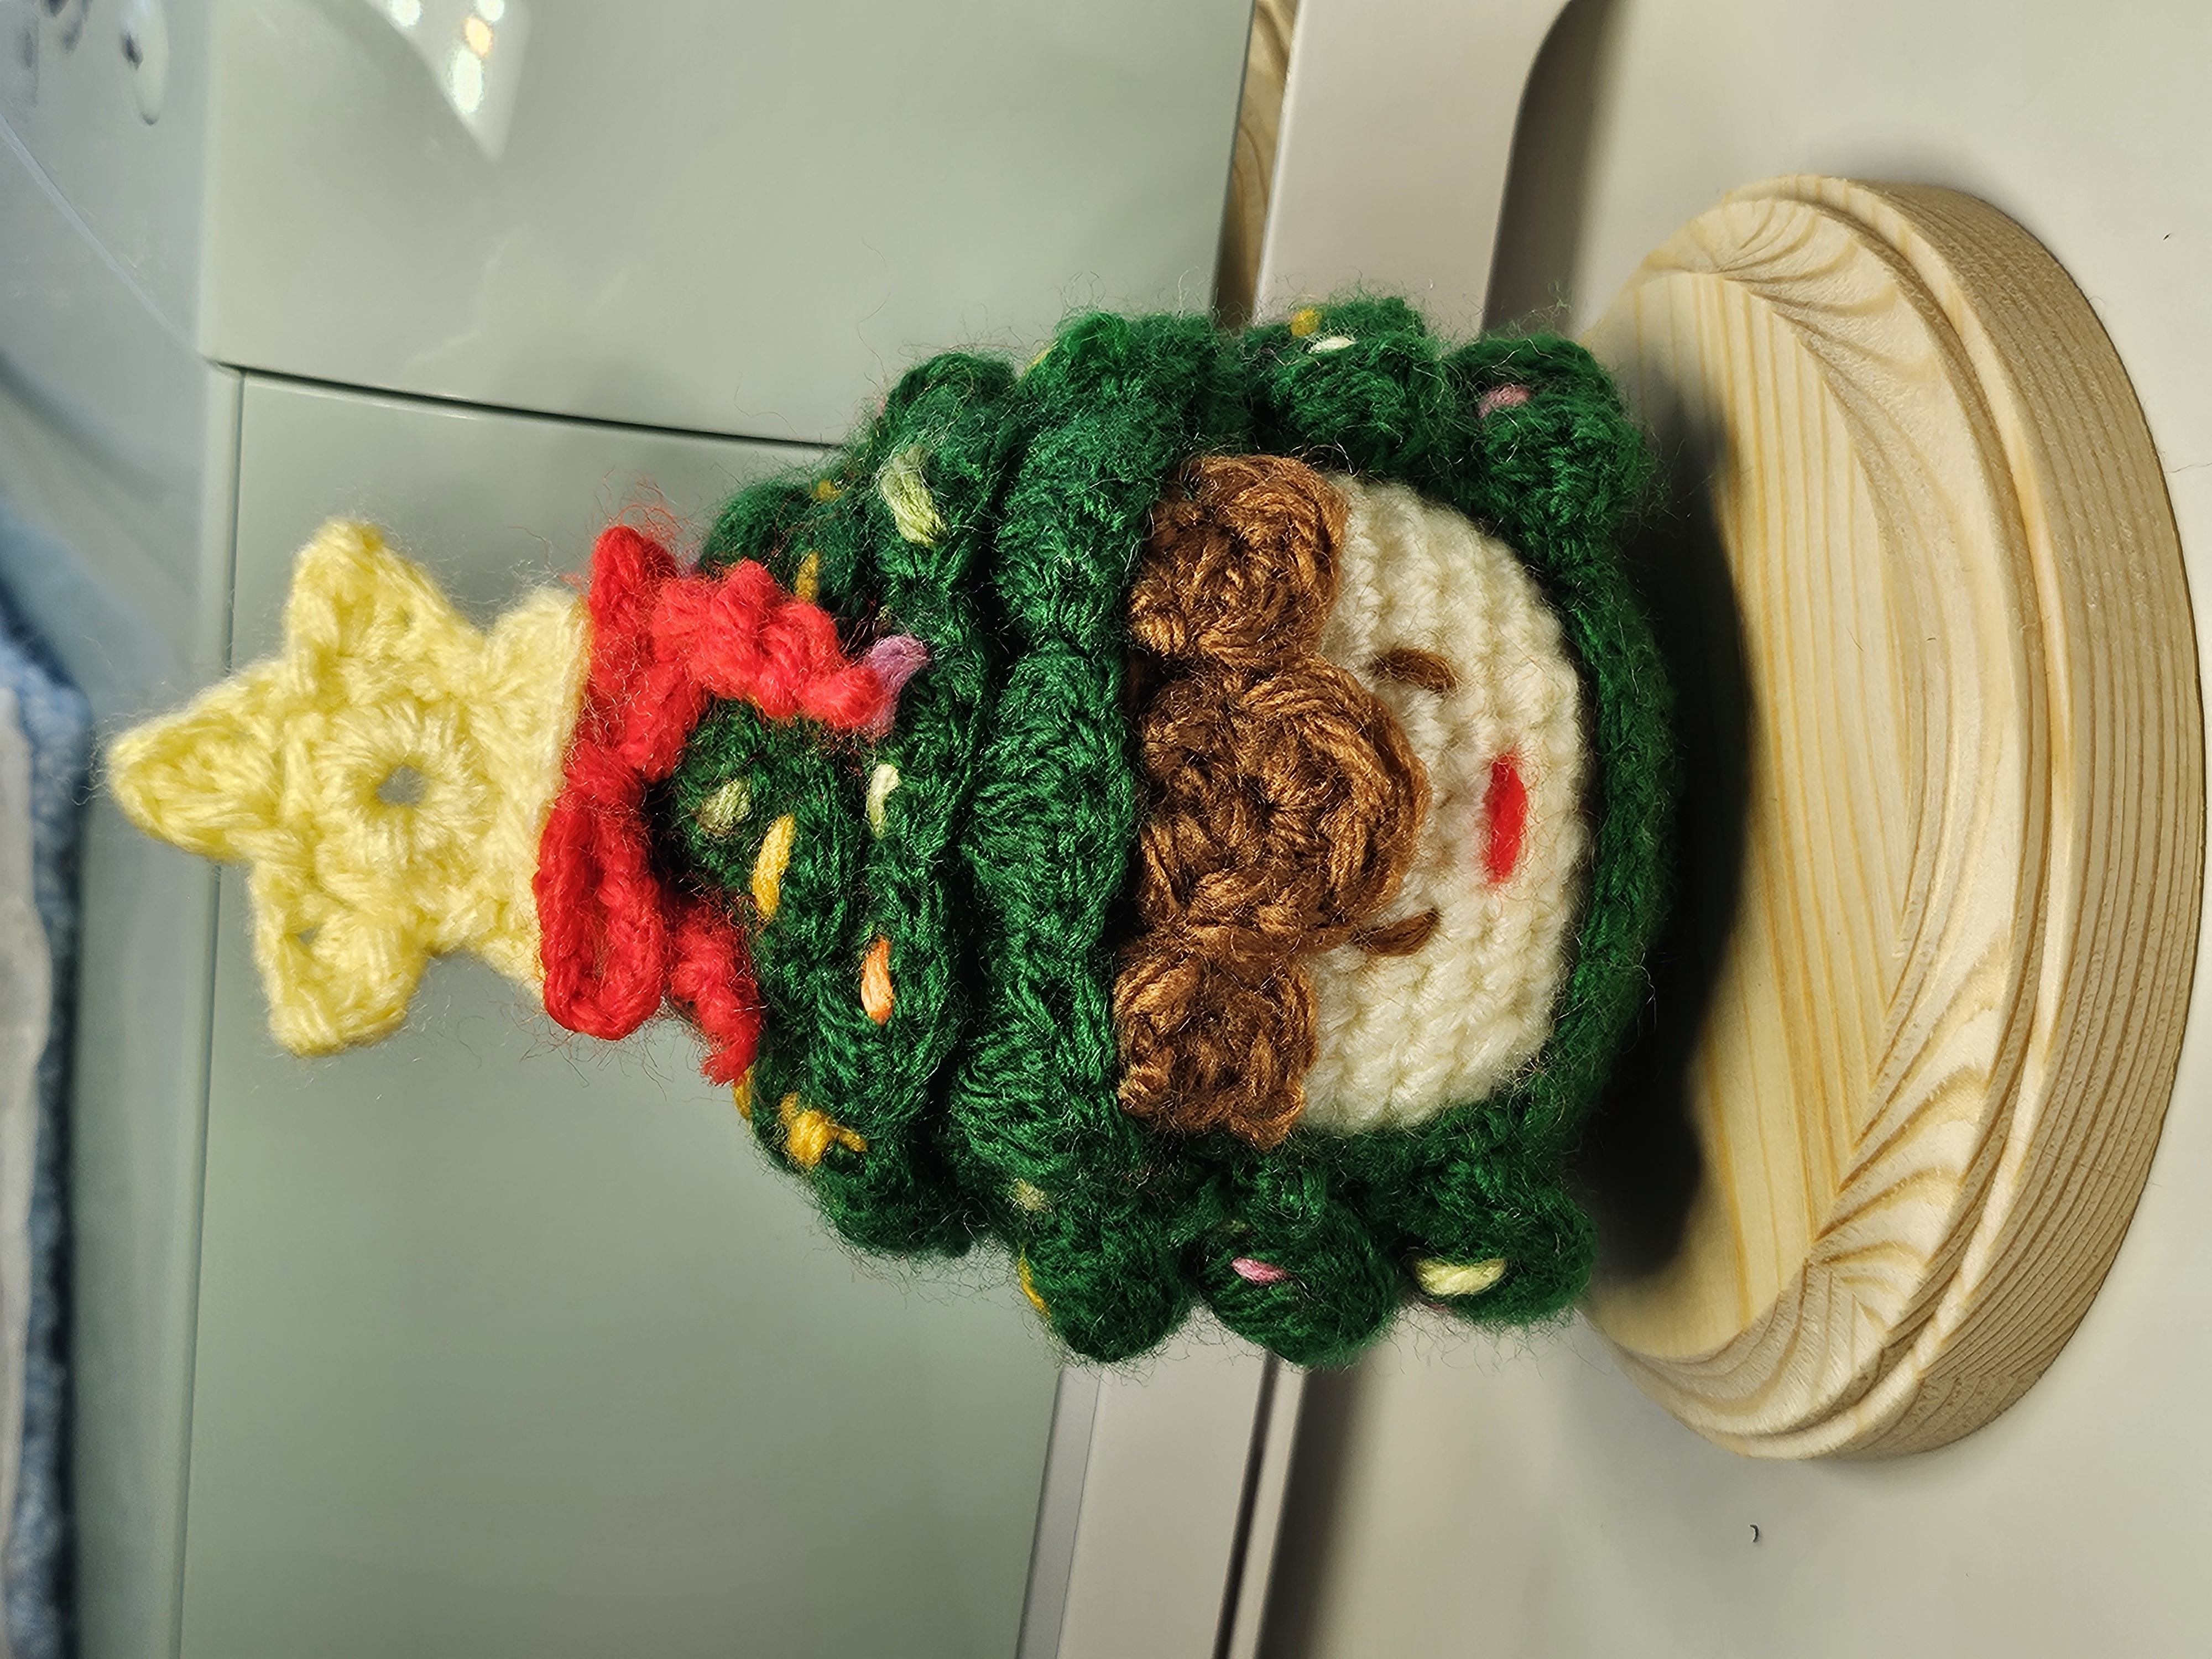
A Christmas tree does not usually have a fringe and a little face, but that is what makes this Tuanzi such a memorable decoration. Its cream body peeks through a green tree-shaped hood. Scalloped branches add depth, while a yellow star gives the silhouette its familiar festive finish.
This project is made in stages: a stuffed cream body, a fitted green covering with a face opening, decorative branch edges, and small finishing pieces. Working in that order lets you check the fit before securing the decorations.
The instructions below transcribe the video’s displayed formulas. A few captions contain incomplete or inconsistent notation; those places are identified beside the relevant step rather than replaced with an invented correction. Keep the video nearby for the exact insertion points and the small star tips.
Gather Your Materials
Prepare cream yarn for the body, green for the tree, brown for the fringe, yellow for the star, and red or other small scraps for the finishing accents. You will also need a suitable hook, stuffing, stitch markers, scissors, and a yarn needle.
The verified instructions do not establish a yarn quantity, finished size, or numeric gauge. Choose compatible yarn thicknesses for the body and hood. Before committing to the project, check that your hook produces a dense cream fabric that holds stuffing without large gaps. Changing yarn thickness changes the size of every component.
Stitch Key and Reading Notes
| Term | Meaning | | --- | --- | | MR | Magic ring | | ch | Chain | | sc | Single crochet | | hdc | Half double crochet | | dc | Double crochet | | inc | Work two stitches into one stitch | | dec | Single crochet decrease across two stitches | | BLO | Back loop only | | sl / ss | Slip stitch; the video uses both abbreviations | | sk | Skip | | ( … ) × 6 | Repeat the bracketed sequence six times |
Terminology is US crochet terminology. The totals in the body table are calculated from the displayed formulas. Joining slip stitches are not added to those totals. Mark the first actual stitch of each round so the join does not accidentally become an extra stitch.
- Crochet the Cream Body
Start with a magic ring. Join the rounds with a slip stitch as indicated on screen.
| Round | Instruction | Stitch count | | --- | --- | --- | | 1 | 6 sc in MR; join | 6 | | 2 | Inc in every stitch; join | 12 | | 3 | (Sc, inc) × 6; join | 18 | | 4 | (Sc, inc, sc) × 6; join | 24 | | 5 | (3 sc, inc) × 6; join | 30 | | 6 | (2 sc, inc, 2 sc) × 6; join | 36 | | 7 | Caption: “(5sc, dc inc)*6, sl” | 42 if inc means two stitches in one | | 8–14 | 42 sc each round; join | 42 | | 15 | (5 sc, dec) × 6; join | 36 | | 16 | (2 sc, dec, 2 sc) × 6; join | 30 | | 17 | (3 sc, dec) × 6; join | 24 | | 18 | (Sc, dec, sc) × 6; join | 18 | | 19 | (Sc, dec) × 6; join | 12 | | 20 | 6 decreases; join | 6 |
Round 7 caption note: the screen says “dc inc,” although the surrounding body is described with sc notation. The literal caption is retained here. Check the hand demonstration at approximately 2:30 before choosing the stitch height; the count alone cannot resolve that difference.
Rounds 8–14 mean seven separate rounds of 42 stitches. Tick them off individually. At the end of Round 14, you should have completed fourteen rounds in total.
Add stuffing while the opening still allows you to distribute it evenly. The video shows stuffing in place during the later decreases. Use small portions, shape the body with your hands, and avoid stretching the face area into visible holes. After Round 20, sew the remaining opening closed and conceal the end inside the body.
2. Make the Green Tree Covering
The green component begins at the pointed top and expands around the cream body. Several BLO rounds leave unused front loops for the raised branch edges.
The green sequence shown in the video starts from a six-stitch center, followed by the rounds below. Use a marker at the beginning of each round.
| Round | Instruction | Calculated total | | --- | --- | --- | | 1 | 6 sc in MR; join | 6 | | 2 | 6 increases; join | 12 | | 3 | 12 sc; join | 12 | | 4 | (Sc, inc) × 6; join | 18 | | 5 | 18 sc BLO; join | 18 | | 6 | (Sc, inc, sc) × 6; join | 24 | | 7 | 24 sc; join | 24 | | 8 | (3 sc, inc) × 6, BLO; join | 30 | | 9 | 30 sc; join | 30 | | 10 | (2 sc, inc, 2 sc) × 6; join | 36 | | 11 | 36 sc; join | 36 | | 12 | (5 sc, inc) × 6; join | 42 | | 13 | 42 sc; join | 42 | | 14 | 42 sc BLO; join | 42 | | 15 | 42 sc; join | 42 |
After each BLO round, check that a visible line of unused loops remains on the outside. If those loops are hidden inside, compare your work orientation with the video before continuing.
3. Leave the Face Opening
The work changes from joined rounds to turned rows. Do not continue all the way around at this stage.
| Row | On-screen instruction | | --- | --- | | 16 | 32 sc, leave 10 stitches unworked, turn | | 17 | 32 sc BLO, turn | | 18–22 | 32 sc in each row, turn |
The ten unworked stitches form one edge of the opening, while the short rows add depth around the sides and back. Count 32 stitches in every worked row. Accidentally adding a stitch at a turning edge changes the fit of the opening.
The video then places the cream body inside the green covering and shows ch 10, ss to bridge the gap. Check that the face is centered before making the bridge permanent. Keep the chain relaxed enough to fit around the body without cutting into it.
4. Close the Green Underside
The captions after the bridge read as follows:
| Round | Displayed repeat | | --- | --- | | 23 | (5 sc, sc dec)*, ss | | 24 | (2 sc, sc dec, 2 sc)*, ss | | 25 | (Sc, sc dec, sc)*, ss | | 26 | (Sc, sc dec)*, ss | | 27 | Sc dec*, ss |
The asterisk on these captions does not state a repeat number. Returning to 42 stitches after the 32-stitch row and ten-chain bridge would make six repeats mathematically consistent with this decrease sequence. That is a count check, rather than an additional number printed on screen. Confirm the join and actual stitch count before decreasing; do not force the last repeat through a chain space or joining stitch to make a total fit.
The covering should hug the stuffed body while leaving its face visible. Follow the video’s final closure and secure the end without flattening the pointed top.
5. Add the Scalloped Branches
The branch caption reads “sc, sk, 5dc, sk, sc…repeat.” The five double crochets form a fan, with lower single crochets between fans. Work into the retained loops along the tree’s marked ridges, following the video for the start and finish of each line.
Treat this as a continuous edge sequence: sc, skip a loop, work a five-dc fan into the next loop, skip a loop, then sc. Continue along the ridge as demonstrated. Do not add a second sc beside every shared valley unless the video shows it at that location.
Smooth each fan with your fingers. The raised edges should project away from the covering; sewing them flat would remove the layered tree effect. Check that the lowest branch line frames the face instead of covering it.
6. Crochet the Star and Brown Fringe
For the yellow star, the video shows 10 sc in a magic ring, ss. Its point caption then reads “4ch, sk1 backwards, sc, hdc, sk, ss.” Repeat the demonstrated point around the center to create the five-point outline.
That compact caption does not fully specify every return-chain insertion. Watch the close-up around 28:40 when making the point; this written transcription should not be treated as a complete standalone star chart. Tighten the center gently and leave a tail for attachment.
The brown fringe uses small circular pieces:
- Make two pieces of MR, 8 sc, ss.
- Make the larger center piece with MR, 8 hdc, ss.
Arrange the three pieces across the top of the face, with the larger one in the middle. Pin or hold them in place before sewing so their lower edges do not hide the expression. These are small round fringe pieces, even though the finished overlapping arrangement can look like curls.
7. Finish the Character
Center the star at the top with one point facing upward. Attach it through secure stitches at its base. Add the brown fringe beneath the branch line, then arrange the red finishing details and contrasting accents to match the video or your chosen palette.
The written instructions here do not include a separately verified crochet formula for a red bow. If adding one, use a separately established bow pattern or a securely tied yarn bow rather than assuming an unlisted stitch sequence belongs to this design.
For sewn or embroidered details, keep the tension light. Pulling a long stitch tightly across the cream body can create a dent. Pause after each feature to check the whole face from the front.
Troubleshooting
The green covering feels too tight. Count the stitches and check the BLO rounds before changing the pattern. Differences in yarn thickness or tension between cream and green can also affect fit.
The face opening is uneven. Recount the 32-stitch rows and compare the turning edges. Center the cream body before securing the ten-chain bridge.
The branches lie flat. Check that you are working into the retained loops and that the fans are free to project. Do not pull their joining ends tightly across the outside.
The character leans. Reposition the stuffing and inspect the underside. Use a small stable display support if needed, allowing room for the star and branch edges.
Watch the Christmas Tree Tuanzi Tutorial
Use the 35-minute-50-second video for the exact joins, the branch insertion points, the compact star-point instruction, and the final arrangement.
A Small Decoration with Plenty of Character
Before displaying your Tuanzi, check the star, fringe, accents, and concealed ends. Shape the branches by hand and leave the face opening clear. The finished character can sit among holiday decorations or be boxed as a handmade gift, with enough space around its star to keep the details from being crushed.
Watch every stitch up close
Pair these written notes with the complete video tutorial.
Made with yarn, shared with love. 🧶💗