
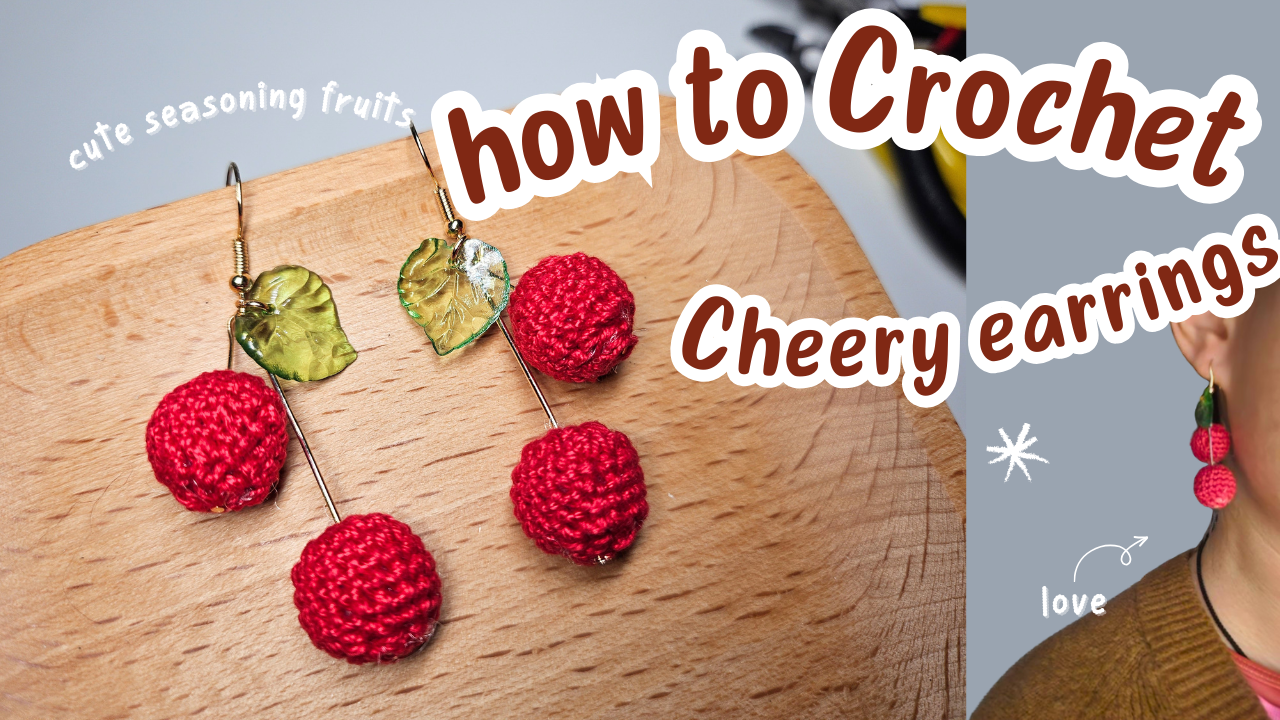
Crochet Cherry Earrings: Tiny Red Cherries with Leaf Charms
Two cherries hanging at different heights give these earrings their playful outline. The fruit is crocheted in bright red, while smooth translucent leaves and gold-tone findings create the stems and upper connection. The contrast between yarn and jewelry components keeps the design light in appearance without losing the handmade texture.
Each earring uses two cherries, so a complete pair needs four matching crochet pieces. The fruit follows a compact eight-round sequence: begin with eight stitches, increase to sixteen, work four plain rounds, then decrease twice. Once the crochet is complete, the stem lengths and connector orientation determine how the pair hangs.
This guide transcribes the round captions from the video and separates them from the practical assembly checks below. Numeric thread size, hook size, and stem lengths are not established in the verified instructions, so they are not invented here.
Materials and Components
| Part | Quantity for the pair | | --- | --- | | Red crochet cherries | 4 | | Earring hooks | 2 matching hooks | | Green leaf charms | A matching leaf detail for each earring | | Jewelry pins or stem connectors | Enough for four cherry drops, with two matched length pairs | | Filling | A small amount for each cherry | | Crochet tools | Suitable hook, scissors, fine yarn needle, stitch marker | | Jewelry tools | Pliers and cutters suitable for your chosen findings |
Use smooth red yarn or thread that produces dense stitches at a comfortable wearable scale. Make one cherry before choosing the final hardware. A thicker yarn can make the same sixteen-stitch body much larger.
Choose findings with a known metal composition suitable for the wearer. Gold-tone describes the color, while the underlying material depends on the actual component.
The green leaves in the sample are jewelry charms. They are not crocheted leaves, so there is no separate leaf crochet formula in this design.
US Stitch Key
| Abbreviation | Meaning | | --- | --- | | MR | Magic ring | | ch | Chain | | sc | Single crochet | | inc | Work 2 sc into one stitch | | dec | Work a single crochet decrease across two stitches | | ss | Slip stitch |
The rounds are joined. The caption places a chain at the start of Rounds 2–8 and a slip stitch at the end. Count the single crochets and decreases separately from those joining actions.
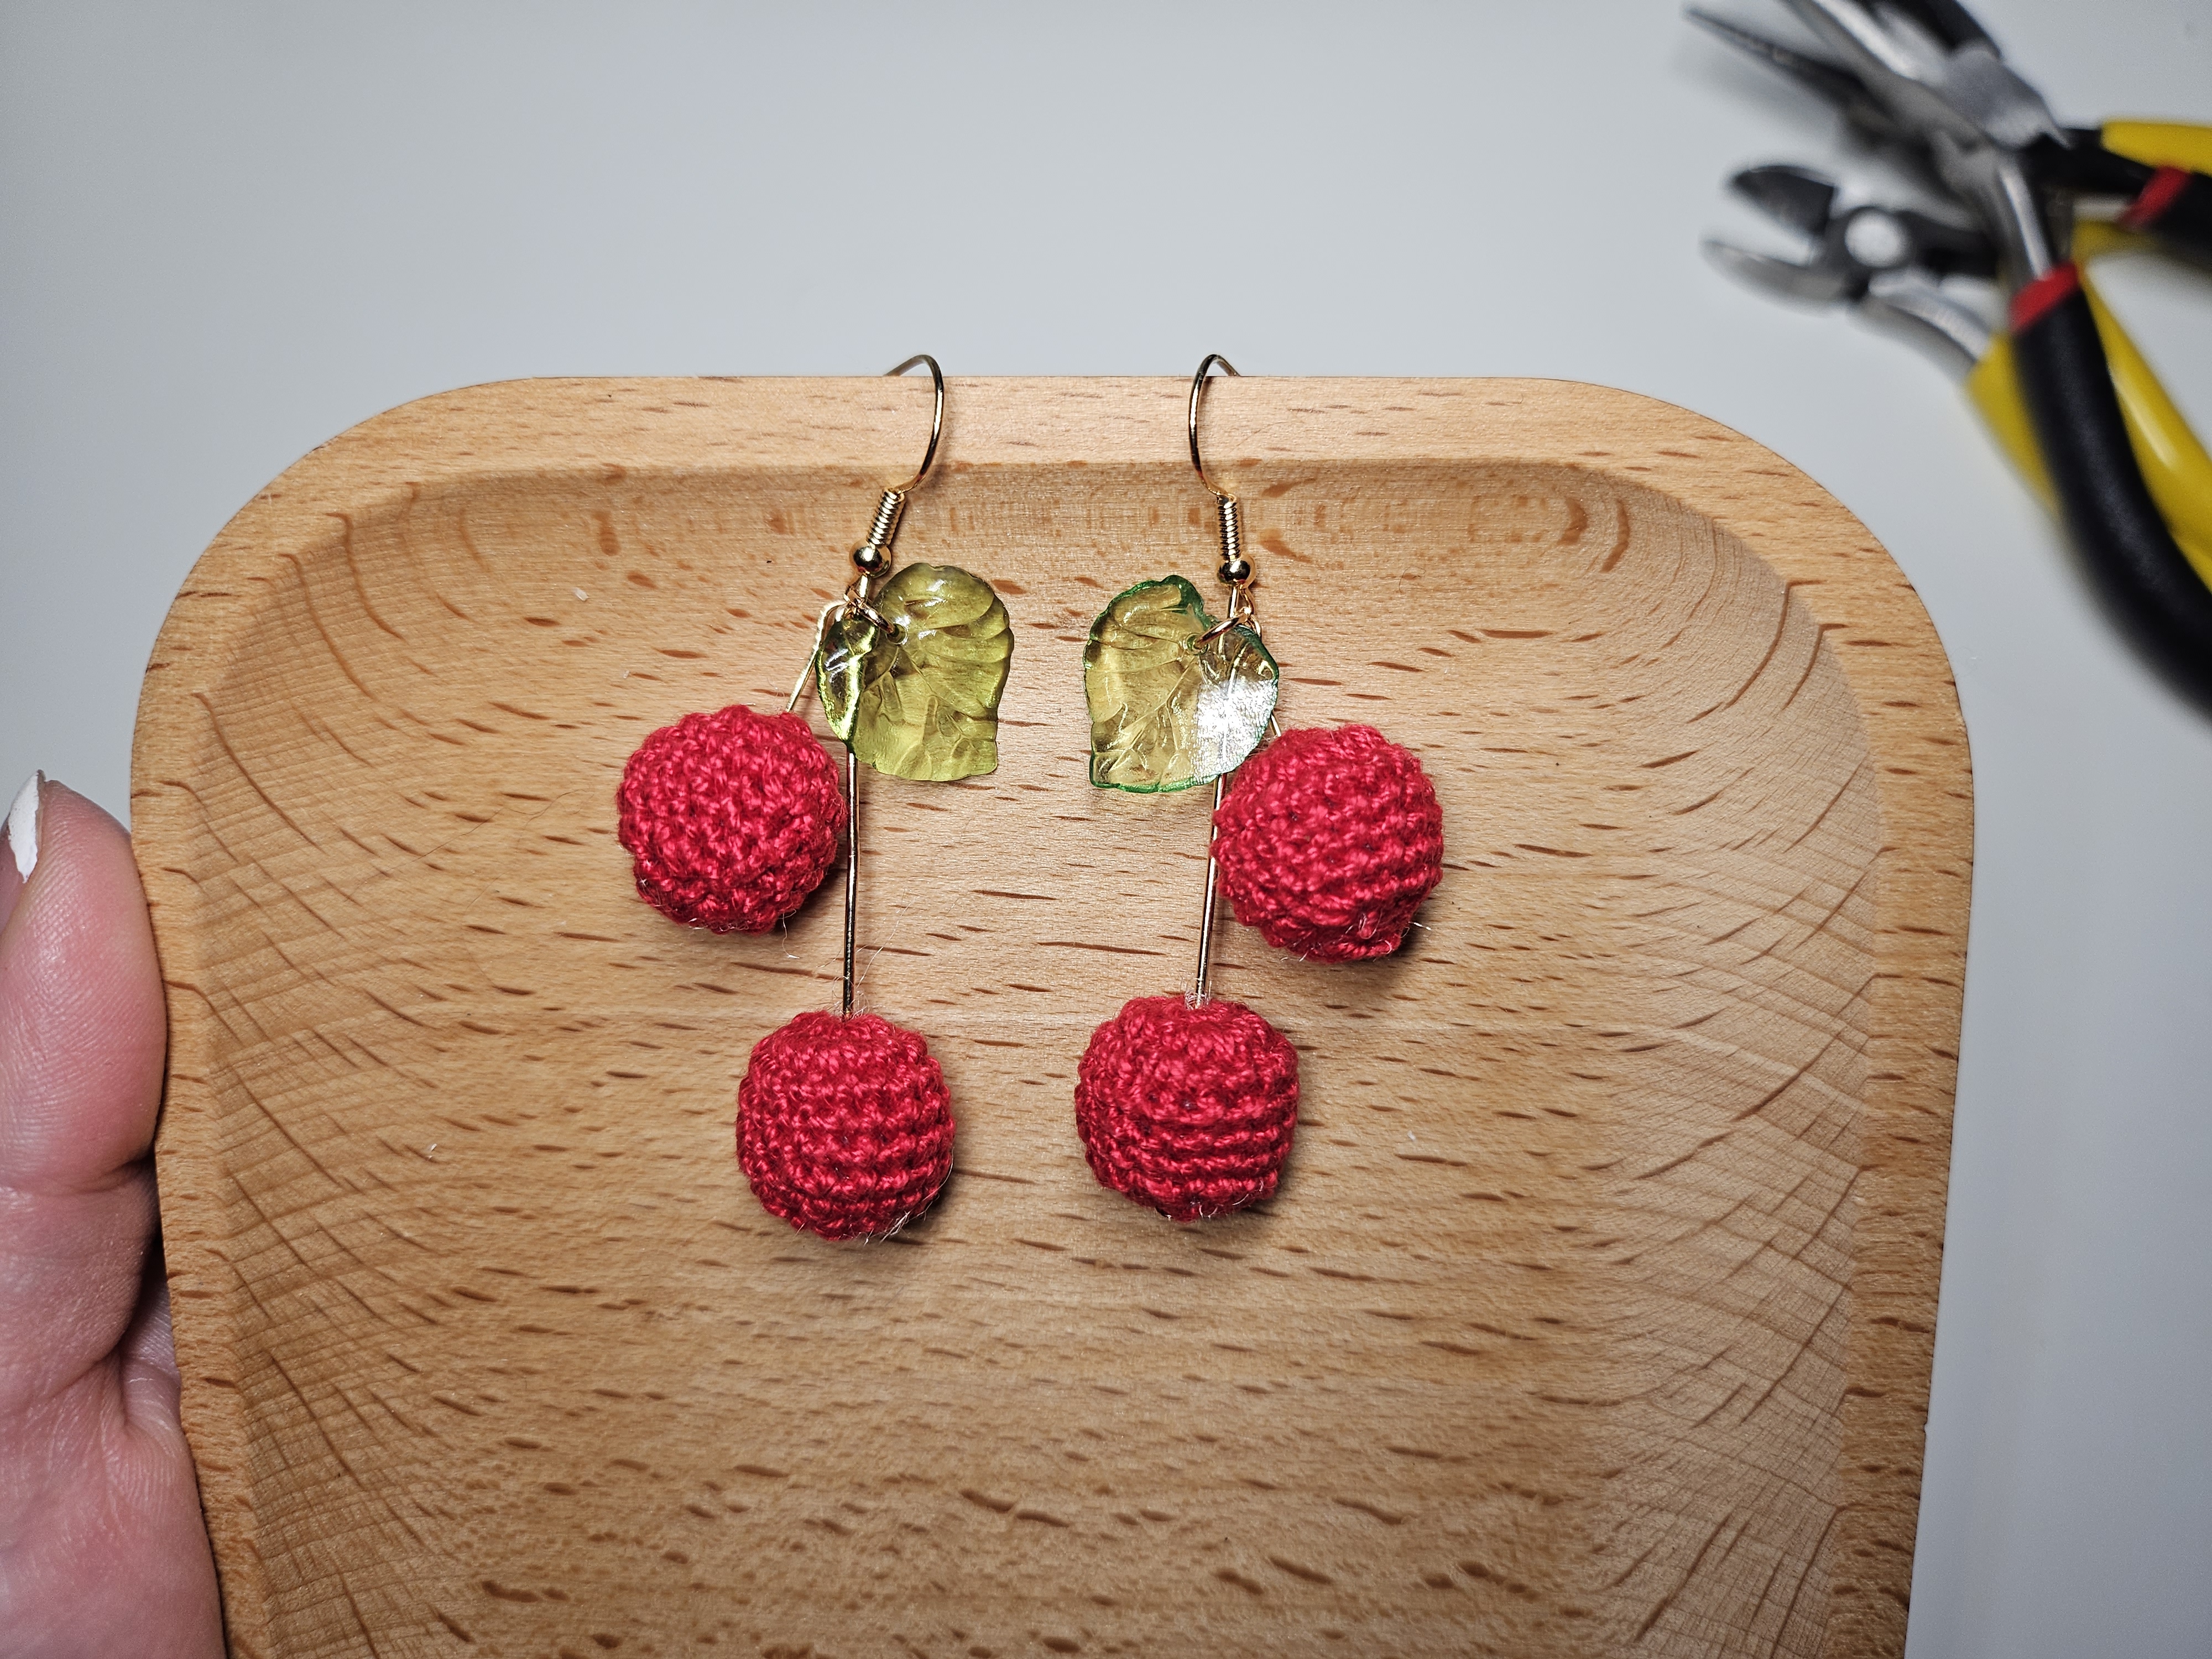
1. Crochet One Cherry
Start with a magic ring in red and work the following sequence.
| Round | Instruction | Worked stitch count | | --- | --- | --- | | 1 | 8 sc in MR, ss | 8 | | 2 | Ch 1, inc in each of the 8 stitches, ss | 16 | | 3 | Ch 1, 16 sc, ss | 16 | | 4 | Ch 1, 16 sc, ss | 16 | | 5 | Ch 1, 16 sc, ss | 16 | | 6 | Ch 1, 16 sc, ss | 16 | | 7 | Ch 1, 8 decreases, ss | 8 | | 8 | Ch 1, 4 decreases, ss | 4 |
The caption groups the plain middle section as “R3–6: ch, 16sc, ss.” That means four separate rounds, not one round called R3–6. Mark or tick off each round so all four cherries have the same height.
At the end of Round 2, count sixteen actual stitches. An accidental stitch in the joining slip stitch can increase the count without being obvious in a piece this small.
Round 7 halves sixteen stitches to eight, and Round 8 halves eight to four. The formulas are consistent; no extra increase or plain round is needed between them.
2. Add the Filling Before the Last Closure
The video shows white filling inside the cherry after the first decrease round, before the final reduction. Add a small amount while the opening remains accessible.
Distribute the filling around the inside with care. The fruit should be rounded, but its stitches should not be stretched so far that the filling becomes visible. Compare firmness as well as size when you make the other cherries.
After Round 8, close the remaining opening using the demonstrated finishing method. Keep the closure centered and avoid pulling one side into a deep dent. Conceal the tail within the crochet and check that no loose loop remains outside.
3. Make the Other Three Cherries
Repeat the same eight-round sequence three more times. Keep the hook, yarn, joining method, and middle-round count consistent.
Place all four cherries together before attaching hardware. Compare their width, height, firmness, and closure points. If one differs, first check whether it has all four sixteen-stitch middle rounds.
Pair the most closely matched pieces. The two cherries on one earring may hang at different heights, but their fruit shapes should still look related. The same arrangement should be repeated on the second earring.
4. Plan the Two Stem Lengths
Lay out both hooks, the leaf charms, and all four cherry connectors on a flat surface. Establish one shorter stem and one longer stem for the first earring, then match those lengths for the second.
The source does not provide verified numeric stem measurements. Judge the complete drop with the actual crochet pieces and findings in place. The distance between the fruit should let both cherries remain visible rather than making them collide or sit directly on top of one another.
A simple planning check is to measure from the common upper connection to the top of each fruit. Record those two distances and reproduce them on the other earring.
Do not trim all four pins before testing the first arrangement. Leave enough material for the required loops according to the finding manufacturer's instructions.
5. Connect the Cherries to the Jewelry Pins
The video demonstrates passing a metal pin through the crocheted fruit and forming the upper connection. Use the appropriate pin type and retaining end for that method; a plain length of wire without a stop is not automatically an equivalent component.
Guide the pin through the intended center of the cherry without splitting or cutting the yarn. Check that its retaining end supports the fruit and does not pull through a stitch gap.
Shape or close the upper loop using suitable jewelry tools. Inspect the cut end and loop closure. No sharp tip should remain exposed against the yarn or where it could touch the wearer.
Repeat for the other fruits, preserving the two planned stem lengths. The crochet should stay rounded around the pin instead of being compressed tightly between the upper loop and lower stop.
6. Add the Leaves and Ear Wires
The final arrangement brings two cherry stems and a leaf detail together near the ear wire. Attach the components in the orientation shown, using compatible loops or connectors.
If opening a standard jump ring, twist its ends sideways with pliers and then bring them back into alignment. Avoid pulling the ring into a wide oval. Follow the actual finding's instructions if its closure works differently.
Give the leaf room to hang beside the upper cherry. A crowded top connection can trap the charm behind the fruit or prevent it from facing outward.
Close every opened loop fully. Fine thread and small charm holes can slip through a gap that looks minor on the worktable.
7. Check Both Earrings While Hanging
Hold the earrings by their hooks and compare them in the same orientation. The upper cherries should sit at matching heights, the lower cherries should have matching drops, and both leaves should remain visible.
If one earring turns sideways, inspect the alignment of its connector loops before altering the crochet. If one fruit looks lower, compare the pin length and closure position before assuming the ball itself is larger.
Handle each connection gently to check for slipping. Look for a retaining end pulling into the fabric, an open loop, a bent stem, or an exposed yarn tail. Correct those details before wearing the pair.
Troubleshooting
One cherry is taller. Verify that Rounds 3–6 were each worked once and that the joining chains were treated consistently.
The filling shows. Check the hook and yarn combination and reduce excessive filling. A dense sample should hold the filling without being stretched.
The cherry has a large closing dent. Reposition the filling before the last closure and draw the thread in evenly rather than pulling one side first.
The two fruits overlap completely. Reassess the difference between the stem lengths and the top-loop orientation.
A leaf is hidden. Give it its own space at the upper connection and compare the assembly order with the video.
Watch the Cherry Earrings Tutorial
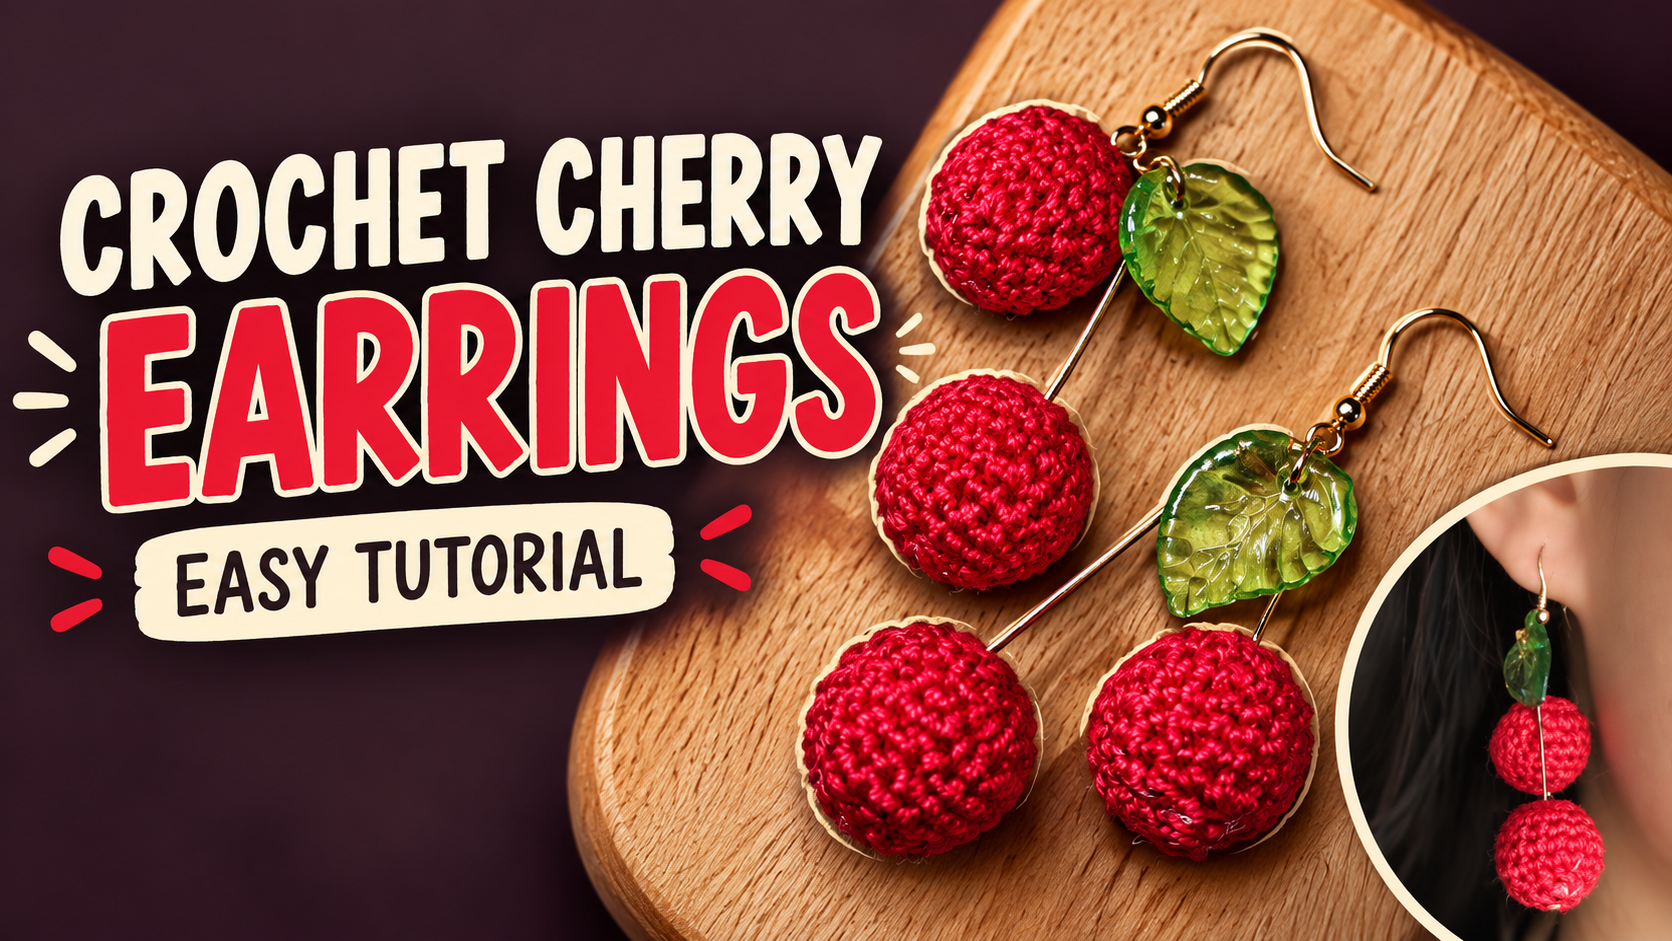
The 9-minute-18-second video shows the joined rounds, filling, final decreases, metal pin connection, and finished staggered arrangement.
Finish and Store the Pair
Place the completed earrings on a card or in a small box with room for the stems to remain straight. Keep hooks and other jewelry from catching the crochet. Follow care instructions compatible with both yarn and hardware, and include known metal information when gifting. Four matching cherries and two carefully repeated stem arrangements give this small project a polished finish.
Watch every stitch up close
Pair these written notes with the complete video tutorial.
Made with yarn, shared with love. 🧶💗