
Crochet Cat Ear Beanie and Matching Fingerless Gloves
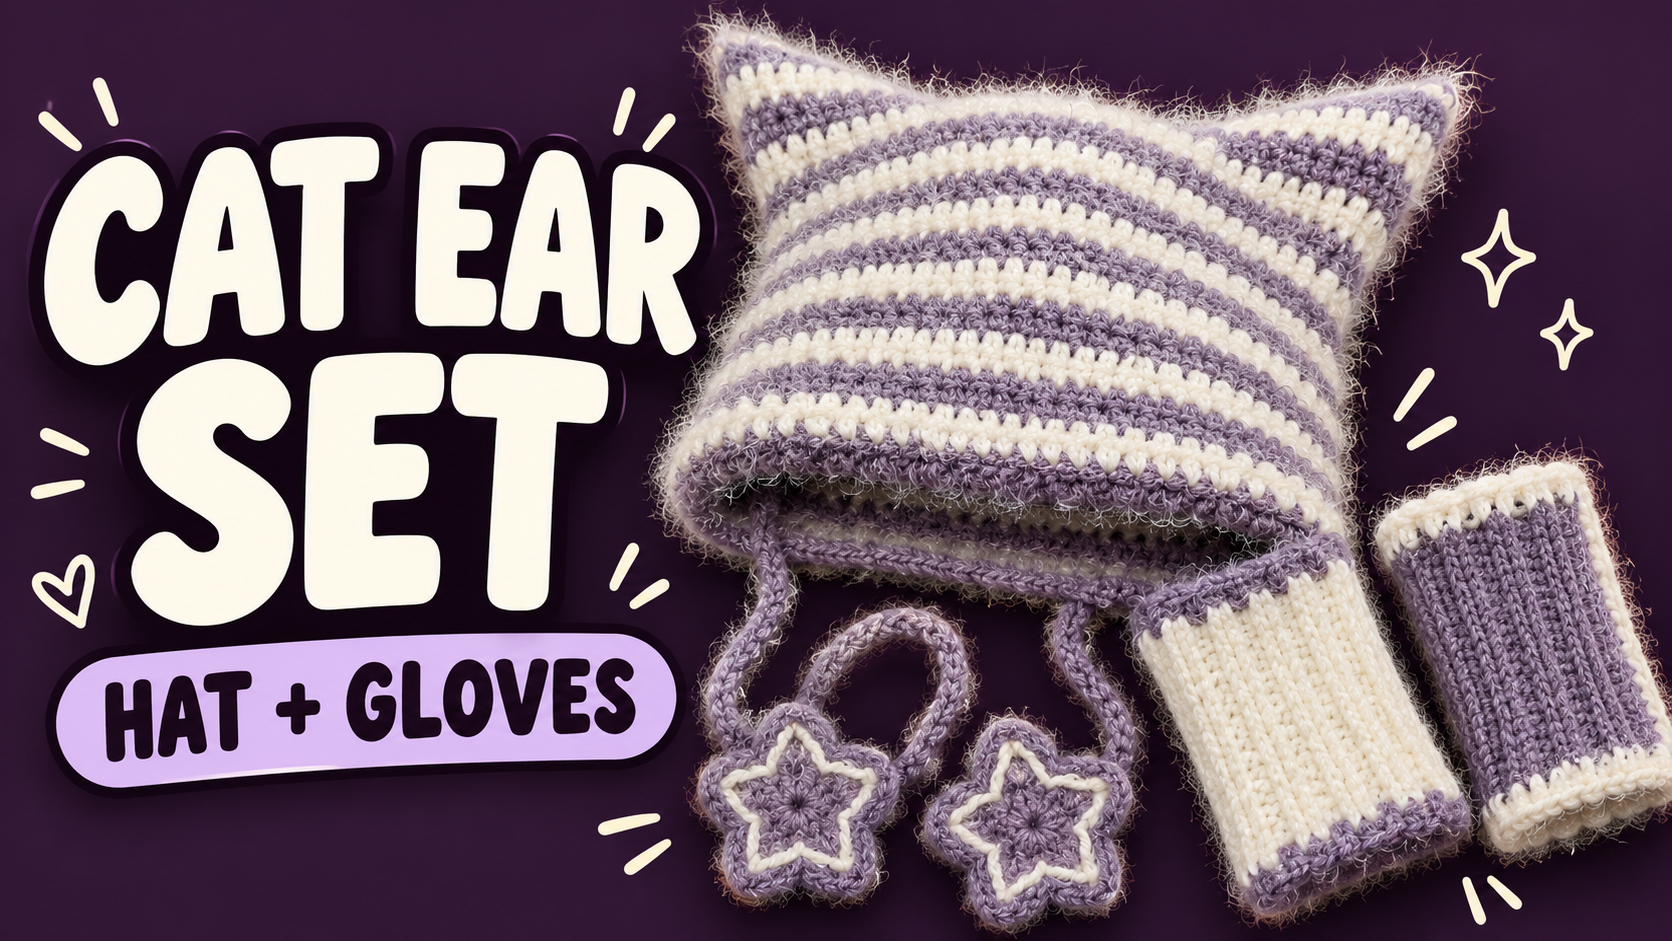
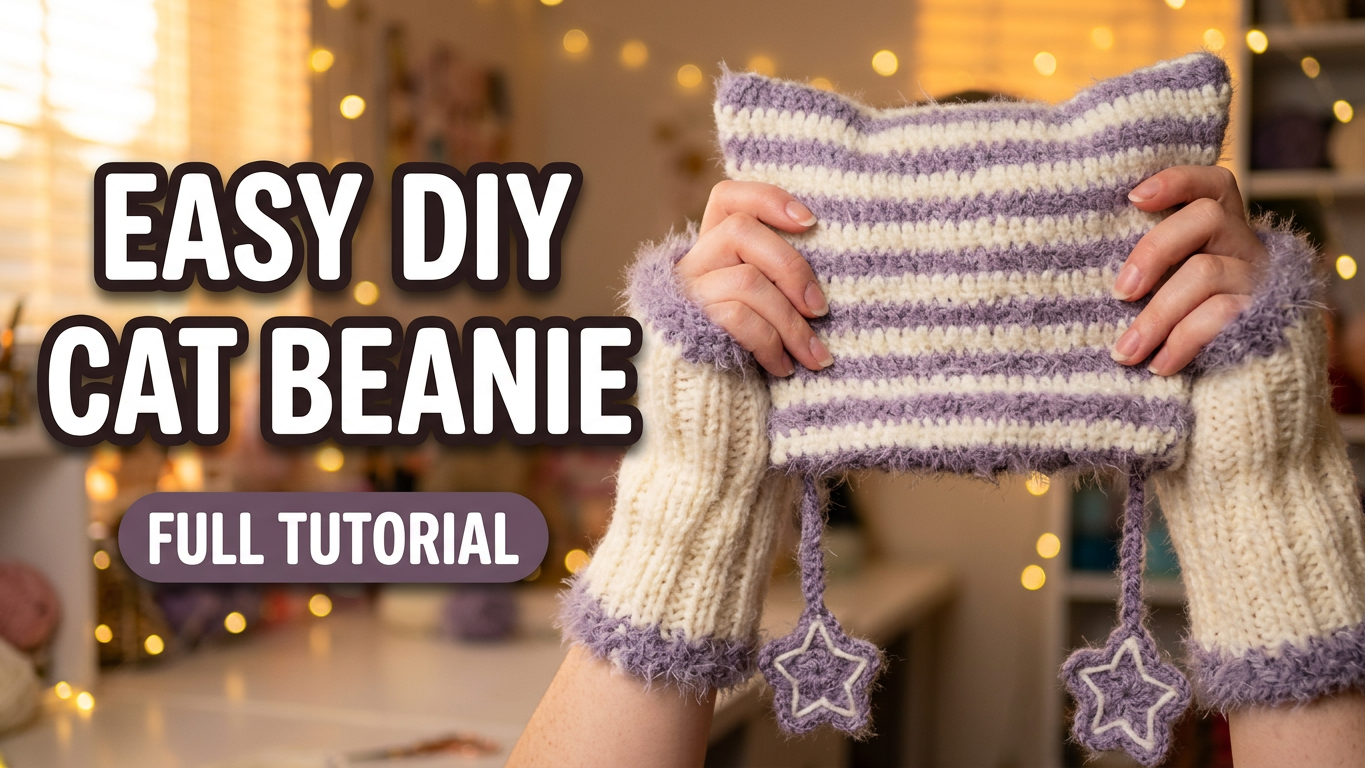
Lavender stripes and ivory contrast give this set a soft appearance, while the pointed hat corners and hanging stars add a playful outline. The gloves repeat the palette in a different way: a mostly ivory ribbed fabric finished with fuzzy lavender edges.
The set combines three constructions. The hat begins along a foundation chain and develops into joined rounds, the stars use a small circular center with five shaped points, and the gloves begin as back-loop single-crochet fabric. Keeping those methods separate makes the tutorial easier to follow.
The hat counts below reproduce the demonstrated sample. They are not a graded size chart. Measure your head and hands and check your yarn's stretch before deciding whether the sample counts will fit.
Materials and sizing preparation
Prepare lavender and ivory yarns, compatible hooks, scissors, a yarn needle, markers, and a measuring tape. The source shows a Yarn Bee label in Smoked Lavender, but no verified yarn weight, hook diameter, or finished gauge is assigned here. Matching the color name alone will not reproduce the sample's dimensions.
Fuzzy fibers hide stitch tops, so use markers that contrast with both yarns. Practice the stitch and color-change method on a small sample before starting the hat. Check the yarn against your forehead and wrists for comfort.
For the hat, measure where the lower edge will sit and decide the required depth. For the gloves, measure the hand around the knuckles without the thumb, the wrist, and the intended wrist-to-finger-edge length. Check how easily the sample fabric stretches and returns to shape.
The original description refers to two rolls of yarn for the set. Without their length and your finished size, that is not a reliable shopping quantity. Allow for swatching, stars, ties, and finishing as well as the main fabric.
Stitch key
US terms: `ch` chain, `sc` single crochet, `hdc` half double crochet, `dc` double crochet, `tr` treble crochet, `sl st` slip stitch, and `BLO` back loop only. A `dc dec` joins two base stitches into one double-crochet decrease. The video writes slip stitch as `SS`.
Keep the joining slip stitch separate from the working count. A marker in the first actual stitch is more reliable than trying to find a lifting chain beneath fuzzy fibers.
1. Begin the hat with 40 chains
The foundation caption is R0: 40 ch. Follow the demonstrated starting offset and route along both sides of this foundation. The next round has two matching sections:
`R1: (6 dc, 4 hdc, 18 sc, 4 hdc, 6 dc) × 2; sl st.`
Each section contains 38 stitches: 6 + 4 + 18 + 4 + 6. Repeating it twice gives 76 working stitches.
The changes in height are purposeful. Taller stitches at the ends and shorter stitches through the middle help establish the upper shape. Do not replace the entire round with 76 double crochets and expect the same pointed-corner outline.
Work around the foundation in the orientation shown, rather than joining the 40 chains into an ordinary circular hat brim. Inspect both sides before moving on, checking that the foundation has not twisted and the matching groups remain recognizable.
2. Work the striped hat body
| Round | Displayed instructions | Working stitches | | --- | --- | ---: | | 1 | (6 dc, 4 hdc, 18 sc, 4 hdc, 6 dc) × 2; join | 76 | | 2 | 76 dc; join | 76 | | 3 | 76 dc; join | 76 | | 4 | Dc dec, 34 dc, dc dec × 2, 34 dc, dc dec; join | 72 | | 5–17 | 72 dc in each round; join each round | 72 |
Round 4 contains four decreases: one at the beginning, two together in the middle, and one at the end. It consumes 76 base stitches and produces 72. The source's `2 dc dec` means two decreases, not two plain dc followed by a decrease.
Rounds 5–17 are thirteen additional rounds. Keep their working counts at 72 and continue the alternating lavender-and-ivory stripe arrangement shown. The early rounds show lavender at R1 and R3, with ivory at R2 and R4.
Check the join at every color change. Pulling the new color very tightly can pinch the fabric; leaving a long loose loop can create a visible gap. Keep unused strands and finished tails tidy inside the hat.
3. Check the cat-ear silhouette and depth
Try the developing hat on before finishing the last accessible details. Position its upper corners evenly, then check the lower edge, headroom, and stripe alignment.
The sample's chain foundation and first-round height changes are part of the shape. This is not a separate pair of triangular ears sewn onto a conventional round crown. Avoid adding an unshown ear seam simply because another cat-ear hat uses one.
If the hat is too tight, do not rely on pulling the fuzzy fabric aggressively. Revisit the settled gauge and circumference. If it fits around the head but needs a different depth, changing the number of plain rounds is a possible adaptation; record it separately from the source's 17-round sample.
4. Crochet the five-point stars
Begin in lavender with a magic ring. The captions give:
| Stage | Instructions | | --- | --- | | R0 | Magic ring | | R1 | Ch 2, 10 dc; sl st | | R2 | (Sc, [hdc, dc, ch 1, tr, ch 1, dc, hdc]) × 5 |
Work the sc in one supporting position, then the bracketed point group into the next as demonstrated. Each repeat uses two of the ten base stitches, giving five points. The increasing and decreasing stitch heights build each point around its central treble.
Keep the small chain spaces open enough to preserve the outline. Close and secure the center without drawing one point inward. Make the matching star and compare both before attaching them.
The pictured light-colored outline is a finishing detail; no independently verified perimeter stitch count is supplied here. Use the finishing close-up for that treatment rather than adding an assumed extra increase formula around the star.
5. Attach the hanging stars
The tie caption shows a range of 30–60 chains. Choose the length by checking the hat while worn and compare both sides before securing them. Chain length is not a fixed centimeter measurement, especially when yarn and tension differ.
The same caption includes the abbreviated phrase `sc* 18th backward`. It does not clearly explain a complete attachment sequence on its own. Follow the demonstrated anchor placement instead of interpreting that phrase as an established 18-sc cord pattern.
Use the yarn needle and fastening method shown to secure the ties and stars. Keep the attachments from twisting the hat's lower edge. Test each with a gentle pull, then check their position against your face and coat collar. A decorative tie does not need to be used as a tight fastening beneath the chin.
6. Make the ivory glove fabric
The glove caption reads:
`Ch 40; BLO sc, repeat.`
Work the foundation and first-row offset shown, then continue the demonstrated rows of back-loop single crochet. Each new row leaves a ridge, creating the ribbed appearance of the finished ivory fabric.
The source caption does not establish a complete graded row count or a numerical thumb-opening plan. Use the following fitting method as supplementary construction guidance:
- Keep the working stitch count consistent across the fabric; mark both ends when the fibers obscure them.
- Compare the foundation direction with the desired glove length from wrist toward fingers.
- Continue rows until the fabric wraps comfortably around the hand in its intended orientation.
- Hold the joining edges together with removable markers and test the fit before making a permanent seam.
The fabric needs to pass over the hand and allow movement. Stretching a much-too-small rectangle to force the edges together creates a tight glove and strains the seam.
7. Leave room for the thumb and finish the edges
For a fingerless glove, determine the thumb position with the piece on the actual hand. Mark the top and bottom of the required opening before closing the side. Join the sections above and below that opening, leaving the marked area free.
These are fitting instructions, not a verified source count of skipped stitches. Thumb size, hand length, and the actual gauge all affect the opening. Try the first glove on before securing every tail: spread your fingers, open and close your hand, and move the thumb through its full comfortable range.
The video adds lavender along the edge of the ivory fabric. Follow its close-up for the working route and keep the trim relaxed. A decorative border can become the tightest part of a glove even when the main fabric fits comfortably.
Make the second glove using the first as a reference. Record the completed fabric dimensions, number of rows, and marked opening position. Check the orientation for the opposite hand before closing the seam.
Troubleshooting the set
The hat count changes after a join
Check whether you worked into a joining slip stitch or counted a lifting chain differently from the previous round. The plain rounds should maintain their count rather than widening with every stripe.
The fourth hat round does not end at 72
Count four decreases in total and preserve the two runs of 34 plain dc. One decrease uses two base stitches and produces one working stitch. Two consecutive decreases use four base stitches and produce two.
The upper corners look uneven
Check how the hat is positioned before changing the crochet. Then compare both first-round groups and the joining tension. Pulling a corner tightly will not correct a missing group elsewhere.
The stars have blunt points
Check the central treble and its neighboring chain spaces. Also make sure the point group shares the demonstrated supporting stitch instead of being spread across several base stitches.
The gloves fit but the trim is tight
Revisit the trim tension and distribution. Do not compensate by pulling the main fabric wider; the border itself needs enough flexibility for the hand to move comfortably.
The fuzzy yarn makes errors hard to find
Count more frequently and keep the markers in place. If necessary, practice the construction with a smoother yarn first. That practice version will have its own gauge and should not be assumed to fit the same way.
Finish and care
Weave tails through their matching fabric without creating hard knots against the forehead or wrists. Inspect both the inside and outside, then try on the complete set together.
Follow the yarn labels when washing. Support the ties and stars while drying, shape the hat gently, and avoid pressing the fuzzy sections flat. Store the pieces fully dry. For a gift, include the care instructions that match the actual yarn used.
Watch the complete set tutorial
The 19-minute-45-second video shows the shaped hat foundation, striped rounds, star points, hanging attachments, and glove fabric. Use the close-ups for the source's abbreviated finishing directions.
Let the construction and fit work together
The set's appearance comes from the contrast between a shaped striped hat, small stars, and simpler ribbed gloves. Preserve the checked hat counts, make the stars as a matching pair, and fit the glove fabric before closing its seams. Careful finishing then brings the different pieces together into one comfortable set.
Watch every stitch up close
Pair these written notes with the complete video tutorial.
Made with yarn, shared with love. 🧶💗