
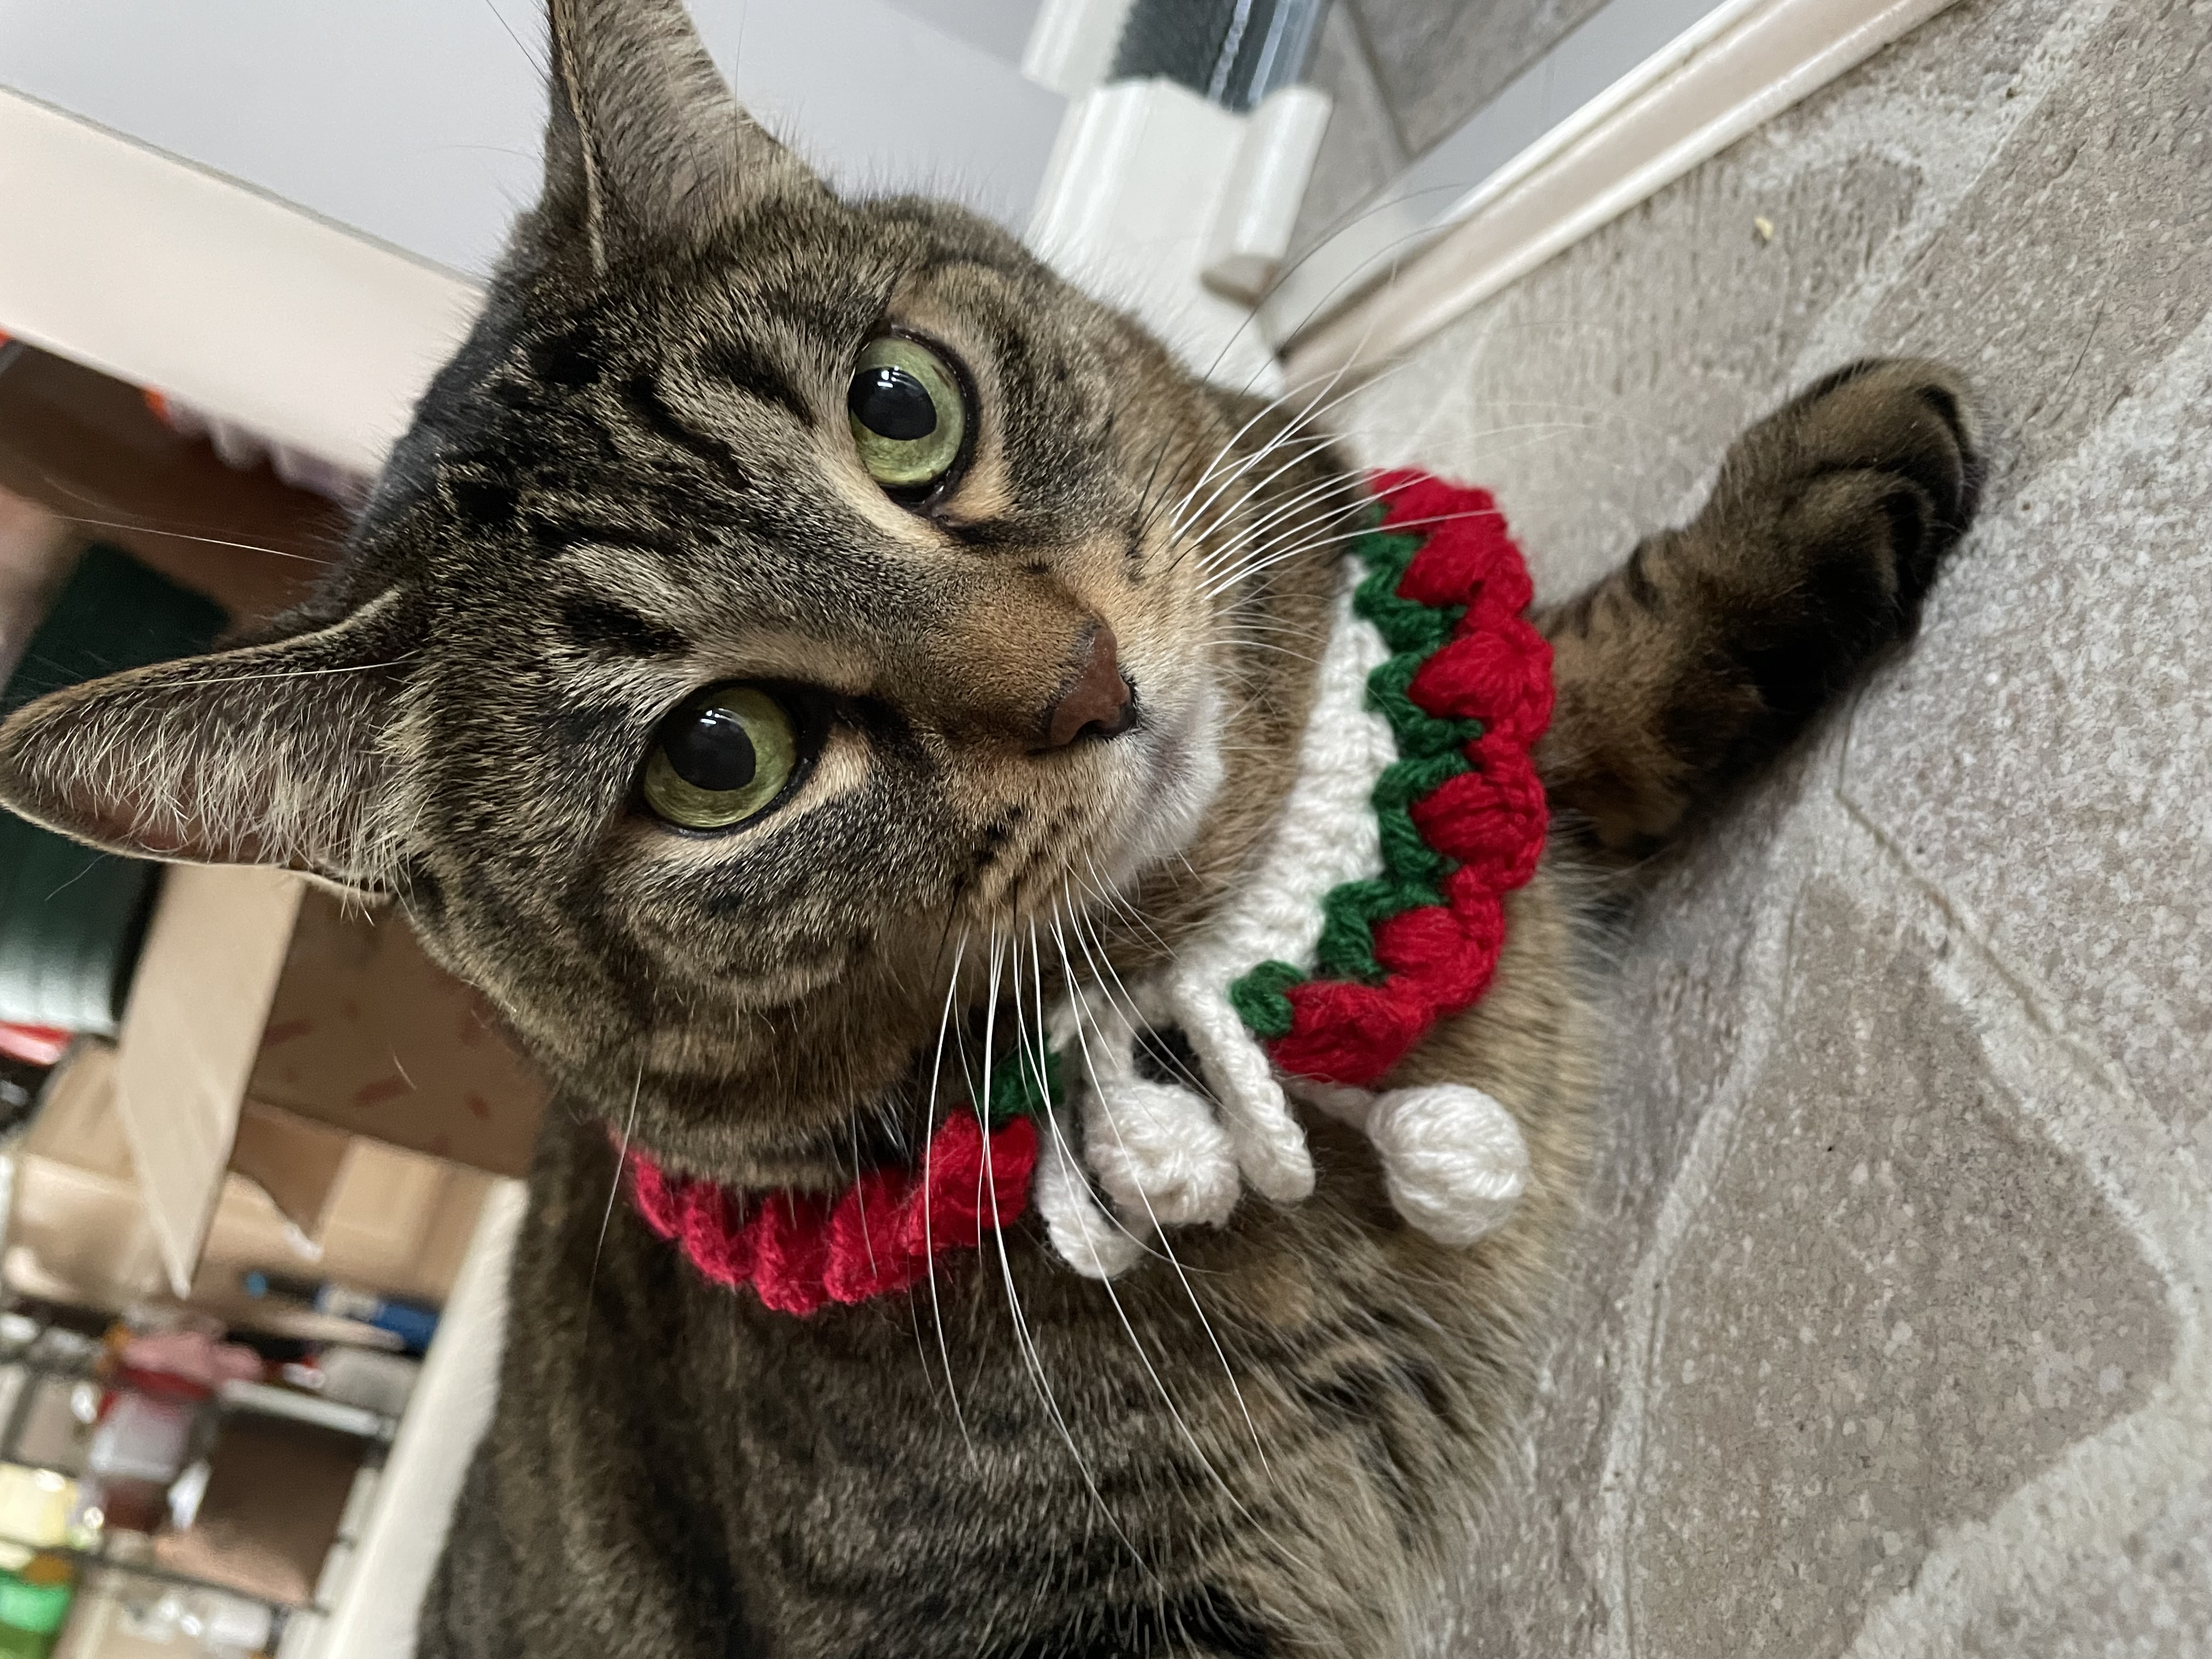
Crochet Floral Cat Collar: Cream, Green, and Red
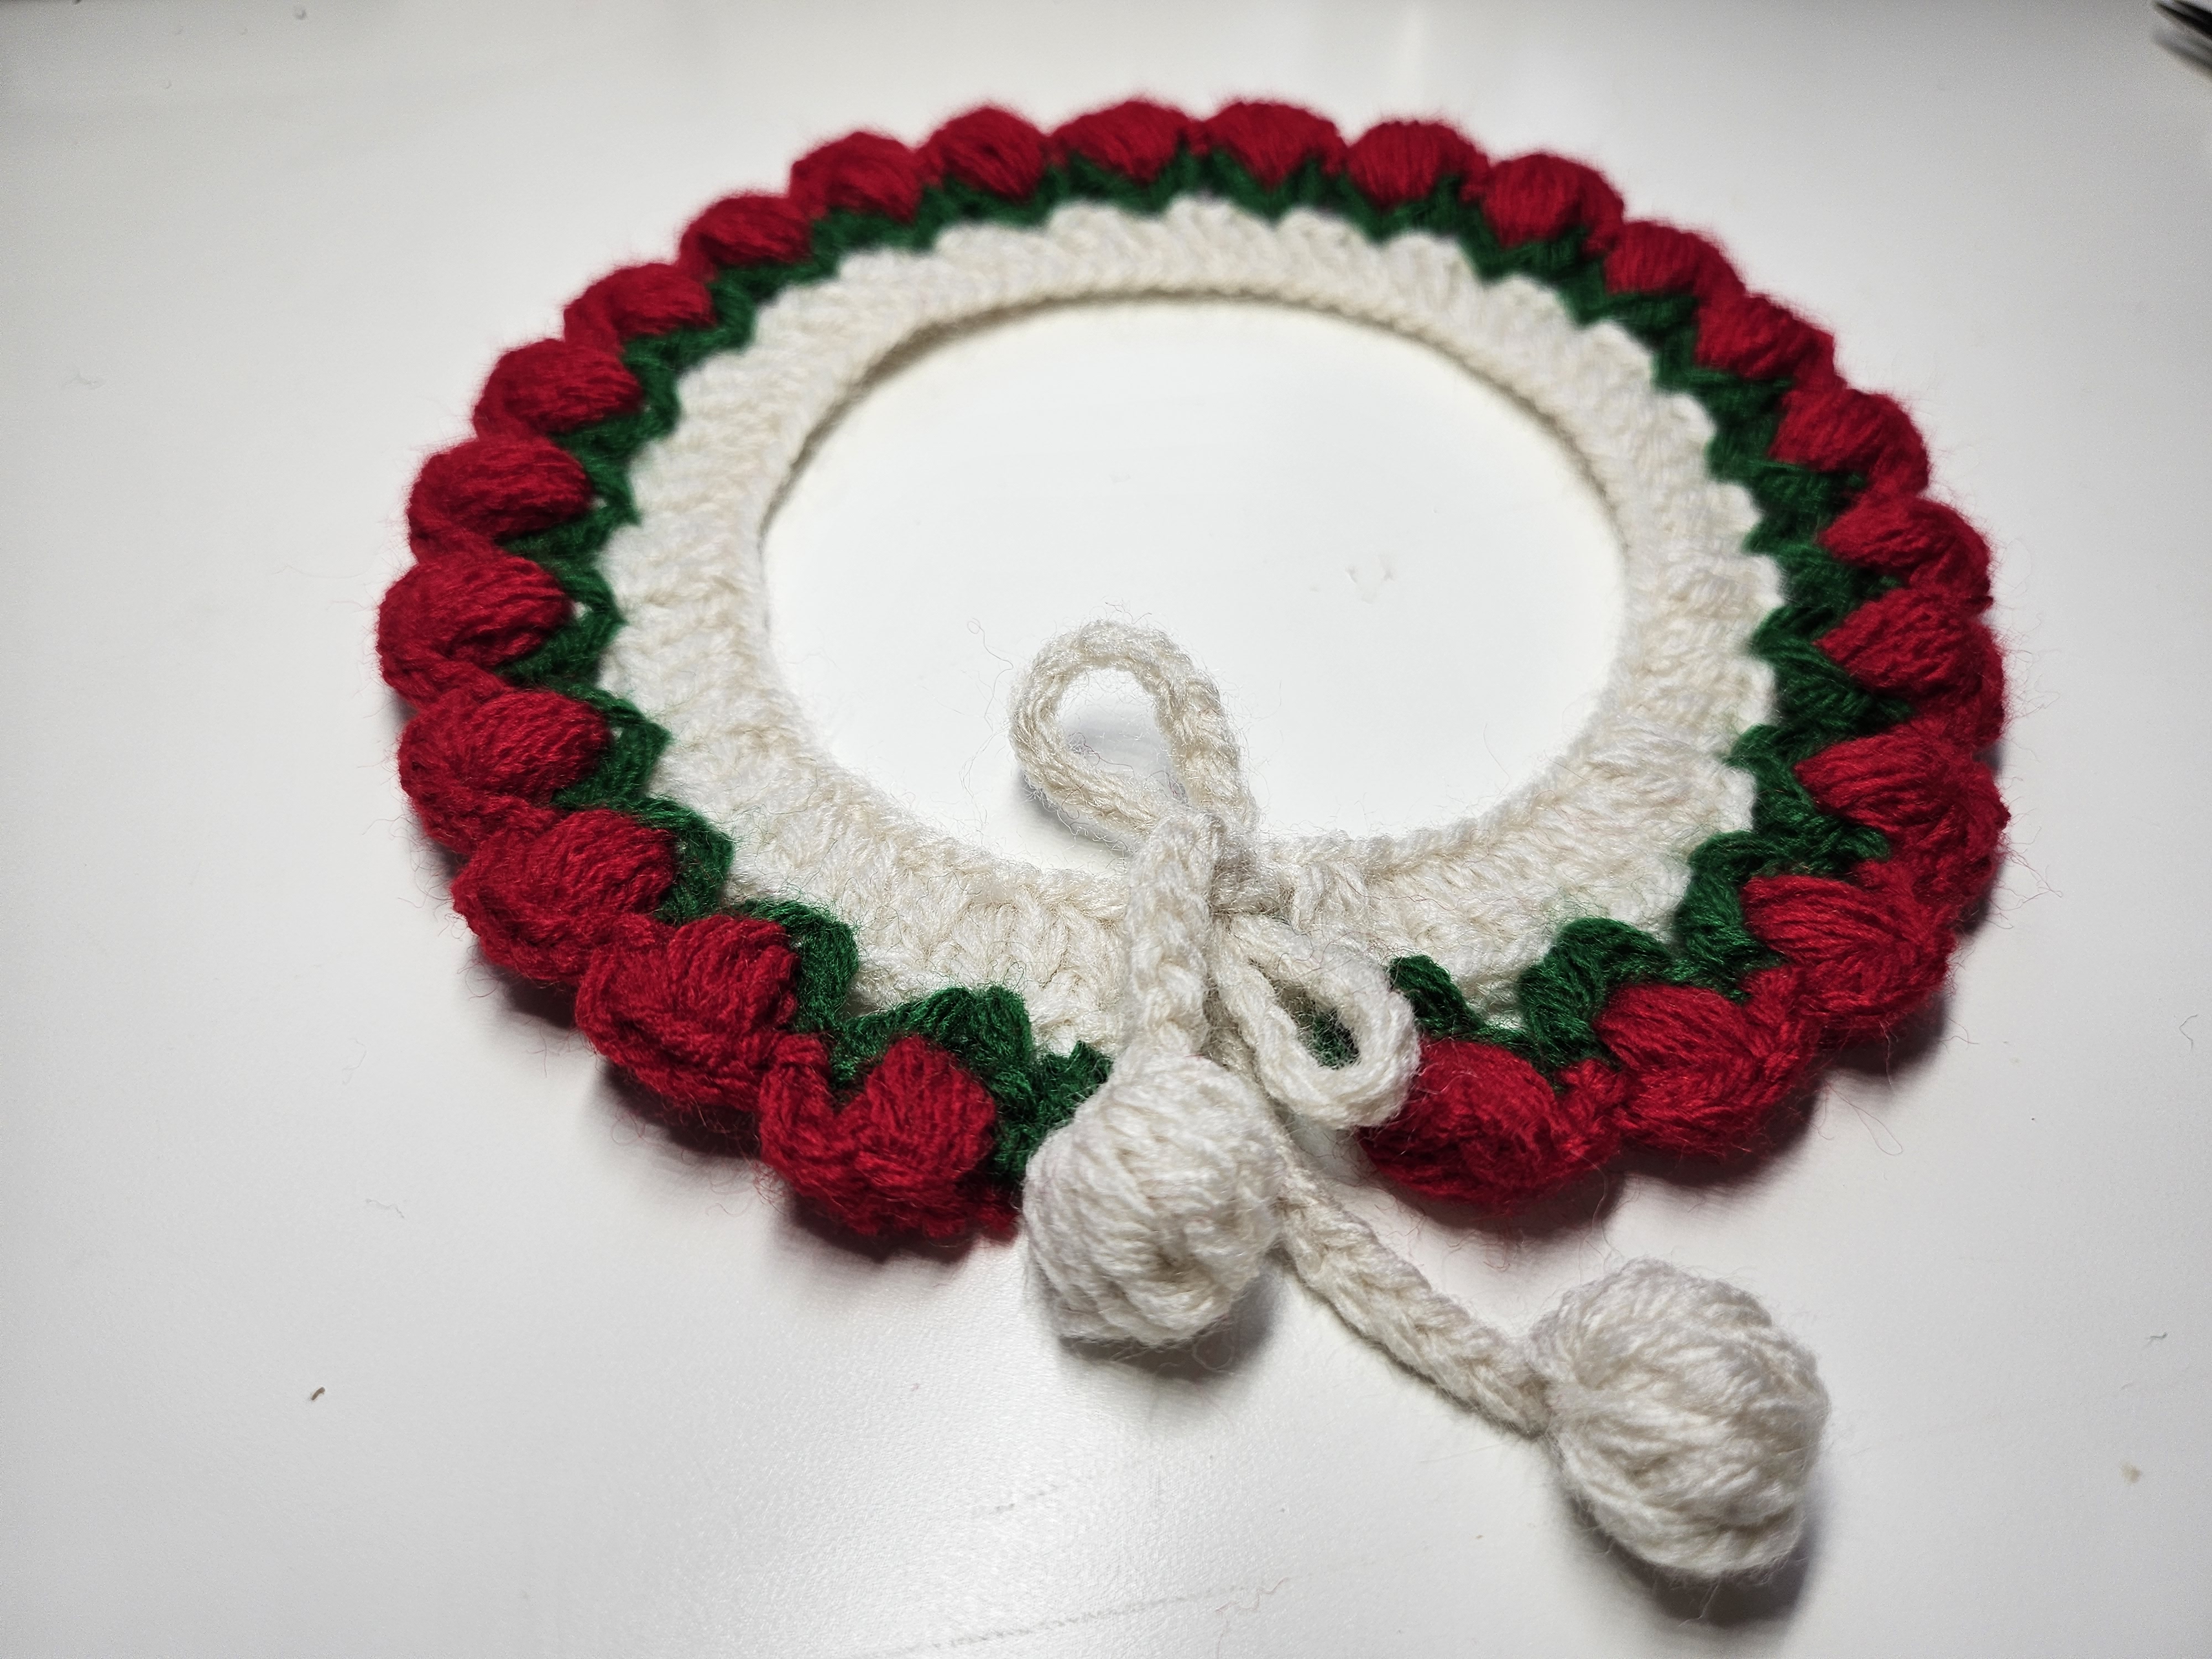
A row of little red buds gives this collar its character. Beneath them, green V stitches suggest leaves, while a plain cream band keeps the outline tidy. The decoration is worked along the middle of one long foundation chain, leaving the ends free as ties.
That construction makes the project easier to organize than it first appears. There is no need to crochet and sew on twenty separate red flowers. The green supports are worked in a row, followed by a continuous line of raised red clusters. Small cream popcorn stitches finish the ties.
The video supplies a specific sample layout: 130 chains overall, with 58 double crochets in the central section. Below, those numbers are separated into their actual functions so you can understand what is being measured and what belongs to the decorative repeat.
Choose How to Use the Finished Piece
This is a decorative design with yarn ties. Those ties are not a tested quick-release fastening. A stuffed animal or a flat display is a simple way to enjoy and photograph the finished crochet. Do not present this tied construction as an everyday breakaway cat collar.
Keep that intended use in mind when selecting a size and photographing the work. The full chain includes two long ties; its length is not the finished inner-neck measurement.
Materials
Prepare cream yarn for the foundation and tie ends, green yarn for the V-stitch row, and red yarn for the raised buds. You will also need a suitable hook, scissors, a yarn needle, a measuring tape, and two removable markers for the central section.
The verified captions do not establish a numeric hook size, yarn weight, or finished circumference. Use yarns of compatible thickness so the colored rows sit together. Smooth yarn makes the small clusters easier to count and the spaces easier to identify.
The round tie ends are made with a popcorn stitch. They are not separately stuffed amigurumi balls, so no ball-shaping rounds are needed for the demonstrated finish.
Stitch Key
| Term | Meaning in US terminology | | --- | --- | | ch | Chain | | dc | Double crochet | | sc | Single crochet | | ss | Slip stitch | | sk | Skip; the green caption writes this as “k2” | | V stitch | (Dc, ch 1, dc) worked into the same stitch | | 5-dc cluster | Five unfinished double crochets closed together | | 5-dc popcorn | Five completed double crochets joined to form a raised piece |
A cluster and a popcorn are different. The red buds use unfinished stitches gathered together. The cream tie ends use completed stitches closed into a popcorn. Keeping those methods separate produces the intended textures.
- Make the Foundation Chain
The opening caption reads “ch130 (measure the neck of your pet).” Treat 130 as the source’s sample count rather than a universal size.
For that sample, mark the chain into three sections:
| Section | Number of chains | Function | | --- | --- | --- | | First end | 36 | Tie | | Middle | 58 | Decorated band | | Second end | 36 | Tie | | Total | 130 | Entire foundation |
The calculation printed in the video is (130 − 58) ÷ 2 = 36. It is correct: 36 + 58 + 36 = 130.
Count the chain sections before starting the double crochets. Place a marker at each boundary rather than trying to find the midpoint again after the chain has twisted in your hands. Keep the foundation even and untwisted.
2. Work the Cream Band in the Middle
The next caption reads “58dc in the middle of last chain row.” Skip the first 36 chains in the sample arrangement and work one double crochet into each of the central 58 chains, following the video’s yarn attachment and starting method. Leave the other 36 chains available for the second tie.
The chain ties remain outside the worked band. Do not continue the double crochets to the ends of the 130-chain foundation.
Check the completed section before cutting the yarn. You should have a continuous central band, with a tie at either side. Count the 58 actual double crochets separately from any starting or attachment chains shown in the demonstration.
Lay it flat. The central band should not have an accidental twist, and the two tie sections should begin at corresponding points. A small counting correction is much easier now than after the green and red rows have been added.
3. Add the Green V-Stitch Row
The green caption reads:
“[4ch, dc], *(k2, [dc, ch, dc]).”
Begin the row with the demonstrated four-chain start and double crochet. Then repeat: skip two stitches, and work (dc, ch 1, dc) into the next stitch. The two double crochets of a V belong in the same base stitch, with a chain between them.
The initial four chains provide the raised beginning of the first group. Follow the video for its exact attachment point; do not add four chains between every V.
Check the Repeat Spacing
For a 58-stitch foundation, placing the first V at the beginning and then advancing three stitches at a time reaches positions 1, 4, 7, and so on through 58. That gives 20 V groups, calculated from the shown spacing.
This also explains why a different central count must be planned around the repeat. Counts of the form 3n + 1 accommodate that same first-to-last placement. This is arithmetic derived from the displayed sequence, not a separate size chart.
If your last V does not land at the intended end of the cream band, recount the skipped stitches. Do not squeeze in an extra group or omit a skip merely to make the edge finish.
4. Work the Red Buds
The red-row caption reads:
“*(2ch, 5dc cluster stitch, ss).”
The close-up describes the cluster as five unfinished double crochets. Work into the green openings as demonstrated, keeping the red buds aligned with their V-shaped supports.
For the cluster itself:
- Yarn over, insert into the indicated space, draw up a loop, then yarn over and draw through two loops. Leave the stitch unfinished.
- Repeat that unfinished double-crochet action until five partial stitches have been made into the same space.
- Yarn over and draw through the remaining loops to close the cluster together.
- Complete the slip-stitch connection shown in the video before moving to the next repeat.
Keep the two starting chains separate from the five unfinished double crochets. The caption names them as different parts of the repeat.
Watch the close-up for the precise slip-stitch insertion between buds. The short formula does not name every anchoring loop. Pulling the connection too tightly can draw the green V together and make the collar curl.
After several buds, compare their height and fullness. A cluster made with shorter loops will appear smaller even if it contains the correct number of partial double crochets. Maintain the same comfortable loop height throughout.
5. Finish the Cream Tie Ends
Near the end of the video, the caption changes to:
“2ch, 5dc popcorn stitch, sc.”
Use this finish at each cream tie end, following the demonstrated attachment. Make five completed double crochets at the indicated point. Close them using the popcorn method shown, then complete the single crochet that secures the end.
Unlike the red cluster, a popcorn is formed from completed double crochets. If you leave all five unfinished here, the shape and closure will differ from the source.
Compare the two ends before finishing the tails. They should have similar fullness. Conceal the yarn ends within the crochet without leaving a loose loop outside.
6. Inspect the Finished Collar
Spread the collar on a light, flat background. Check the cream inner curve, green repeat spacing, and red outer edge separately.
The colors should form three readable layers. If a red bud has turned inward, gently arrange it so it sits above its green support. Avoid tugging on one loop to make a smaller bud match its neighbors; check its stitch construction instead.
Turn the piece over and inspect the color changes. Weave in ends through their matching-color sections when possible, keeping bulky knots away from the inner edge. Secure any slipping tie-end popcorn before storing or displaying the accessory.
Troubleshooting
My two ties look different lengths. Recount the foundation sections and check whether the central band was started at the correct boundary. Measure them without stretching one more than the other.
The last green V does not fit. Count the 58-stitch band and confirm that two stitches were skipped between V groups. The pattern advances by three foundation positions per repeat.
The red buds look flat. Confirm that five unfinished double crochets were closed together, rather than worked as five separate complete stitches. Compare your loop height with the close-up.
The green layer gathers. Check its tension against the cream band and inspect the red slip-stitch connections. A tight outer row can pull an otherwise correct foundation out of shape.
Can I change the colors? Yes. Cream, sage, and pale pink give a softer floral effect. Keep the yarn thickness consistent and test a few buds to see whether the colors remain distinct.
Watch the Complete Collar Tutorial
The 10-minute-23-second demonstration shows the central-band attachment, green V placement, red cluster connections, and popcorn tie ends.
Enjoy the Details
This small project combines three useful techniques: a centered band on a longer chain, evenly spaced V stitches, and two different raised-stitch methods. Keep your counts and yarn notes with the finished piece. Whether displayed flat or used on a stuffed animal, the cream foundation and repeated red buds make the construction easy to appreciate at a glance.
Watch every stitch up close
Pair these written notes with the complete video tutorial.
Made with yarn, shared with love. 🧶💗