
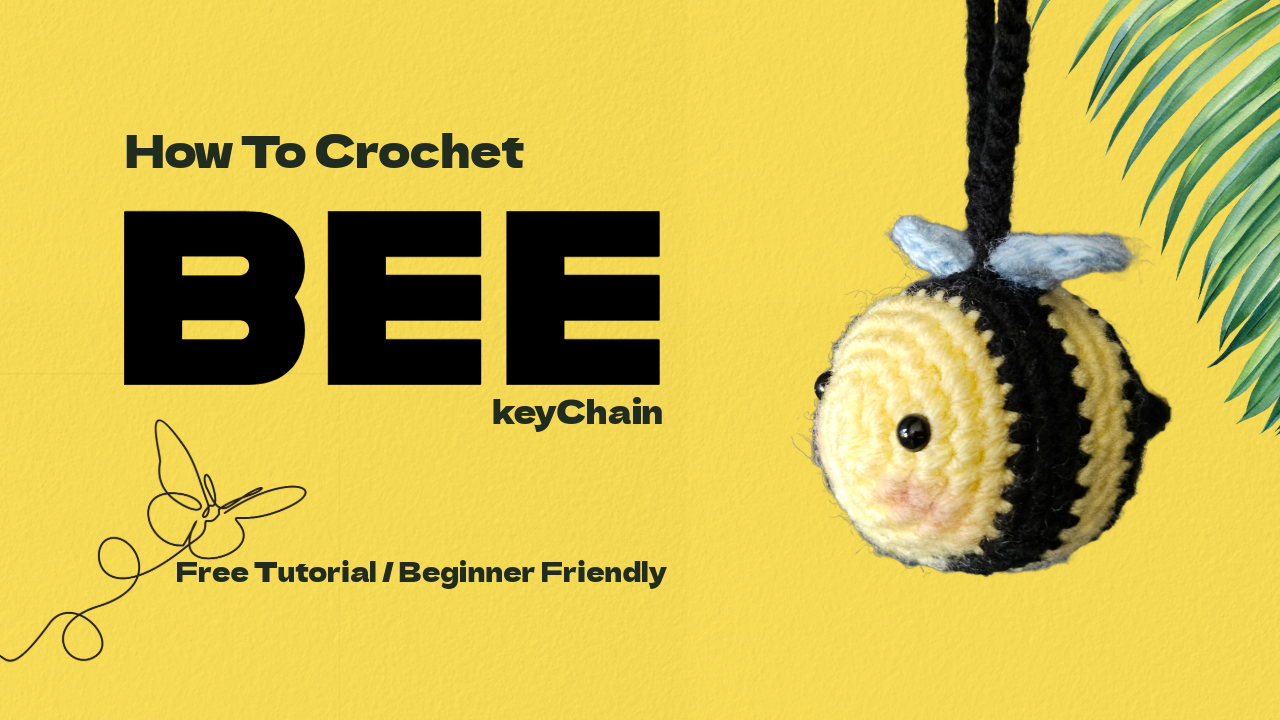
Crochet Bee Keychain Tutorial: A Tiny Handmade Gift
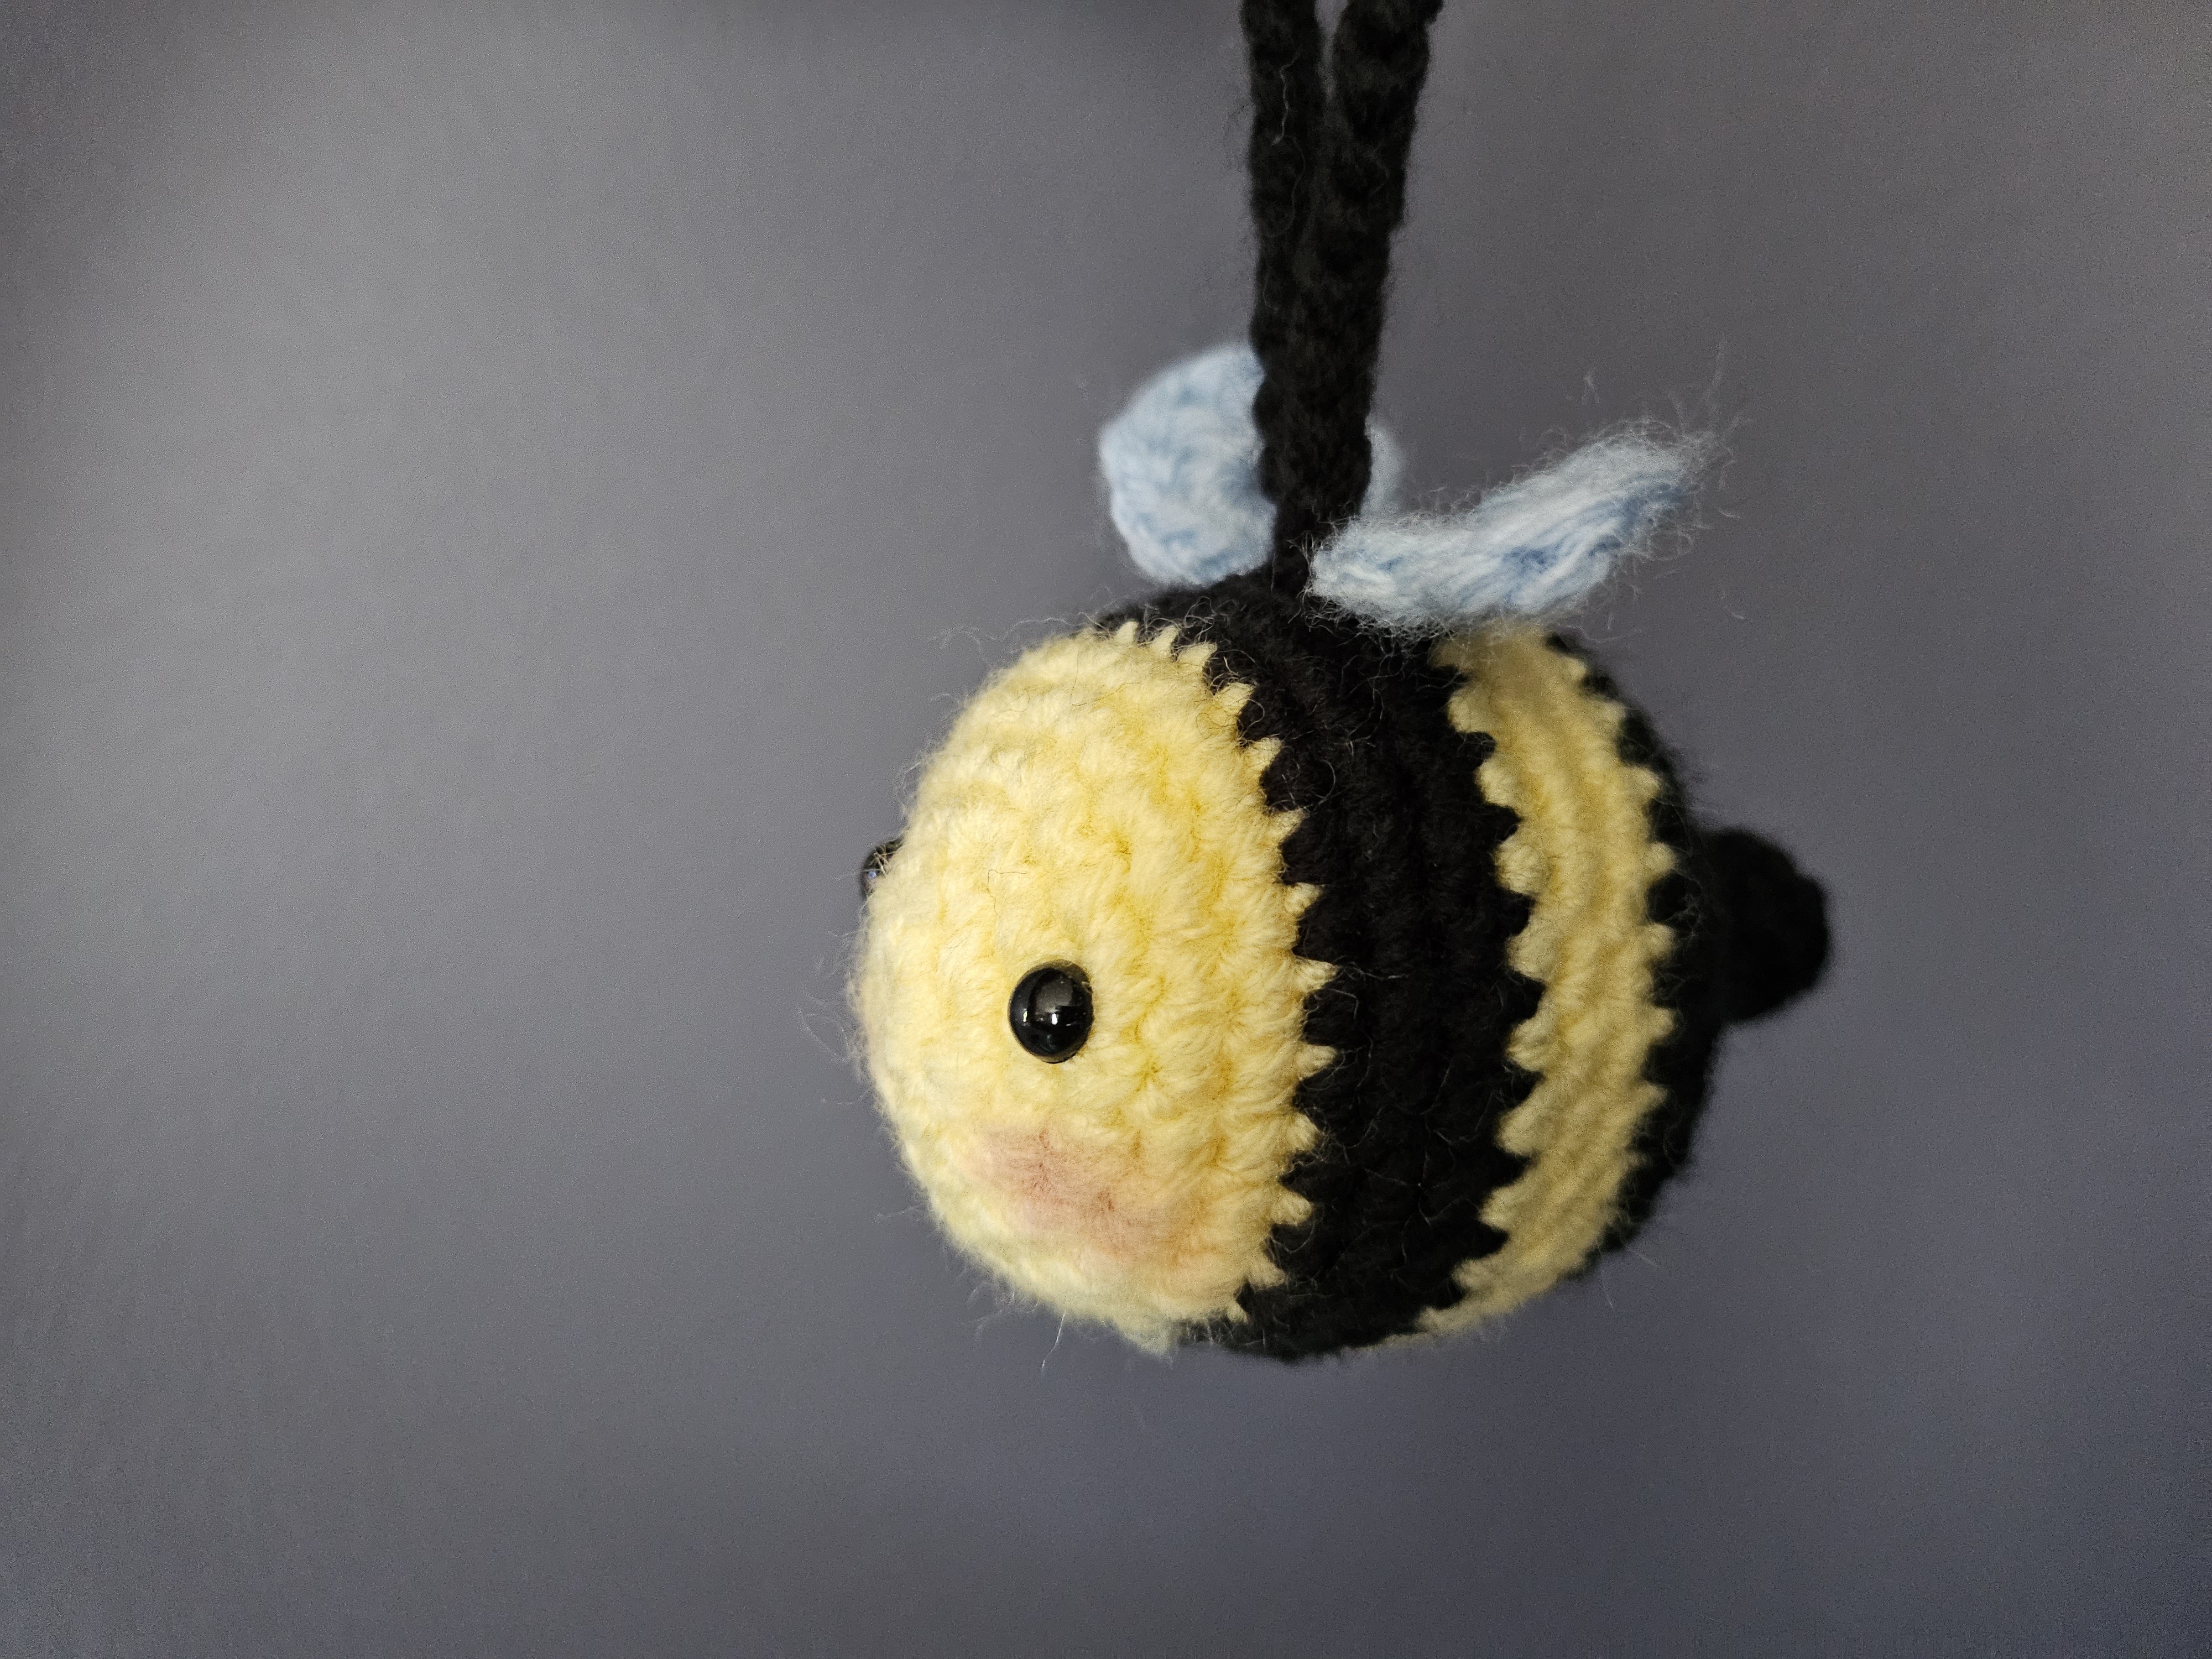
A little bee needs only a few recognizable details: a bright yellow face, dark stripes, and a pair of wings. This version adds a rounded stuffed body and a small pointed stinger, giving it a different outline from a simple crocheted ball.
The body is worked from the yellow front toward the black rear. You change colors while the stitch count stays steady, then decrease to close the shape. The wings and stinger are made separately, so you can concentrate on one small part at a time before arranging the finished pieces.
Use this written guide beside the Crochetnotes video. The instructions below follow its on-screen stitch text; the totals are calculated from those formulas. The video remains useful for the wing ring, color joins, and exact placement of the attachments.
Before you start
This project suits a crocheter comfortable with a magic ring, single crochet, increases, and decreases. The wings also use half double crochet, double crochet, and treble crochet. Those taller stitches are grouped into a small ring to form a wing in one round.
Prepare yellow and black yarn, pale blue or another light color for the wings, a suitable hook, a stitch marker, stuffing, scissors, and a yarn needle. You will also need your chosen eyes or embroidery yarn, plus a key ring if you want a keychain rather than a hanging decoration.
Choose a hook that makes a close fabric with your yarn. The written guide does not assign a yarn weight, yardage, or finished measurement that the source has not established. Using thicker yarn changes the size of both the body and its attachments.
Stitch key and counting
All stitch names use US terminology.
| Video notation | Meaning | | --- | --- | | ch | Chain | | sc | Single crochet | | sc inc | Work 2 sc into the same stitch | | sc dec | Single crochet decrease over 2 stitches | | hdc | Half double crochet | | dc | Double crochet | | tr | Treble crochet | | ss | Slip stitch join | | (sequence) × n | Repeat the sequence n times |
The video shows joined rounds, marked by `ss`. Keep that joining slip stitch separate from the counted body stitches. Mark the first actual single crochet of each round so that a join does not accidentally become an extra stitch.
Crochet the striped body
Begin with yellow and a magic ring. Join each round as shown in the video.
| Round | Color | Instructions | Calculated total | | --- | --- | --- | --- | | 1 | Yellow | 6 sc into the ring; ss | 6 | | 2 | Yellow | 6 sc inc; ss | 12 | | 3 | Yellow | (sc, sc inc) × 6; ss | 18 | | 4 | Yellow | (sc, sc inc, sc) × 6; ss | 24 | | 5 | Yellow | (3 sc, sc inc) × 6; ss | 30 | | 6 | Yellow | 30 sc; ss | 30 | | 7–9 | Black | 30 sc in each round; ss | 30 each | | 10–12 | Yellow | 30 sc in each round; ss | 30 each | | 13 | Black | 30 sc; ss | 30 | | 14 | Black | (3 sc, sc dec) × 6; ss | 24 | | 15 | Black | (sc, sc dec, sc) × 6; ss | 18 | | 16 | Black | (sc, sc dec) × 6; ss | 12 | | 17 | Black | 6 sc dec; ss | 6 |
Rounds 4 and 15 place a stitch on either side of the increase or decrease. Read the whole bracket before starting a repeat; treating the last single crochet as part of the next repeat makes it harder to track where you are.
At each color change, bring in the next color at the transition demonstrated in the video. Keep the inside strands relaxed enough that they do not cinch the body. Count the first full round in the new color before continuing the band.
Stuff and close the body
Add stuffing while the rear opening is still wide enough to reach inside. Spread it around the front first, then fill the middle. The body should feel evenly rounded, with enough give that the stitches remain closed.
Complete the final decreases and use a needle to gather the remaining opening. Take the yarn through the remaining front loops and draw them together, then secure and hide the end. This needle closure is separate from the crocheted rounds.
If you use eyes with internal washers, fit them before the opening becomes too small. The source shows glossy dark eyes during finishing; embroidered eyes are another finishing option. Check the front view before securing either eye so that the pair sits level on the yellow face.
Make the black stinger
Begin a separate small piece in black. Leave a useful sewing tail when you finish.
| Round | Instructions | Calculated total | | --- | --- | --- | | 1 | 4 sc into a magic ring; ss | 4 | | 2 | 3 sc, sc inc; ss | 5 | | 3 | 2 sc, sc inc, 2 sc; ss | 6 | | 4 | 6 sc; ss | 6 |
The narrow beginning becomes the point. The wider open edge is the attachment edge. Add only a little filling if the piece needs support; a heavily packed stinger is harder to sew flush against the body.
Position it at the center of the black rear and sew around its base. Catch body stitches as well as the stinger edge, then secure the thread inside the stuffed body.
Make two wings
Use pale blue yarn, or another light color that shows against the black stripe. Work the following sequence into the starting ring shown in the video:
2 sc, 2 hdc, dc, tr, dc, 2 hdc, 2 sc; ss.
There are 11 worked stitches in this sequence, excluding the joining slip stitch. Their increasing and decreasing heights make the rounded wing outline. Close the ring and fasten off, leaving yarn for attachment.
Make the second wing with the same yarn and similar tension. Lay both pieces together before sewing. A slight difference can often be eased by gently arranging the stitches; a substantially larger wing is worth remaking before assembly.
Add the loop and arrange the wings
The video gives the hanging loop as “chain as long as you want” rather than a fixed chain count. Choose its length for the ring or clasp you intend to use. Fold it into a loop and secure both ends into a small area of sturdy body stitches at the top.
Place the two wings on the back near the upper stripe, with their narrow bases toward one another. Pin or hold them in place and look from the front and side before sewing. Keep the loop clear of the wings so that the bee hangs freely.
Sew the wing bases securely while leaving their outer edges free. Take a few small stitches through each attachment area instead of one long loose stitch. Finish any remaining face details, hide the yarn ends, and check the stinger and loop with a gentle pull.
If your bee does not look quite right
The stripes lean or develop extra stitches. Check whether you are counting the joining slip stitch. Each straight body round has 30 actual single crochet stitches; a color change does not add another one.
The body has ridges or a pinched waist. An inside color strand may be too short, or the stuffing may be uneven. Check the strand before adding more filling. Extra stuffing will not correct a tight strand around the inside.
The rear looks lumpy. Move a little filling away from the closure and spread it into the surrounding body. Pulling the closing yarn harder can deepen a dimple rather than smooth it.
The wings flop across the face. Reposition their bases farther toward the back and use a slightly wider attachment area. Keep the outer edges free so they still read as separate wings.
Watch the video tutorial
Use the tutorial to follow the joined color changes, see the wing worked into its ring, and compare the final placement before sewing everything down.
A small gift with a clear finish
Once the shape and attachments are secure, the bee is ready to hang from a bag, keys, or a gift package. Its character comes from the simple proportions: a rounded yellow face, readable stripes, and two light wings. Take a little extra time over those placements, and even a small project can feel carefully finished.
Watch every stitch up close
Pair these written notes with the complete video tutorial.
Made with yarn, shared with love. 🧶💗