
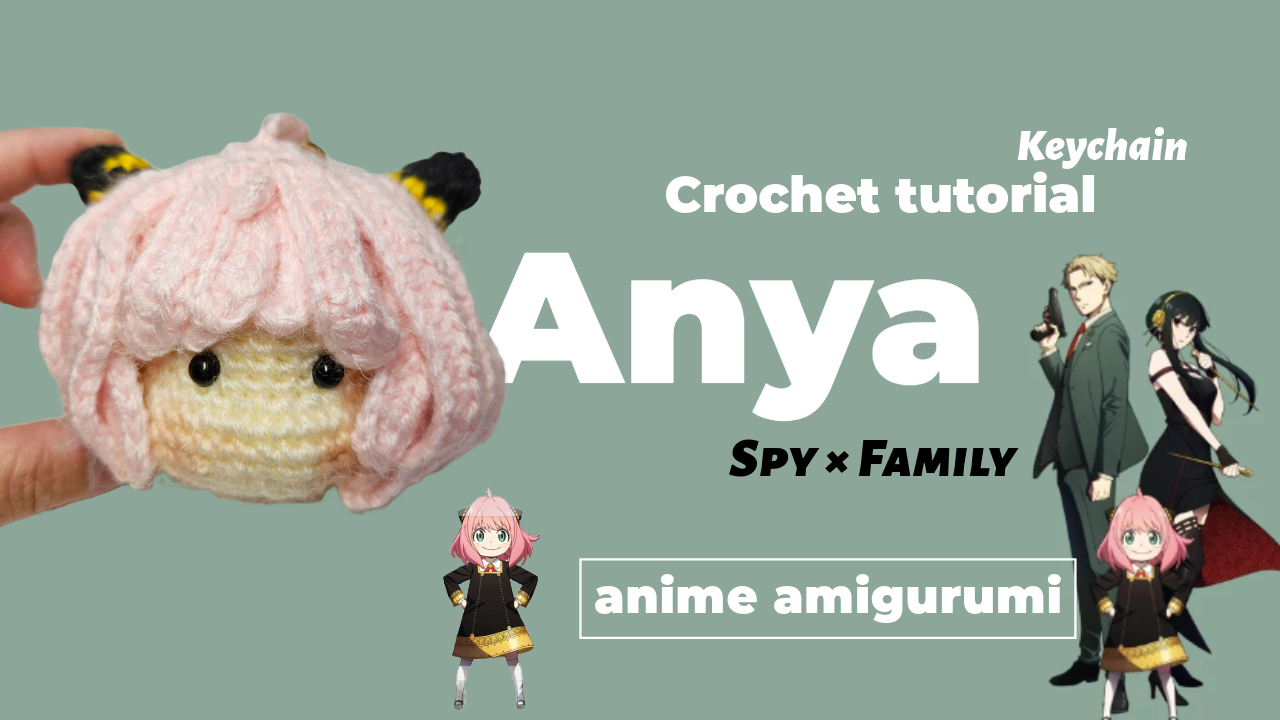
A Small Character Charm Framed by Pink Hair
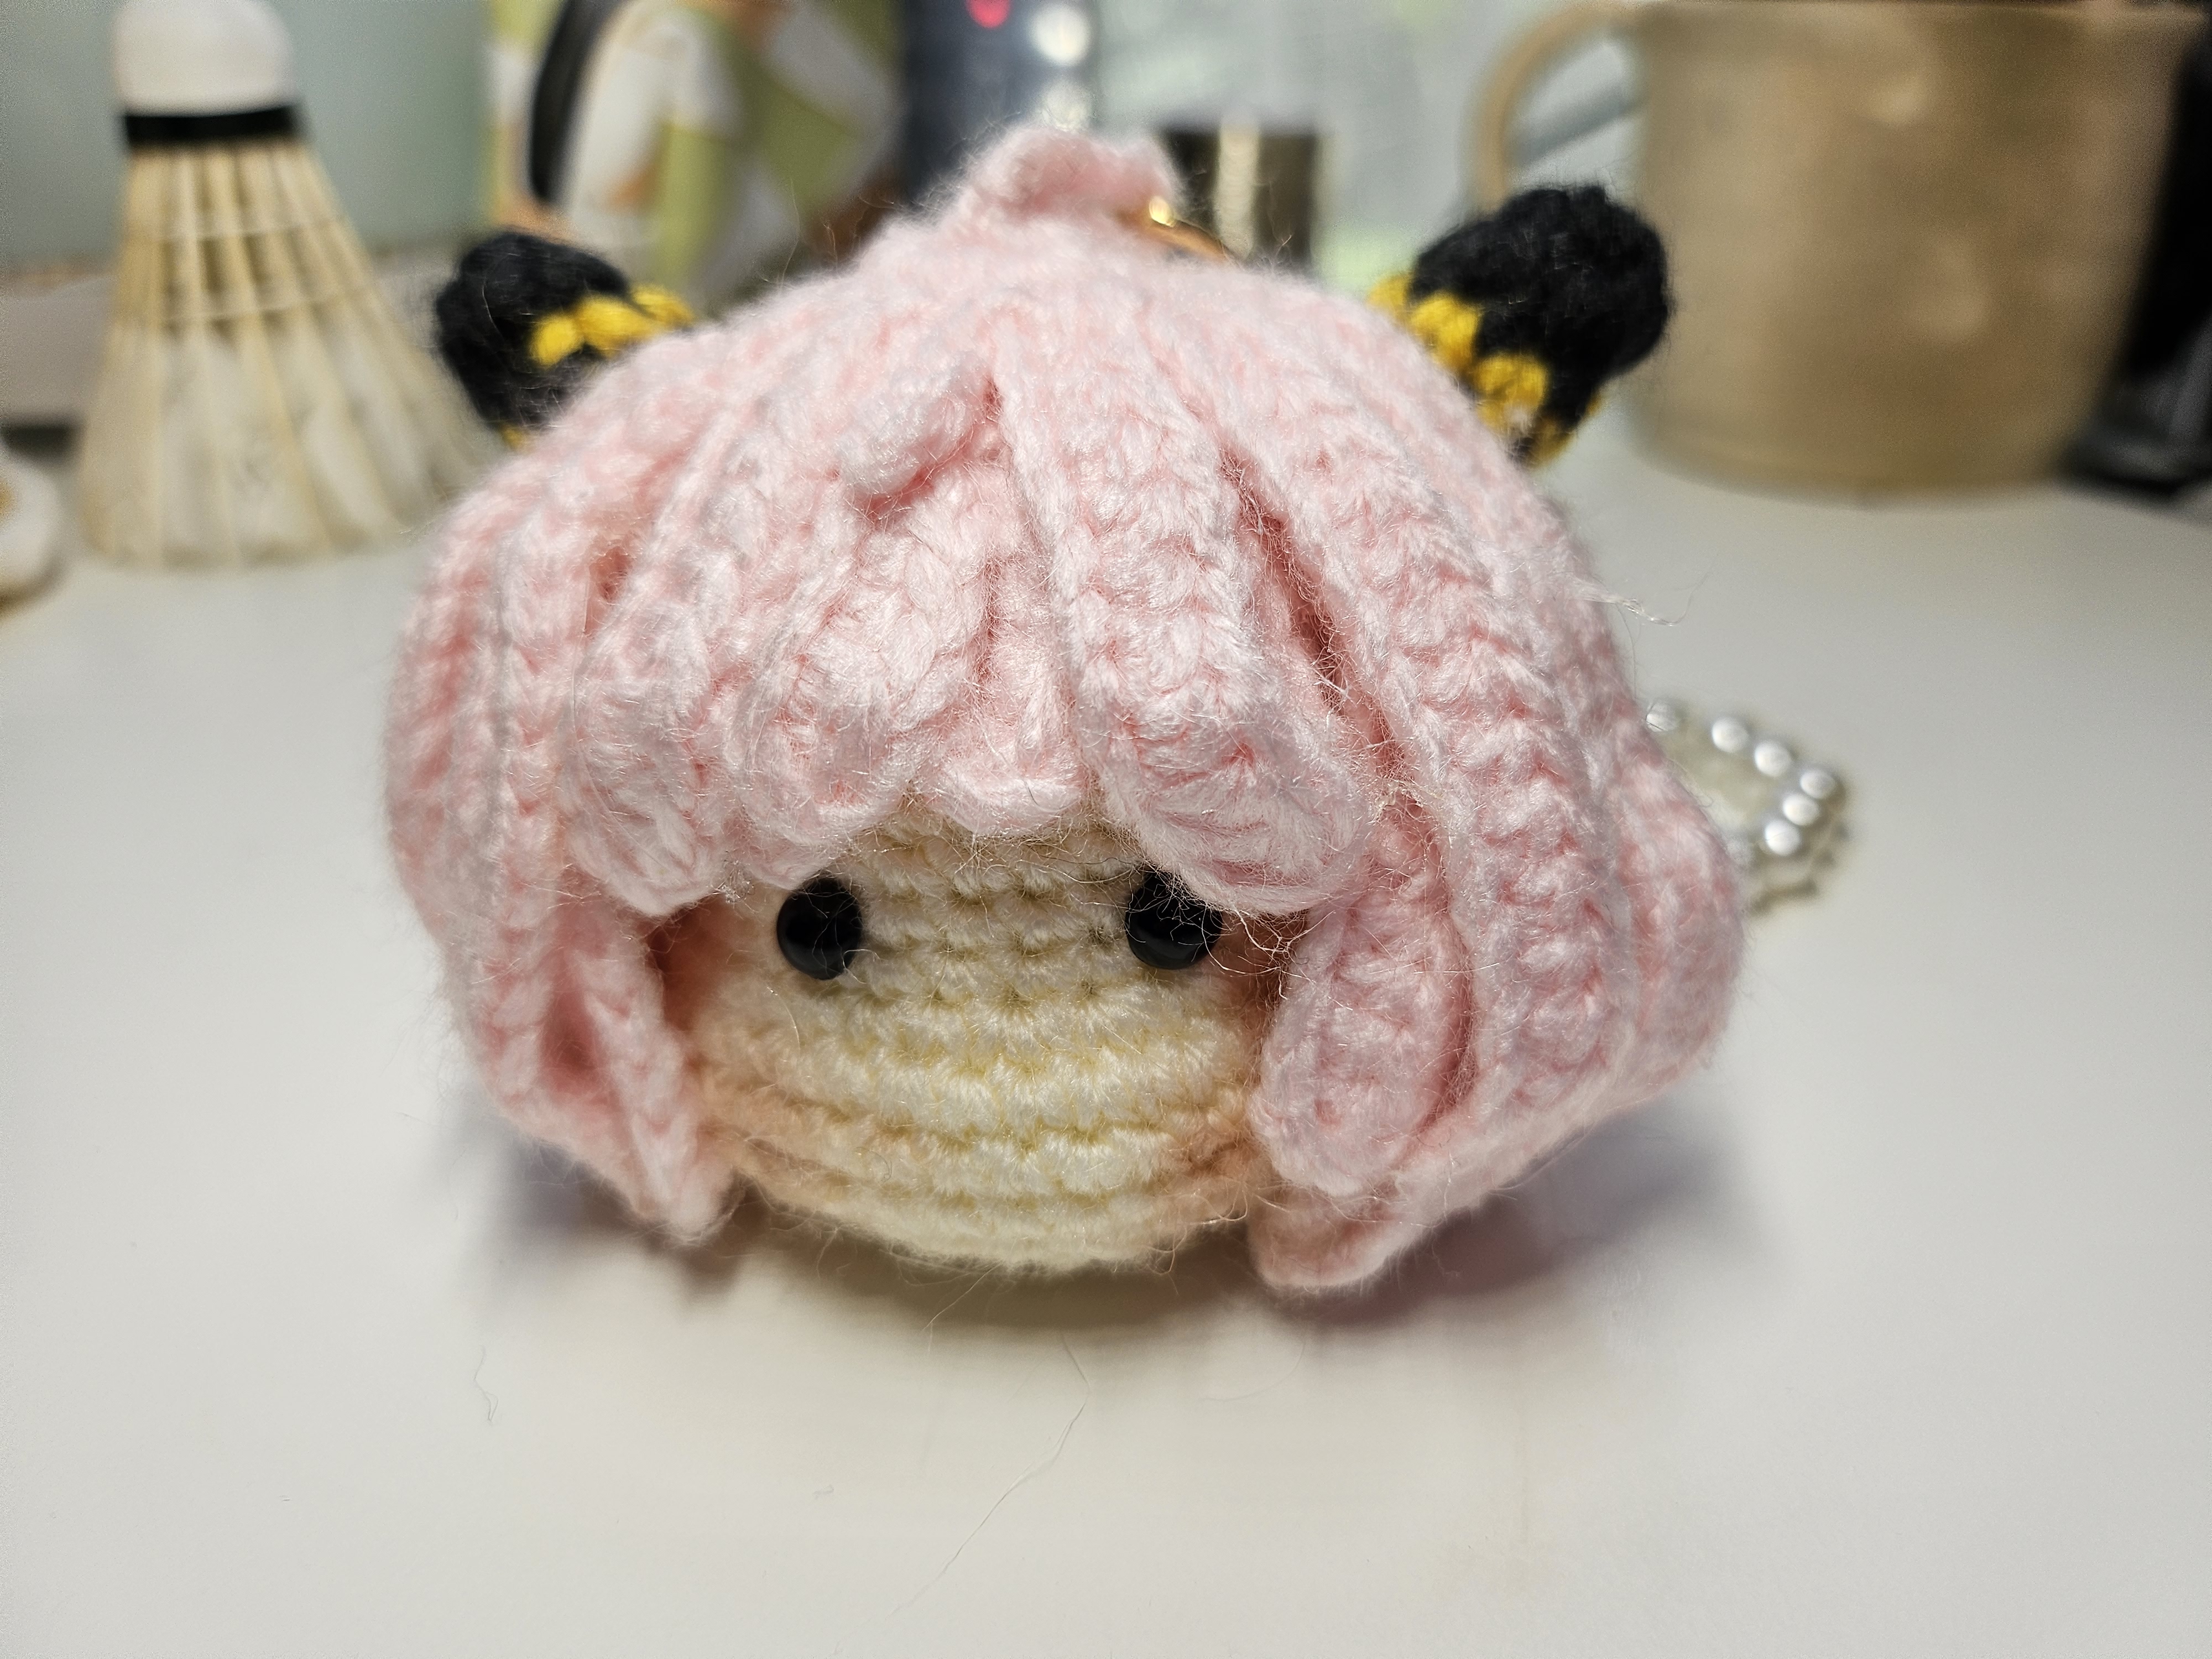
This Anya-inspired crochet charm focuses on the character’s head. A rounded cream face sits beneath pale pink hair, with overlapping fringe sections across the forehead and longer pieces framing the cheeks.
Two black hair accessories with yellow accents rise above the sides. Together with the pink hairstyle, they make the design recognizable without needing a full doll body.
The pictured face has dark eyes and soft cheek accents. Much of the expression comes from how the hair frames those features, so it helps to arrange the head, eyes, and fringe as a complete composition.
This is a fan-made crochet project inspired by Anya from Spy × Family.
Follow the video near the end for the crochet sequence and assembly. These notes focus on keeping the head evenly shaped, arranging the hair, and finishing the charm for carrying.
Prepare the Colors and Small-Piece Supplies
For the pictured version, gather:
- Cream yarn for the head.
- Pale pink yarn for the hair.
- Black yarn for the hair accessories.
- Yellow yarn for their contrasting accents.
- A crochet hook suitable for your yarn.
- Toy stuffing, scissors, and a yarn needle.
- Stitch markers.
- Facial materials and keychain supplies specified in the tutorial.
Check the video for the demonstration yarn, hook size, and eye attachment method. The photo does not establish those specifications or show how the dark eyes are secured inside the head.
Keep the Hair Yarn at a Suitable Scale
The hair needs enough structure to show its individual sections while remaining flexible enough to curve around the head.
A much thicker pink yarn can crowd the face and make the fringe heavy. A much finer yarn may leave the hairstyle looking sparse against the cream head.
Use the tutorial’s materials as your starting point. If substituting yarn, make a head and sample hair section before committing to all the smaller pieces.
Shape the Head Before Judging the Face
Follow the head pattern carefully and track the rounds with a marker. Add stuffing gradually, checking the shape from the front and both sides.
The face should have an evenly supported surface. A lump behind one eye area can make the expression appear uneven even when the features are positioned at similar heights.
Avoid filling so firmly that the stitches open into gaps. Keep the head rounded while preserving the pattern’s intended proportions.
Follow the tutorial’s timing for adding the eyes. Some attachment methods require access to the inside before the head is closed.
Before securing the features, account for the space the fringe will cover. Eyes that look comfortably placed on a bare head may become partly hidden once the hair is attached.
Arrange the Fringe Before Sewing It Down
The pictured fringe uses several overlapping pink sections rather than one straight edge. Their placement creates the hairstyle’s shape and defines the visible forehead.
Temporarily position the hair according to the tutorial before completing the attachments. Start by checking the front view, then turn the head slightly to either side.
Look for a balanced opening around the eyes. The fringe should frame the expression without covering one eye much more than the other.
Keep the Sections Distinct
Allow the pink pieces to overlap while leaving their outlines visible. Pulling every section tightly against the head can flatten the hairstyle and make the fringe look like a solid cap.
Secure the structural attachment areas shown in the video, then gently arrange the free edges.
Check the side pieces as well. They should sit comfortably beside the cheeks rather than pushing inward and narrowing the visible face.
Inspect the Back of the Hair
Turn the charm around before hiding the final ends. Check for unintended gaps, loose sections, or bulky attachments.
The front may look finished while a side or back section still needs adjustment. Secure the connections neatly without forcing all the hair pieces into identical curves.
Balance the Black-and-Yellow Accessories
Position both accessories before attaching either one permanently. Compare their height, angle, and distance from the center of the head.
The yellow accents should remain visible against the black crochet. Follow the tutorial for their construction and placement rather than estimating them from the finished photo.
Keep the accessories clear of the intended hanging connection. They are decorative pieces and should not carry the weight of the charm.
When sewing, spread the securing stitches across the attachment area. Avoid pulling so tightly that the surrounding pink hair gathers or tilts.
Keep the Facial Finish Simple
Once the hair is arranged, inspect the face again. Check that the eyes remain visible and that the cheek areas have enough space around them.
The peach-toned accents in the photo are optional. If adding similar color, test your chosen material on spare yarn first and consider its care requirements. The photo does not identify the product used.
Small changes can have a strong effect at this scale. Adjust the placement gradually rather than adding more detail to compensate for an uneven hairstyle.
Secure the Hanging Connection
Follow the tutorial’s keychain attachment method and check how the connection is supported through the completed head.
Suspend the charm briefly while supporting it with your hand. The face should remain visible, and the hardware should not pull on a fringe section or decorative accessory.
Check that metal edges do not catch the pink yarn. Use hardware that suits the finished size rather than adding a heavy clasp to a small head.
Inspect the attachment after the first few uses, especially if the charm hangs on a bag that moves frequently.
Watch the Anya Crochet Tutorial
The video demonstrates the character head and its assembly. Follow it for the shaping, hair sections, accessories, and finishing.
Pause before securing the fringe and hair accessories to compare the expression and silhouette of your own charm.
Finish the Charm for Gifting or Carrying
Weave in the remaining ends and inspect the hair attachments, facial details, accessories, and hanging point.
For gifting, leave room around the hairstyle in the packaging. Avoid pressing the fringe and side pieces flat beneath tight wrapping.
The pink hair and contrasting accessories provide the character’s familiar silhouette. Careful placement around a smoothly shaped head helps those details remain clear in this miniature version.
Watch every stitch up close
Pair these written notes with the complete video tutorial.
Made with yarn, shared with love. 🧶💗