
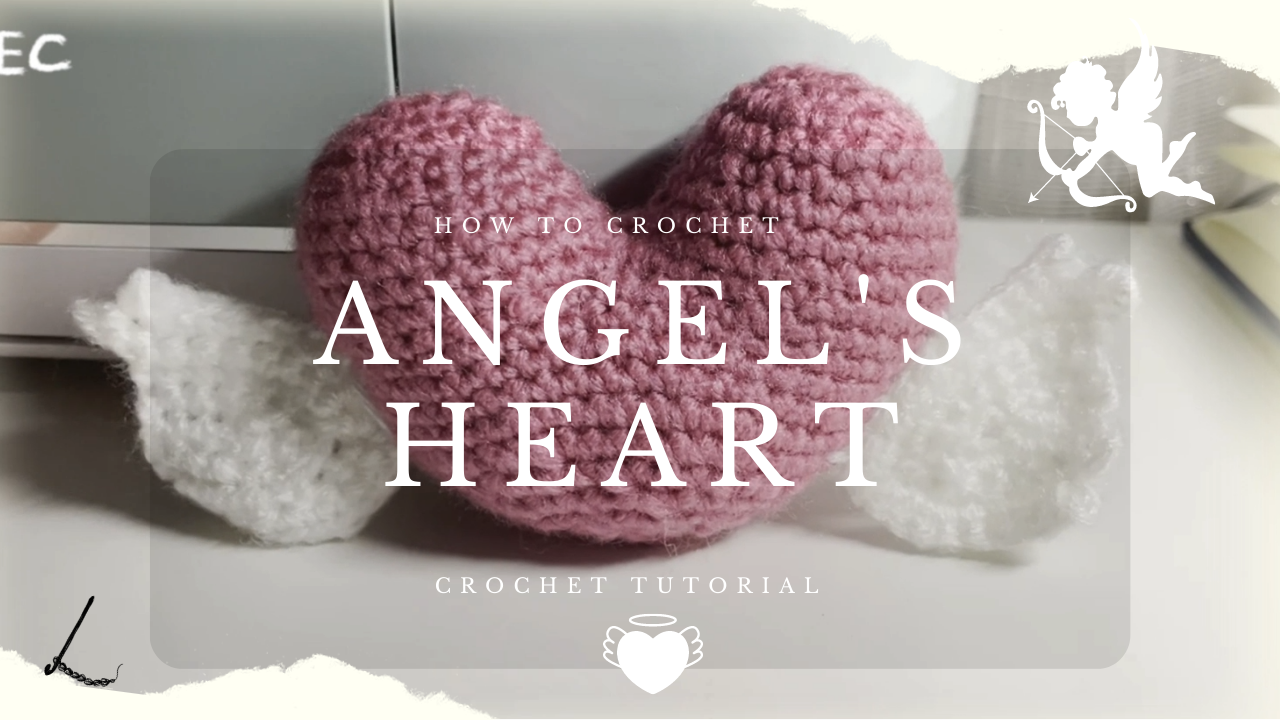
Crochet Angel Heart with Wings: A Sweet Handmade Gift
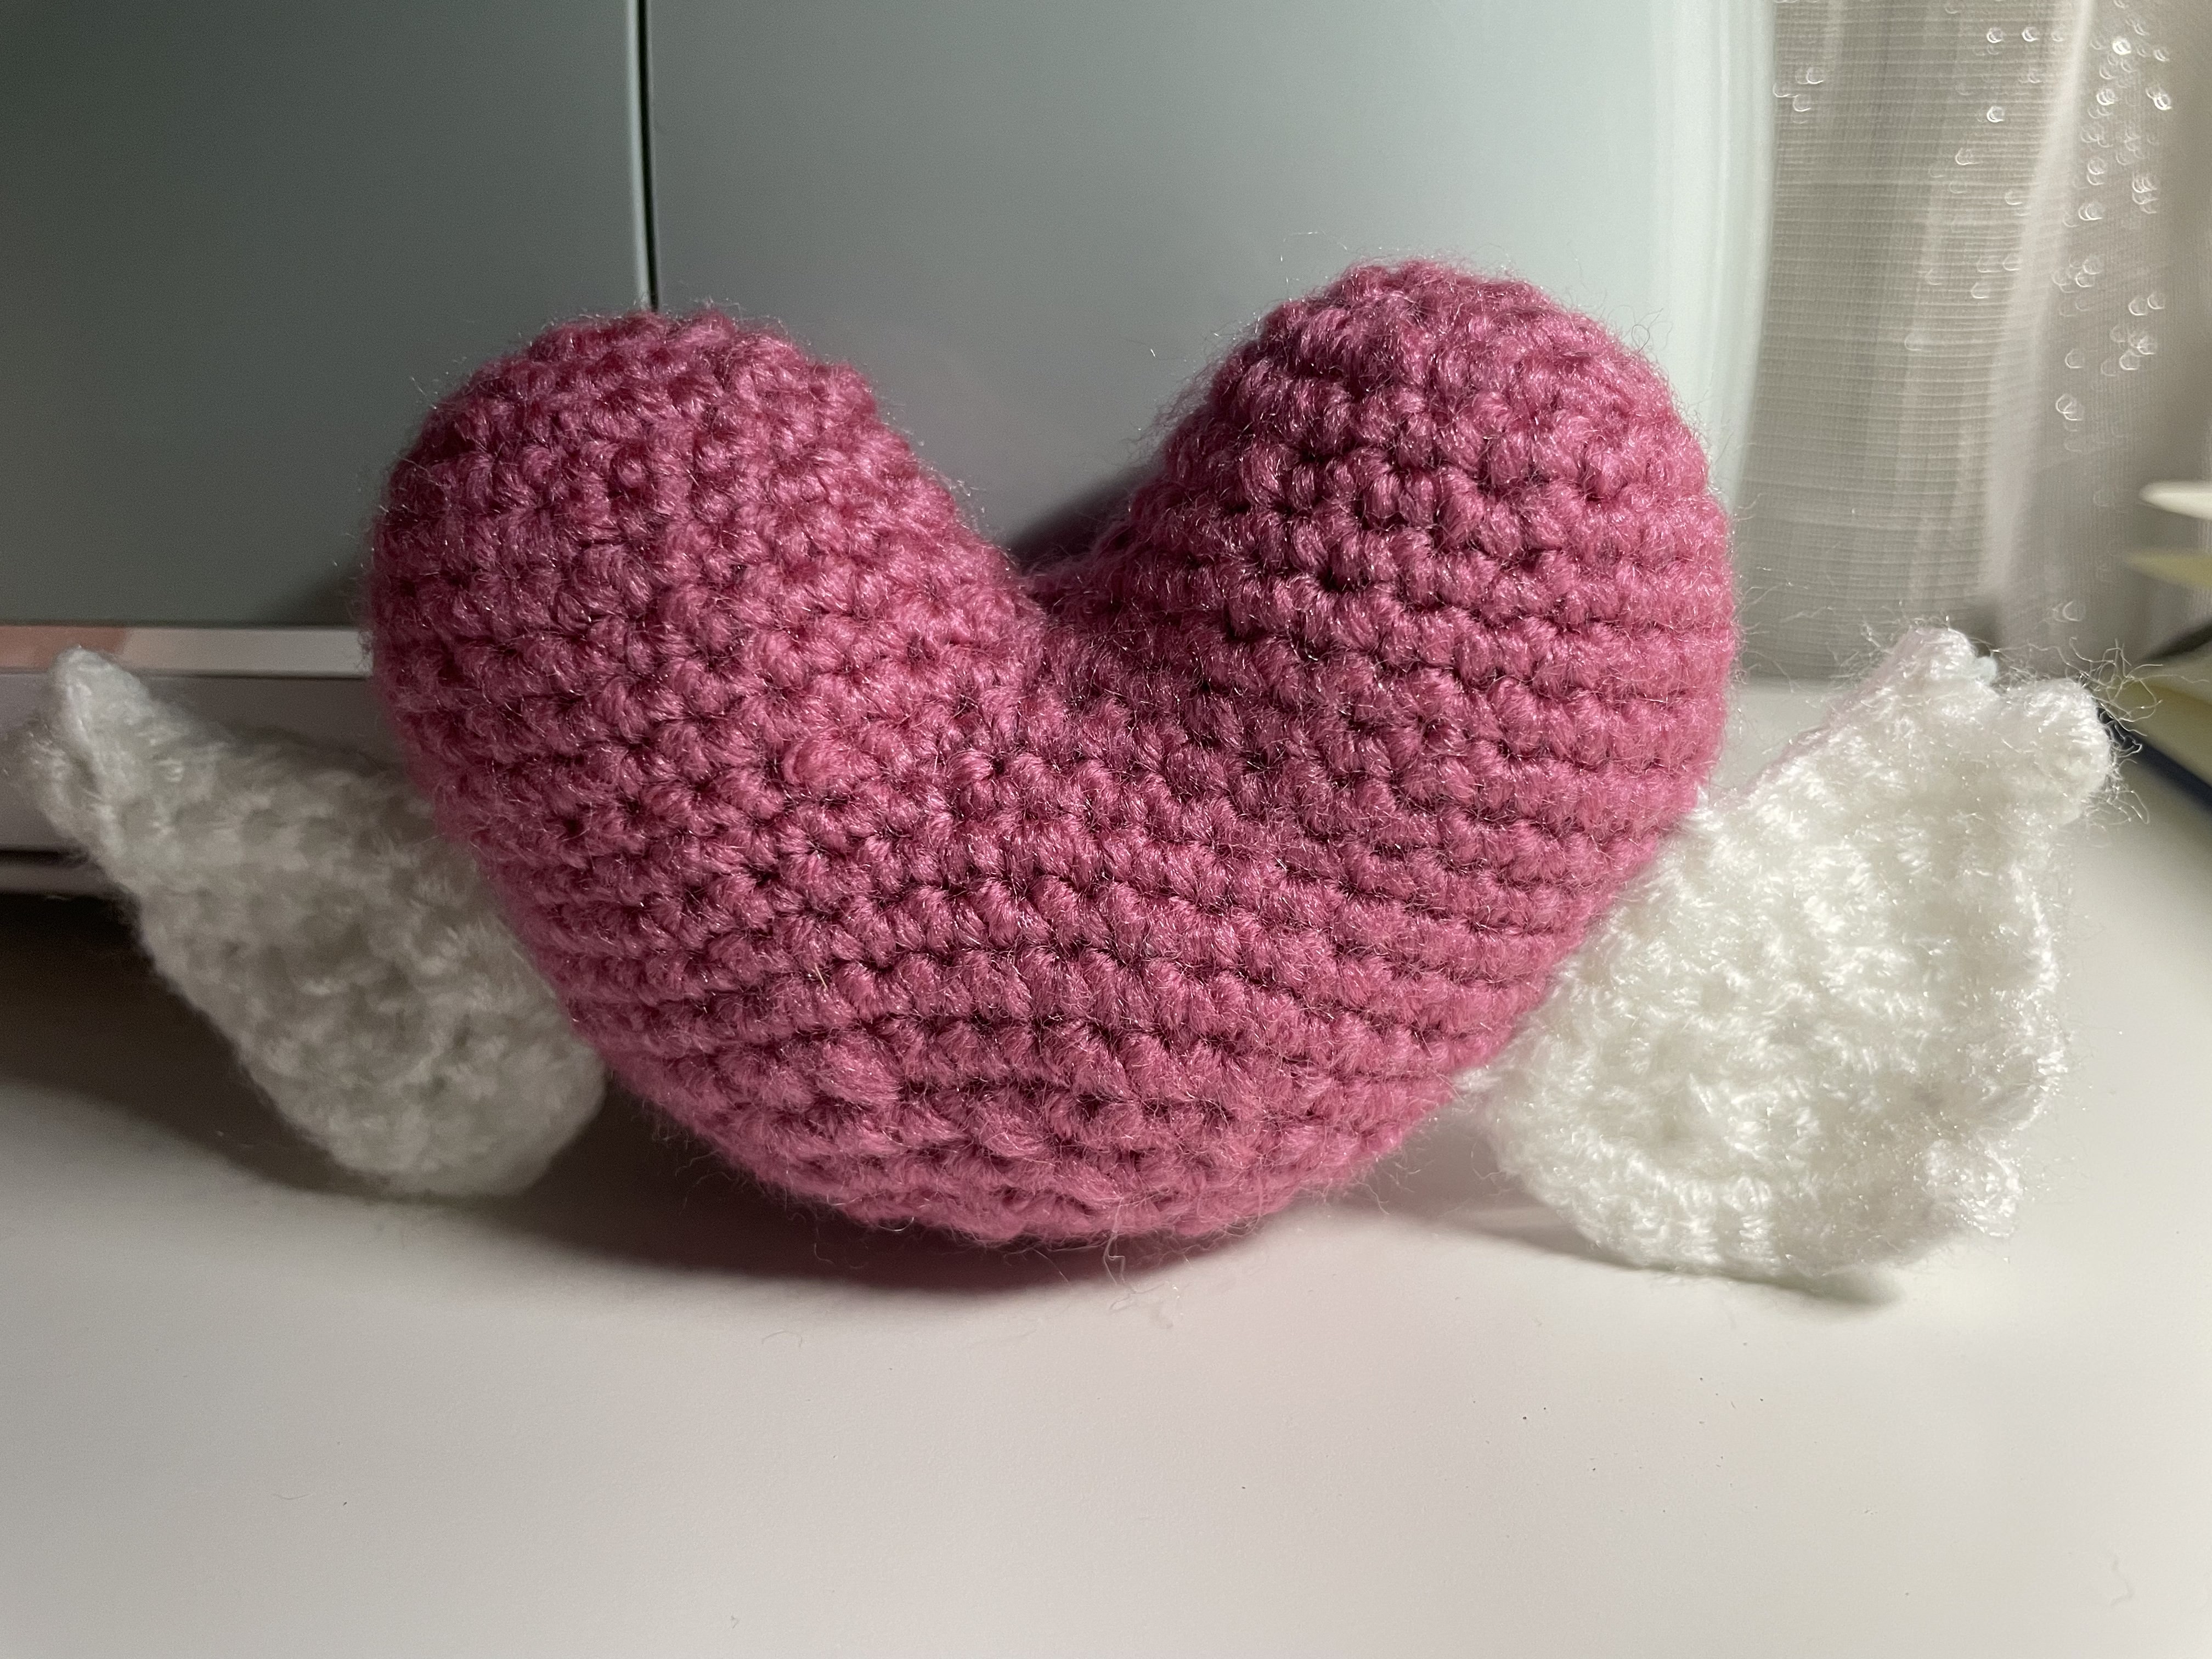
A softly stuffed pink heart and two white crochet wings make a simple, thoughtful keepsake. The design needs very little decoration: its character comes from the rounded upper curves, the taper beneath them, and the feather-like outline of the wings.
The heart begins as two separate crochet cups. These are connected before the lower section is shaped with decreases. The wings are worked separately in short turning rows and attached once the heart is filled and closed.
This guide brings together the on-screen instructions, stitch-count checks, and practical finishing notes. Two heart-round captions do not agree with the surrounding counts; those sections are identified below so you can pause and compare the demonstration before continuing.
Materials and Color Choices
Prepare:
- Pink yarn for the heart.
- White yarn for the wings.
- A crochet hook suitable for your yarn.
- Toy stuffing.
- A yarn needle and scissors.
- A removable stitch marker.
- Pins or contrasting scrap yarn for positioning the wings.
Choose heart and wing yarns of similar thickness. A substantially heavier wing yarn can overwhelm the heart, while a much thinner yarn can make the wings look undersized.
Smooth yarn makes the stitch counts easier to check. For the heart, aim for a close fabric that contains the stuffing without making the stitches difficult to enter.
Finished size depends on the yarn, hook, and tension. A fixed hook size, gauge, or finished measurement is not specified here.
Abbreviations and Pattern Notes
These instructions use US crochet terminology.
Abbreviation Meaning
ch Chain
sc Single crochet
inc Work 2 sc into one stitch
dec Single crochet 2 stitches together
sl st Slip stitch
sk Skip
R Round or row, as identified
(…) × 6 Repeat the enclosed sequence six times
The heart uses joined rounds. After Round 1, begin with ch 1 and finish with a slip-stitch join. Beginning chains and joining slip stitches are not included in the stitch totals.
The wings use turning rows. Follow their individual chain and turn instructions rather than applying the heart’s round-joining method.
1. Make the Two Upper Heart Cups
Using pink yarn, begin with a magic ring.
Round Instructions Total
1 6 sc into the magic ring; join 6
2 Inc × 6 12
3 (Sc, inc) × 6 18
4 18 sc 18
5 (Sc, inc, sc) × 6 24
6 24 sc 24
7 24 sc 24
Make two matching cups.
The straight rounds give each cup enough depth to form an upper lobe. Compare the pair before connecting them: both should have 24 stitches around the opening and similar height.
Keep the working yarn available on the cup used to continue into the connection. Leave a useful tail on the other piece for securing the center area if needed.
2. Connect the Cups
Place the cups beside each other with their openings facing the same direction.
Follow the video’s close-up to connect them and begin working around their combined outer edge. The connection establishes the dip at the top of the heart.
Rounds 8–11
The video specifies:
Ch 1, 46 sc, sl st.
Work four rounds at that circumference.
Connection checkpoint: Two separate 24-stitch openings contain 48 stitches before joining, while the tutorial gives 46 stitches for the combined round. Match the demonstrated join rather than simply crocheting all 48 stitches and assuming the result is equivalent.
Count the outer round before continuing. Inspect the center connection for a gap, and secure it without gathering the surrounding fabric into a hard knot.
3. Check the First Shaping Rounds
The next section introduces two decreases per shaping round. However, the printed sequences contain counting inconsistencies.
Round On-screen instruction What to check
12 12 sc, dec, 23 sc, dec, 6 sc Uses 45 base stitches and produces 43, which does not match the preceding 46 or the following 44.
13 44 sc This is the total printed in the video.
14 10 sc, “DC DEC,” 18 sc, sc dec, 10 sc The first decrease label differs from the surrounding single crochet instructions. Interpreting both as two-stitch decreases uses 42 stitches and produces 40.
15 (5 sc, dec) × 6 Requires 42 stitches to begin.
These discrepancies are preserved here rather than silently assigning extra stitches to an assumed location.
Pause at Rounds 12 and 14 and compare the actual stitches in the demonstration. The captions alone do not establish a fully consistent transition from 46 stitches to the 42 required by Round 15. Keep your marker in place and resolve the transition before proceeding with the taper.
4. Work the Lower Taper
Once the preceding shaping has been resolved and the opening has 42 stitches, the following displayed sequences form a consistent decrease progression.
Round Instructions Total
15 (5 sc, dec) × 6 36
16 (2 sc, dec, 2 sc) × 6 30
17 (3 sc, dec) × 6 24
18 (Sc, dec, sc) × 6 18
19 (Sc, dec) × 6 12
20 Dec × 6 6
Begin each round with ch 1 and finish with a slip-stitch join.
The stitches on either side of the decreases in Rounds 16 and 18 help distribute the shaping. Keep their order as written.
5. Stuff and Close the Heart
Add filling while the opening remains wide enough to reach inside. The video shows stuffing before the final decrease rounds.
Start by distributing small portions into the two upper lobes. Support each rounded side without packing a large wad across the center dip.
Continue filling the lower section gradually. Check the heart from the front, back, and side:
- Both upper lobes should have similar fullness.
- The dip between them should remain visible.
- The lower section should narrow beneath the center.
- The surface should feel supported without stretched stitch openings.
Make the final filling adjustments before completing the smallest opening.
After Round 20, fasten off and use a yarn needle to gather the remaining stitches closed. Secure and hide the end without pulling the tip sharply inward.
6. Crochet the White Wings
Make two wings using white yarn.
The wings begin around a short foundation chain, then change direction through turning rows. Their unequal row lengths contribute to the stepped outline.
Row 1
Chain 6.
Starting in the second chain from the hook:
- Work 4 sc.
- Work 5 sc into the final chain.
- Continue along the opposite side of the foundation chain with 3 sc.
- Chain 1 and turn.
Worked stitches: 12 sc.
The five stitches in the end chain create the rounded turn. Work them into the same chain rather than spreading them across neighboring chains.
Row 2
Work:
4 sc, inc × 3, 5 sc.
Then ch 3 and turn, following the main on-screen pattern label.
Worked stitches: 15 sc, followed by the chain extension.
A lower subtitle says “chain 4” at this transition, while the main pattern label says 3 ch. This written version retains the main label’s chain-three instruction. Check that transition in the close-up if your edge does not match the demonstrated shape.
Row 3
Work:
Sk 1, 8 sc, inc × 3, 4 sc.
Chain 1 and turn.
The chain extension is part of the return path, so watch where the first stitches enter before continuing into the previous row.
Stop after the stated sequence. Do not automatically add stitches to reach an assumed end-of-row total.
Row 4
Work:
5 sc, inc × 3, 9 sc, sl st.
Fasten off, leaving a sewing tail.
The main pattern label specifies 5 sc at the beginning of this row. Follow that label rather than the lower subtitle’s inconsistent “chain 5” wording.
Make the Second Wing
Repeat the same wing instructions.
Lay both pieces beside each other and arrange them as a left-and-right pair. Compare their rounded sections, stepped edges, and overall size before attaching them.
Do not stretch one wing to match the other. If they differ noticeably, check the increases, chain extension, and stopping points first.
7. Shape the Wings Gently
Smooth each wing with your fingers and separate the stepped sections enough to see their outline.
If the yarn benefits from blocking, use a method appropriate to its fiber. Shape the pieces gently and allow them to dry completely before assembly.
Avoid pulling the narrow sections until their stitch openings enlarge. Shaping can refine the outline, but it cannot correct an incorrect stitch sequence.
8. Position Both Wings Before Sewing
Place the stuffed heart upright and identify its visual center using the upper dip and lower tip.
Temporarily position both wings at the sides. Check the pair together:
- Their attachment bases sit at comparable heights.
- Their outer edges extend a similar distance.
- Their angles frame the heart without hiding its upper curves.
- The intended face of each wing is visible.
Turn the piece slightly and check it from the side. A wing positioned farther behind the heart may appear shorter from the front even when both pieces match.
Exact attachment coordinates are not specified here. Use the finished silhouette and video reference to judge the placement on your own version.
9. Sew the Wings Securely
Use several small stitches across each wing base.
Spread the attachment over an area rather than fastening the wing at one tiny point. This helps control twisting while keeping the rest of the wing free to show its shape.
Keep the sewing tension firm enough to hold the wing without denting the pink heart.
After a few stitches, pause and check the front view again. Adjust the angle while the seam remains accessible, then secure the end.
Troubleshooting
Problem What to check
One upper lobe looks larger Compare its rounds and filling distribution.
The center dip disappears Move excess stuffing away from the upper middle and inspect the connection.
The taper’s count does not match Revisit the caption discrepancies in Rounds 12 and 14 before continuing.
A wing has the wrong stepped outline Check Row 2’s chain extension and each row’s stopping point.
One wing looks shorter Compare its attachment angle and position behind the heart.
A wing twists Spread the attachment stitches across its base.
The heart puckers beside a wing Ease the sewing tension.
Finishing and Care
Inspect the heart closure, center connection, and both wing seams. Secure loose ends and remove all temporary pins and markers.
For gifting, choose a box wide enough to hold the wings without folding them tightly. Let the heart rest in its natural shape rather than compressing it beneath heavy packaging.
Follow the yarn and stuffing care instructions when cleaning. Blot small marks gently, reshape the wings afterward, and allow the whole piece to dry completely.
Watch the Crochet Tutorial
Use the video to check the cup connection, the flagged shaping rounds, and the wing turns. Pause at those transitions and compare the fabric in your hands with the close-up before moving on.
A Thoughtful Little Keepsake
The finished design combines a softly rounded heart with a lighter, textured pair of wings. Balanced filling and careful attachment preserve that simple outline.
Take time to compare both sides before securing the final ends. A clear center dip, an even taper, and well-positioned wings give this small handmade gift its gentle character.
Watch every stitch up close
Pair these written notes with the complete video tutorial.
Made with yarn, shared with love. 🧶💗